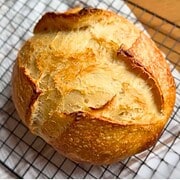
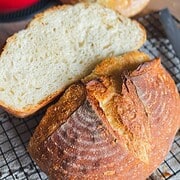
Sourdough Picnic Rolls (Pull-Apart Bread Rolls)
I realize these are technically "just" soft sourdough bread rolls, but we call them sourdough picnic rolls because they're made to be served on any and all outside meals; barbecues, family gatherings, you name it. They're firm enough for pulled pork, burgers, and sandwich fillings, but still light enough to enjoy with a little bit of butter. Because they're baked together in a pan, they pull apart nicely and stay softer than any individually baked rolls.
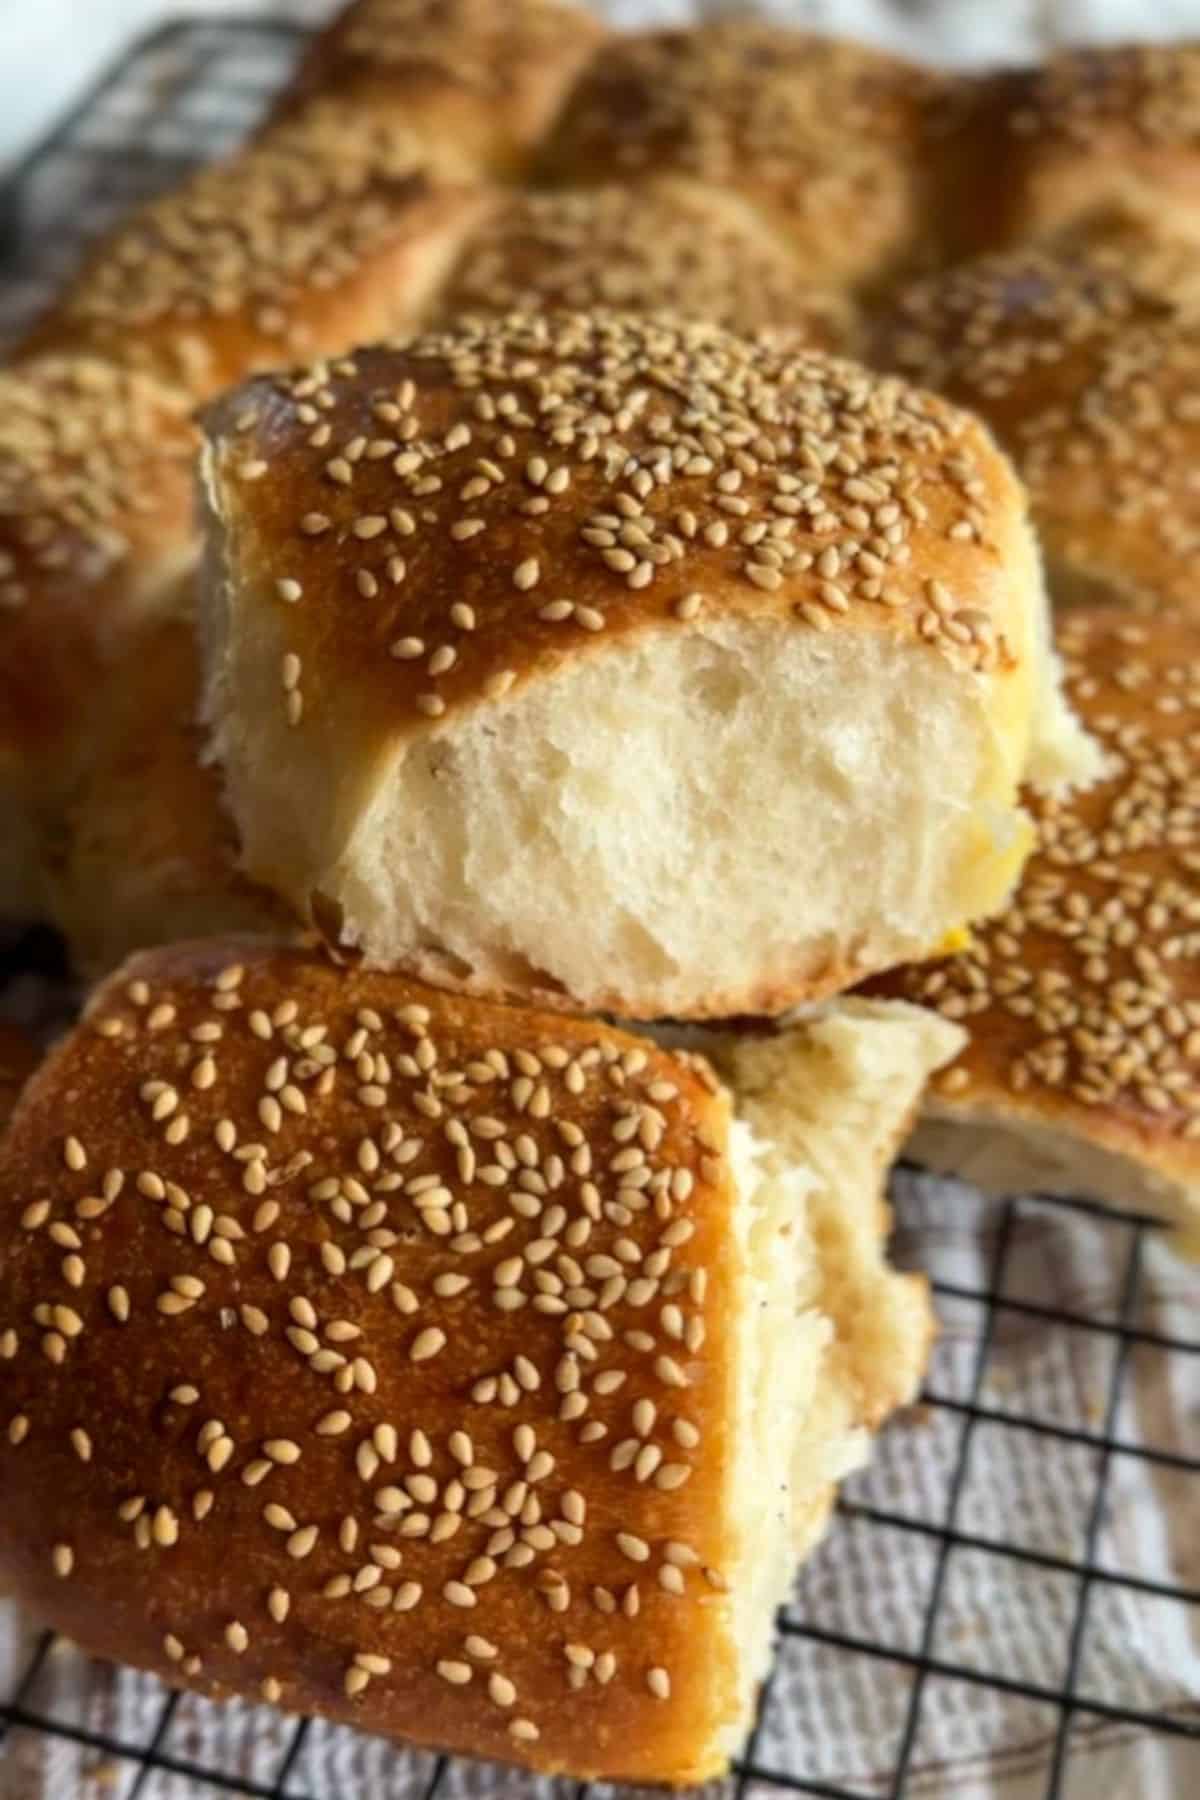
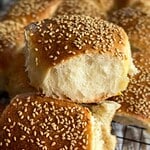
The combination of active sourdough starter, milk, and olive oil makes them tender in the best way, and because they're a little enriched, they stay soft for days. I always sprinkle them with sesame seeds because we like to use them as burger buns in a pinch too!
If however you want a "proper" burger bun recipe that's even softer but more complicated to make to accommodate that, check out my sourdough burger buns recipe, or my sourdough hot dog buns recipe. Both use tangzhong for extra softness.
Summarize & Adapt This Recipe On:
Quick Look
- Prep Time: 25 minutes
- Bulk Fermentation: 6-8 hours
- Final Proof: 2-3 hours
- Cook Time: 30 minutes
- Total Time: 11 hours 55 minutes
- Servings: 12 rolls
- Difficulty: Easy
- Baking Method: Oven Baked
- Best For: Picnics, BBQs, family dinners, sandwiches
Jump to:
- Summarize & Adapt This Recipe On:
- Quick Look
- Important Ingredients
- Substitutions & Variations
- How to Make Sourdough Picnic Rolls (Pull-Apart Bread Rolls)
- Baking Schedule
- 💭Crucial Success Tips
- Recipe FAQs
- How To Store Sourdough Picnic Rolls (Pull-Apart Bread Rolls)
- Other Delicious Recipes
- Sourdough Picnic Rolls (Pull-Apart Bread Rolls)
- Need Help Tweaking This Recipe?
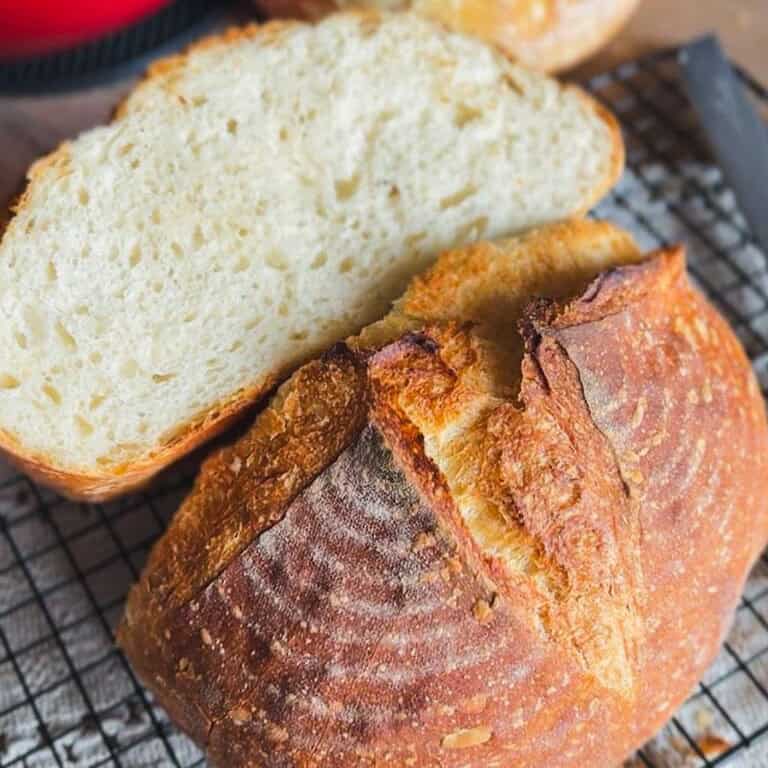
- Other Sourdough Recipes You'll Love
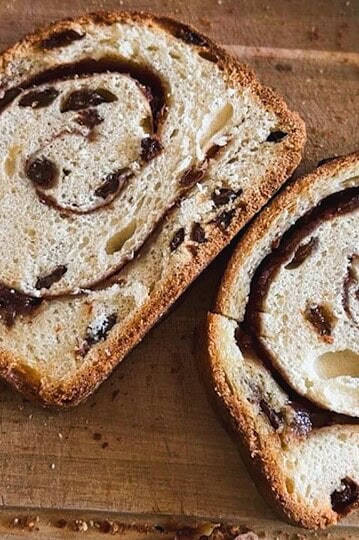
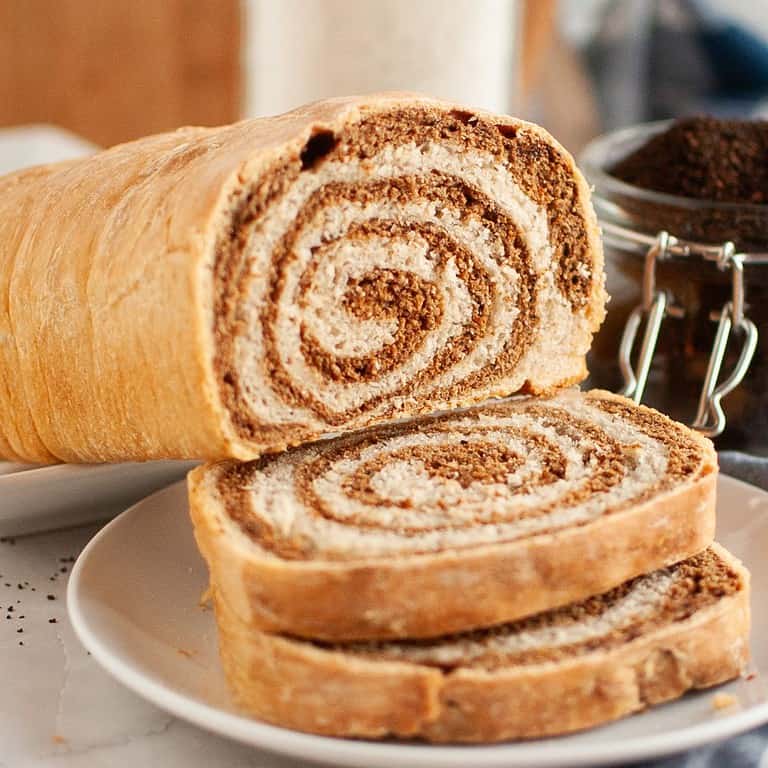
- Sourdough Cinnamon Raisin Swirl Bread (The Simplest Version)
- Hybrid Sourdough Bread (With Yeast)
- 3-Step Sourdough in Under 4 Hours
Important Ingredients

- Olive Oil I use olive oil instead of butter in these rolls. It keeps the crumb soft and because it's oil, will keep them soft (butter makes things softer at first, but hardens faster when cooled down!).
- Active Sourdough Starter helps create light and fluffy rolls with good rise.
- Milk contributes to the soft texture and helps the rolls be tender. It also makes the crumb closed and uniform, which is what we want in this case.
- Honey or Sugar A small amount adds a bit of extra boost for your starter and takes care of the browning during baking.
See recipe card for quantities.
Substitutions & Variations
- Use honey or sugar, whichever you have on hand. I prefer sugar, because I don't like to taste honey in these.
- Use bread flour instead of all-purpose flour for a slightly chewier texture and easier preparation, but be prepared to lose some softness that way.
- Sprinkle sesame seeds, poppy seeds, or flaky salt on top before baking.
- Make smaller rolls if you need to serve more people.

Free resource
Get all 3 when you subscribe
Bake beautiful bread that fits Your life - not the other way around
How to Make Sourdough Picnic Rolls (Pull-Apart Bread Rolls)
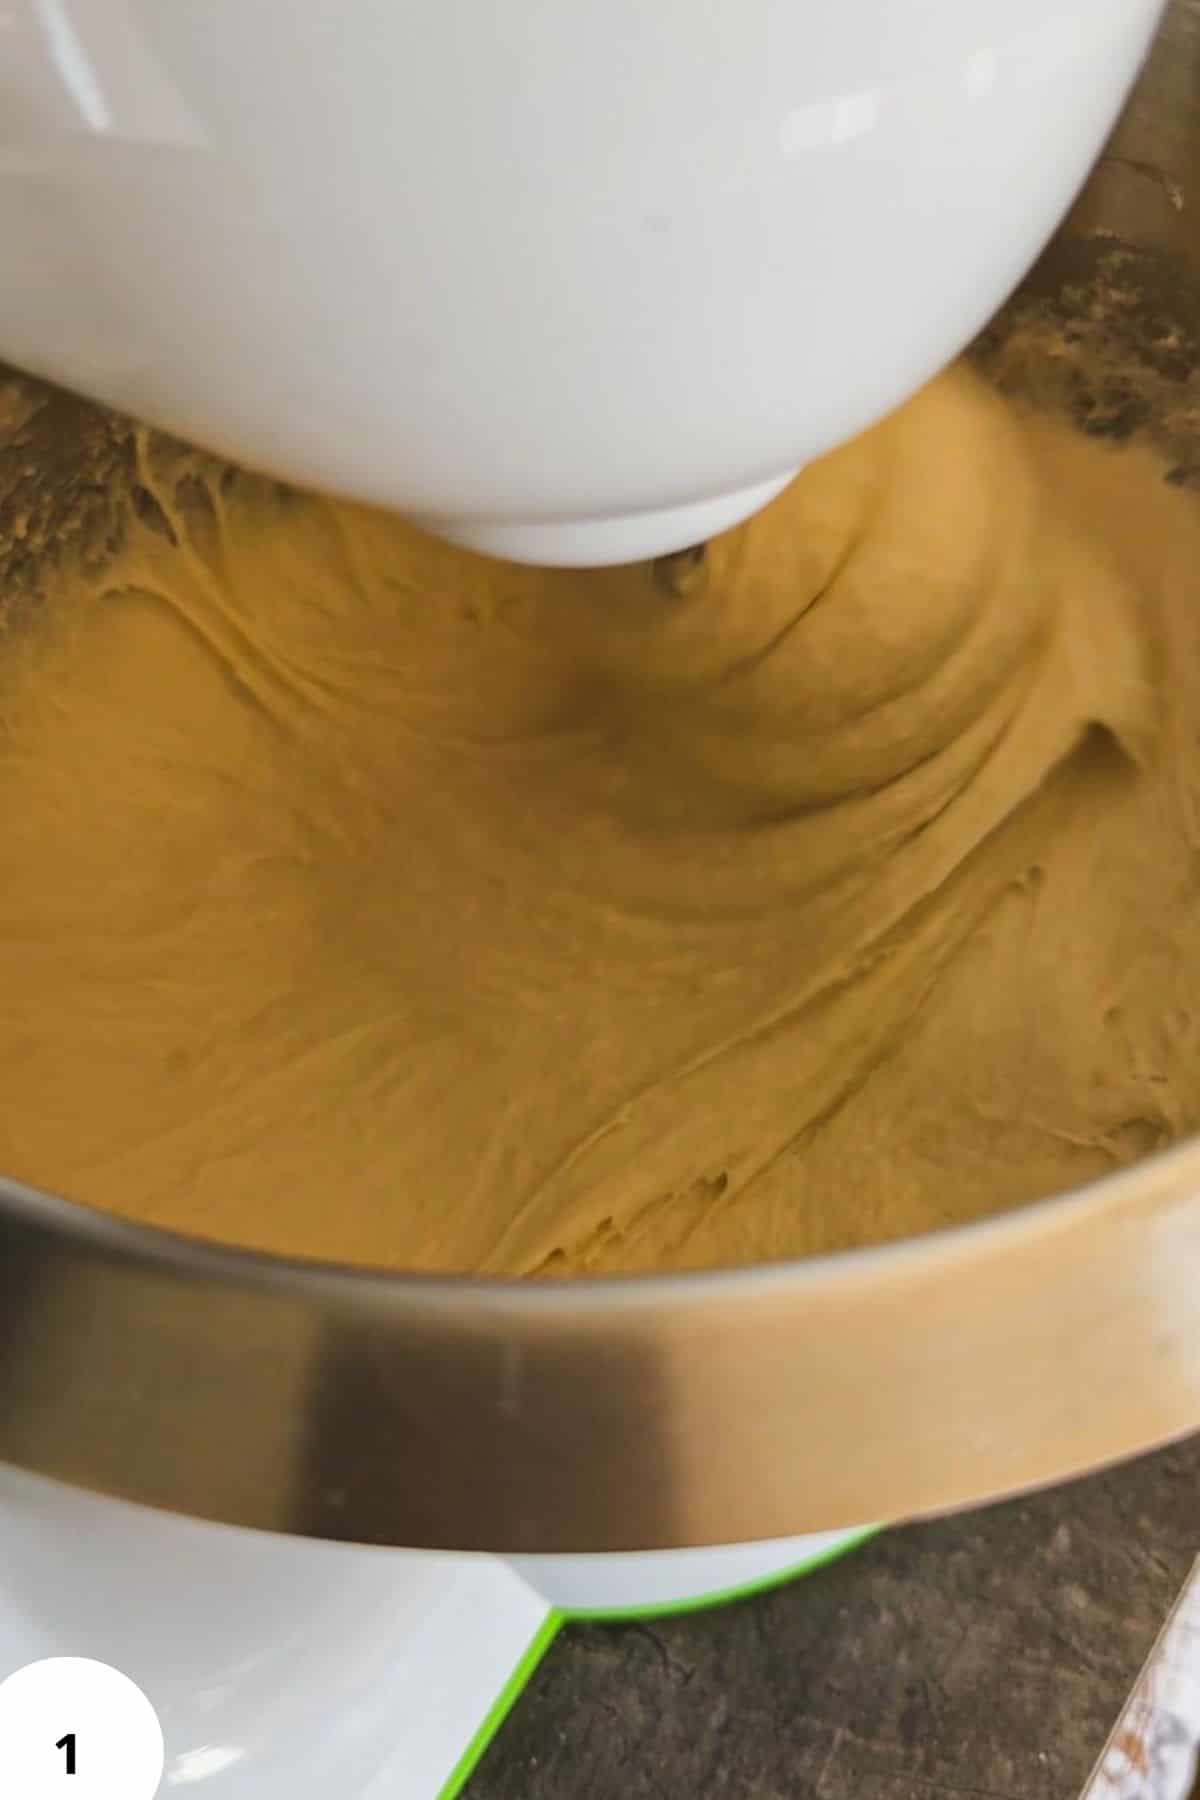
Step 1: Add all the dough ingredients to the bowl of a stand mixer. Mix for about 5 minutes, until no dry flour remains and a soft dough forms (Image 1). The dough will be quite wet (which is a small price to pay for a very soft bread!), so don't expect it to form a ball if you're mixing it with a stand mixer - maybe it will, maybe it won't. You can do this by hand too - just mix by hand for about 5 minutes. Cover the bowl and let the dough rest for 30 minutes.
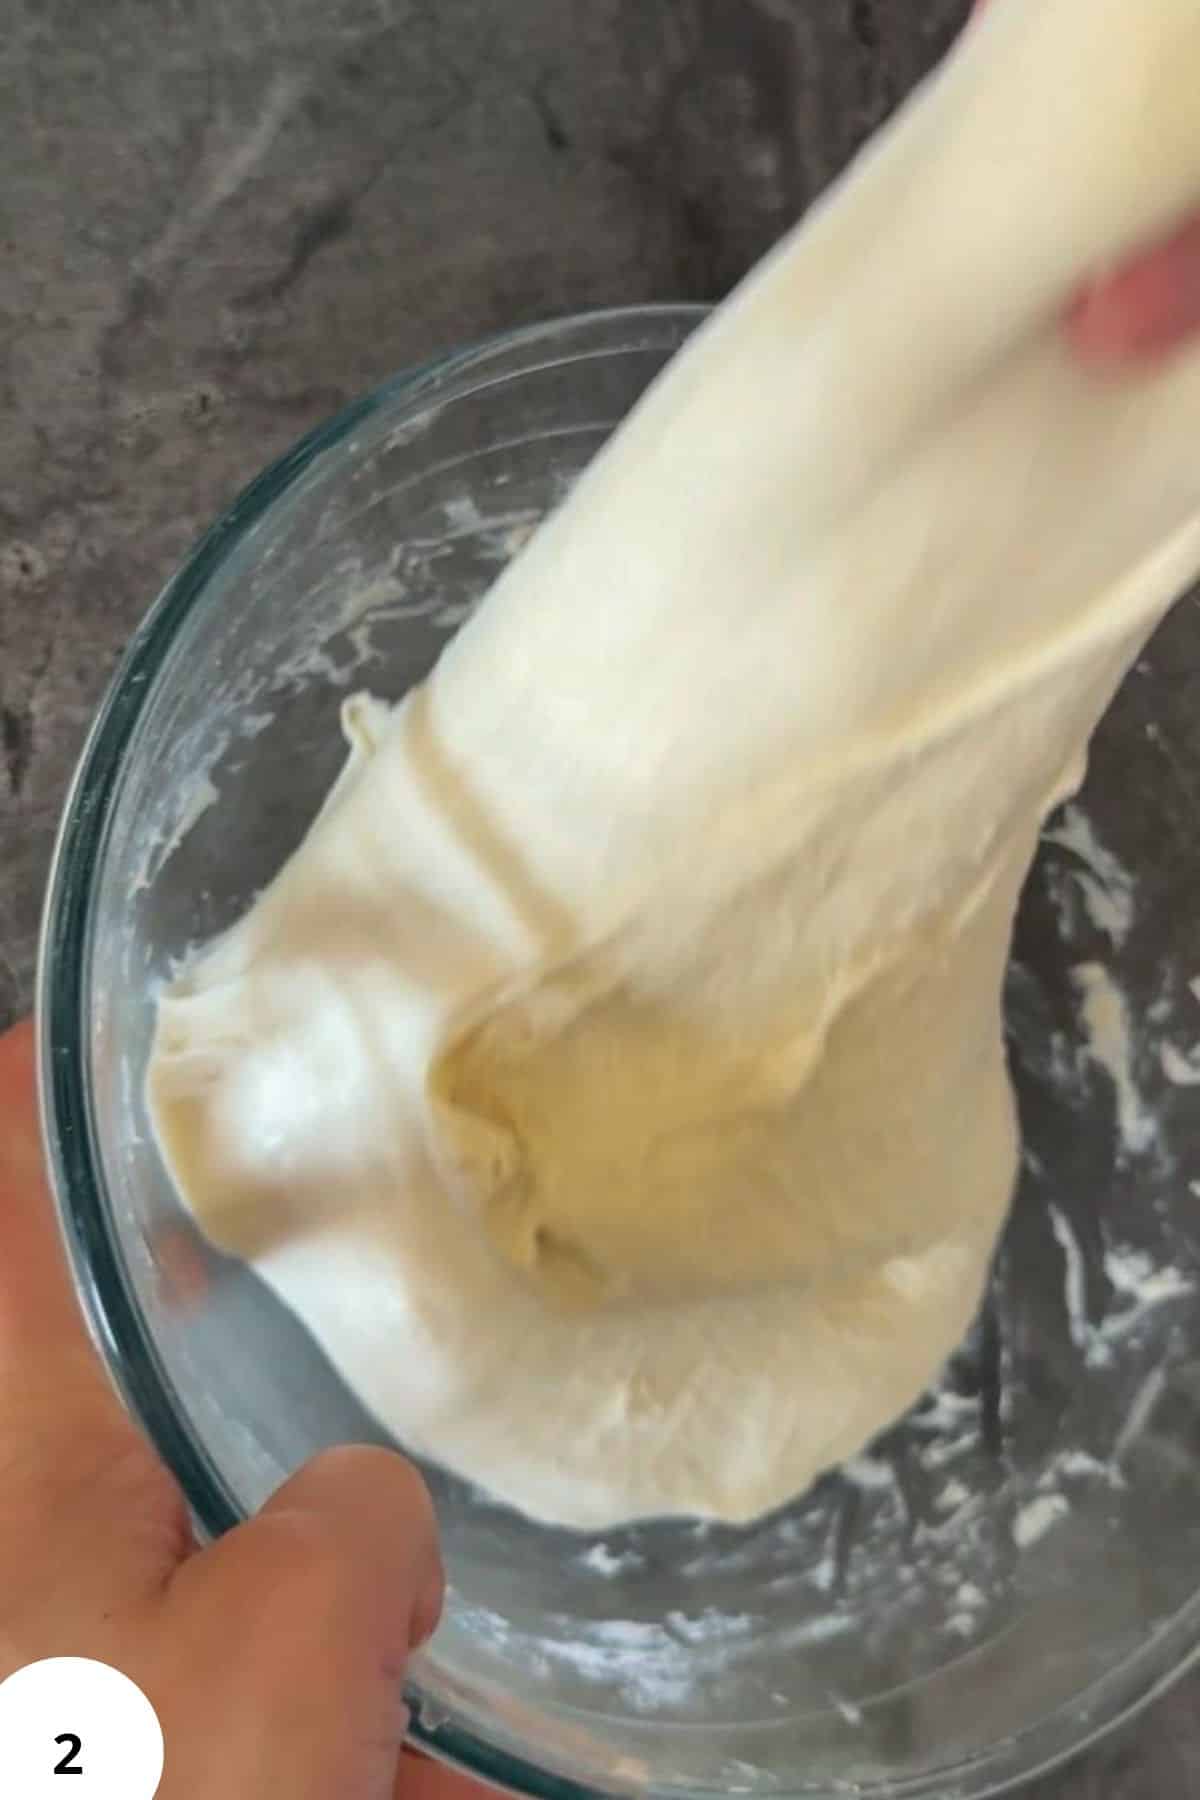
Step 2: Perform your first set of stretch and folds directly in the bowl (Image 2). Repeat 2 more sets over the next hour, spacing them about 30 minutes apart. Cover the dough and let it bulk ferment until noticeably puffy, airy, and smoother in texture. In a warm kitchen, this usually takes about 6-8 hours total.
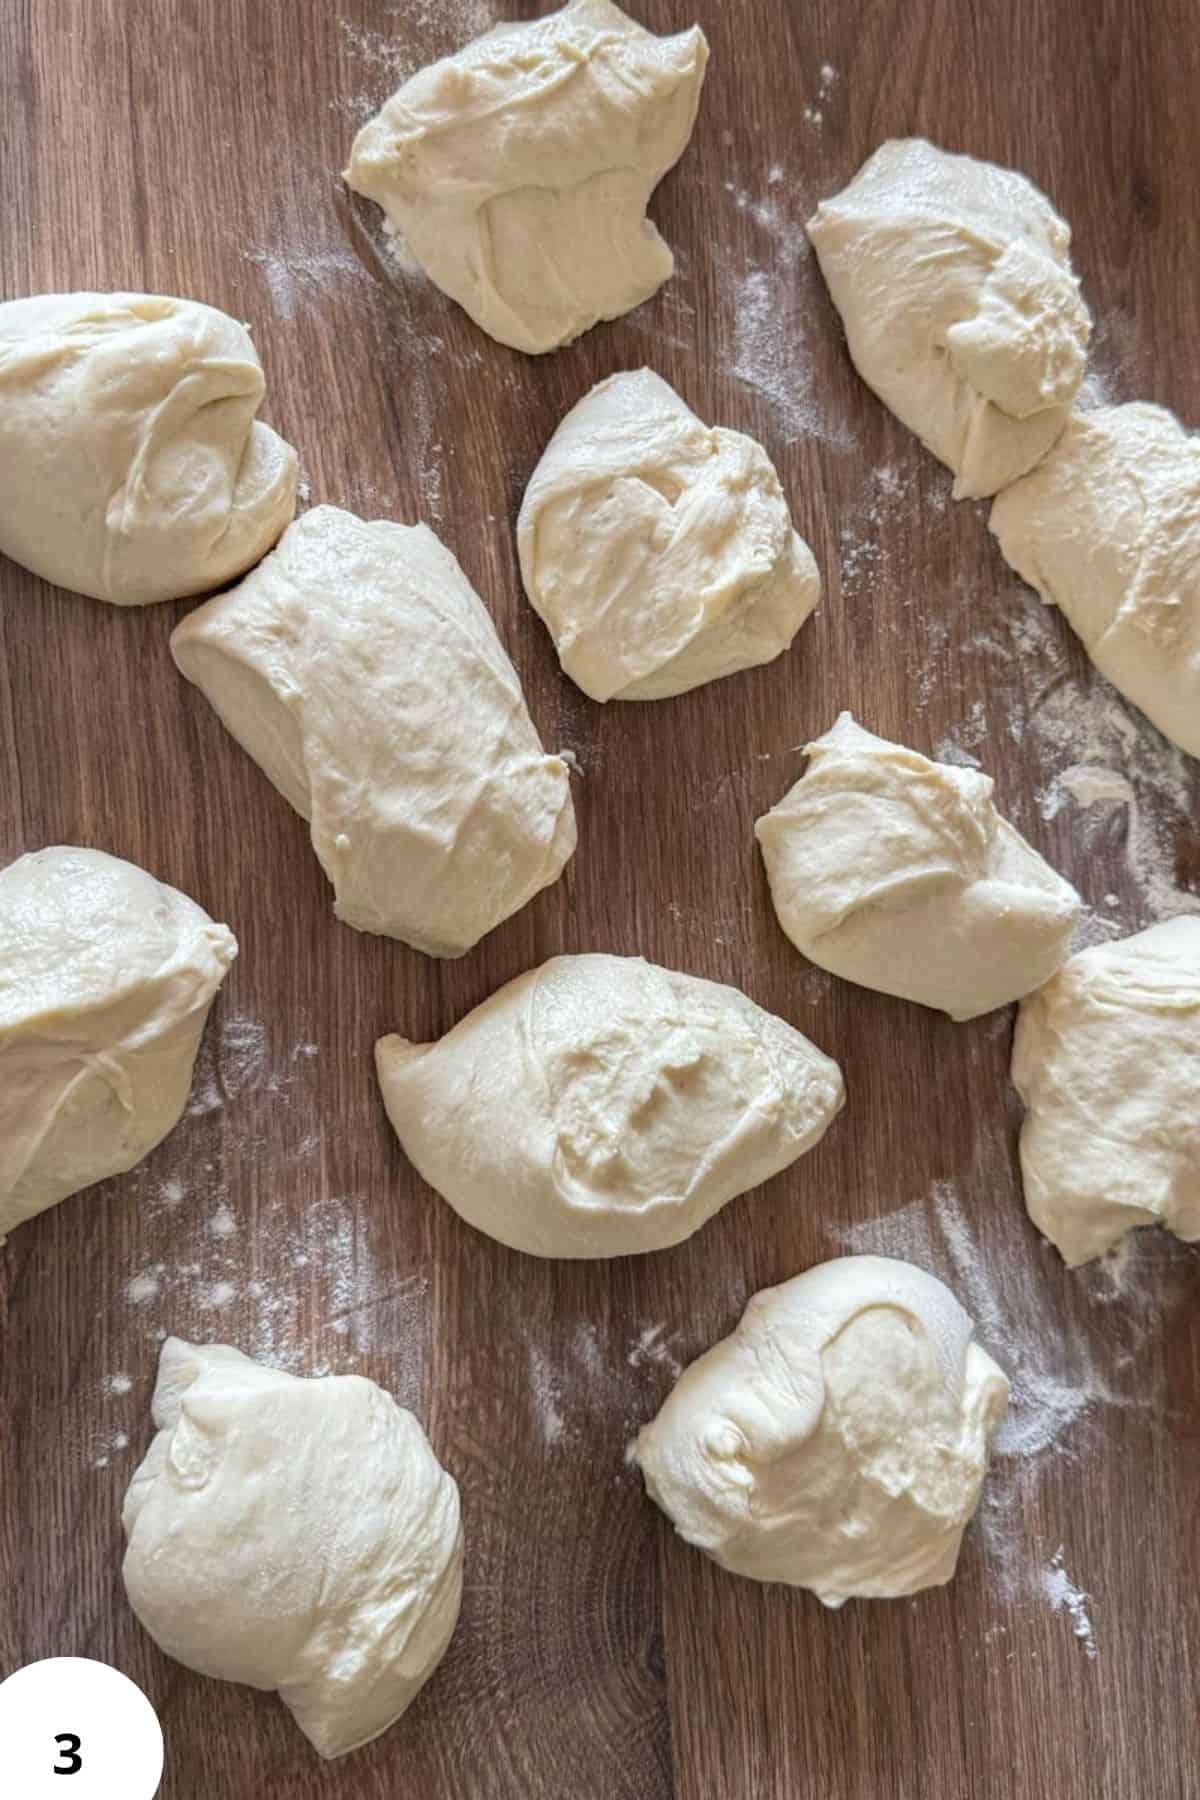
Step 3: Prepare a 9x13-inch (23x33 cm) baking pan by lightly greasing it or lining it with parchment paper. Turn the dough onto a lightly floured surface and divide it into 12 equal-ish pieces (Image 3).
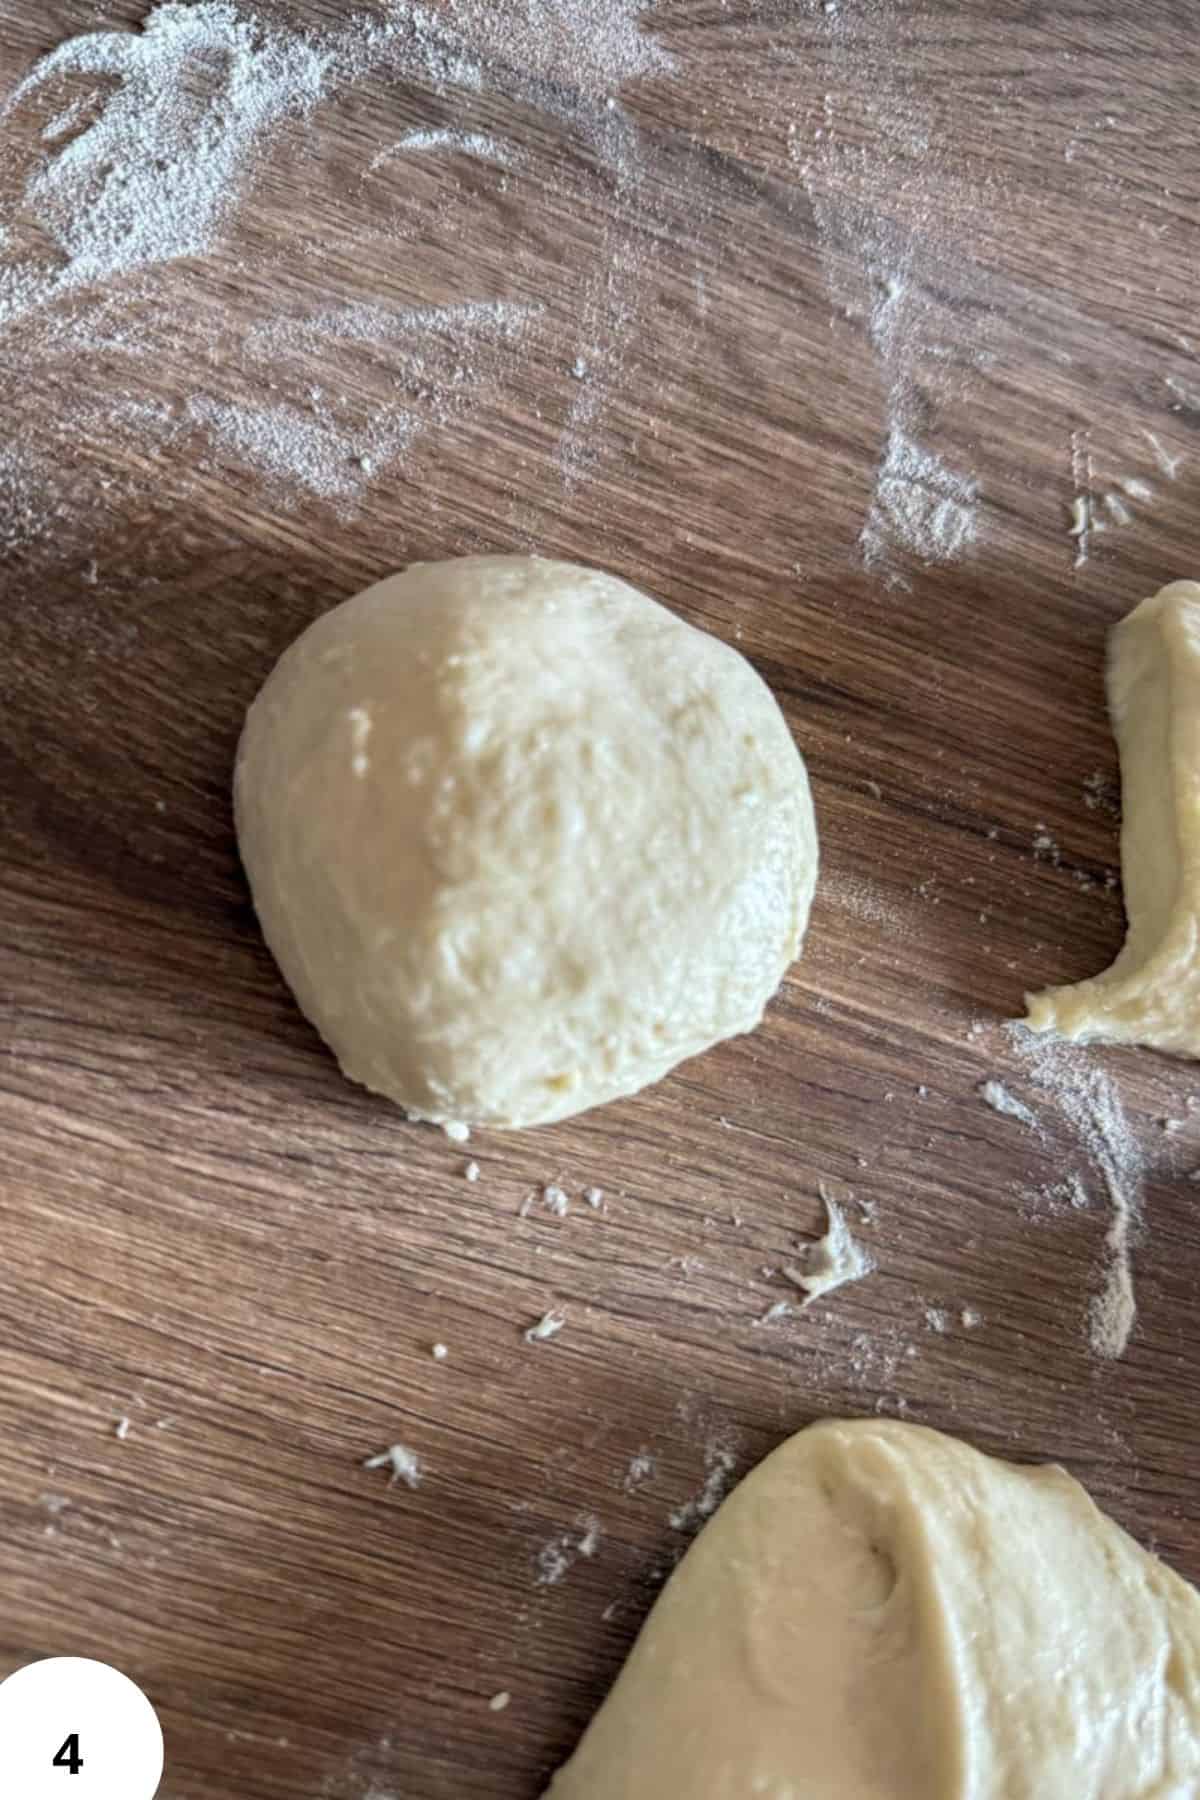
Step 4: Shape each piece into a smooth ball (Image 4) by gently pulling the dough underneath itself to create surface tension.
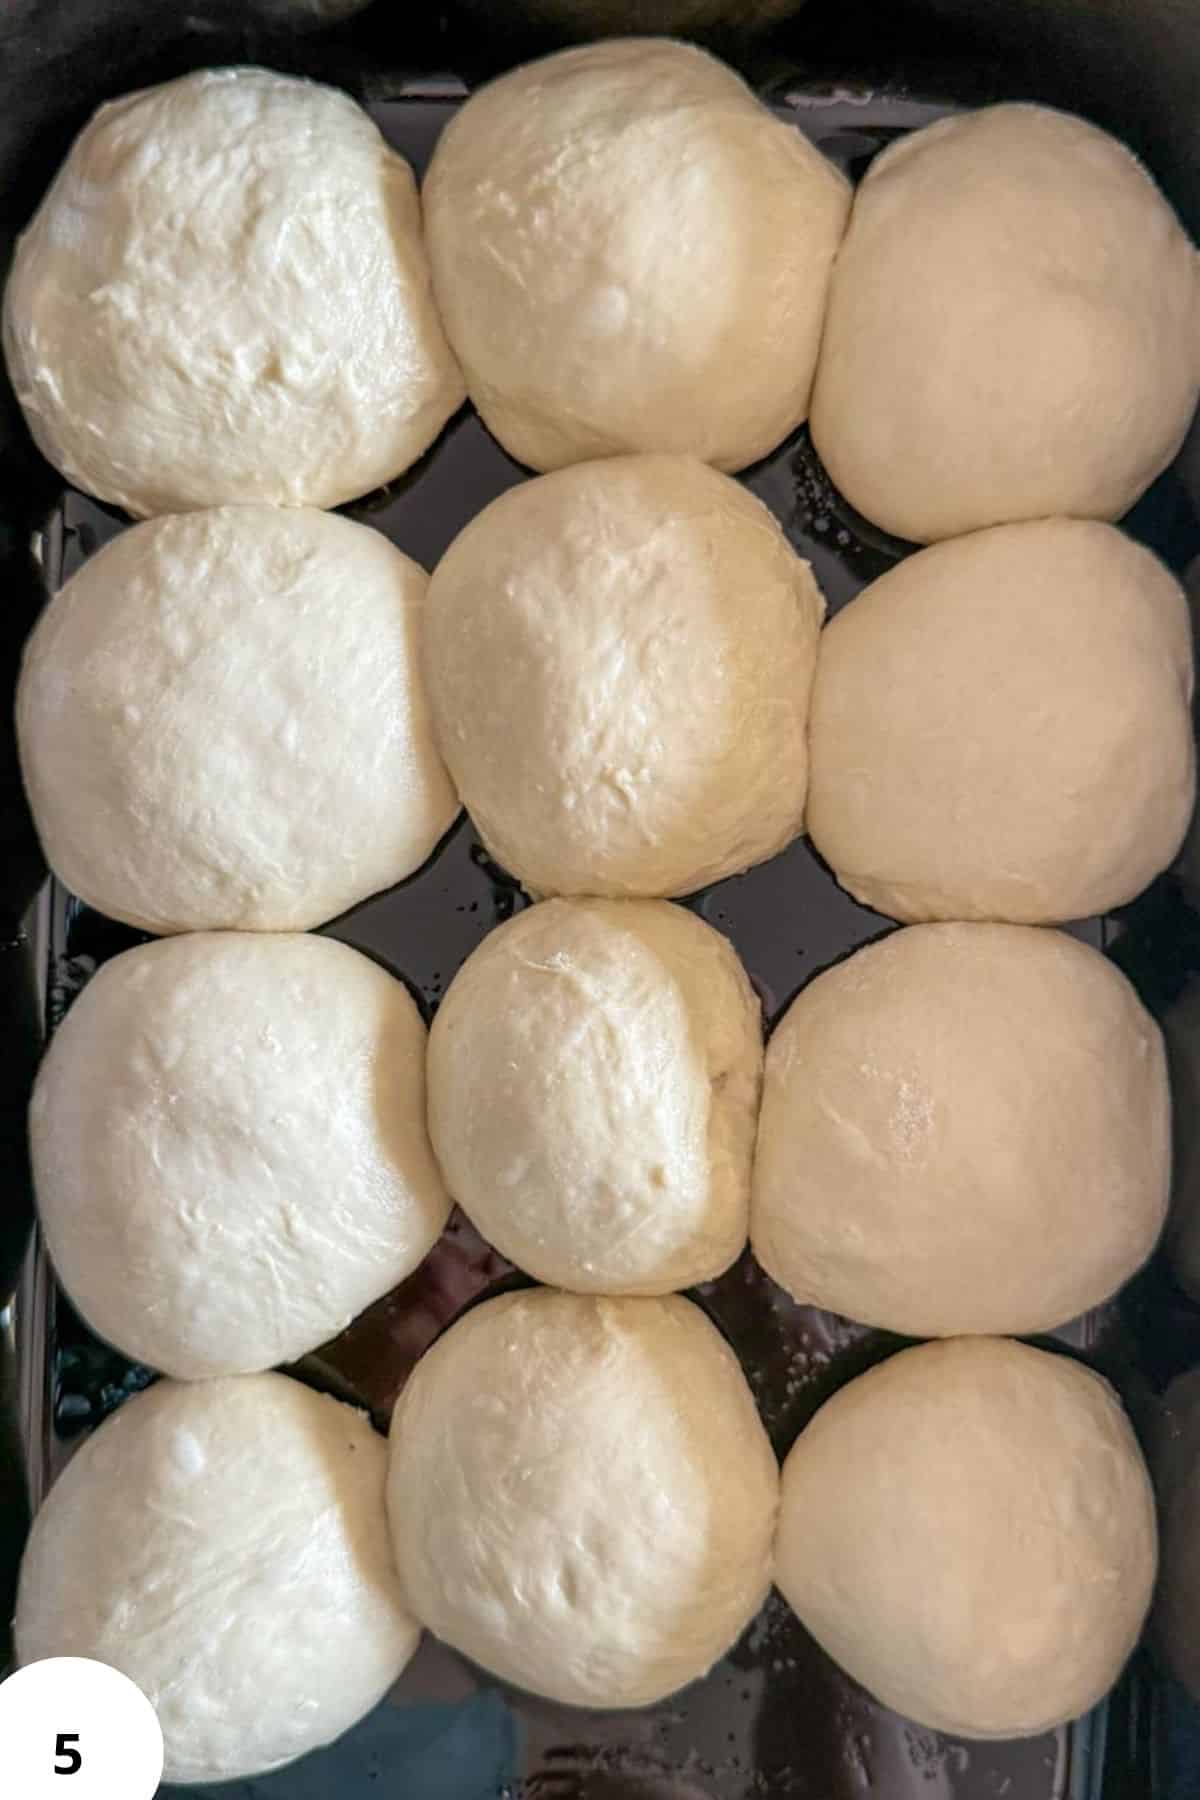
Step 5: Arrange the rolls in the prepared pan in 3 rows of 4, leaving a little space between them (Image 5). If using a different size baking dish, simply arrange the rolls so they sit close to each other without touching.
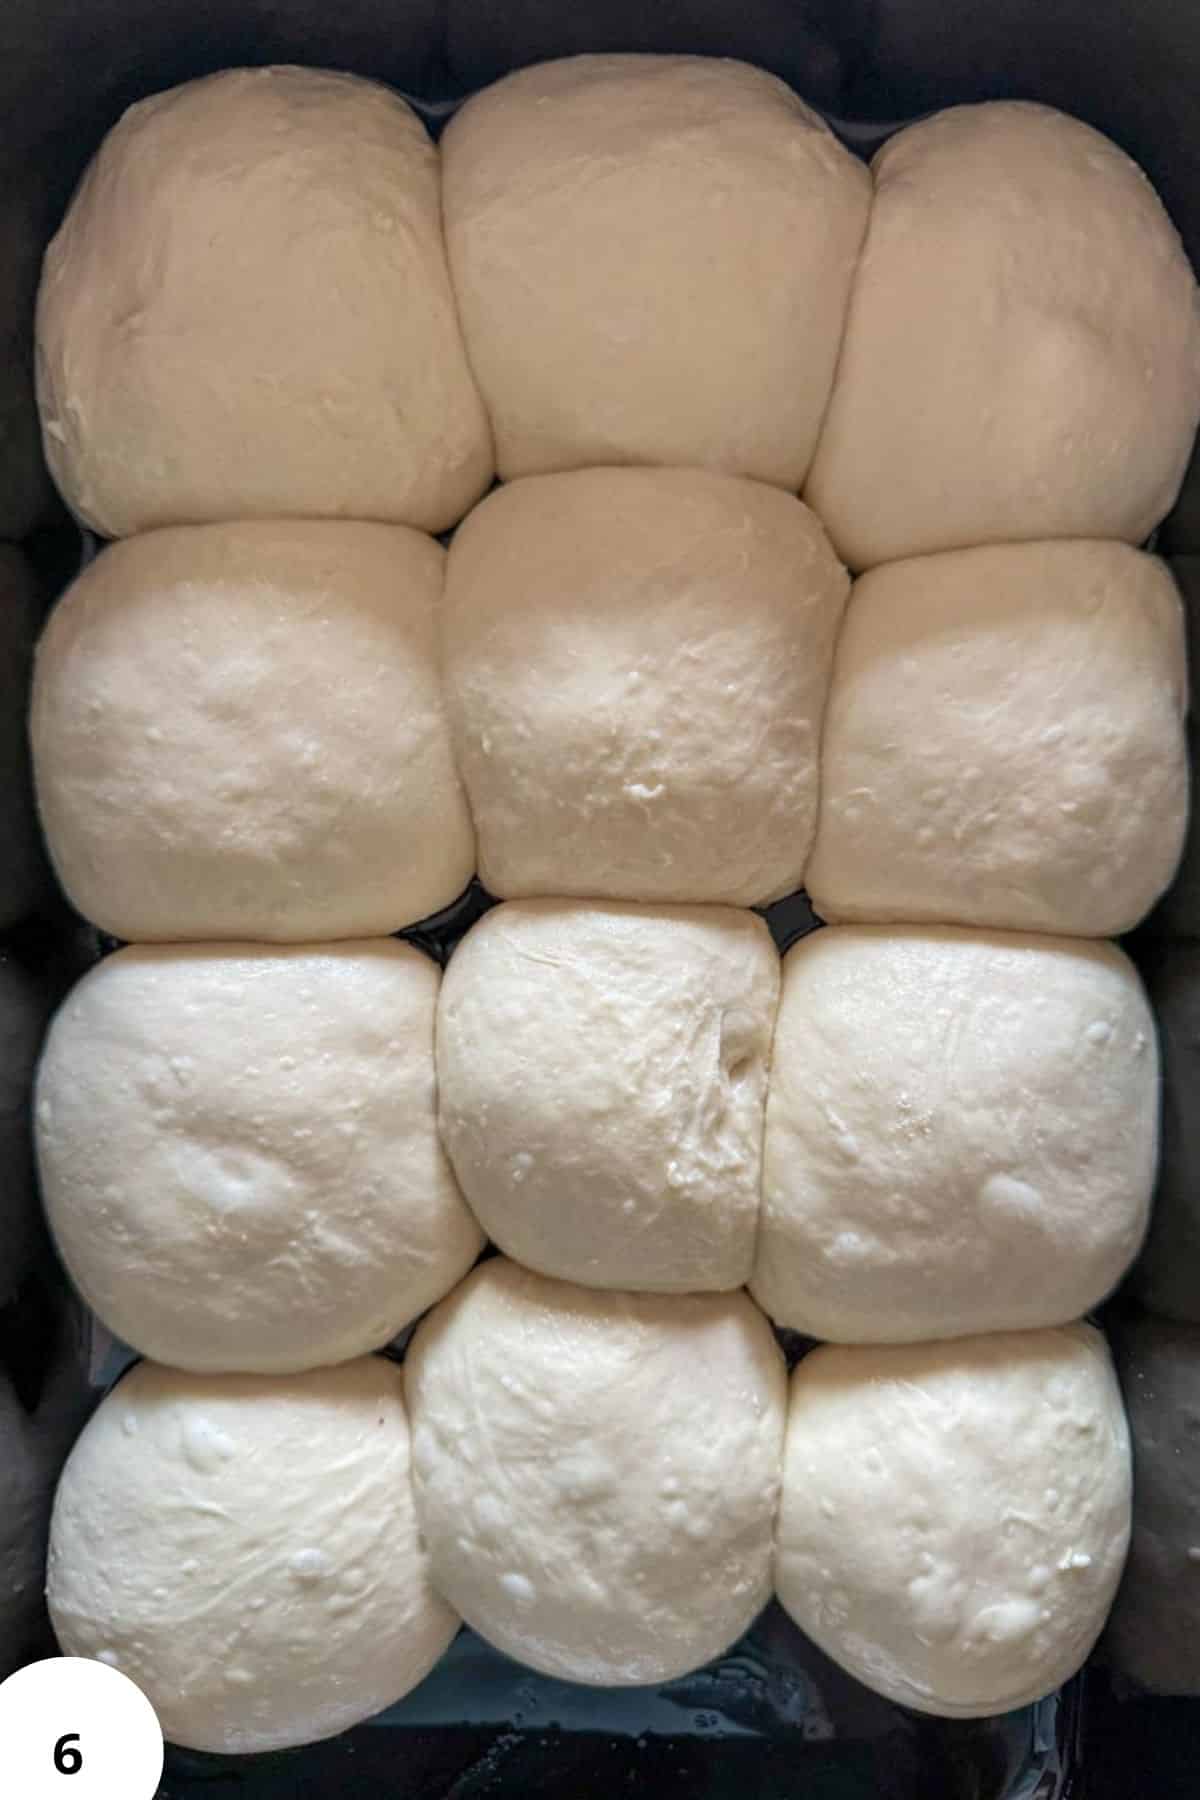
Step 6: Cover and let them do the second rise (Image 6) until very puffy and soft, about 2-3 hours depending on temperature. By the end of the second rise, they should look crowded and puffy in the pan.
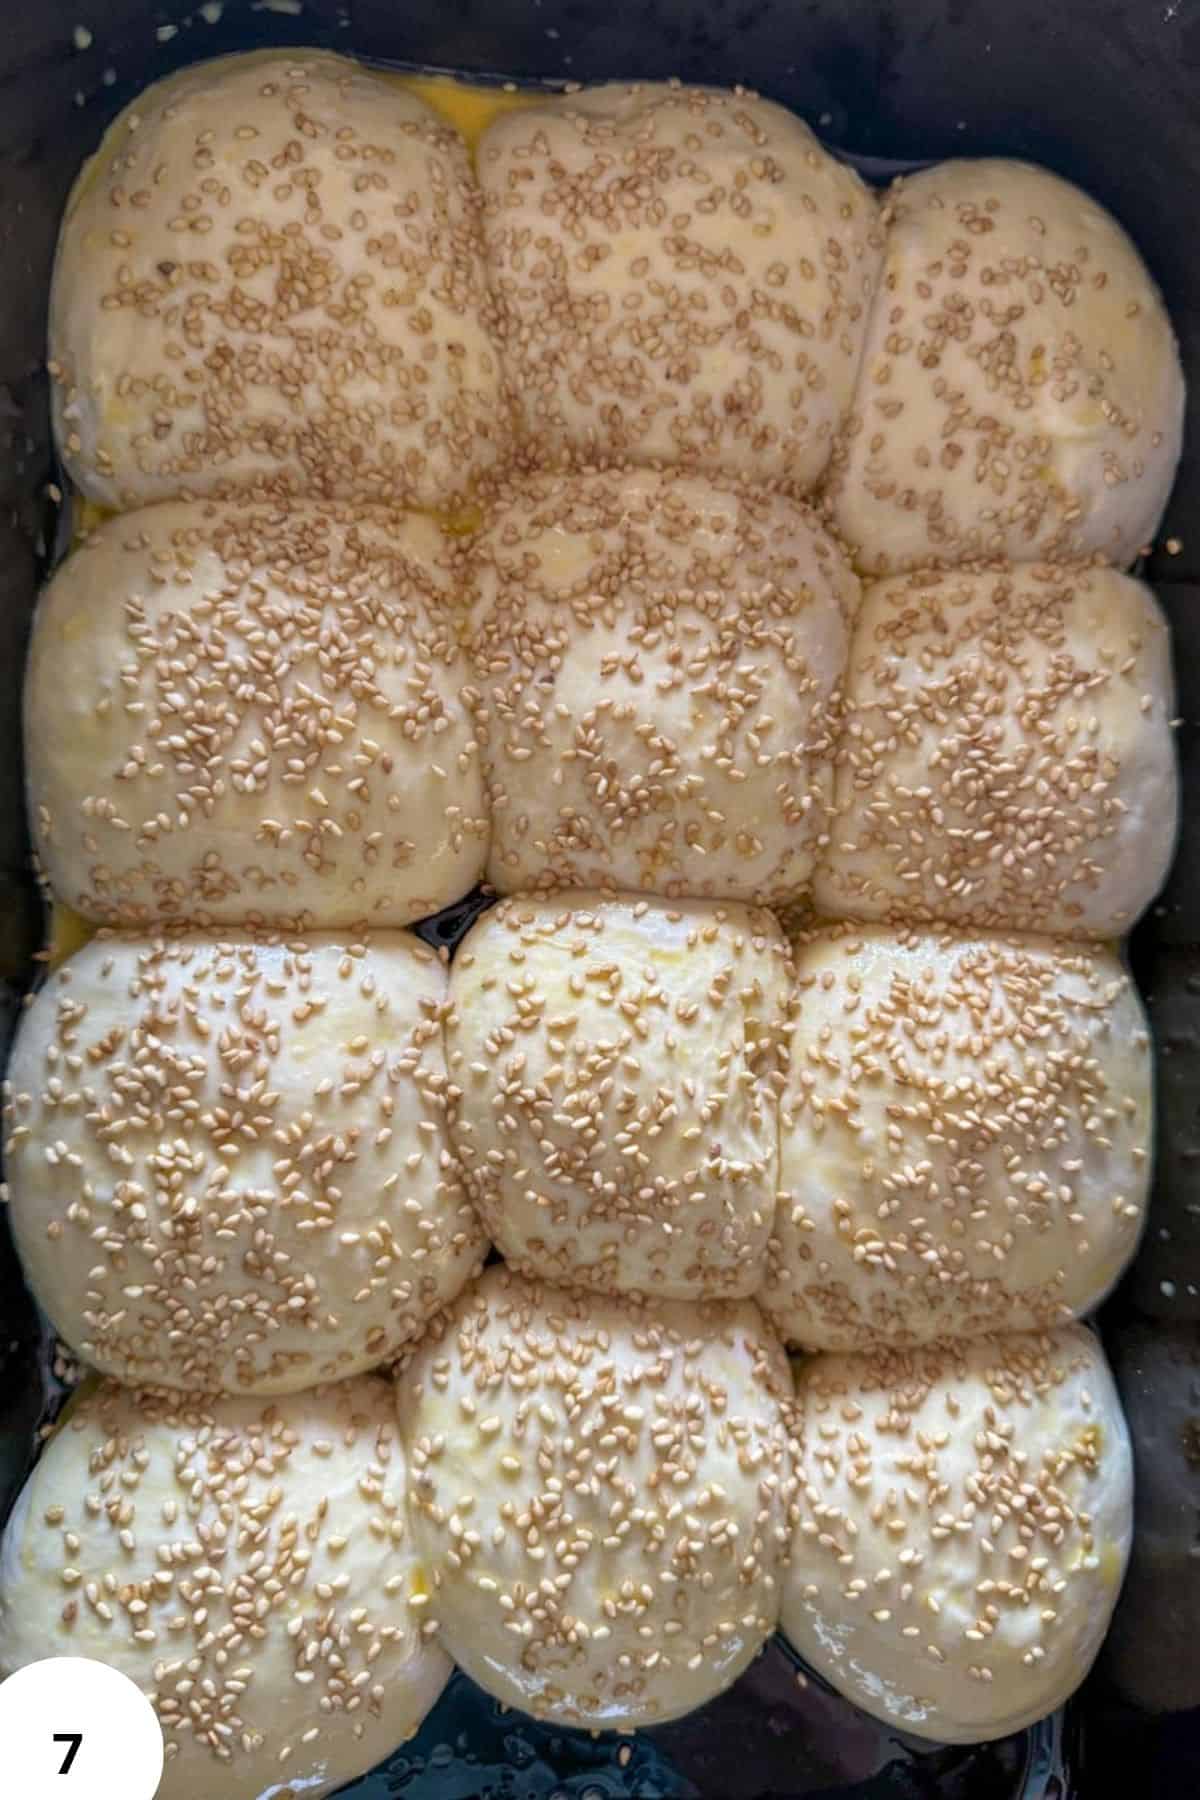
Step 7: Preheat the oven to 425°F (220°C). In a small bowl, whisk together the egg and 1 tablespoon milk. Gently brush the tops of the rolls with the egg wash (and optionally sprinkle with your favorite toppings. I recommend sesame seeds!) (Image 7).
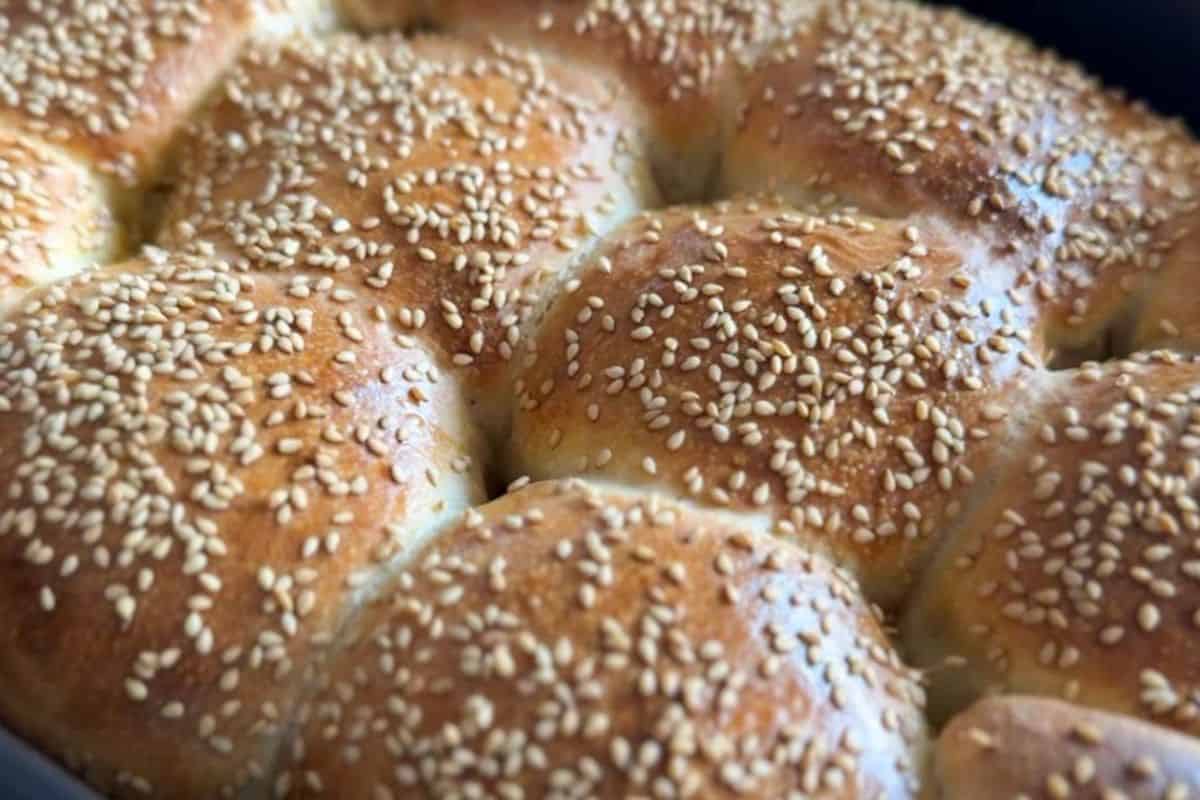
Bake the rolls at 425°F (220°C) for 20 minutes. Then rotate the pan, reduce the oven temperature to 375°F (190°C), and continue baking for another 5-10 minutes, or until the tops are deeply golden brown and the internal temperature reaches at least 200°F (93°C).
Let the rolls rest in the pan for about 5 minutes, then carefully transfer them to a wire rack to cool slightly before serving.
Hint: don't rush the final proof. Many sourdough rolls end up dense because they're baked before they've fully risen. The rolls should look noticeably puffy, soft, and touching before they go into the oven. It's ok if they even spread a little. Since holding shape is not necessary for these to look good, we can afford to push the fermentation a bit further.
Baking Schedule
- Mix Dough: 8:00 AM
- Stretch & Folds: 8:30 AM, 9:00 AM, 9:30 AM
- Bulk Fermentation: Until approximately 3:00-5:00 PM
- Shape Rolls: 3:00-5:00 PM
- Final Proof: 2-3 hours
- Bake: Approximately 5:00-8:00 PM
(Always!) adjust based on your room temperature and starter activity!
💭Crucial Success Tips
This dough will appear quite wet, especially before the end of bulk fermentation. Don't be tempted to add more flour, because that way, the rolls won't end up being (very) soft. The dough should feel similar to bread dough, maybe jut a little bit firmer.
Recipe FAQs
Yes. After bulk fermentation, you can refrigerate the dough overnight before shaping. Just make sure to cover it with a cling wrap or something that will prevent it to dry out. Let it warm slightly before dividing and shaping the rolls the next day, so the shaping will be easier.
If you followed the recipe and the rolls were still dense, I'd say that was probably caused by under-fermentation. Make sure your starter is active and bubbly, and allow enough time for both the bulk fermentation and final proof.
Absolutely. Once cooled completely, freeze the rolls in an airtight freezer bag for up to three months. Thaw at room temperature and warm before serving.
Yes. Just mix the dough by hand until fully combined and continue with the stretch-and-fold process as written.
How To Store Sourdough Picnic Rolls (Pull-Apart Bread Rolls)
Store in an airtight container at room temperature for up to 3 days.
For longer storage, freeze the rolls for up to 3 months. Thaw at room temperature and warm briefly before serving.
Other Delicious Recipes
- Sourdough Picnic Rolls (Pull-Apart Bread Rolls)

- Sourdough Cinnamon Raisin Swirl Bread (The Simplest Version)
- Fast Sourdough Bread Recipe
- Hybrid Sourdough Bread (With Yeast)

If you tried these sourdough picnic rolls (pull-apart bread rolls) or any other recipe on my blog please leave a 🌟 star rating and let me know how it went in the 📝 comments below! Happy Baking!
Sourdough Picnic Rolls (Pull-Apart Bread Rolls)
Jump to VideoIngredients
Dough
- 530 g all-purpose flour
- 200 g water
- 150 g milk
- 100 g active sourdough starter
- 30 g olive oil
- 20 g sugar or honey
- 10 g salt
Egg Wash & Topping
- 1 egg
- 1 tablespoon milk
- salt flaky
Instructions
- Add all the dough ingredients to the bowl of a stand mixer. Mix for about 5 minutes, until no dry flour remains and a soft dough forms. The dough will be quite wet (which is a small price to pay for a very soft bread!), so don't expect it to form a ball if you're mixing it with a stand mixer - maybe it will, maybe it won't. You can do this by hand too - just mix by hand for about 5 minutes. Cover the bowl and let the dough rest for 30 minutes.
- Perform your first set of stretch and folds directly in the bowl. Repeat 2 more sets over the next hour, spacing them about 30 minutes apart. Cover the dough and let it bulk ferment until noticeably puffy, airy, and smoother in texture. In a warm kitchen, this usually takes about 6-8 hours total.
- Prepare a 9x13-inch (23x33 cm) baking pan by lightly greasing it or lining it with parchment paper. Turn the dough onto a lightly floured surface and divide it into 12 equal-ish pieces.
- Shape each piece into a smooth ball by gently pulling the dough underneath itself to create surface tension.
- Arrange the rolls in the prepared pan in 3 rows of 4, leaving a little space between them. If using a different size baking dish, simply arrange the rolls so they sit close to each other without touching.
- Cover and let them do the second rise until very puffy and soft, about 2-3 hours depending on temperature. By the end of the second rise, they should look crowded and puffy in the pan.
- Preheat the oven to 425°F (220°C). In a small bowl, whisk together the egg and 1 tablespoon milk. Gently brush the tops of the rolls with the egg wash (and optionally sprinkle with your favorite toppings. I recommend sesame seeds!).Bake the rolls at 425°F (220°C) for 20 minutes. Then rotate the pan, reduce the oven temperature to 375°F (190°C), and continue baking for another 5-10 minutes, or until the tops are deeply golden brown and the internal temperature reaches at least 200°F (93°C).Let the rolls rest in the pan for about 5 minutes, then carefully transfer them to a wire rack to cool slightly before serving.
Video
Notes
- The dough will be quite wet (hydrated) at first. It should tighten a bit during stretch and folds and bulk fermentation, but it's still delicate dough, so don't be surprised.
- If your kitchen is very warm, keep an eye on the dough during bulk fermentation. These rolls can ferment surprisingly quickly in summer, since the dough is quite hydrated.
- Honey gives the rolls a slightly softer texture and deeper golden color compared to regular sugar.
- Don't stress too much about making the rolls perfectly identical. Slightly uneven rolls actually make them look more rustic and homemade.
- Baking the rolls close together keeps the sides soft and fluffy while the tops become golden.
- These rolls freeze very well. Let them cool completely, then freeze in a sealed bag and reheat before serving.
- If the dough feels sticky while shaping, lightly oil your hands instead of adding too much flour.