
Soft Fresh-Milled Sourdough Sandwich Bread

If you've been trying to get a soft, sliceable loaf from fresh-milled flour, this soft fresh-milled sourdough sandwich bread is the one that finally fits that description. It's reasonably fluffy without being dry, sturdy enough for sandwiches, and has just a mild sourdough flavor without being overly ...sourdough. This is the kind of everyday bread your kids will eat (and you'll be happy about it!).
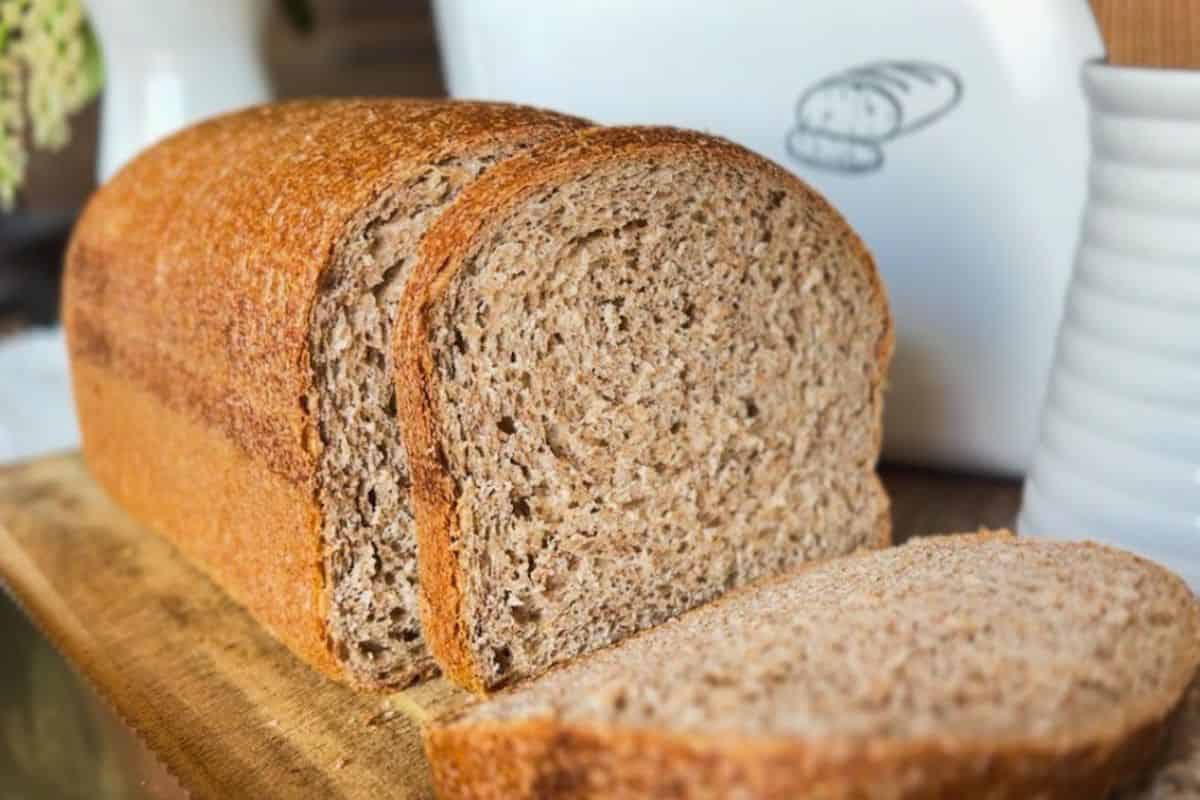
This is an everyday loaf. Because it's soft and neutral, it works just as well for school lunches as it does for weekend toast or grilled sandwiches.
If you like your fresh milled bread totally plain, try my 100% fresh milled sourdough loaf, and no matter which one you go for: you can turn them both into fresh milled pizza toast later!
You can also cool, slice and freeze this bread. I love having some of it ready to go in the freezer, same as my fresh milled tortillas!
Summarize & Save This Recipe On:
Quick Look
- Prep Time: 30 minutes
- Bulk Fermentation: 5 hours
- Final Proof: 4 hours
- Cook Time: 45 minutes
- Total Time: About 6-10 hours
- Servings: 1 loaf (about 10-12 slices)
- Difficulty: Medium
- Baking Method: Oven-baked (loaf pan)
- Best For: Sandwiches, toast, everyday bread
Jump to:
- Summarize & Save This Recipe On:
- Quick Look
- Important Ingredients
- Substitutions & Variations
- How to Make Sourdough Sandwich Bread
- Baking Schedule
- 💭Crucial Success Tips
- Recipe FAQs
- How To Store Sourdough Sandwich Bread
- Other Delicious Recipes
- Soft Fresh-Milled Sourdough Sandwich Bread
- Need Help Tweaking This Recipe?
- Other Fresh-Milled Sourdough Recipes You'll Love
Important Ingredients
- Fresh-milled hard white flour gives the bread better flavor and more nutrients.
- Sourdough starter helps the bread rise naturally and adds a mild sour flavor.
- Water hydrates the flour and helps develop the dough structure.
- Honey adds a little sweetness and helps keep the bread soft, plus it gives the starter an extra lift.
- Oil (or butter) makes the bread soft and tender, not crusty.
- Salt balances the flavor and strengthens the dough.
See recipe card for quantities.
Substitutions & Variations
- You can use hard red flour instead of hard white, but the flavor will be a bit more intense and a bit less like a soft sandwich loaf. Some people like to mix up to 30% kamut into their sandwich bread too, although I recommend looking at specific recipes for that
- This bread can be made slightly sweeter or more neutral depending on your preference. Just adjust the honey by using a bit less or more
How to Make Sourdough Sandwich Bread
Step 1: Add everything except the salt to your mixing bowl.
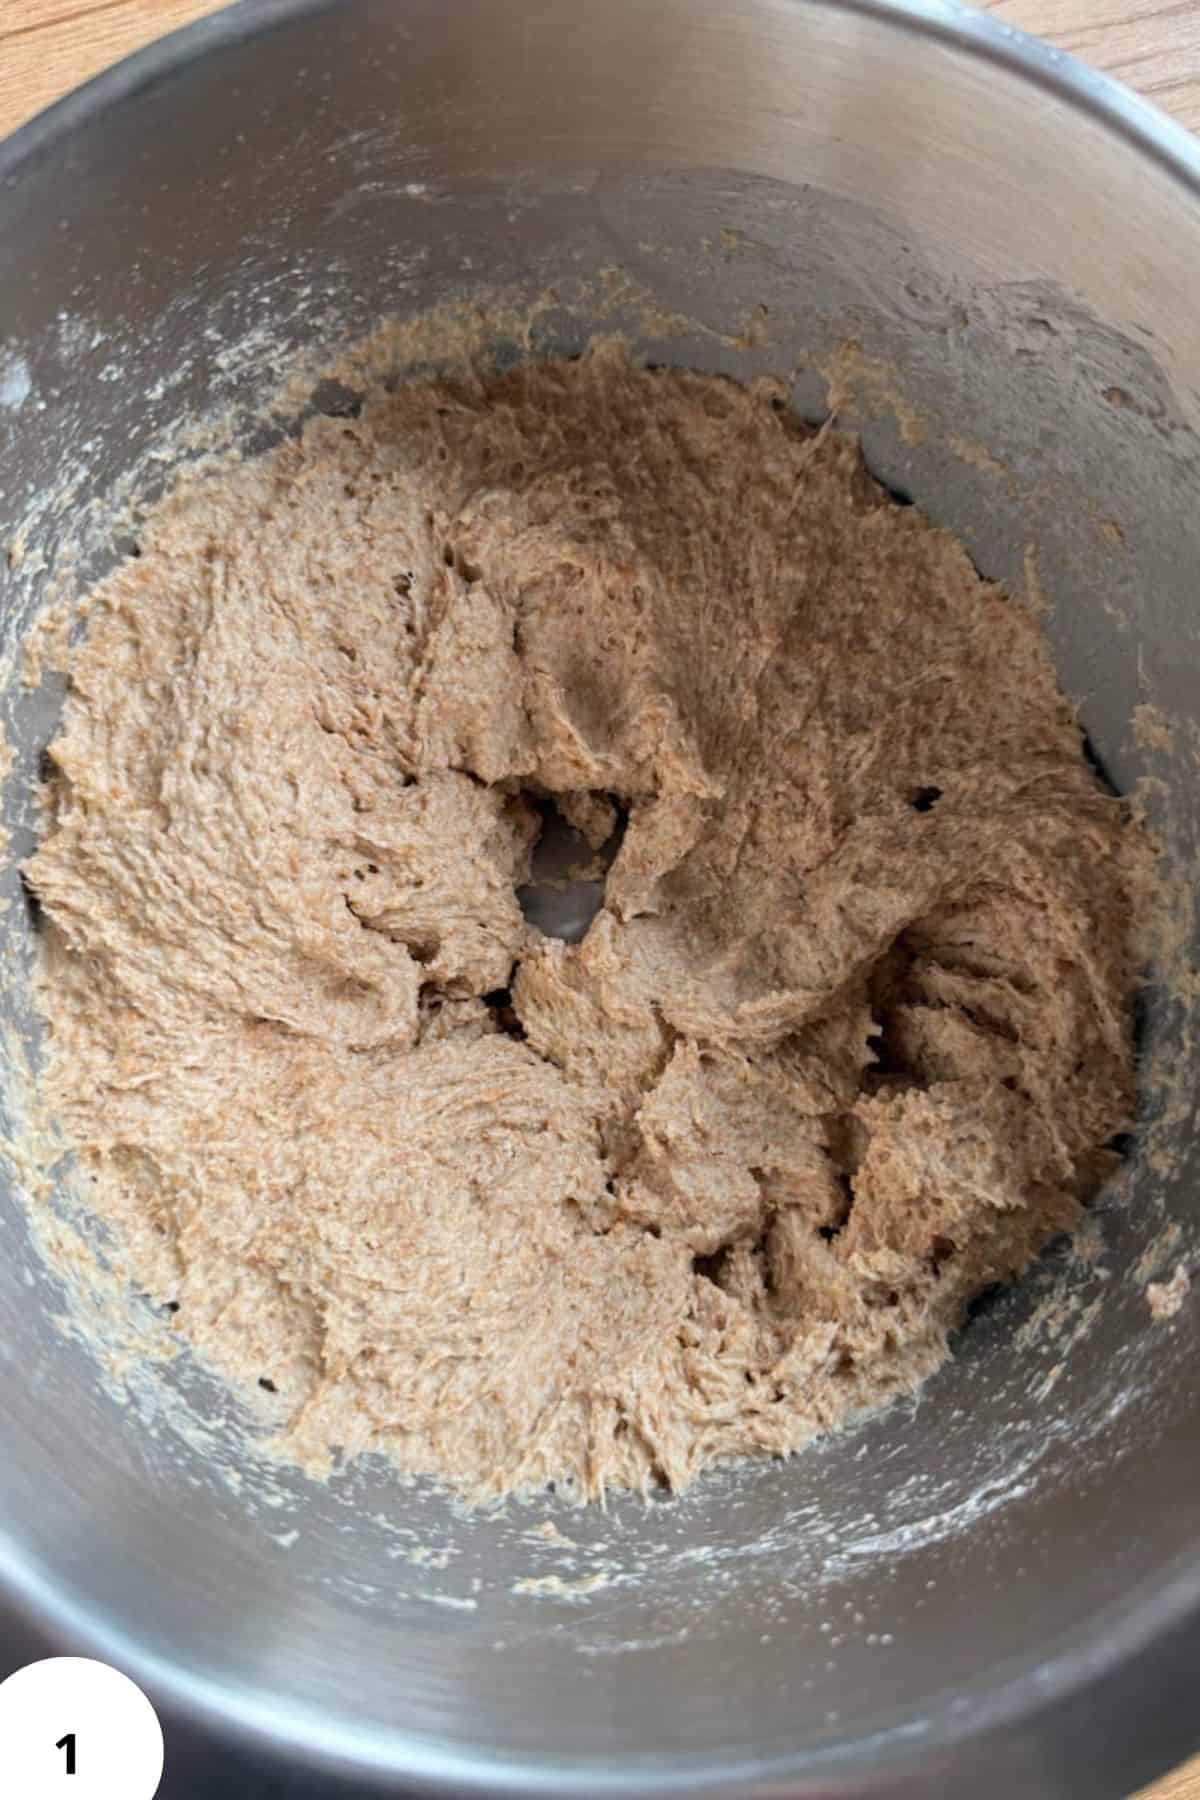
Using the paddle attachment, mix until everything is fully combined and you have a thick, sticky dough (Image 1). This usually takes about 2-3 minutes.
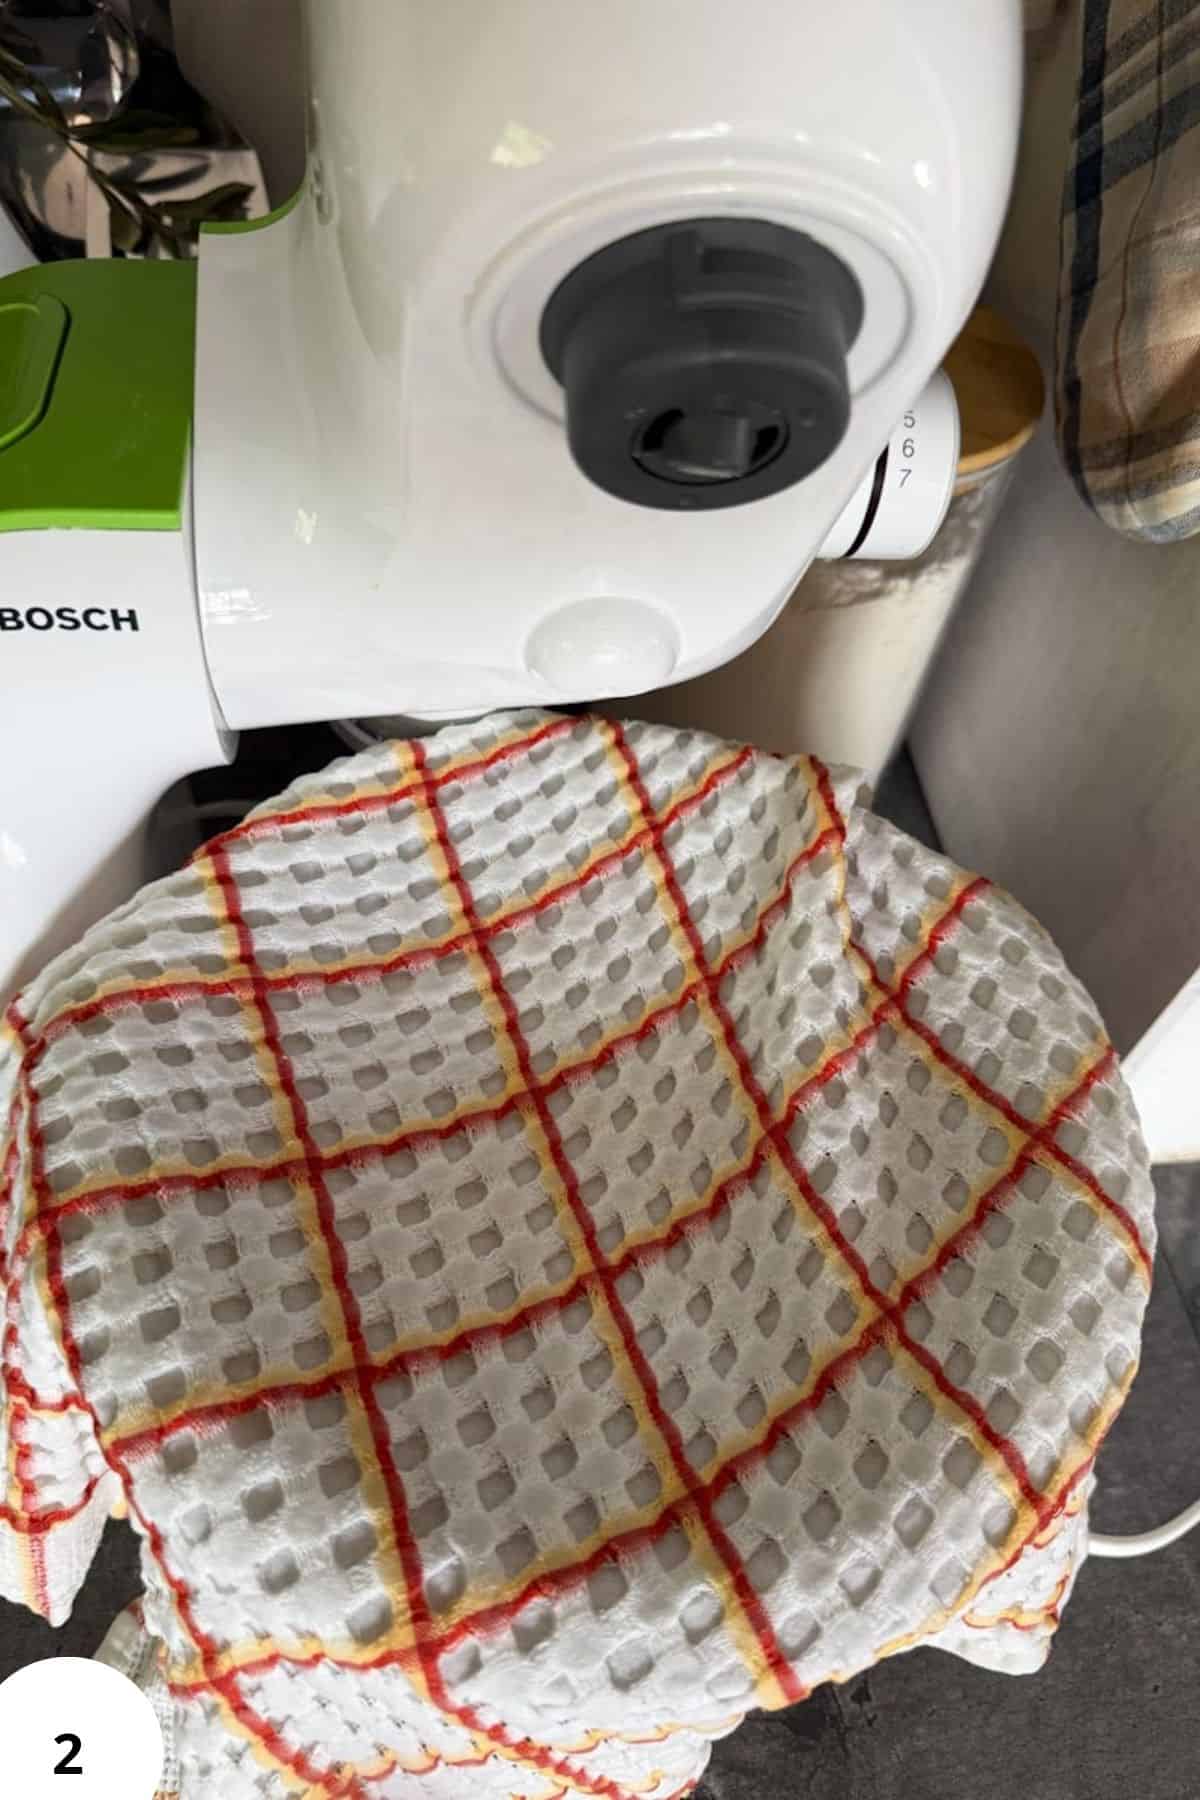
Step 2: Cover the bowl and let the dough rest for 15-20 minutes (Image 2).
This gives the fresh milled flour time to fully hydrate, which makes the dough easier to work with later.
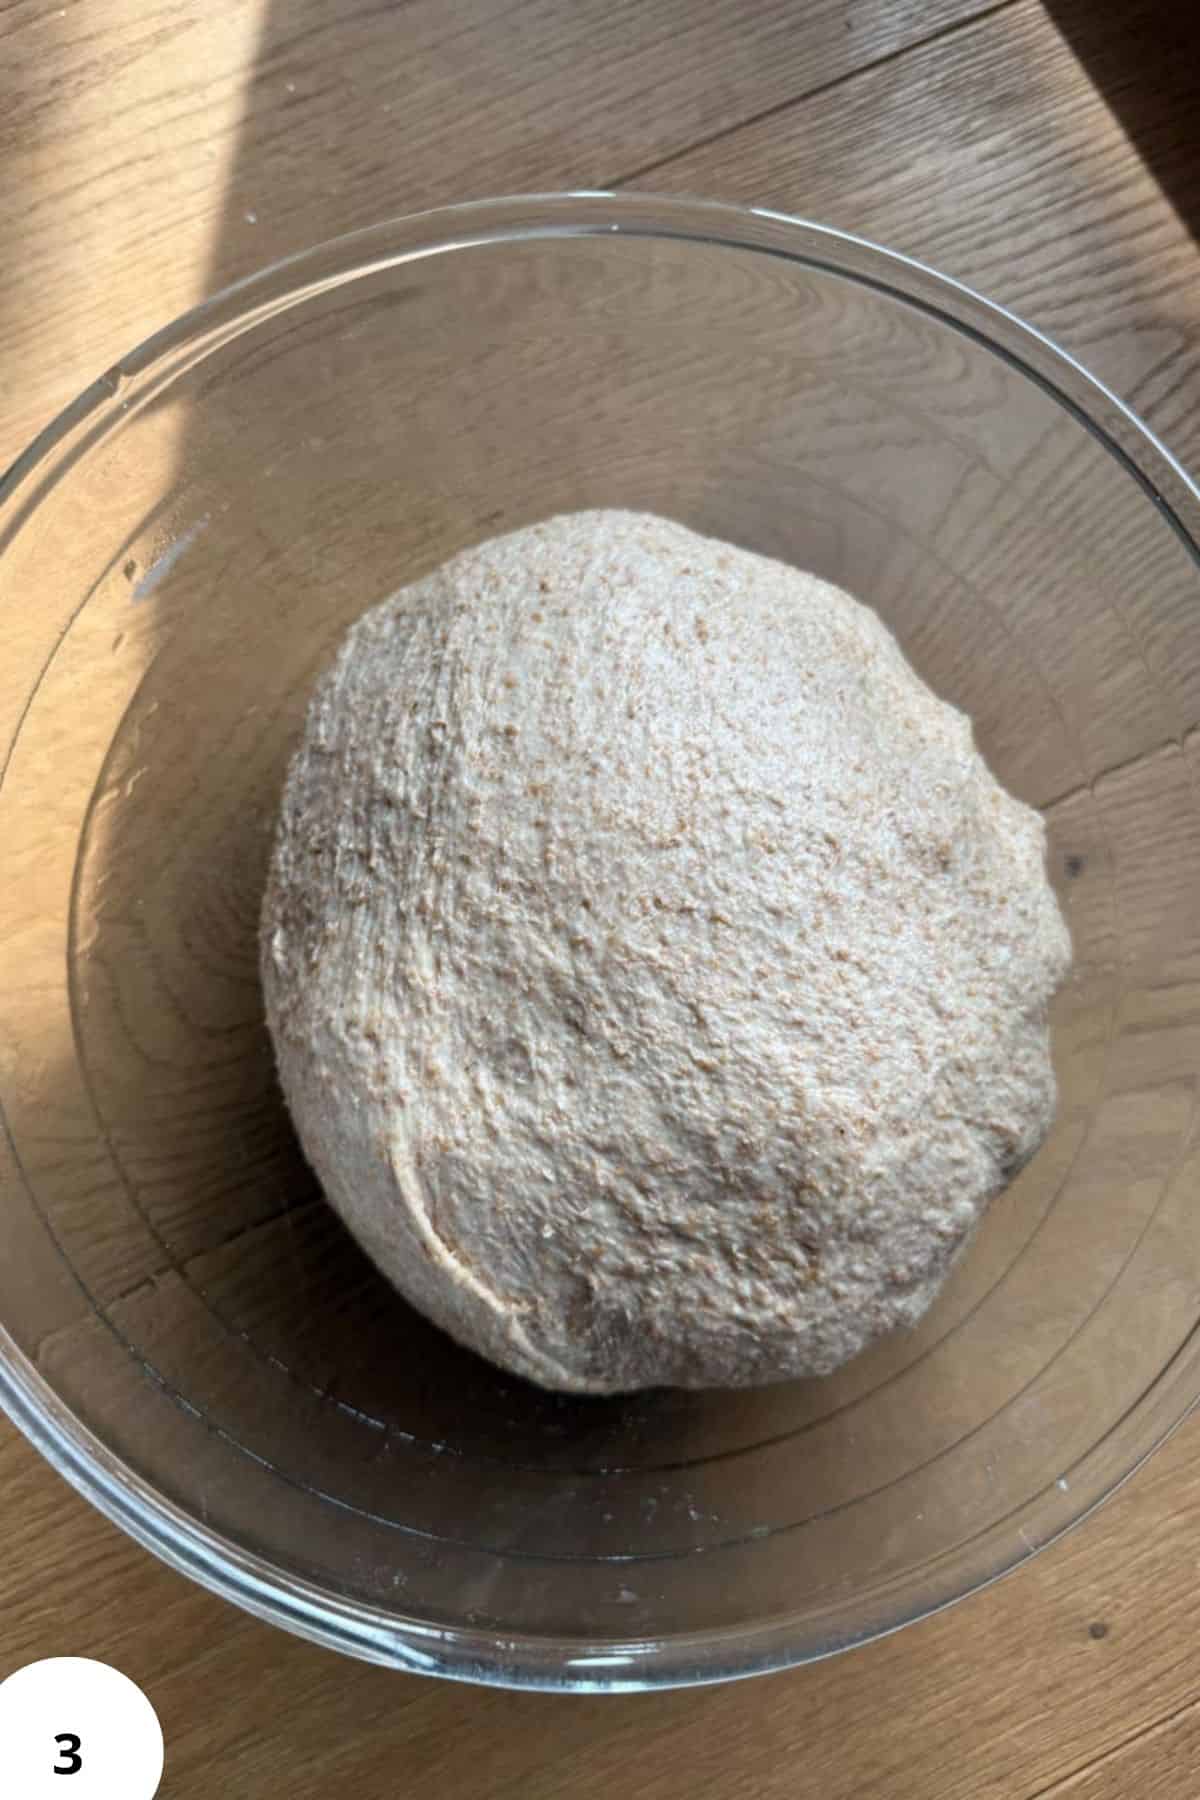
Step 3: Add the salt, then switch to the dough hook.
Knead for about 8-10 minutes, until the dough becomes smooth, elastic, and starts pulling away from the sides of the bowl (Image 3).
You're looking for a dough that holds together well and stretches without tearing, but DON'T chase windowpane, meaning your dough doesn't need to be stretchy to the point of you beeing able to see through it. My controversial opinion is that sourdough takes case of making the crumb great, without the need for fancy mixers that will get you to very developed gluten in this mixing stage.
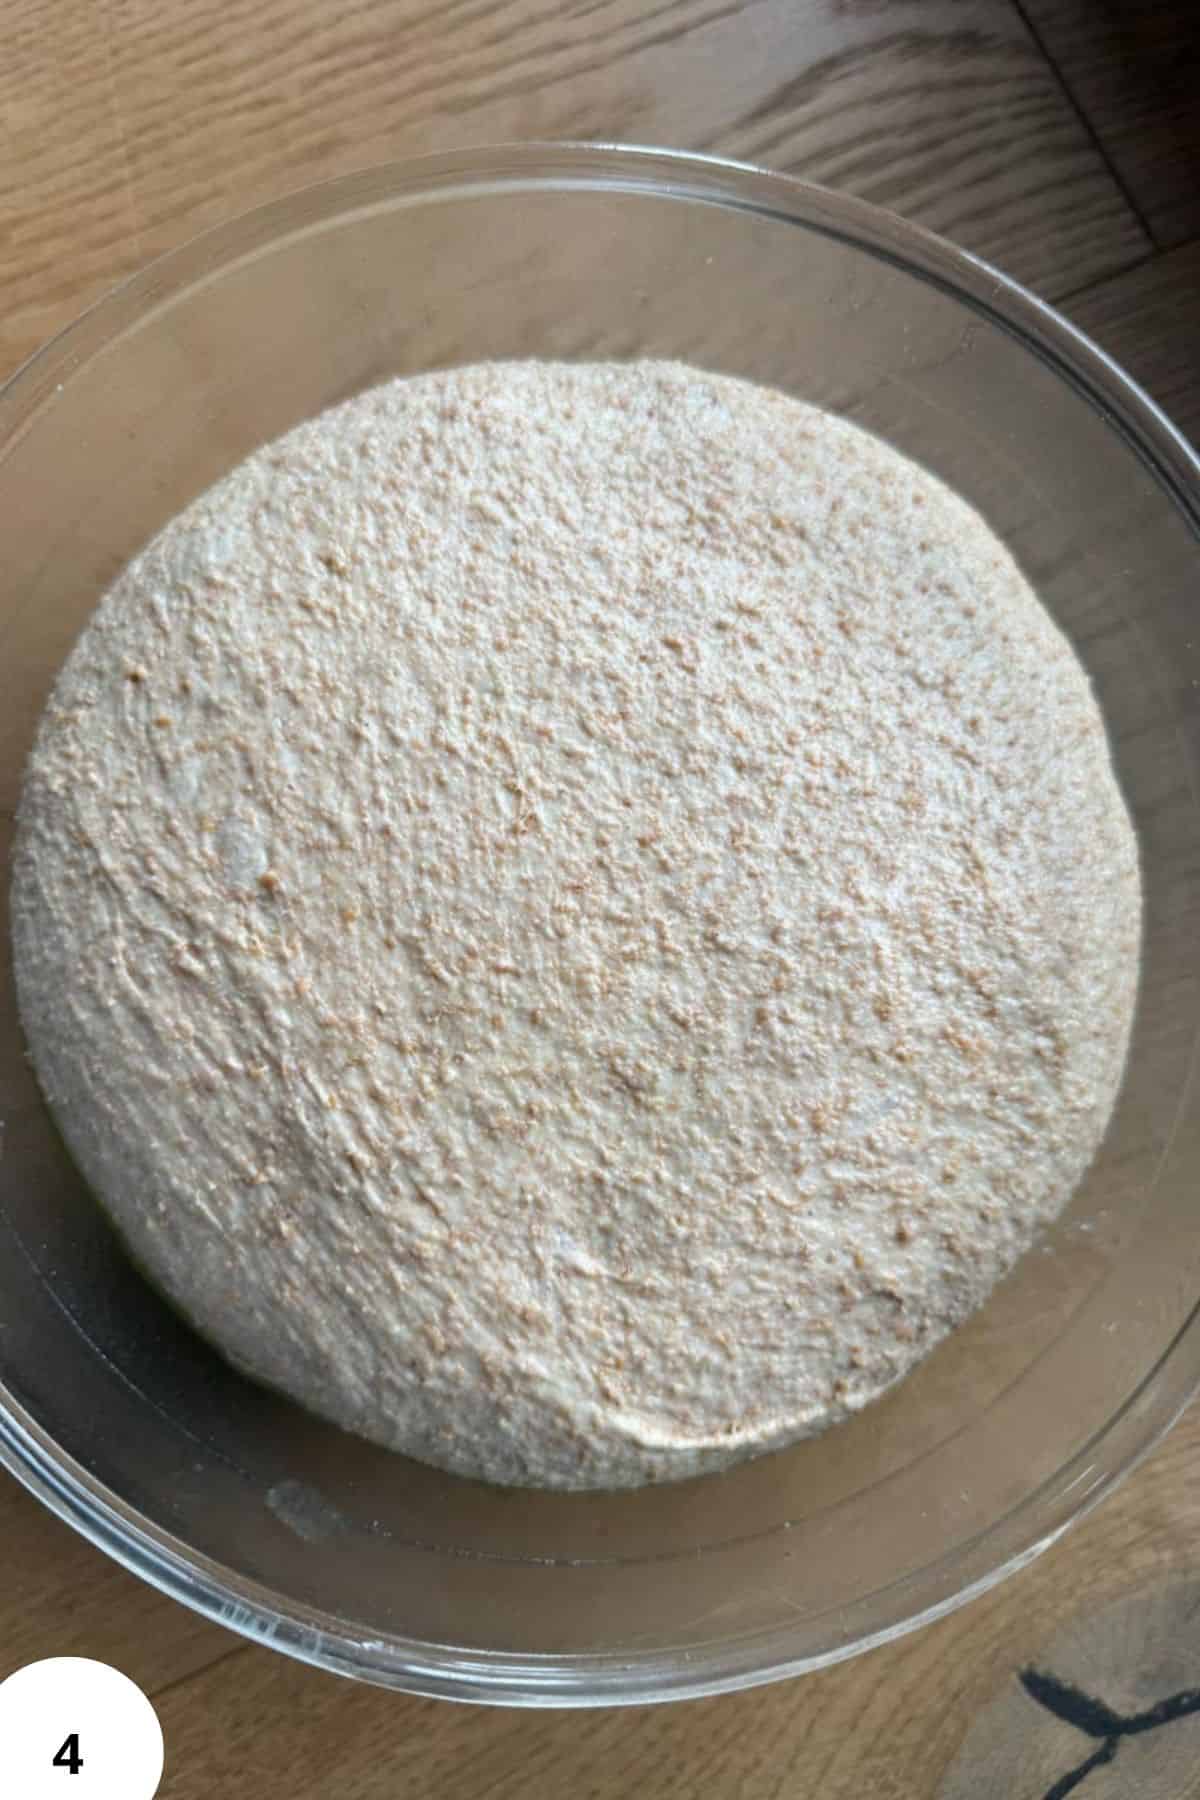
Step 4: Transfer the dough to a lightly oiled bowl and cover.
Let it rise until roughly ~60-80% rise, not a full double! Because this is an enriched dough (honey + oil), don't aim for a full double. If you let it go too far, shaping gets harder and the final loaf can collapse slightly.
This usually takes 3-5 hours, depending on your starter and room temperature (Image 4).
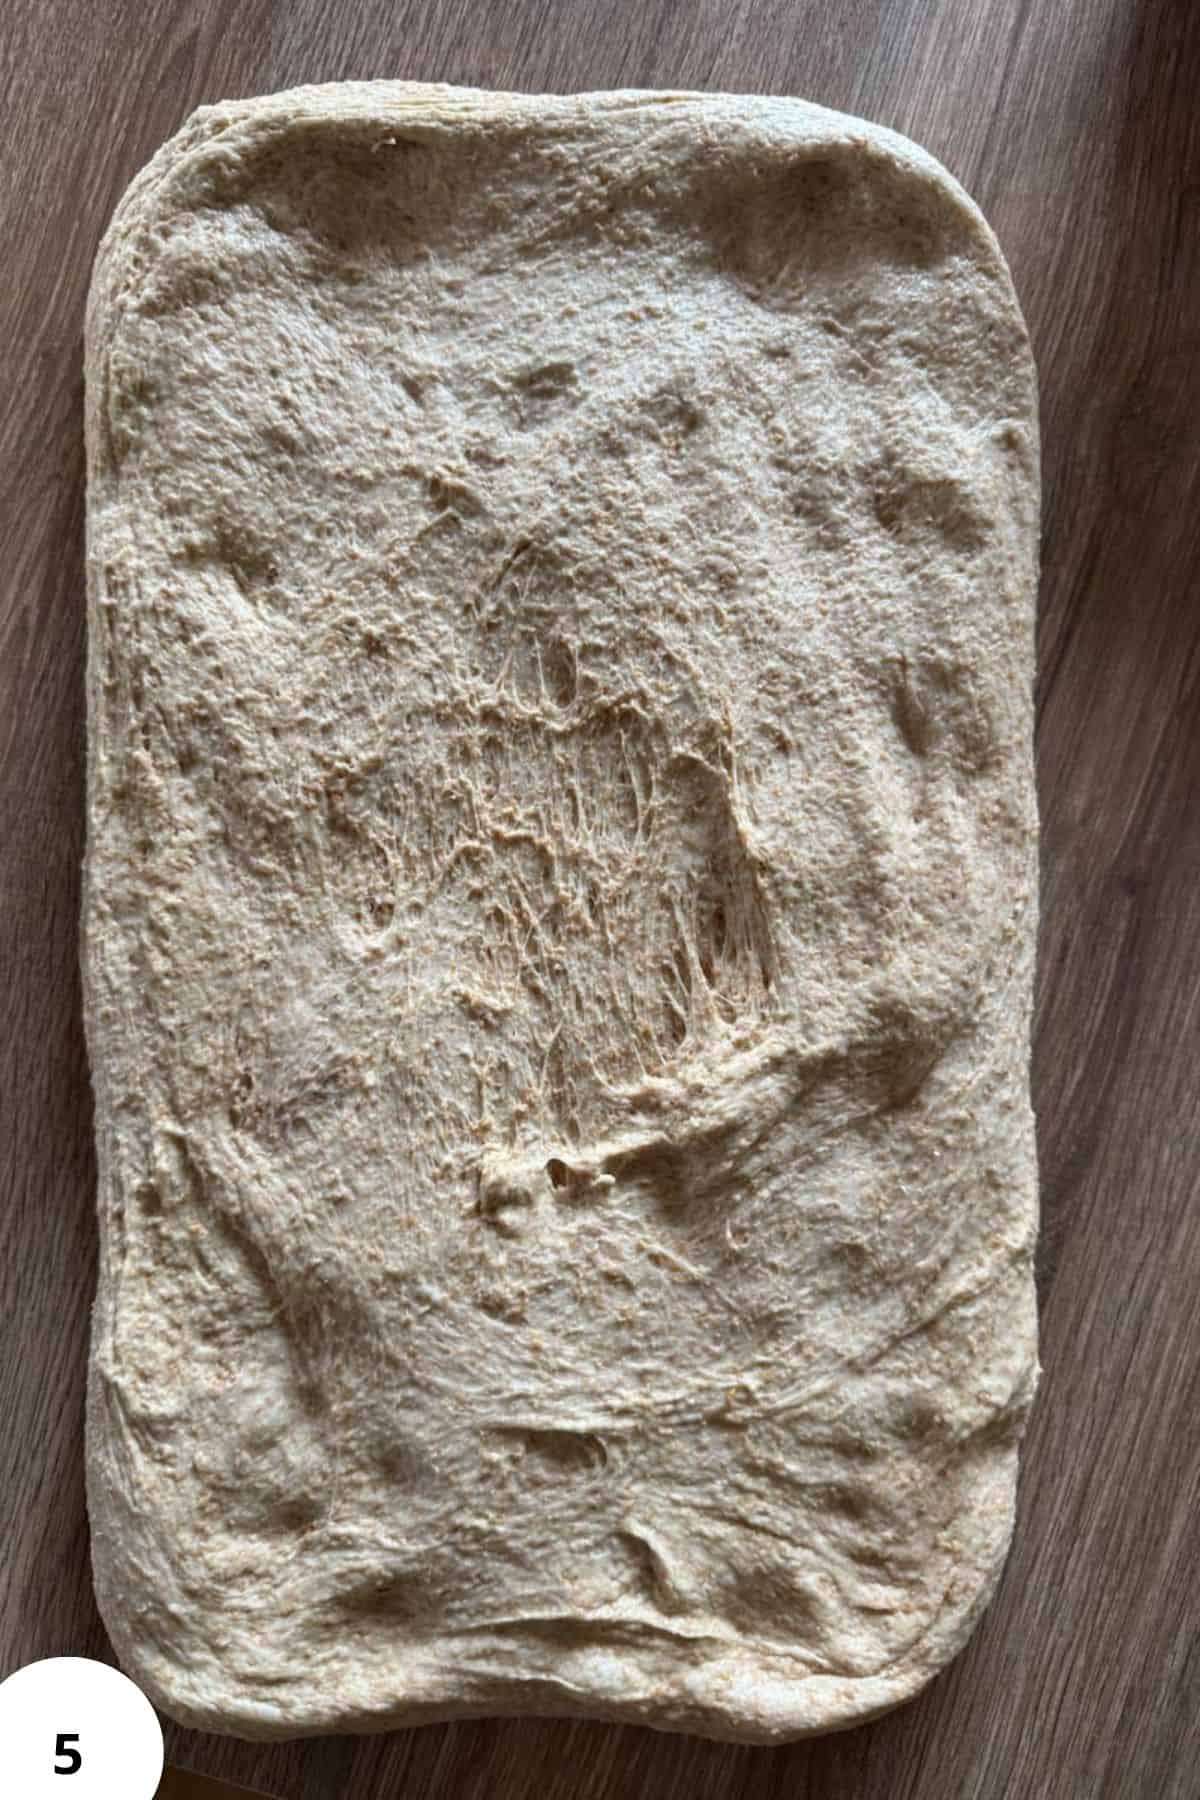
Step 5: Turn the dough out onto your work surface and gently flatten it into a rectangle (Image 5).
Roll it up tightly into a log, pressing out any large air pockets as you go.
Pinch the seam closed well, then place the dough seam-side down into a greased 9×4 or 9×5 loaf pan.
Place into a greased 9×4 or 9×5 loaf pan.
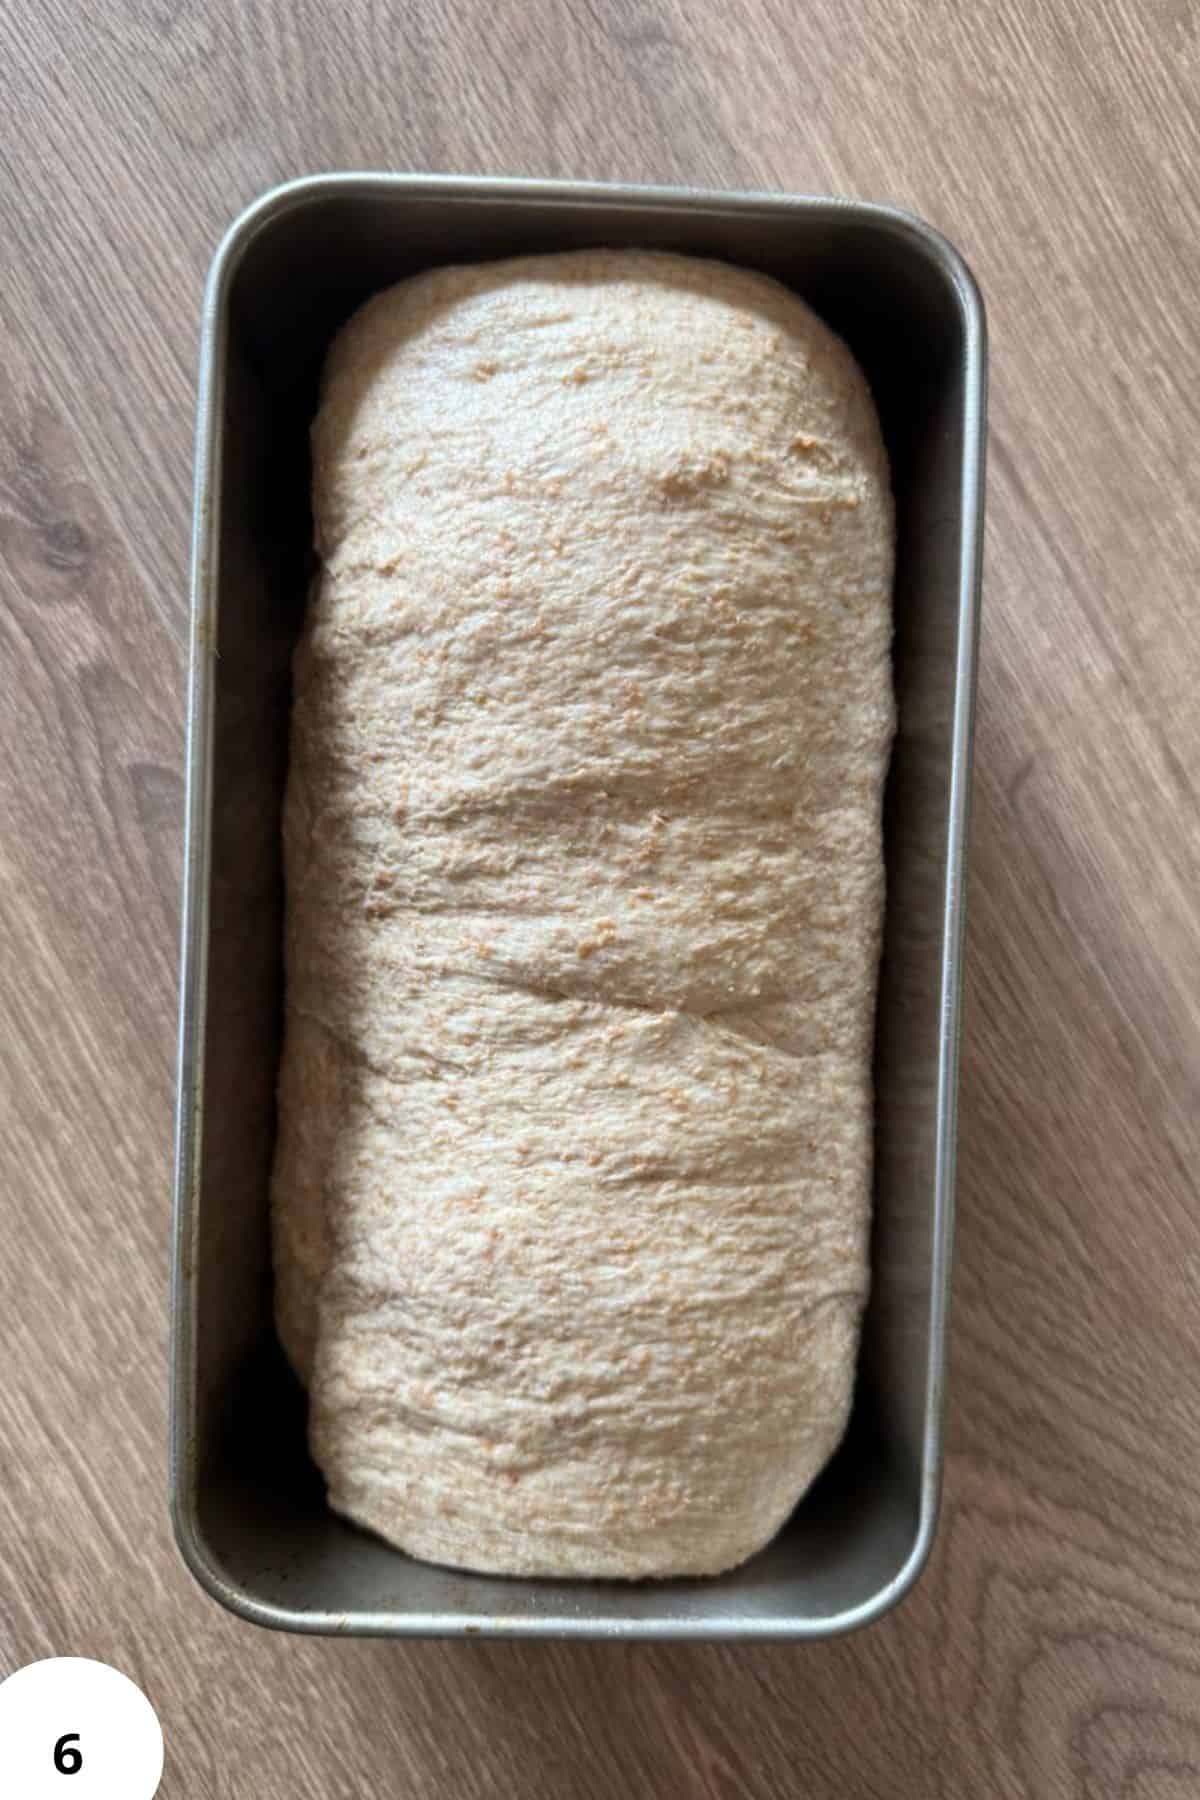
Step 6: Let the dough rise until it domes just above the rim of the pan
This can take anywhere from 2-4 hours.
If needed, you can place the loaf in the fridge before it fully rises and bake the next day (Image 6).
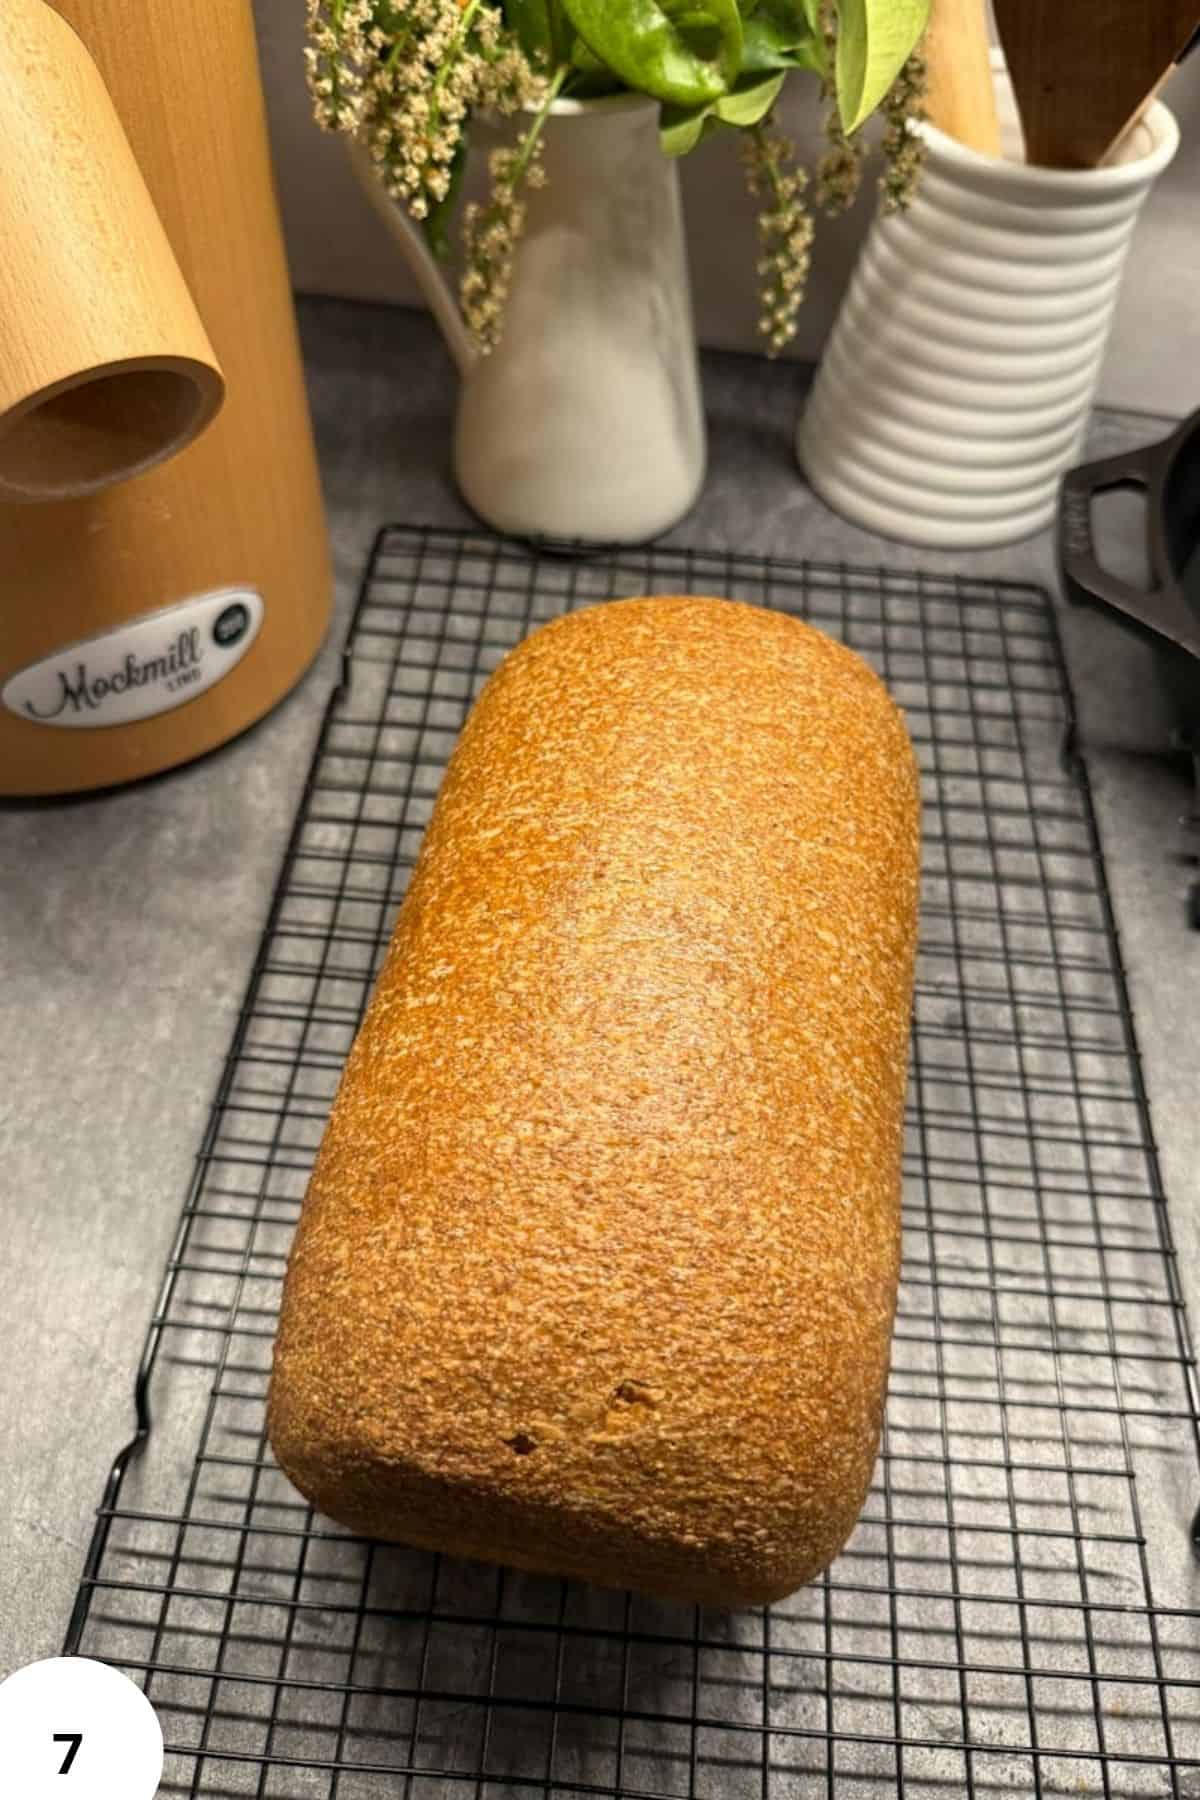
Step 7: Bake at 180°C (350°F) for 35-45 minutes.
If the top browns too quickly, loosely cover with foil (Image 7).
The loaf is done when the internal temperature reaches 90-95°C (190-200°F).
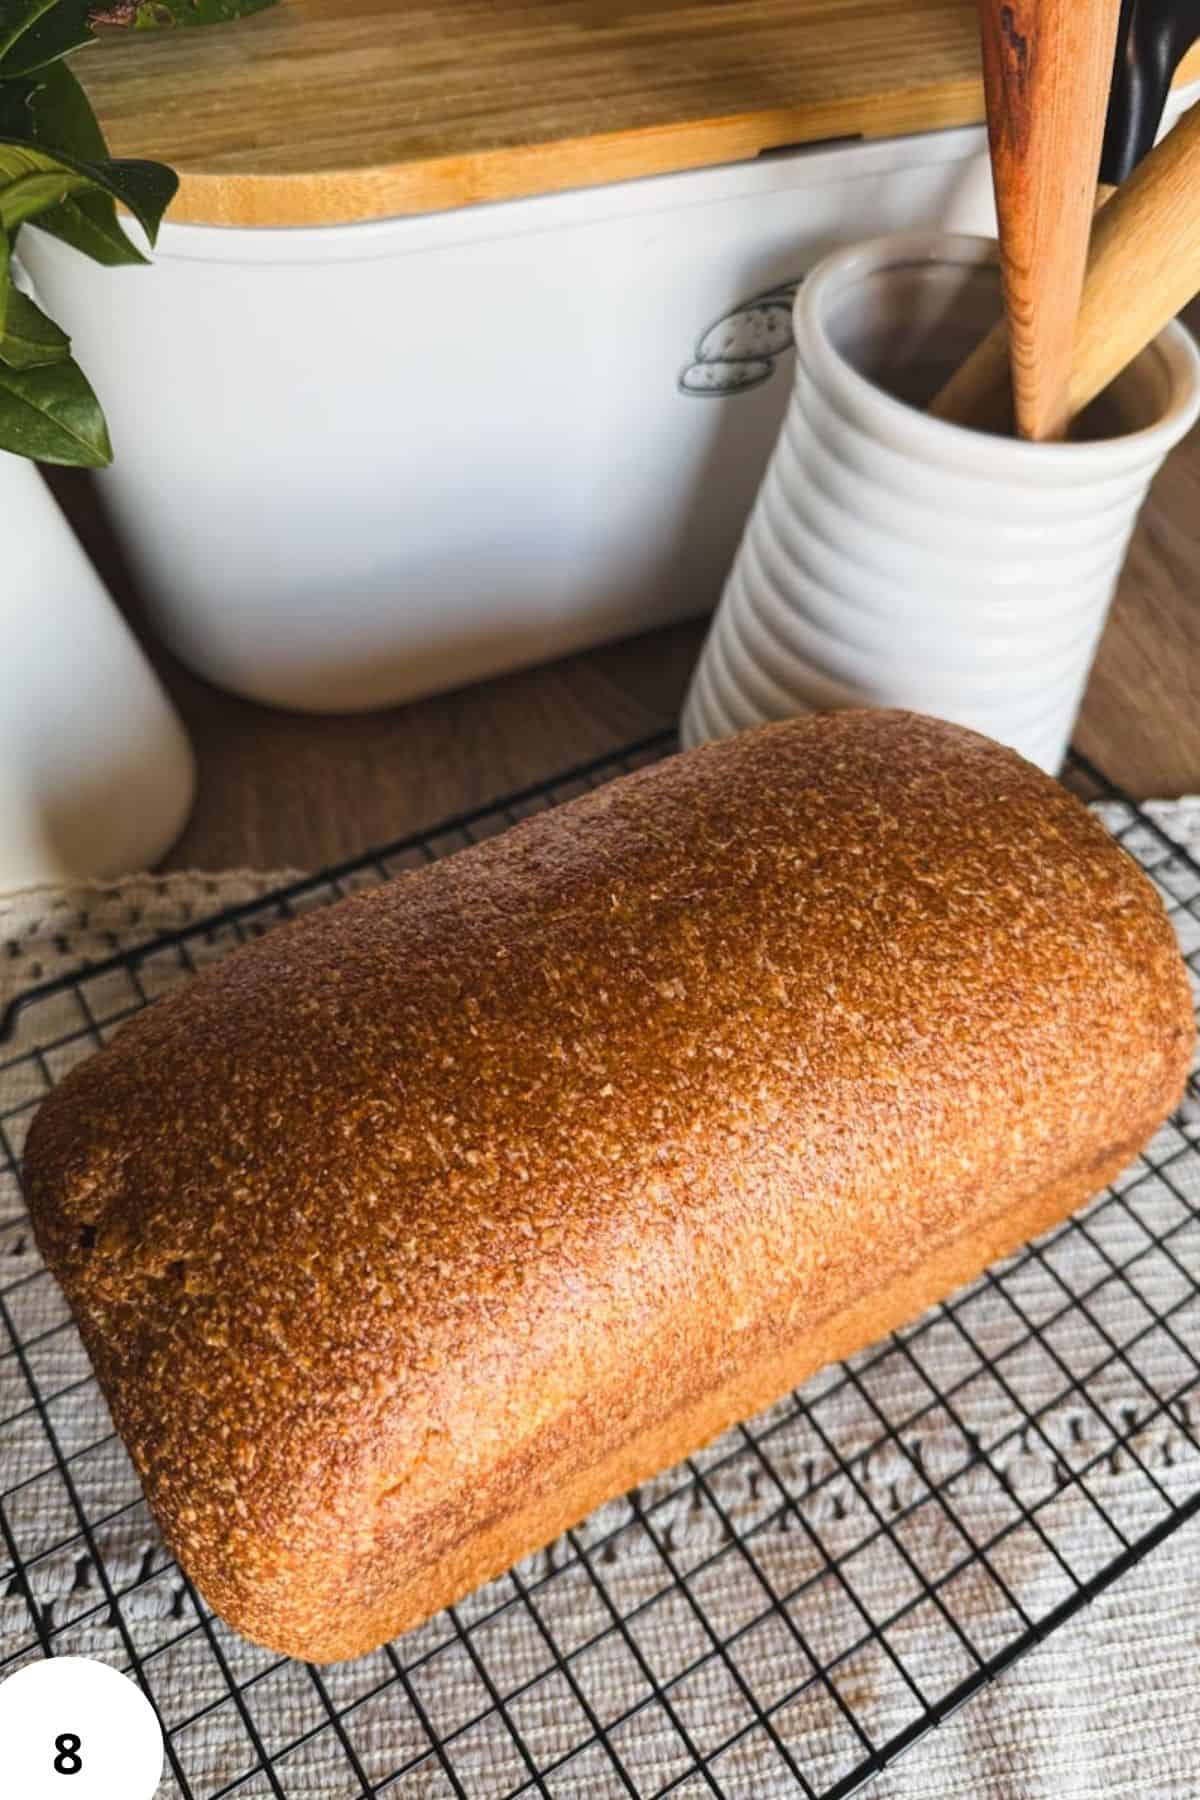
Step 8: Remove from the pan immediately and let it cool completely on a rack before slicing (Image 8).
Hint: don't stress with achieving a windowpane test. The point of mixing the dough is to incorporate all the ingredients really well and to jump start gluten formation. Your dough doesn't even need to come together in a ball (mine usually doesn't!). Mixing the ingredients together and getting an uniform dough is enough!
Baking Schedule
- Morning: Mix dough and let it rest
- Midday: Knead and start bulk fermentation (3-5 hours)
- Afternoon: Shape and place in pan
- Evening: Final proof (2-4 hours), then bake
Optional: After shaping, you can refrigerate the dough overnight and bake the next day.
💭Crucial Success Tips
The biggest mistake with this bread is over-proofing. Because this is an enriched dough (with honey and fat), it might ferment a bit slower than your plain fresh milled sourdough, but still keep a good eye on it. Don't wait for it to double, even 60% rise is enough.
Recipe FAQs
Weak rise usually comes from an underactive starter or cold fermentation conditions. Temperature directly affects fermentation speed, so a warmer spot often fixes this.
Yes. You can mix by hand and knead it for about 10 minutes to jump start gluten formation. No need for a mixer, luckily, sourdough starter and time will take care of absolutely everything further on.
It doesn't matter, use either. But if you want 100% fresh milled bread, you might want to use fresh milled starter. The easiest way to make it is to use a bit of your all purpose starter and feed it with fresh milled flour and water in a separate jar the day before, and it'll be ready to use in the morming.
How To Store Sourdough Sandwich Bread
Store the bread in a bread bag or airtight container at room temperature for up to 3 days.
For longer storage, keep it in the fridge for up to 1 week, but warm before serving for best texture.
This bread freezes well. Slice it first, then freeze for up to 2 months, with parchment paper in-between the slices 8my favorite way!).
Thaw at room temperature or toast directly from frozen. I prefer the second option.

Other Delicious Recipes
- Fresh Milled Protein Bagels with Greek Yogurt

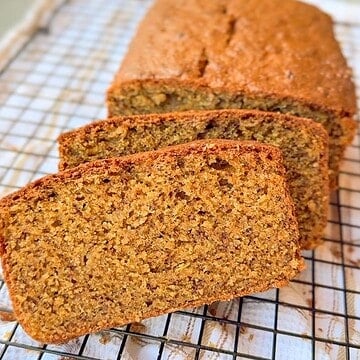
- Fresh Milled Einkorn Banana Bread
- Fresh Milled Einkorn Crepes
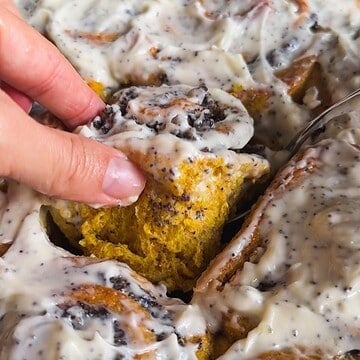
- Fresh Milled Pumpkin Sourdough Rolls with Poppy Seed Filling




If you tried this soft fresh-milled sourdough sandwich bread or any other recipe on my blog please leave a 🌟 star rating and let me know how it went in the 📝 comments below! Happy Baking!

Soft Fresh-Milled Sourdough Sandwich Bread
Jump to VideoIngredients
- 525 g fresh-milled hard white wheat flour
- 320 g water this is what I usually use, see notes!
- 220 g active sourdough starter 100% hydration
- 40 g honey
- 30 g oil or melted butter, I prefer olive oil
- 10 g salt
Optional (I rarely use additives, but you can if you want to!):
- 10 g sunflower lecithin or 1 egg - see notes
- 20 g vital wheat gluten
Instructions
- Add everything except the salt to your mixing bowl. Using the paddle attachment, mix until everything is fully combined and you have a thick, sticky dough. This usually takes about 2–3 minutes.
- Cover the bowl and let the dough rest for 15-20 minutes. This gives the fresh milled flour time to fully hydrate, which makes the dough easier to work with later.
- Add the salt, then switch to the dough hook. Knead for about 8-10 minutes, until the dough becomes smooth, elastic, and starts pulling away from the sides of the bowl. You're looking for a dough that holds together well and stretches without tearing, but DON'T chase windowpane, meaning your dough doesn't need to be stretchy to the point of you beeing able to see through it. My controversial opinion is that sourdough takes case of making the crumb great, without the need for fancy mixers that will get you to very developed gluten in this mixing stage.
- Transfer the dough to a lightly oiled bowl and cover. Let it rise until roughly ~60-80% rise, not a full double! Because this is an enriched dough (honey + oil), don't aim for a full double. If you let it go too far, shaping gets harder and the final loaf can collapse slightly. This usually takes 3-5 hours, depending on your starter and room temperature.
- Turn the dough out onto your work surface and gently flatten it into a rectangle. Roll it up tightly into a log, pressing out any large air pockets as you go. Pinch the seam closed well, then place the dough seam-side down into a greased 9×4 or 9×5 loaf pan. Place into a greased 9×4 or 9×5 loaf pan.
- Let the dough rise until it domes just above the rim of the pan.This can take anywhere from 2-4 hours. If needed, you can place the loaf in the fridge before it fully rises and bake the next day.
- Bake at 180°C (350°F) for 35-45 minutes. If the top browns too quickly, loosely cover with foil. The loaf is done when the internal temperature reaches 90-95°C (190-200°F).
- Remove from the pan immediately and let it cool completely on a rack before slicing.
Video
Notes
- *I usually use 320 g water, but you can adjust slightly depending on your flour. You might find that 300g or even 330g works better for your flour and specific conditions. There's no other way to find out except if you try!
- Don't stress with achieving a windowpane test. The point of mixing the dough is to incorporate all the ingredients really well and to jump start gluten formation. Your dough doesn't even need to come together in a ball (mine usually doesn't!). Mixing the ingredients together and getting an uniform dough is enough!
- If you're using part kamut or hard red wheat, you may want to reduce the water (hard white is the most thirsty of them!)
- If using an egg instead of lecithin, reduce the water slightly (about 30 g).
- Rise times vary, so focus on how the dough looks, not the clock.
Need Help Tweaking This Recipe?
Other Fresh-Milled Sourdough Recipes You'll Love










Fantastic recipe. I used my stiff starter I was testing from a batch I made with my dried sourdough I had made back in 2008. I'm sending some to my granddaughter. All my adjustments to water, starter, very warm kitchen. I ended up with enough dough to make a very large loaf in the SS pan like yours and even 6 small cinnamon rolls. LOVED it no sourness which is what I wanted and wonderful fantastic flavor all around. thank you
Hi Sylvia,
thank you so much for your feedback! My heart always warms when I get to know that my recipes live in other kitchens too, and people enjoy them!!
I'm 81 and have been making SDbread for about 15 years. Newly into FMF breads and wanted to try a non-yeasted version. I used to much water and because of experience handling dough was able to adjust a few things. Long story short I ended up with a Fantastic very large loaf and 6 cinnamon rolls. Absolutely no sour taste at all which is what I was after and the Cinnamon rolls what a delicious surprise ending. I also had a very stiff starter I have just been loving from a German Ladies site with no discard...My Gabled Home.com. It is now my favorite no discard way to make my SD. I've had my sourdough going since about 2008 and this one was made from dried 2008 starter I was testing before sending to my granddaughter.
All was successful and absolutely love your baking channel. Thank You
Thank you so much Sylvia, this truly means a lot!!
I made this bread and while the flavor was great, the texture was extremely dense. I am new to sourdough and fresh milled flour. Do you have any tips, that would help lighten up the loaf?
Hi Beth!
Hmm ok, how much did the bread rise? And I mean during the second rise + in the oven. This bread is supposed to lift up quite nicely and that's what makes it lighter. I'm guessing yours didn't lift up much? It definitely isn't supposed to be extremely dense, so it's worth troubleshooting!
Do you have any guesses where it might've gone wrong? My best guess at this point would be that you fermented it a little too long during the bulk ferment, and the the bread didn't have enough rising power for the second rise + oven spring - that happened to me a few times and I did end up with a denser loaf....
This recipe is incredibly easy and FAST! Delicious result - thank you, Tina 🙂
Hi Heather,
thank you so much!! And yes, I agree 😉
I’ve made this sandwich loaf so many times and it turns out excellent every single time without fail!
Hi Crystal, yaaay! I'm glad it worked for you! Thank you so much for the feedback 🙂 That'll help others find this recipe too!