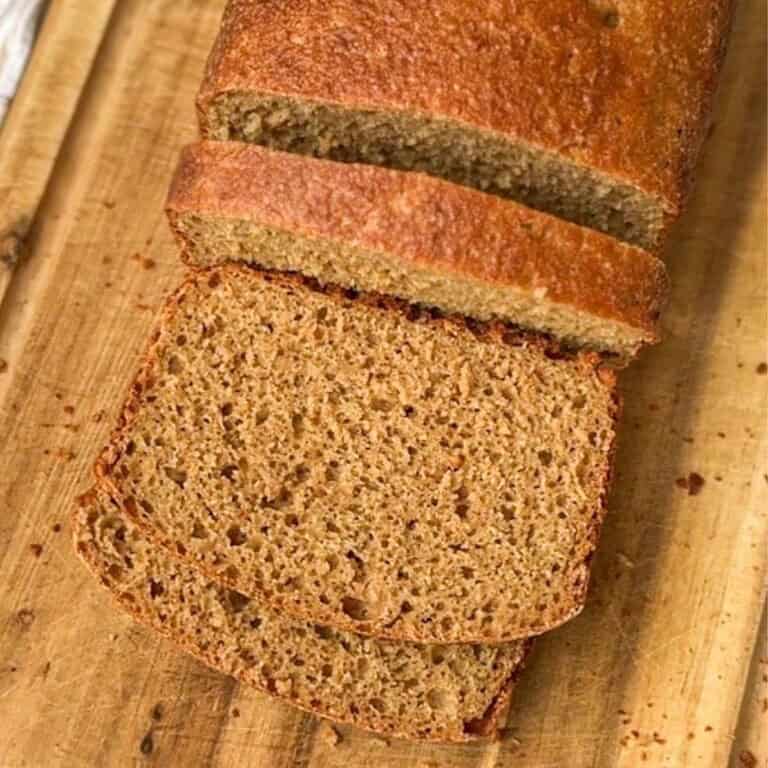
Fresh Milled Buckwheat Sourdough Rolls

These fresh milled buckwheat sourdough rolls have just enough fresh milled buckwheat flour to taste great, but are still mainly made from all purpose flour to keep the extra soft. You can shape them in different ways, like dinner rolls or longer rolls for sandwiches and hoagies, and are a great way to get used to buckwheat. You can save this as a starting point recipe, and work your way up by using more buckwheat flour (and more water!) each time you make them!
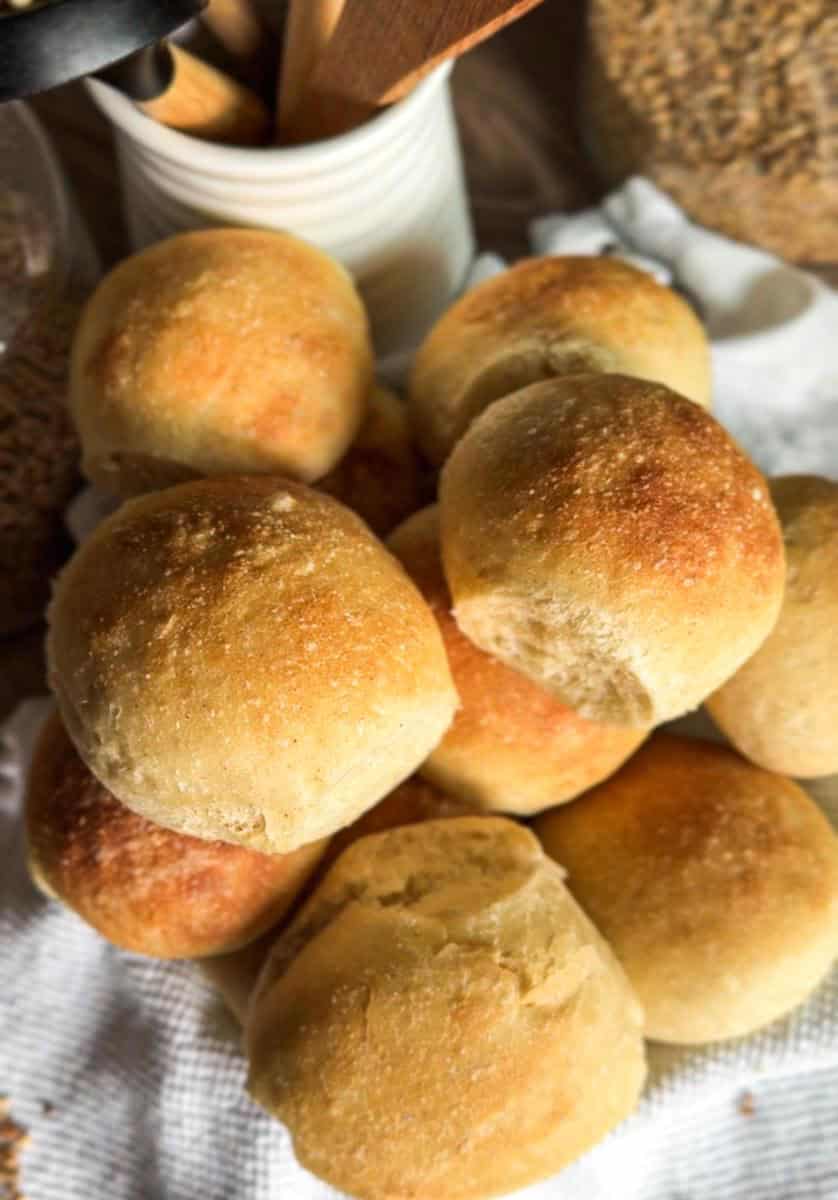
Buckwheat is a naturally gluten-free grain, so it behaves differently from wheat flour when you add it to bread dough.
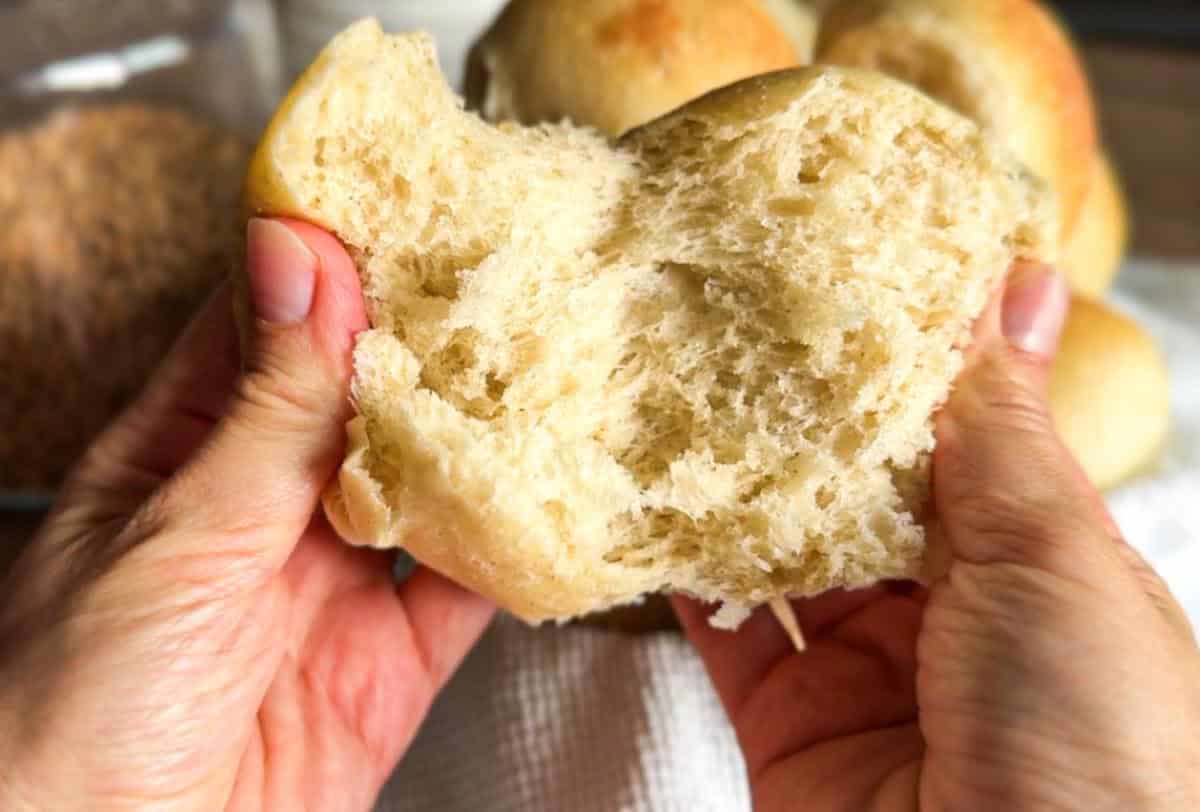
Since this recipe uses only a small amount of buckwheat along with all-purpose flour, the rolls still have a light and soft texture. The little trick here is scalding the freshly milled buckwheat flour with boiling water before mixing the dough. This softens the flour and helps it blend nicely into the dough instead of trying to develop gluten that buckwheat simply doesn't have.
For other buckwheat recipe, try my buckwheat sourdough bread (with simple buckwheat scald). And if you love baking with fresh milled flour, this fresh milled einkorn sourdough bread is perfect for beginners.
Summarize & Adapt This Recipe On:
Quick Look
- Prep Time: 30 minutes
- Bulk Fermentation: 5-7 hours
- Final Proof: 2-3 hours
- Cook Time: 20-25 minutes
- Total Time: 8-10 hours
- Servings: 12 rolls
- Difficulty: Intermediate
- Baking Method: Oven
- Best For: Dinner, Sandwiches, Hoagies, Meal Prep
Jump to:
- Summarize & Adapt This Recipe On:
- Quick Look
- Important Ingredients
- Substitutions & Variations
- How to Make Fresh Milled Buckwheat Sourdough Rolls
- Baking Schedule
- 💭Crucial Success Tips
- Recipe FAQs
- How To Store Fresh Milled Buckwheat Sourdough Rolls
- Other Delicious Fresh Milled Sourdough Recipes
- Fresh Milled Buckwheat Sourdough Rolls
- Need Help Tweaking This Recipe?
- Other Fresh Milled Flour Recipes You'll Love
- Fresh Milled Einkorn Fruit Dumplings (Plum or Apricot)
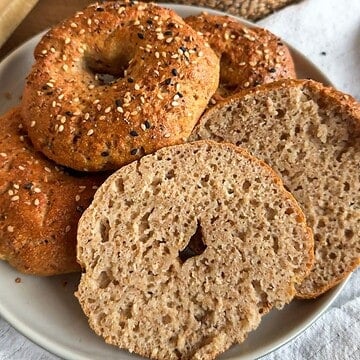
- Fresh Milled Protein Bagels with Greek Yogurt
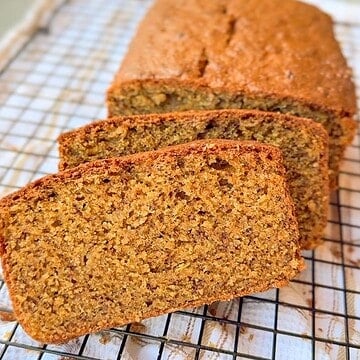
- Fresh Milled Einkorn Banana Bread
Important Ingredients
- freshly milled buckwheat flour adds a mild earthy, nutty flavor to the rolls. Only a small amount is used, so the rolls stay light and soft.
- all-purpose flour provides the gluten structure needed for soft, fluffy rolls.
- active sourdough starter helps the dough rise and gives the rolls their classic sourdough flavor.
- milk adds moisture and helps give the rolls a soft texture.
- egg helps bind the dough and adds richness.
- water used to scald the buckwheat flour and hydrate the dough.
- sugar adds a little sweetness and supports the fermentation.
- salt balances the flavor and helps strengthen the dough
See recipe card for quantities.
Substitutions & Variations
- Whole milk works well, but you can use another milk you have on hand, or even water.
- This recipe is designed to use all-purpose flour with the buckwheat. Changing the flour can affect the dough texture and fermentation time.
- Freshly milled buckwheat gives the recipe its distinct flavor. You can use store-bought buckwheat flour if needed, but the flavor will not be as strong. In that case, I'd use at least 100g of buckwheat flour.
- Make 12 round dinner rolls, or shape them into longer rolls for sandwiches and hoagies.
- The 10 grams of sugar gives the rolls a little sweetness. You can reduce it if you0d like, but I think a little sweetness goes a long way with these!
How to Make Fresh Milled Buckwheat Sourdough Rolls
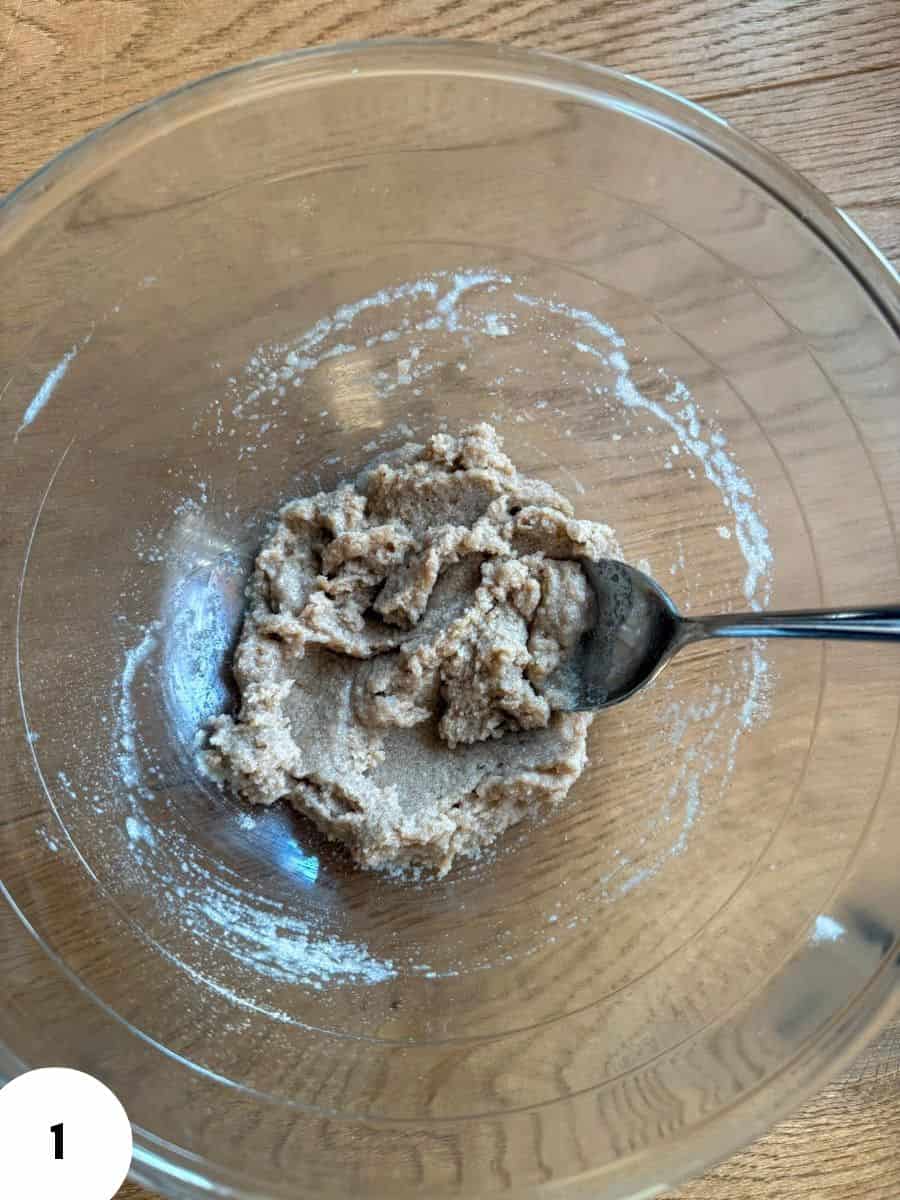
Step 1: Mill 50 grams of buckwheat as finely as you can.
Place the freshly milled buckwheat flour into a bowl and pour 100 grams of boiling water over it. Mix until all of the flour is soaked (Image 1).
Let it sit for at least 10 minutes, although I prefer giving it closer to 30 minutes if I have the time.
It will turn into a thick, grainy, sticky paste. That's exactly what we're looking for.
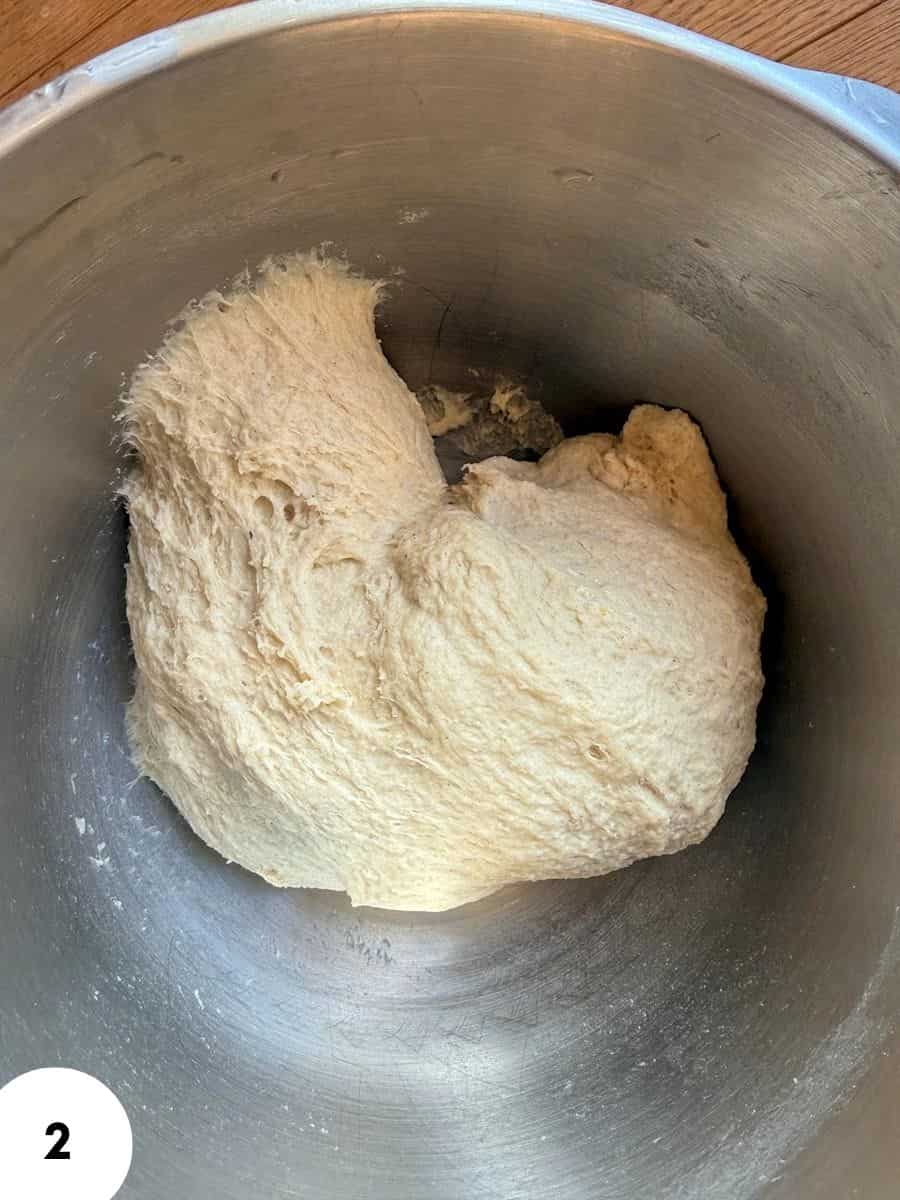
Step 2: Add the buckwheat mixture to the bowl of a stand mixer along with the milk, water, egg, sourdough starter, sugar, salt, and all-purpose flour.
Mix and knead for about 5-10 minutes (Image 2).
You're looking for a smooth, uniform dough that starts pulling together into something close to a ball. It will still be a little sticky, so don't expect it to completely clean the sides of the bowl.
The goal isn't a perfect windowpane. We just want everything very well incorporated and the gluten to have a good head start.
You can absolutely make this dough by hand as well. Just keep in mind that working the thick buckwheat scald evenly into the rest of the dough takes a little effort. Give it a good 5-10 minutes of kneading until the dough looks uniform.
Step 3: Transfer the dough to a bowl or container for bulk fermentation.
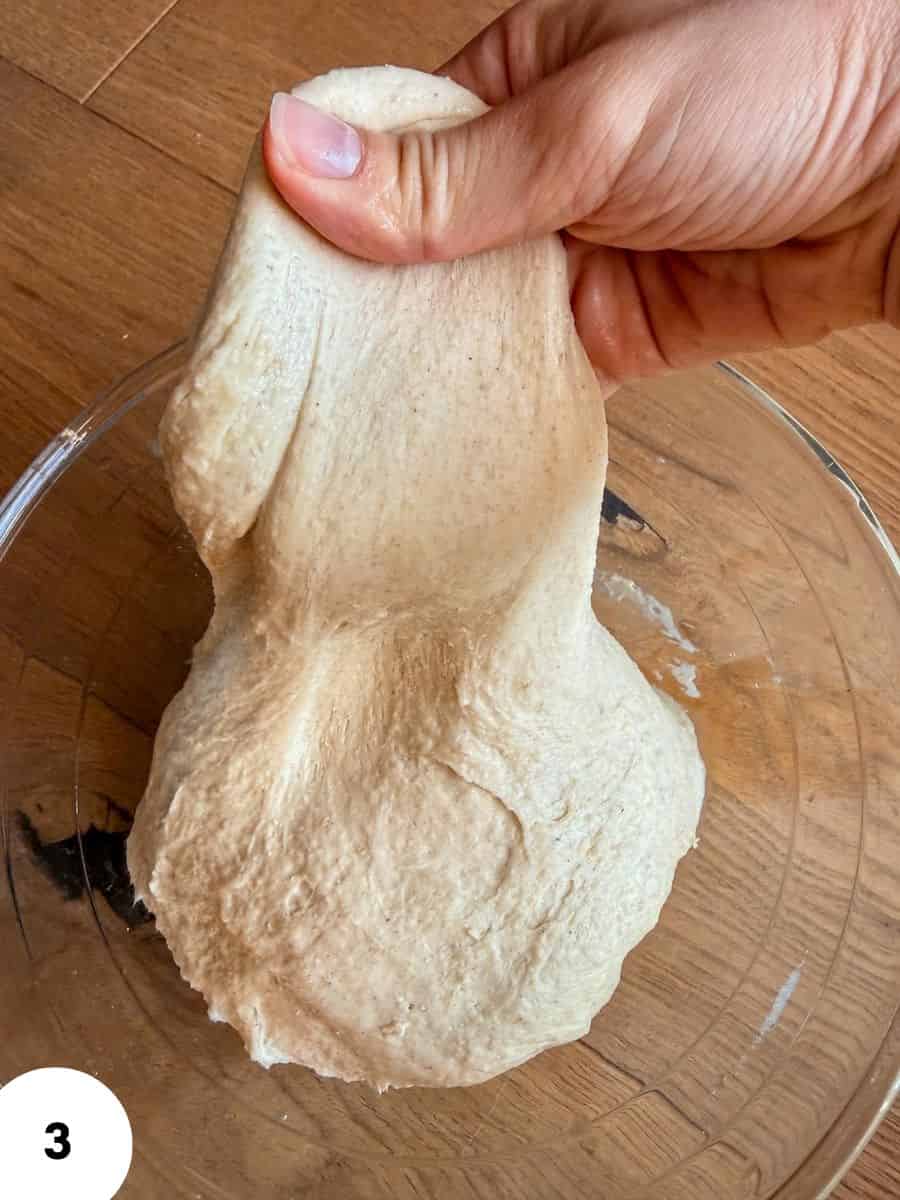
Over the next 2 hours, perform 2-3 sets of stretch and folds, roughly 30-60 minutes apart (Image 3).
After that, leave the dough alone to finish fermenting.
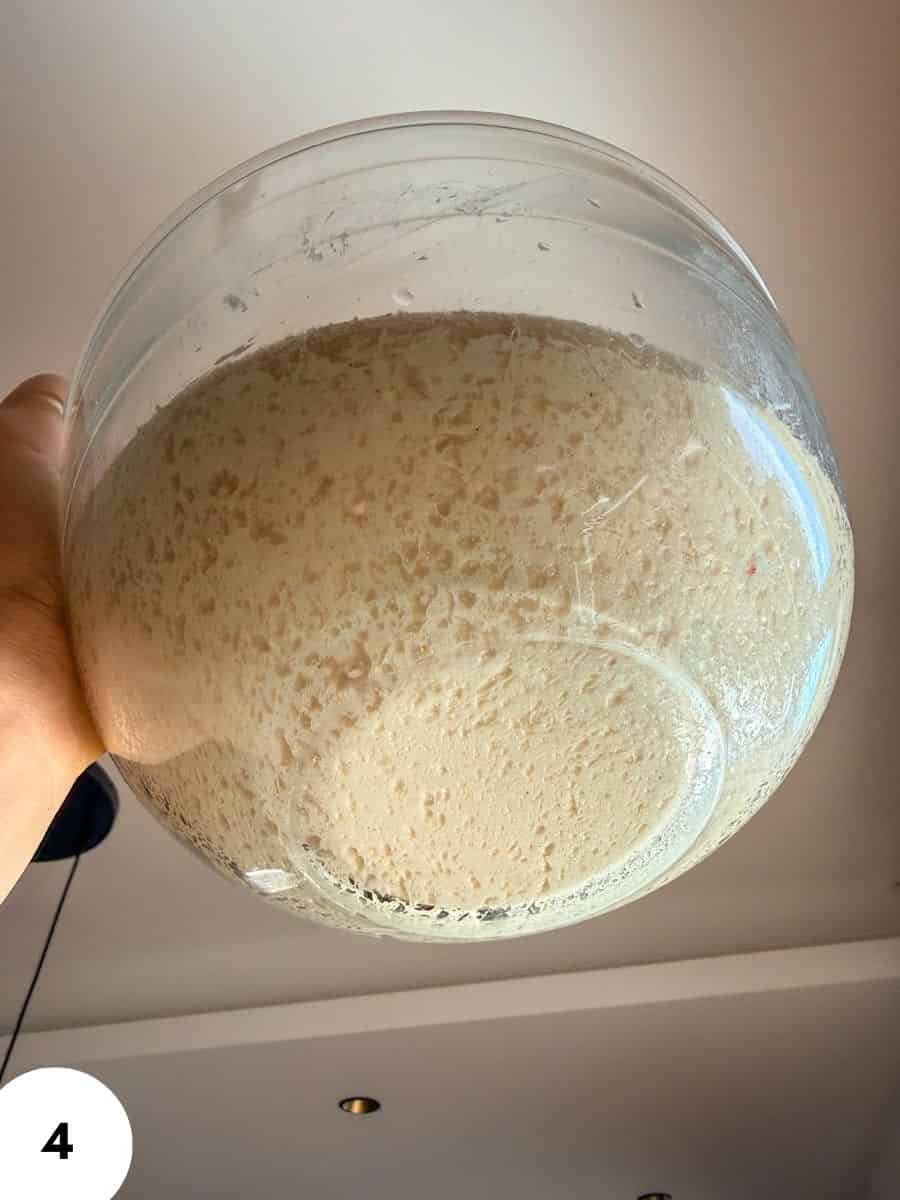
Step 4: At around 75°F / 24°C, expect the total bulk fermentation to take approximately 5-7 hours from the time you finish mixing the dough.
In a cooler kitchen, it may take longer. In a warm kitchen, it may be ready sooner.
Don't wait for the dough to fully double.
Instead, look for roughly a 50% increase in volume. The dough should look puffier, feel lighter, and you'll see bubbles developing along the sides or surface (glass bowl helps with seeing them a lot!!) (Image 4)
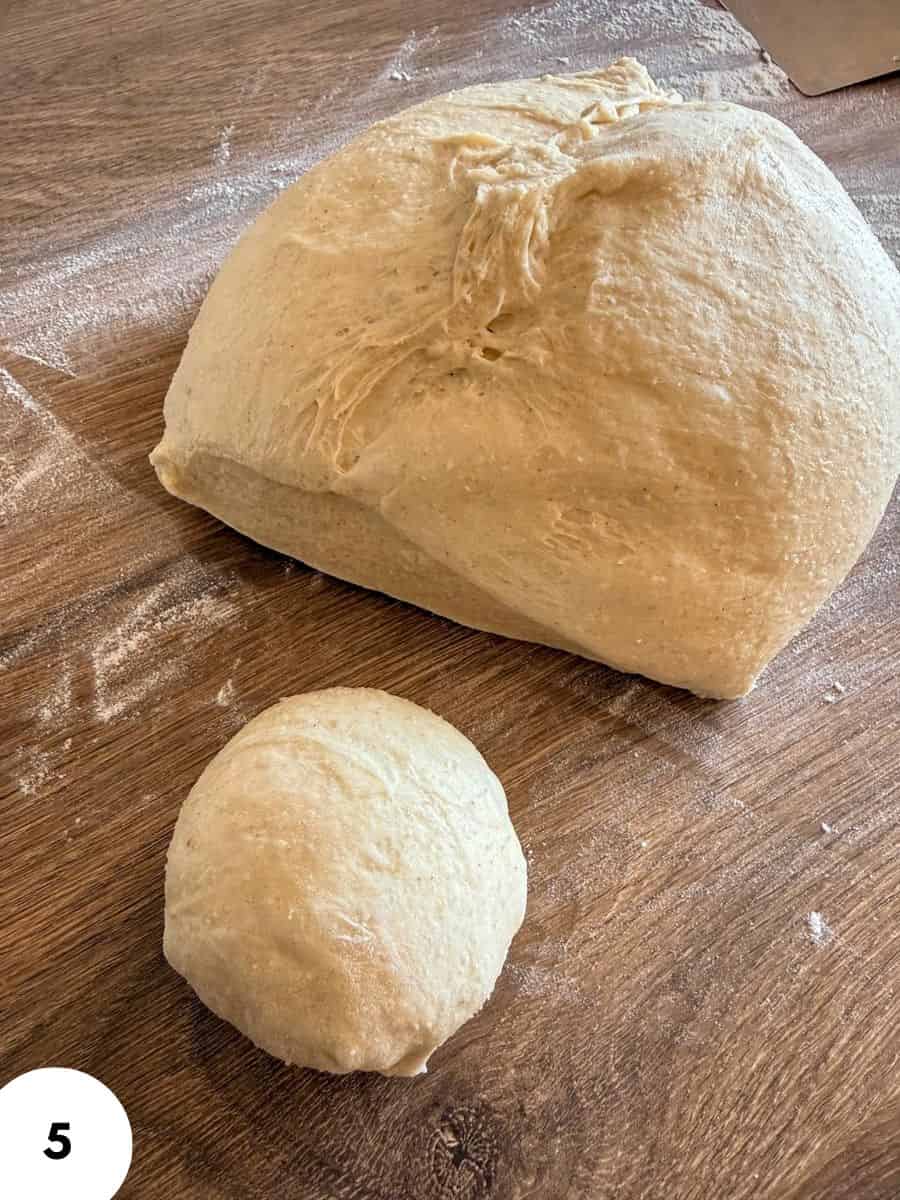
Step 5: Turn the dough out onto your work surface and divide it into 12 equal pieces, around 80-90 grams each (Image 5).
For regular dinner rolls, shape each piece into a tight round ball and arrange the rolls in a baking dish or on a lined baking sheet.
For hoagie-style rolls, gently flatten each piece into a rectangle, then roll it up tightly from one short end to the other. Pinch the seam closed and place seam-side down.
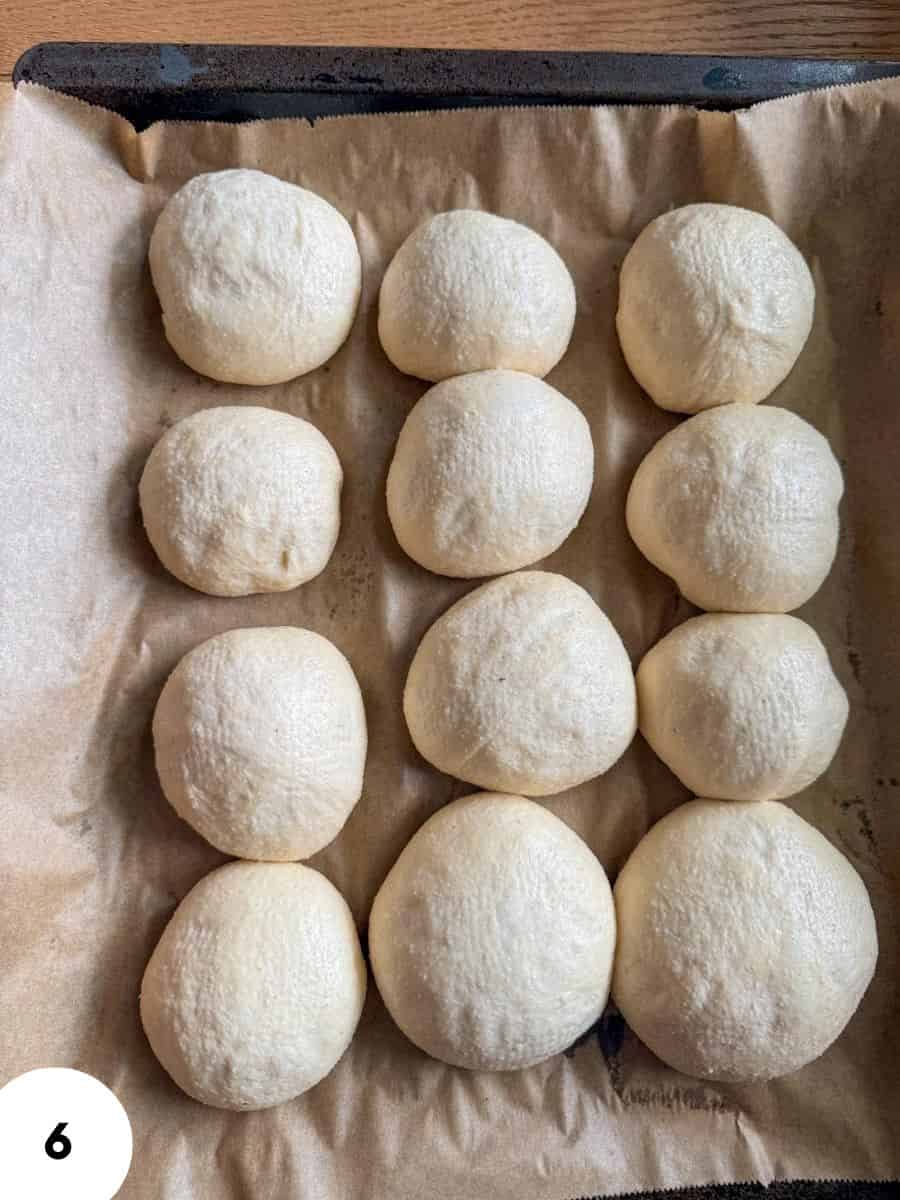
Step 6: Cover the rolls and leave them at room temperature for approximately 2-3 hours, or until noticeably puffier (Image 6).
Again, watch the dough more than the clock. Depending on your starter and room temperature, they may move a little faster or slower.
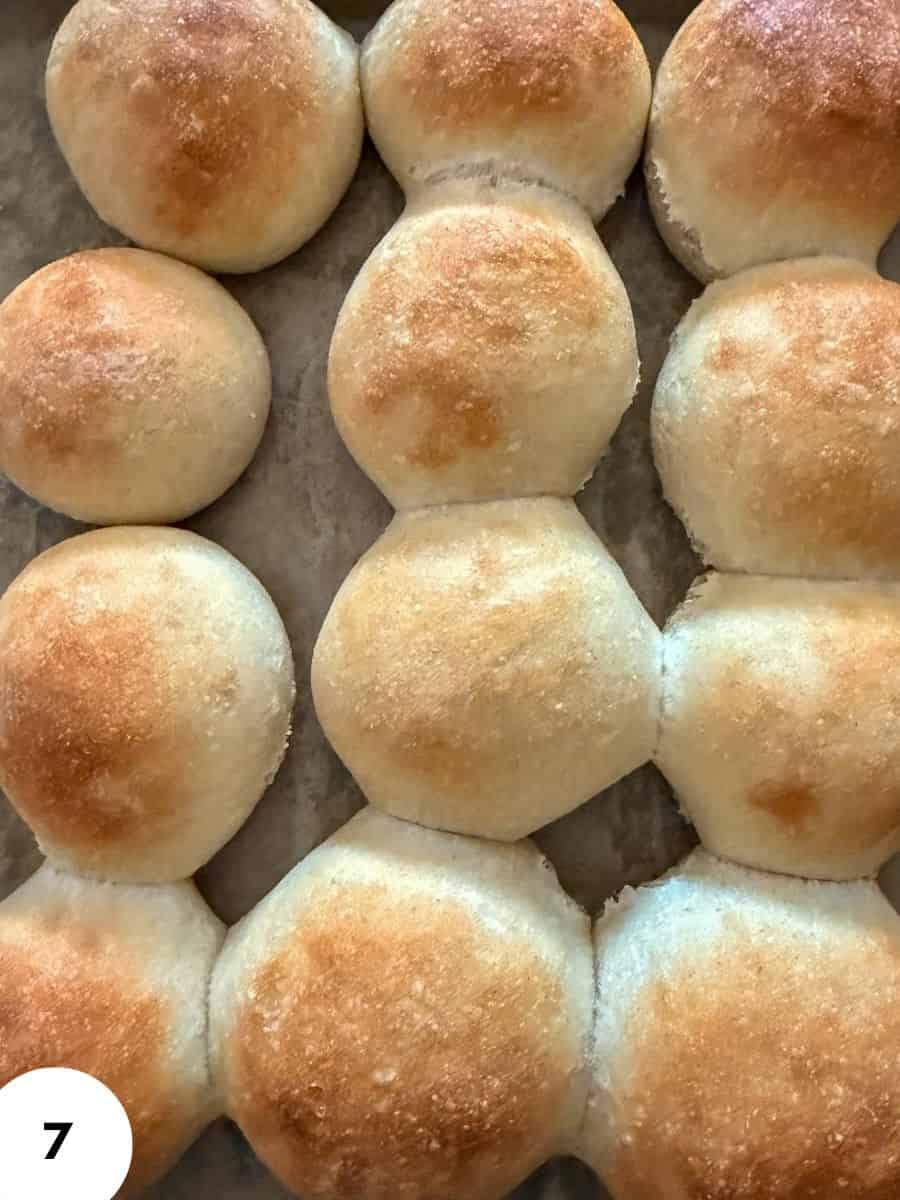
Step 7: Bake at 375°F / 190°C for 20-25 minutes, or until the rolls are nicely golden brown on top.
Let them cool for at least a few minutes before pulling them apart.
Hint: The buckwheat scald is an important little step, so don't skip it. Pour the boiling water directly over the freshly milled buckwheat flour and mix until all of the flour is moistened. Let it sit for at least 10 minutes, but if you have the time, letting it rest for closer to 30 minutes works nicely.
Also, don't worry if the scald looks thick, sticky, and a little grainy. That is exactly how it should look before it goes into the dough.
Baking Schedule
- 8:00 AM - mix the dough
- 8:10 AM - start bulk fermentation
- 8:40 AM - first stretch and fold
- 9:20 AM - second stretch and fold
- 10:00 AM - third stretch and fold
- 10:00 AM-2:00 PM - continue bulk fermentation
- 2:00 PM - check dough and divide into 12 pieces
- 2:15 PM - shape the rolls
- 2:30-5:00 PM - final proof
- 5:00 PM - preheat oven to 375°F (190°C)
- 5:20 PM - bake
- 5:45 PM - remove from oven and cool
- 6:00 PM - serve or store once cooled
💭Crucial Success Tips
Scald the buckwheat first. This helps soften the freshly milled flour and makes it easier to incorporate into the dough.
Recipe FAQs
Yes. Regular buckwheat flour can be used in the same amount, but I'd suggest using about 100g of store bough buckwheat flour, since it will contribute less taste than fresh milled buckwheat.
Buckwheat does not contain gluten, so it cannot build the same gluten structure as wheat flour. Scalding it with boiling water softens the flour and helps it incorporate into the dough more easily.
Yes. After bulk fermentation, you can refrigerate the whole dough for up to 24 hours. When you're ready to bake, let it come out of the refrigerator, divide and shape the dough, then allow the rolls to proof until puffy before baking.
How To Store Fresh Milled Buckwheat Sourdough Rolls
Store the cooled rolls in an airtight container or bread bag at room temperature for about 2-3 days. Keep them away from extra moisture so they don't become sticky.
For longer storage, freeze the baked rolls once they have completely cooled. Place them in a freezer-safe bag, remove as much air as possible, and freeze for up to 2-3 months.
Other Delicious Fresh Milled Sourdough Recipes
- Fresh Milled Buckwheat Sourdough Rolls

- Fresh Milled Pumpkin Sourdough Rolls with Poppy Seed Filling
- Einkorn Sourdough Bread for Beginners (50% Fresh Milled)
- The Easiest Fresh Milled Einkorn Sourdough Bread (Loaf Pan Method)


If you tried these fresh milled buckwheat sourdough rolls or any other recipe on my blog please leave a 🌟 star rating and let me know how it went in the 📝 comments below! Happy Baking!

Fresh Milled Buckwheat Sourdough Rolls
Ingredients
For the buckwheat scald
- 50 g freshly milled buckwheat flour
- 100 g boiling water
For the dough
- 450 g all-purpose flour
- 110 g milk
- 110 g water
- 1 egg
- 110 g active sourdough starter
- 10 g sugar
- 10 g salt
Instructions
- Mill 50 grams of buckwheat as finely as you can.Place the freshly milled buckwheat flour into a bowl and pour 100 grams of boiling water over it. Mix until all of the flour is soaked.Let it sit for at least 10 minutes, although I prefer giving it closer to 30 minutes if I have the time.It will turn into a thick, grainy, sticky paste. That's exactly what we're looking for.
- Add the buckwheat mixture to the bowl of a stand mixer along with the milk, water, egg, sourdough starter, sugar, salt, and all-purpose flour.Mix and knead for about 5-10 minutes.You're looking for a smooth, uniform dough that starts pulling together into something close to a ball. It will still be a little sticky, so don't expect it to completely clean the sides of the bowl.The goal isn't a perfect windowpane. We just want everything very well incorporated and the gluten to have a good head start.You can absolutely make this dough by hand as well. Just keep in mind that working the thick buckwheat scald evenly into the rest of the dough takes a little effort. Give it a good 5-10 minutes of kneading until the dough looks uniform.
- Transfer the dough to a bowl or container for bulk fermentation.Over the next 2 hours, perform 2-3 sets of stretch and folds, roughly 30-60 minutes apart.After that, leave the dough alone to finish fermenting.
- At around 75°F / 24°C, expect the total bulk fermentation to take approximately 5-7 hours from the time you finish mixing the dough.In a cooler kitchen, it may take longer. In a warm kitchen, it may be ready sooner.Don't wait for the dough to fully double.Instead, look for roughly a 50% increase in volume. The dough should look puffier, feel lighter, and you'll see bubbles developing along the sides or surface (glass bowl helps with seeing them a lot!!)
- Turn the dough out onto your work surface and divide it into 12 equal pieces, around 80-90 grams each.For regular dinner rolls, shape each piece into a tight round ball and arrange the rolls in a baking dish or on a lined baking sheet.For hoagie-style rolls, gently flatten each piece into a rectangle, then roll it up tightly from one short end to the other. Pinch the seam closed and place seam-side down.
- Cover the rolls and leave them at room temperature for approximately 2-3 hours, or until noticeably puffier.Again, watch the dough more than the clock. Depending on your starter and room temperature, they may move a little faster or slower.
- Bake at 375°F / 190°C for 20-25 minutes, or until the rolls are nicely golden brown on top.Let them cool for at least a few minutes before pulling them apart.