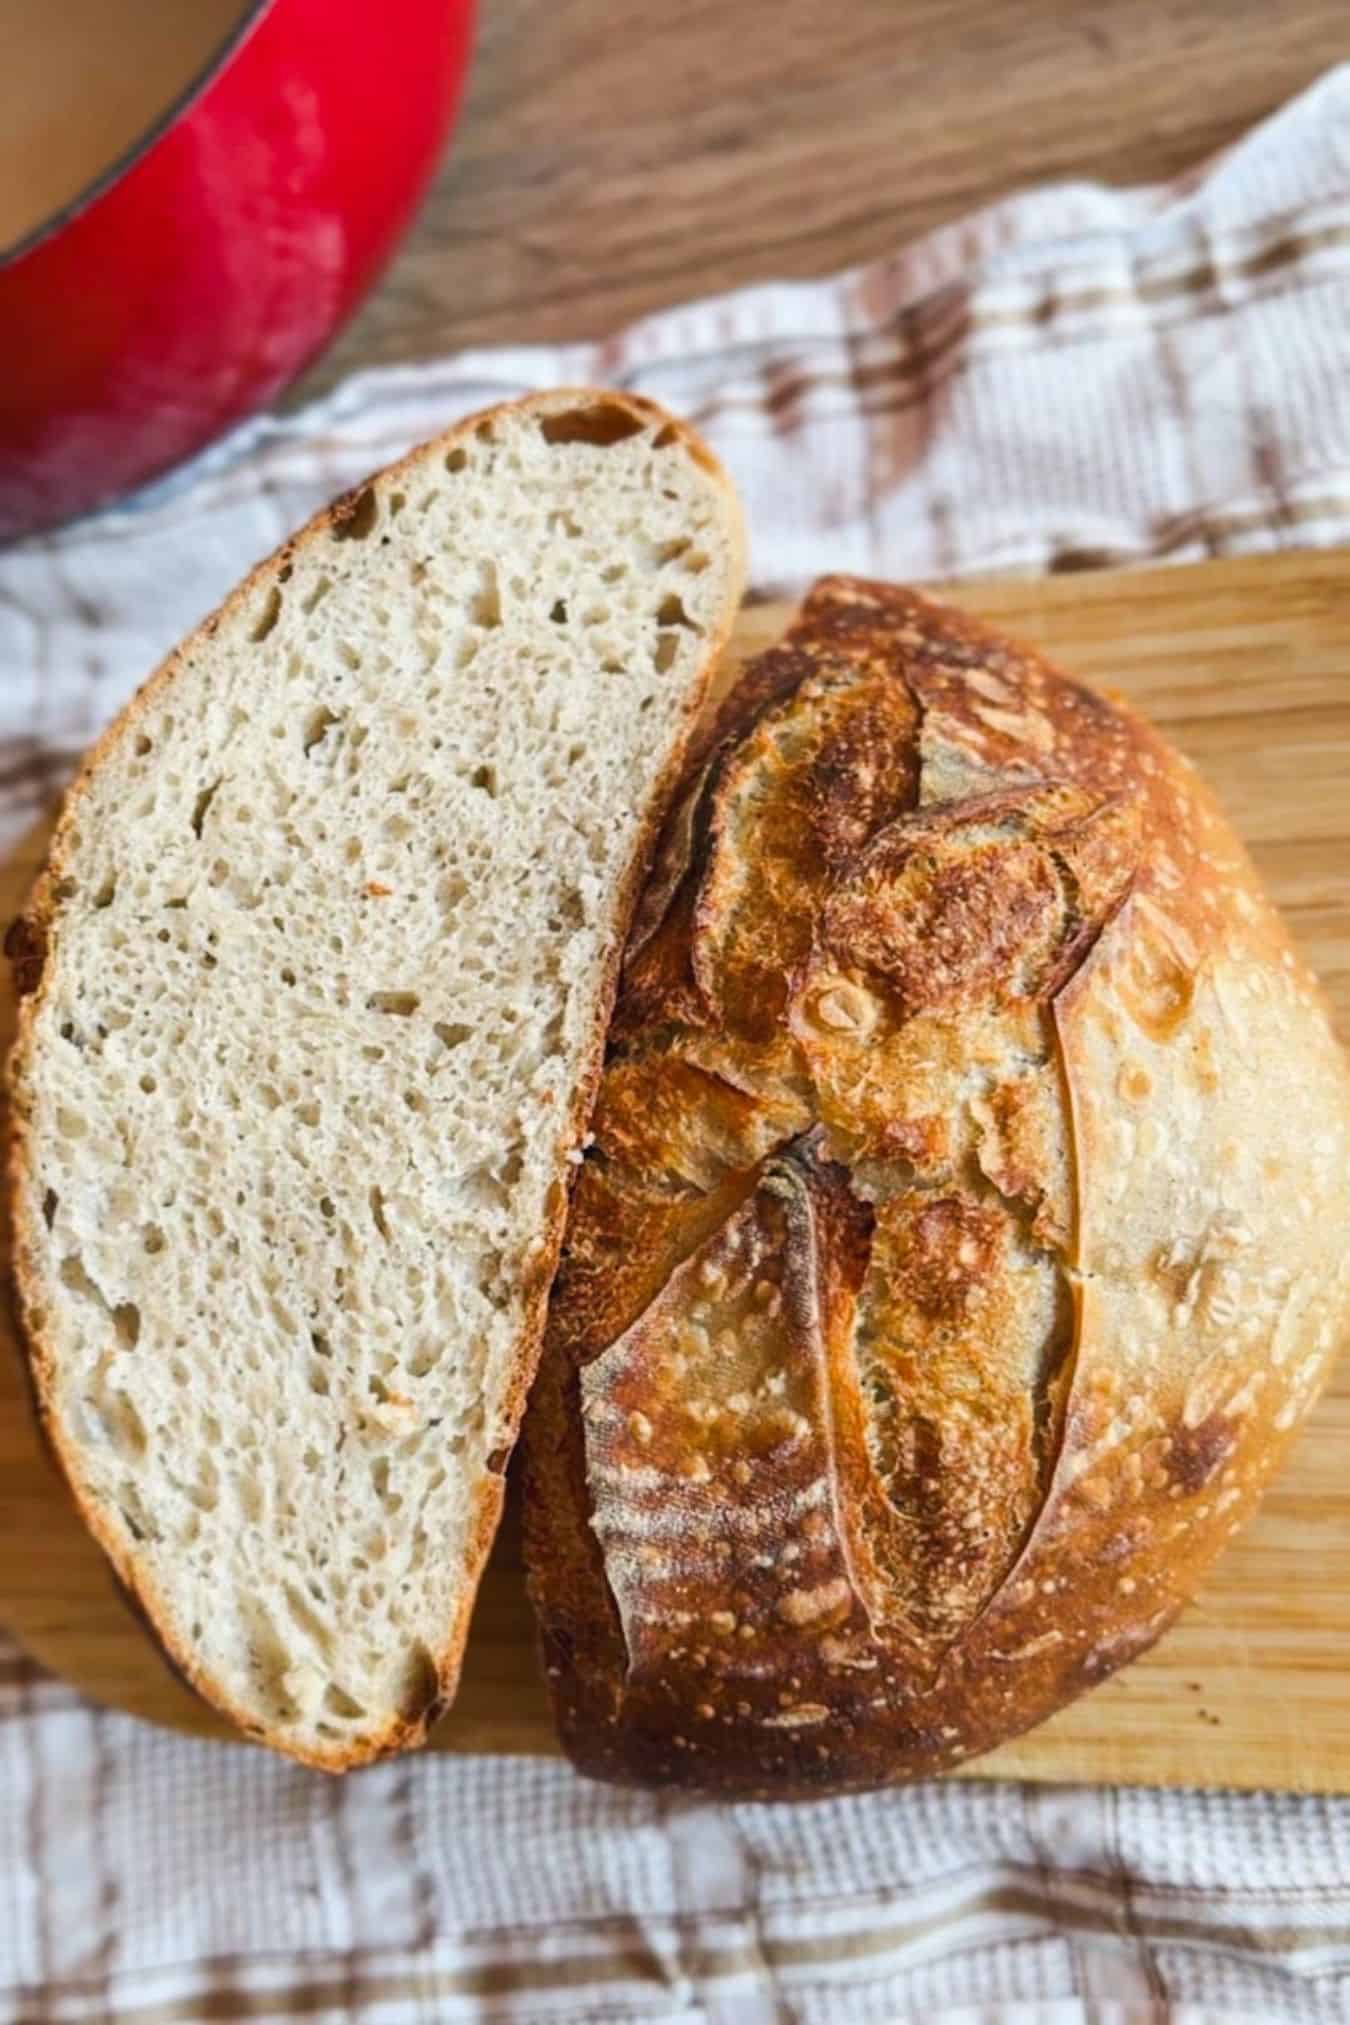
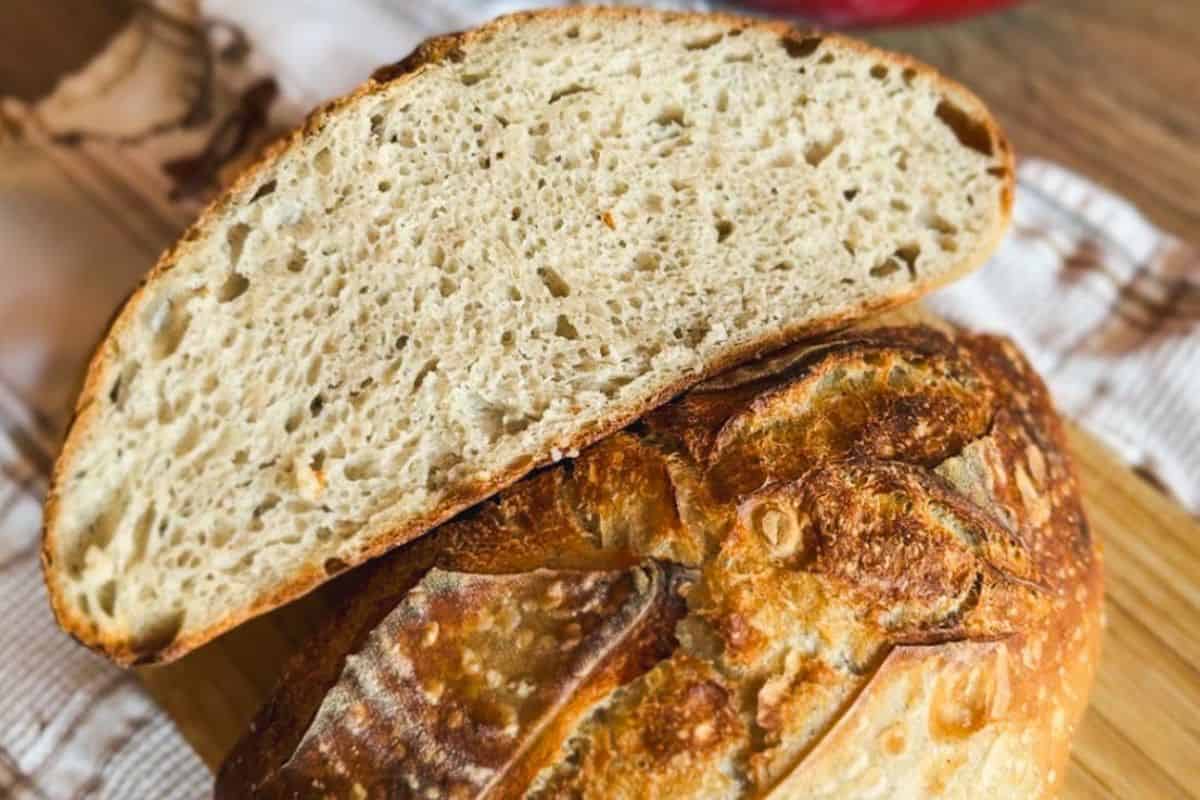
Buckwheat Sourdough Bread (With Simple Buckwheat Scald)
If you love hearty, rustic loaves with real flavor, this buckwheat sourdough bread (with simple buckwheat scald) is going to be your new favorite. It has unique nutty taste, and a soft, slightly moist crumb thanks to the quick buckwheat scald. It's simple, reliable, and absolutely worth to take extra 5 minutes to make it. If you've been wanting to branch out from classic white sourdough, this is the loaf to try next.
Buckwheat bread tends to be eaten especially in the colder months were I live, That said, I bake this year-round because it makes incredible toast and the best open-faced sandwiches.
If you like buckwheat, there so many ways to use it! I also love it as a side dish. If that sounds good, check out my creamy lemon chicken tights, creamy chicken in mushroom sauce with buckwheat groats or creamy porcini chicken with buckwheat!
Summarize & Save This Recipe On:
Quick Look
- Prep Time: 25 minutes
- Bulk Fermentation: 4-6 hours
- Final Proof: 8-16 hours (overnight)
- Cook Time: 45 minutes
- Total Time: 13-22 hours
- Servings: 8-10 slices
- Difficulty: Easy to moderate
- Baking Method: Dutch oven
- Best For: Everyday bread, toast, simple meals
Jump to:
- Summarize & Save This Recipe On:
- Quick Look
- Important Ingredients
- Substitutions & Variations
- How to Make Buckwheat Sourdough Bread
- Baking Schedule
- 💭Crucial Success Tips
- Recipe FAQs
- How To Store Buckwheat Sourdough Bread
- Other Delicious Recipes
- Buckwheat Sourdough Bread (With Simple Buckwheat Scald)
- Need Help Tweaking This Recipe?
- Other Sourdough Bread Recipes You'll Love
- Sourdough Pretzel Bagels
- Neapolitan-Style Sourdough Pizza Dough
- Italian Semolina Sourdough Bread
Important Ingredients
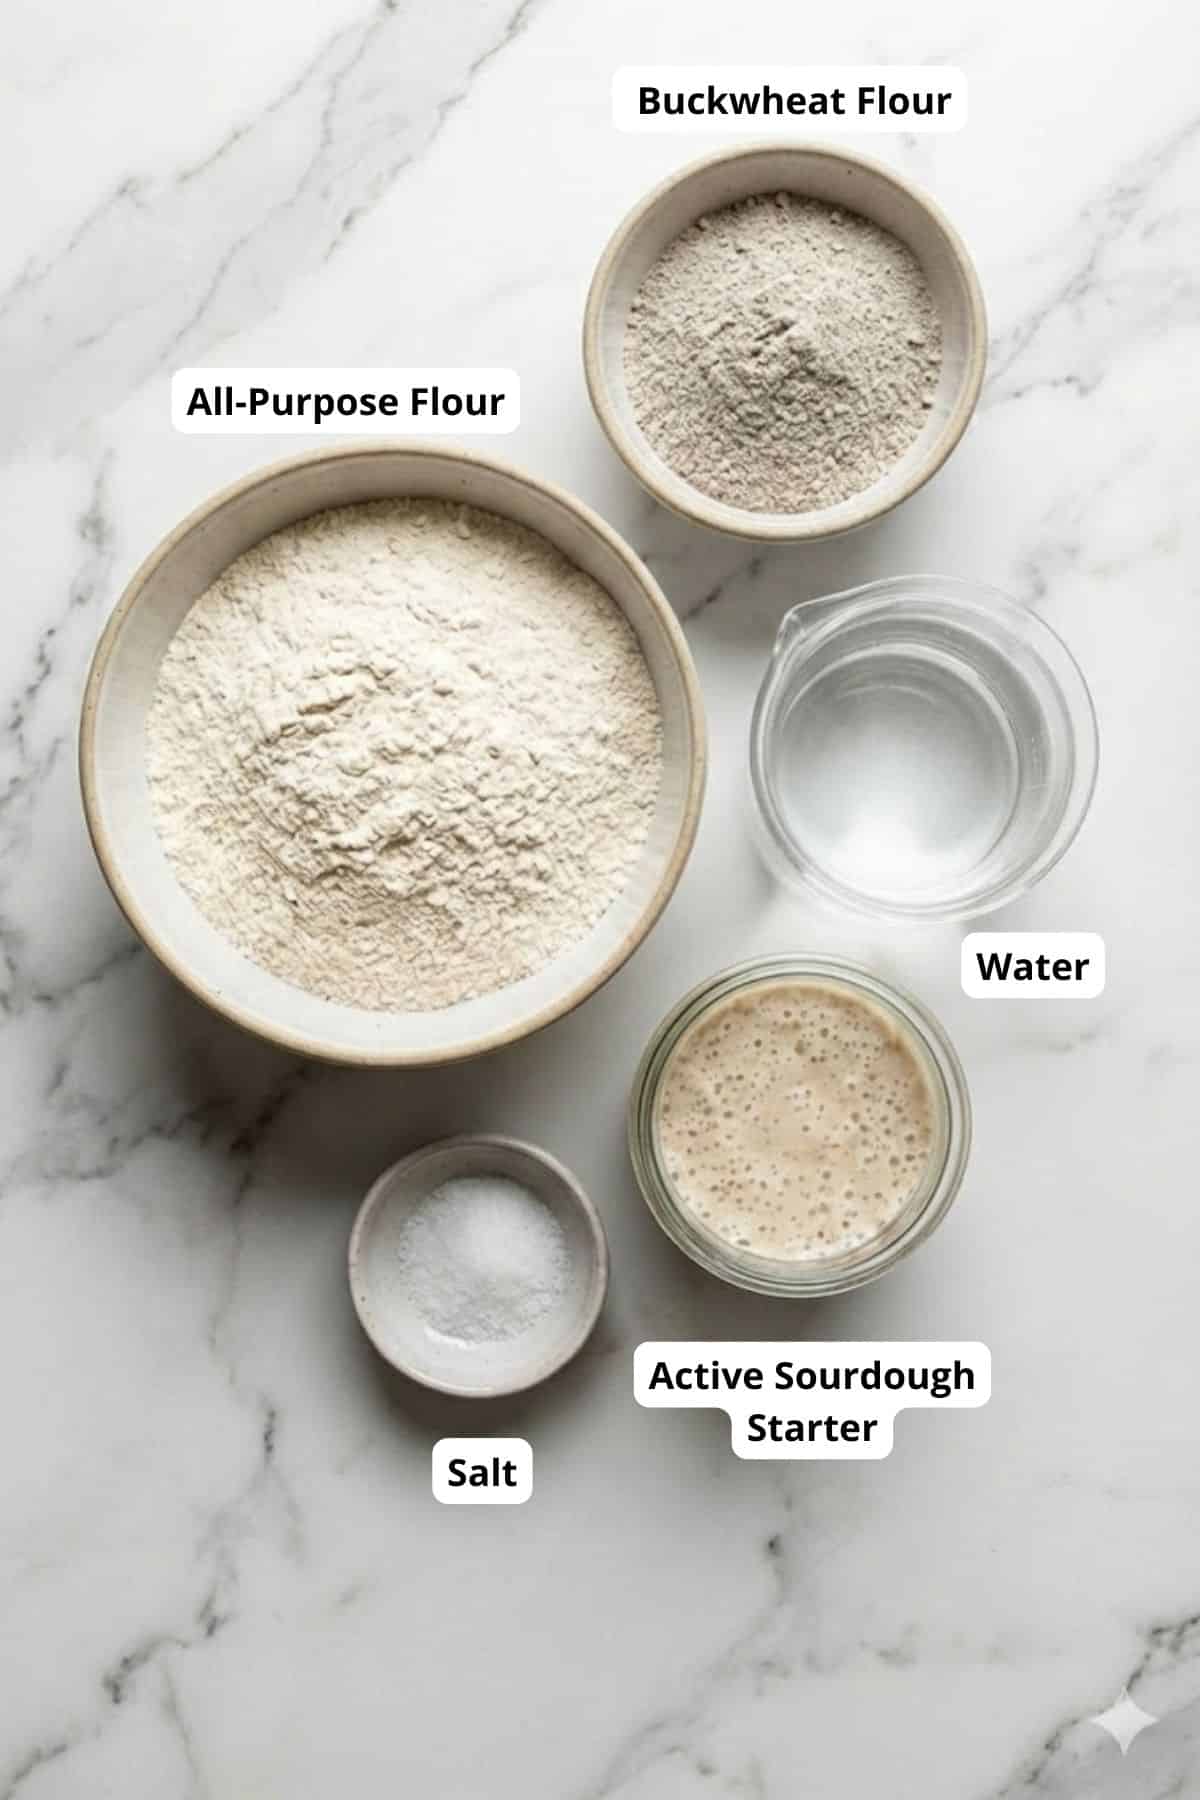
- Buckwheat flour adds unique flavor and moisture
- Bread or all-purpose flour gives structure and softness
- Active sourdough starter makes the bread rise
- Water for hydration and the scald
- Salt balances the flavor
See recipe card for quantities.
Substitutions & Variations
- You can use all-purpose flour instead of bread flour - these are inter-changable in this recipe!
- Use a bit of whole wheat flour instead of a portion of all purpose for a deeper flavor
- Add a little honey if you prefer a slightly softer crumb, but be prepared to taste it too
How to Make Buckwheat Sourdough Bread
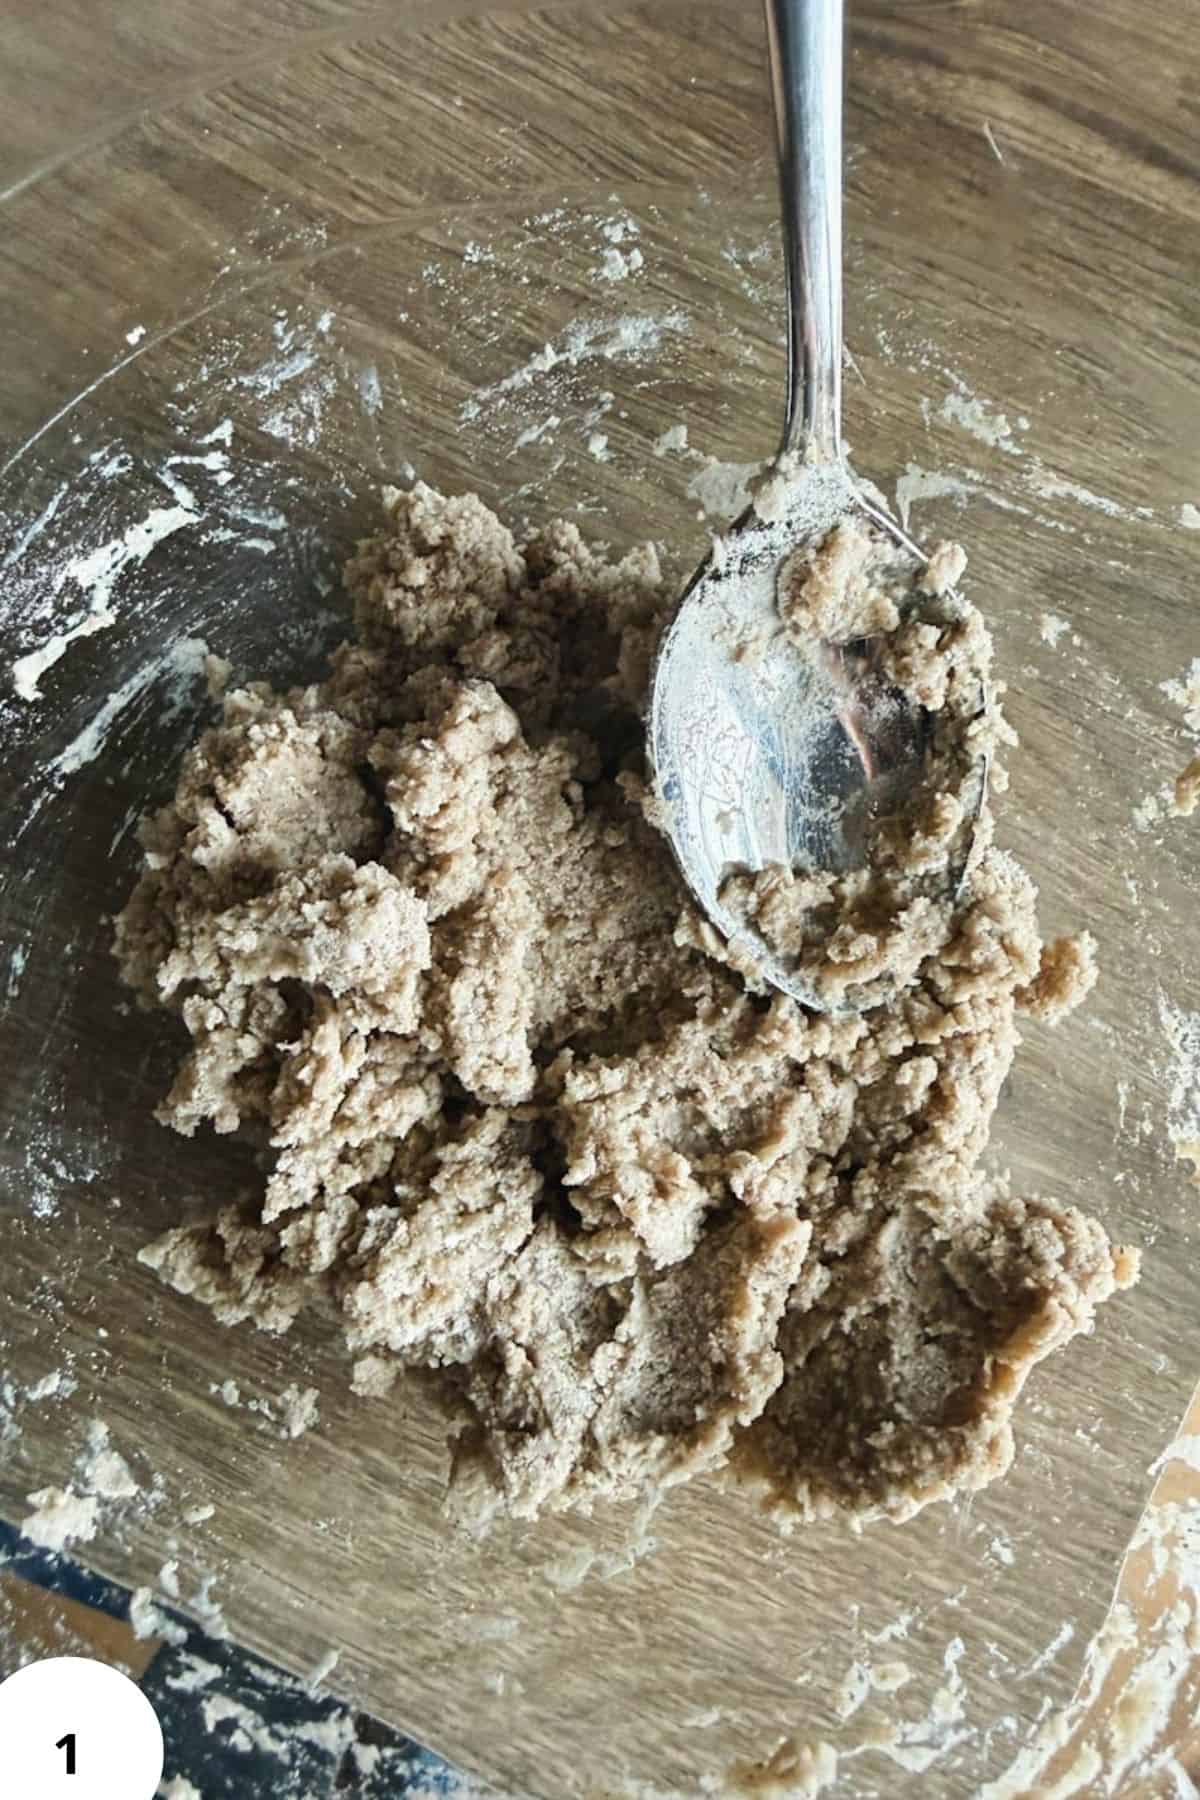
Step 1: Place the buckwheat flour in a heatproof bowl. Pour boiling water over it and stir until thick and smooth (Image 1). Cover and let cool completely.
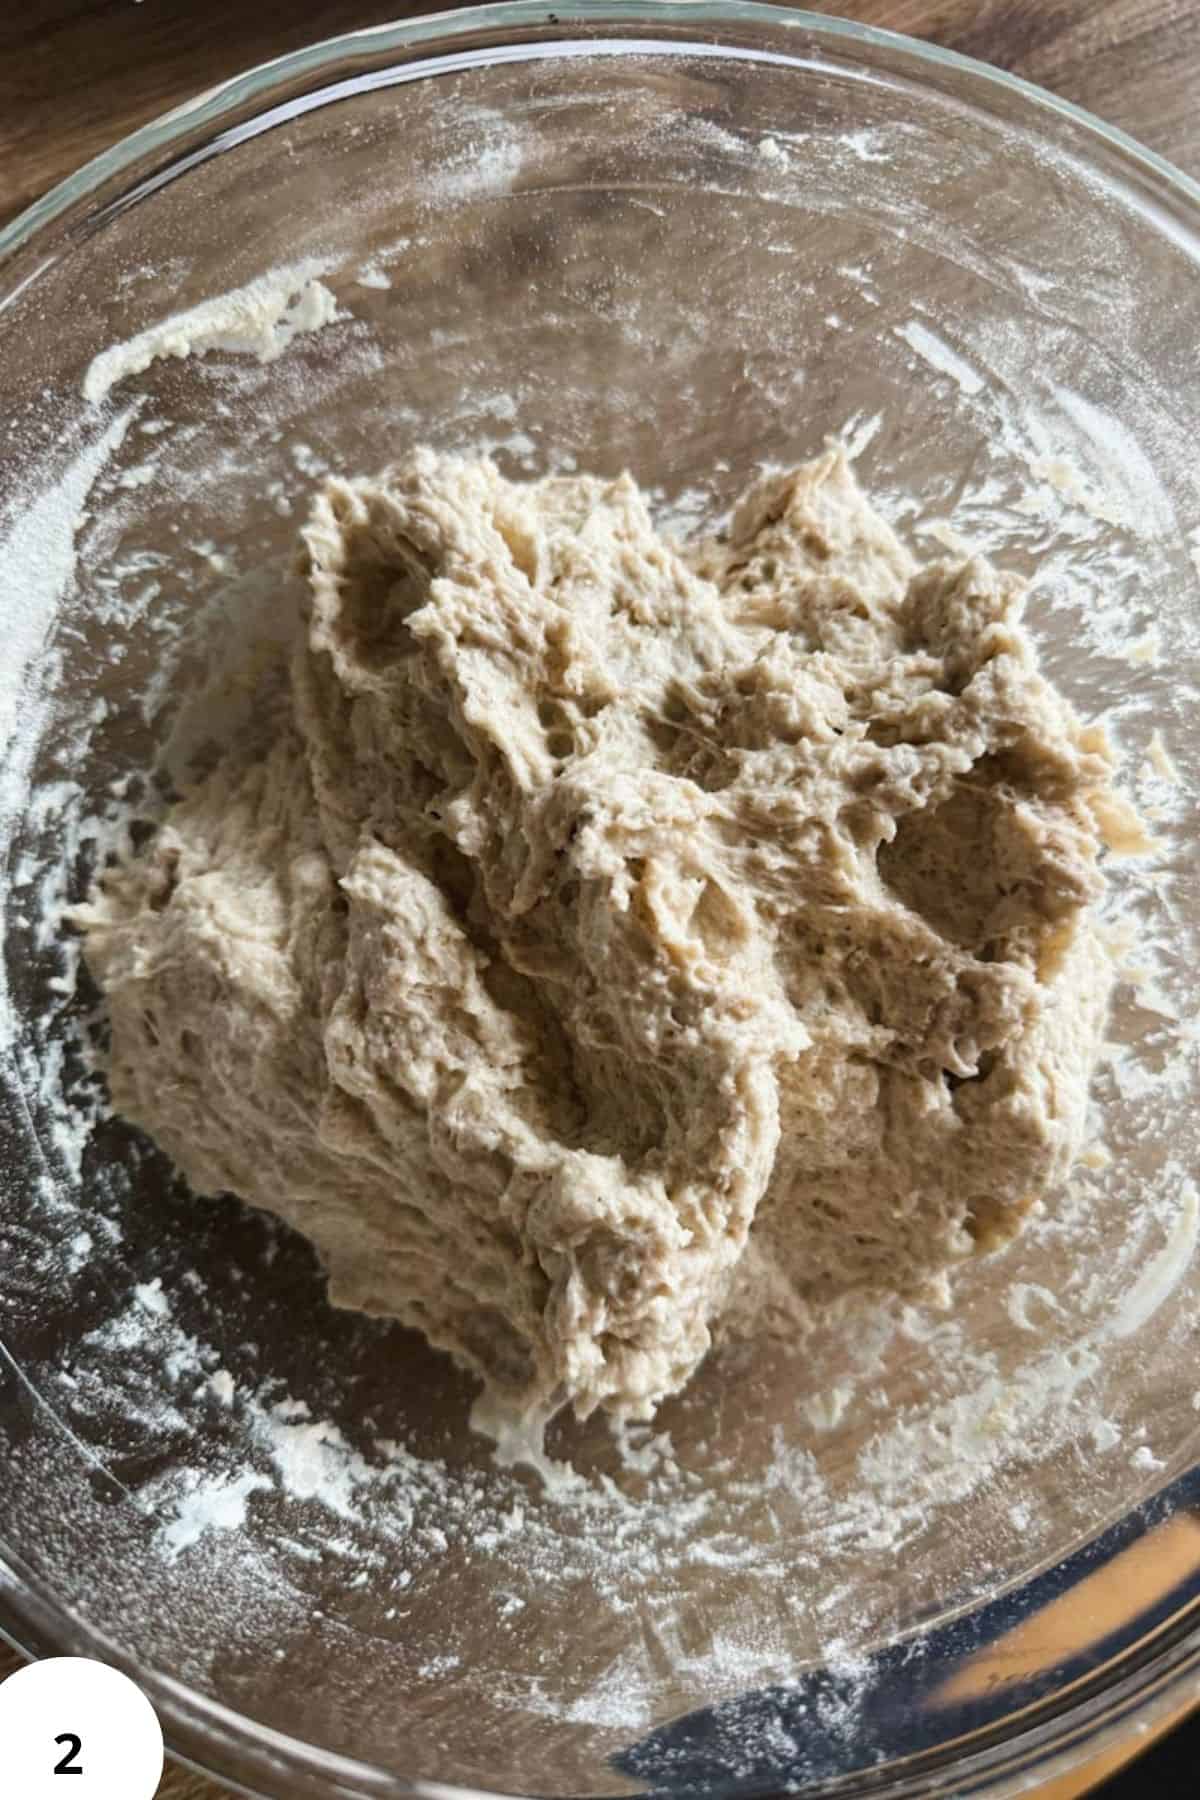
Step 2: In a large bowl, combine the water, sourdough starter, and salt. Add the cooled buckwheat scald and mix well. Add the flour and mix until no dry spots remain. I usually start with a spoon (Image 2) and finish with my hands. Cover and let rest for 30 minutes.
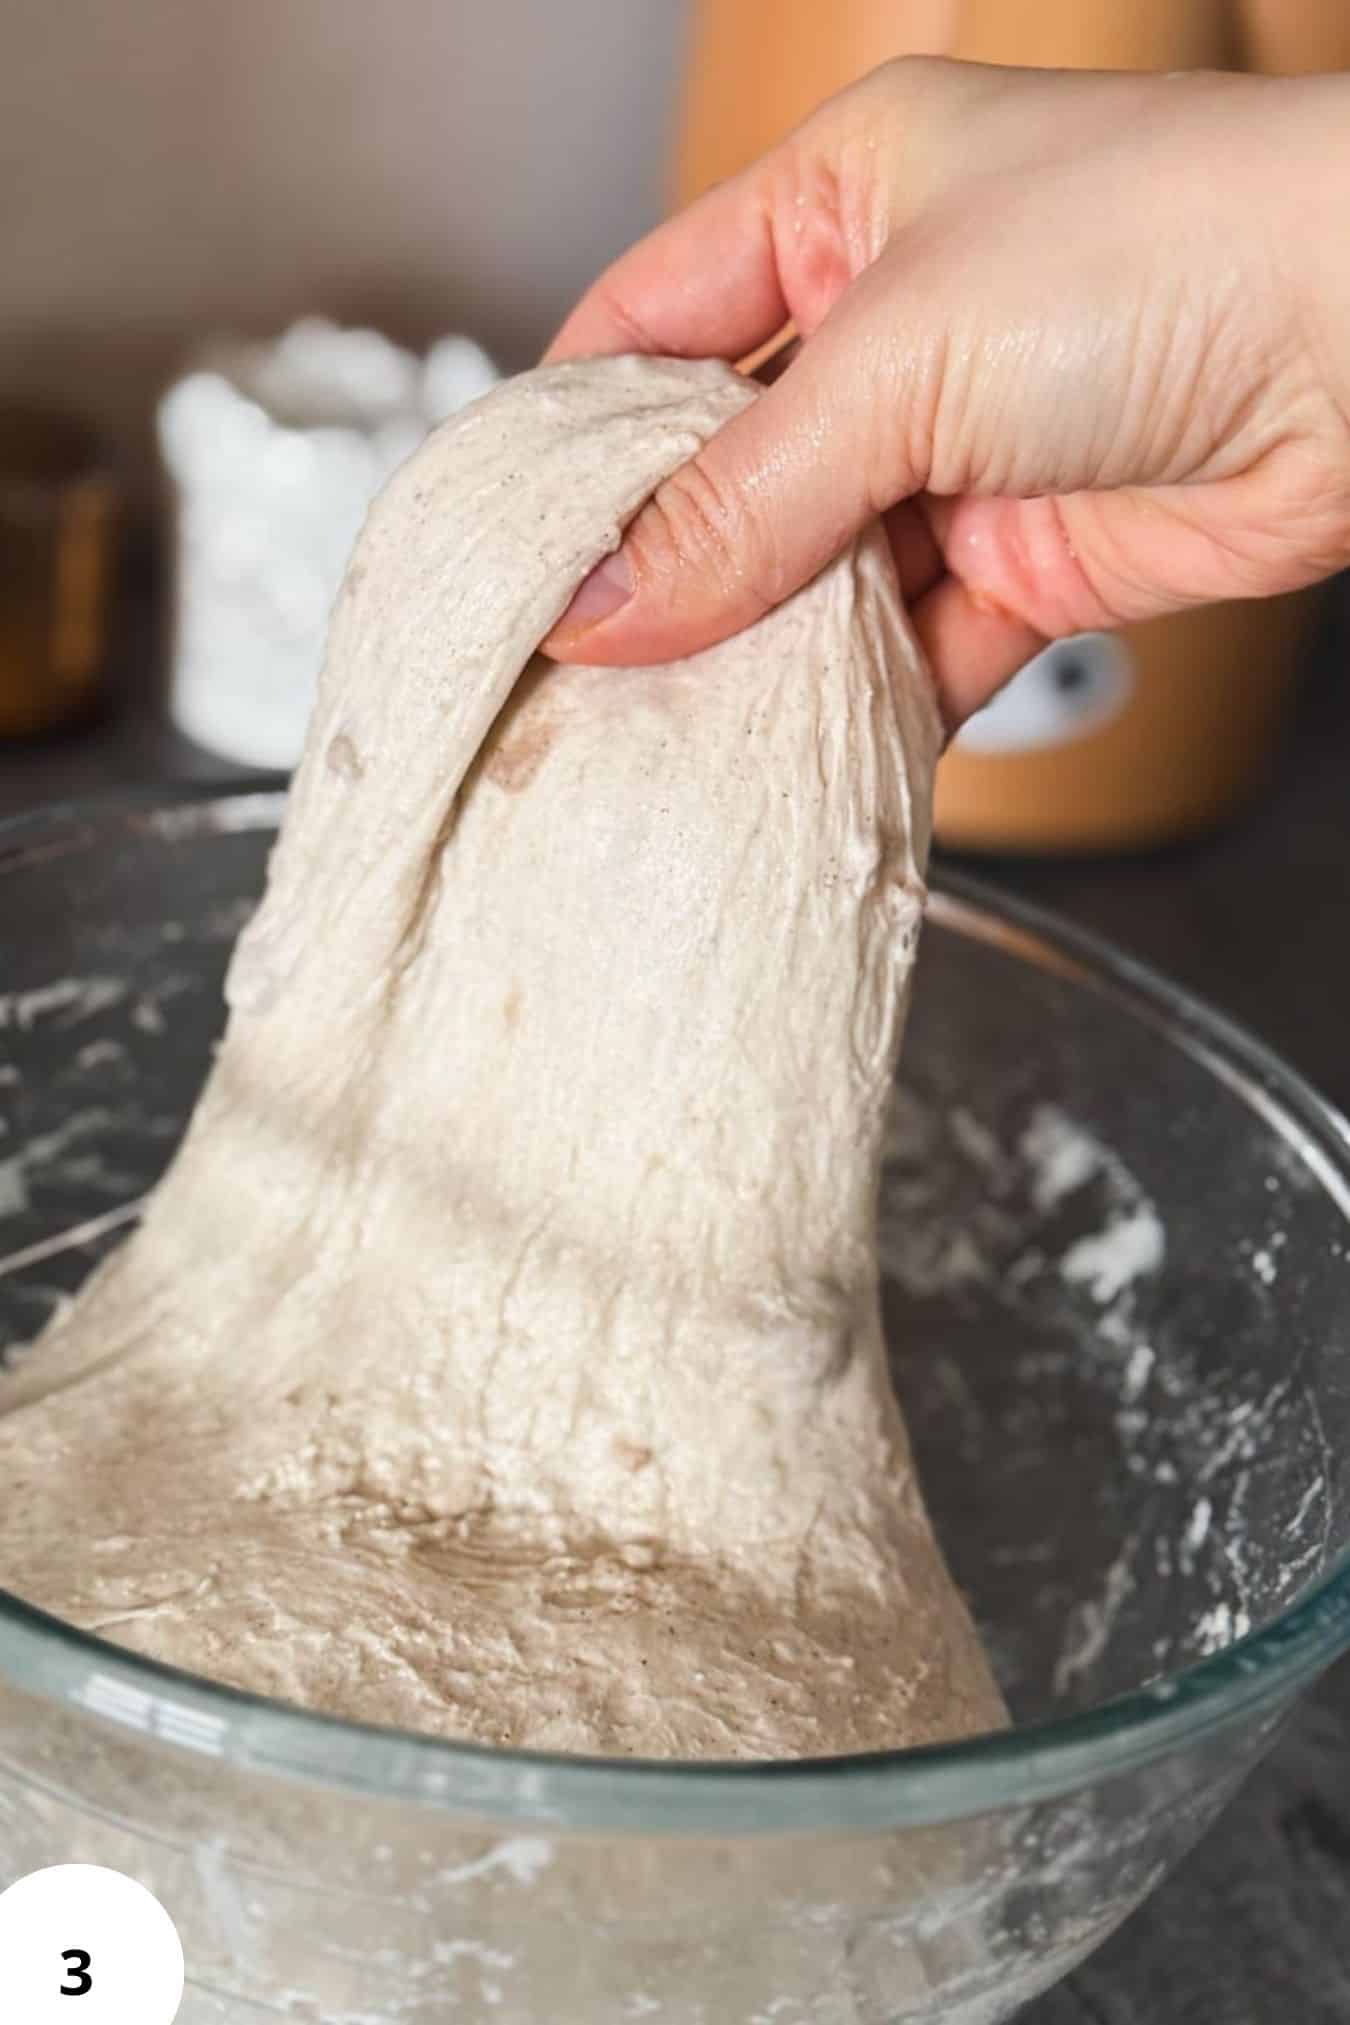
Step 3: After 30 minutes, perform your first set of stretch and folds: grab one edge of the dough, stretch it up (Image 3), and fold it over. Rotate the bowl and repeat 3 more times. Cover and rest 20 minutes. Repeat until you've done 4 total sets of stretch and folds.
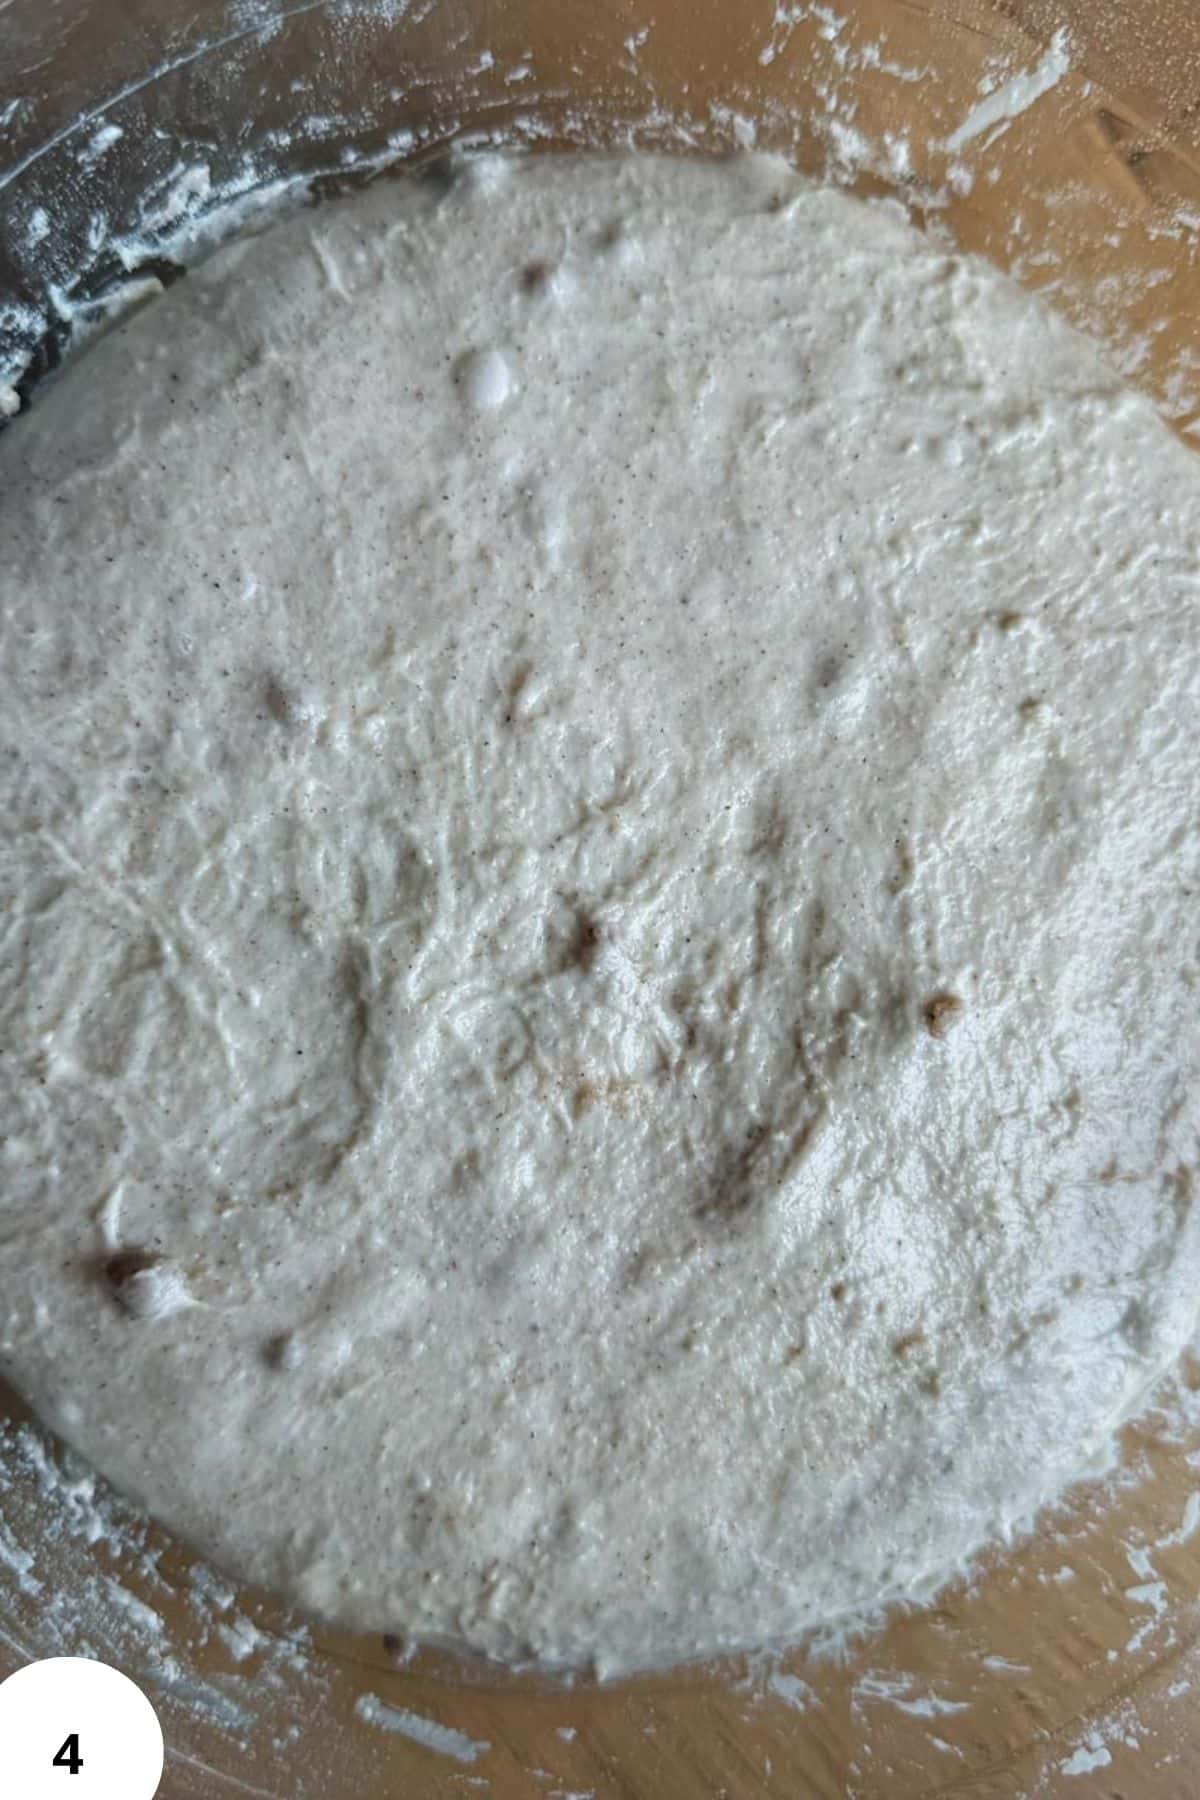
Step 4: Cover the dough and let rise at room temperature (Image 4) for about 4-6 hours, or until slightly domed and about 50% bigger in volume.
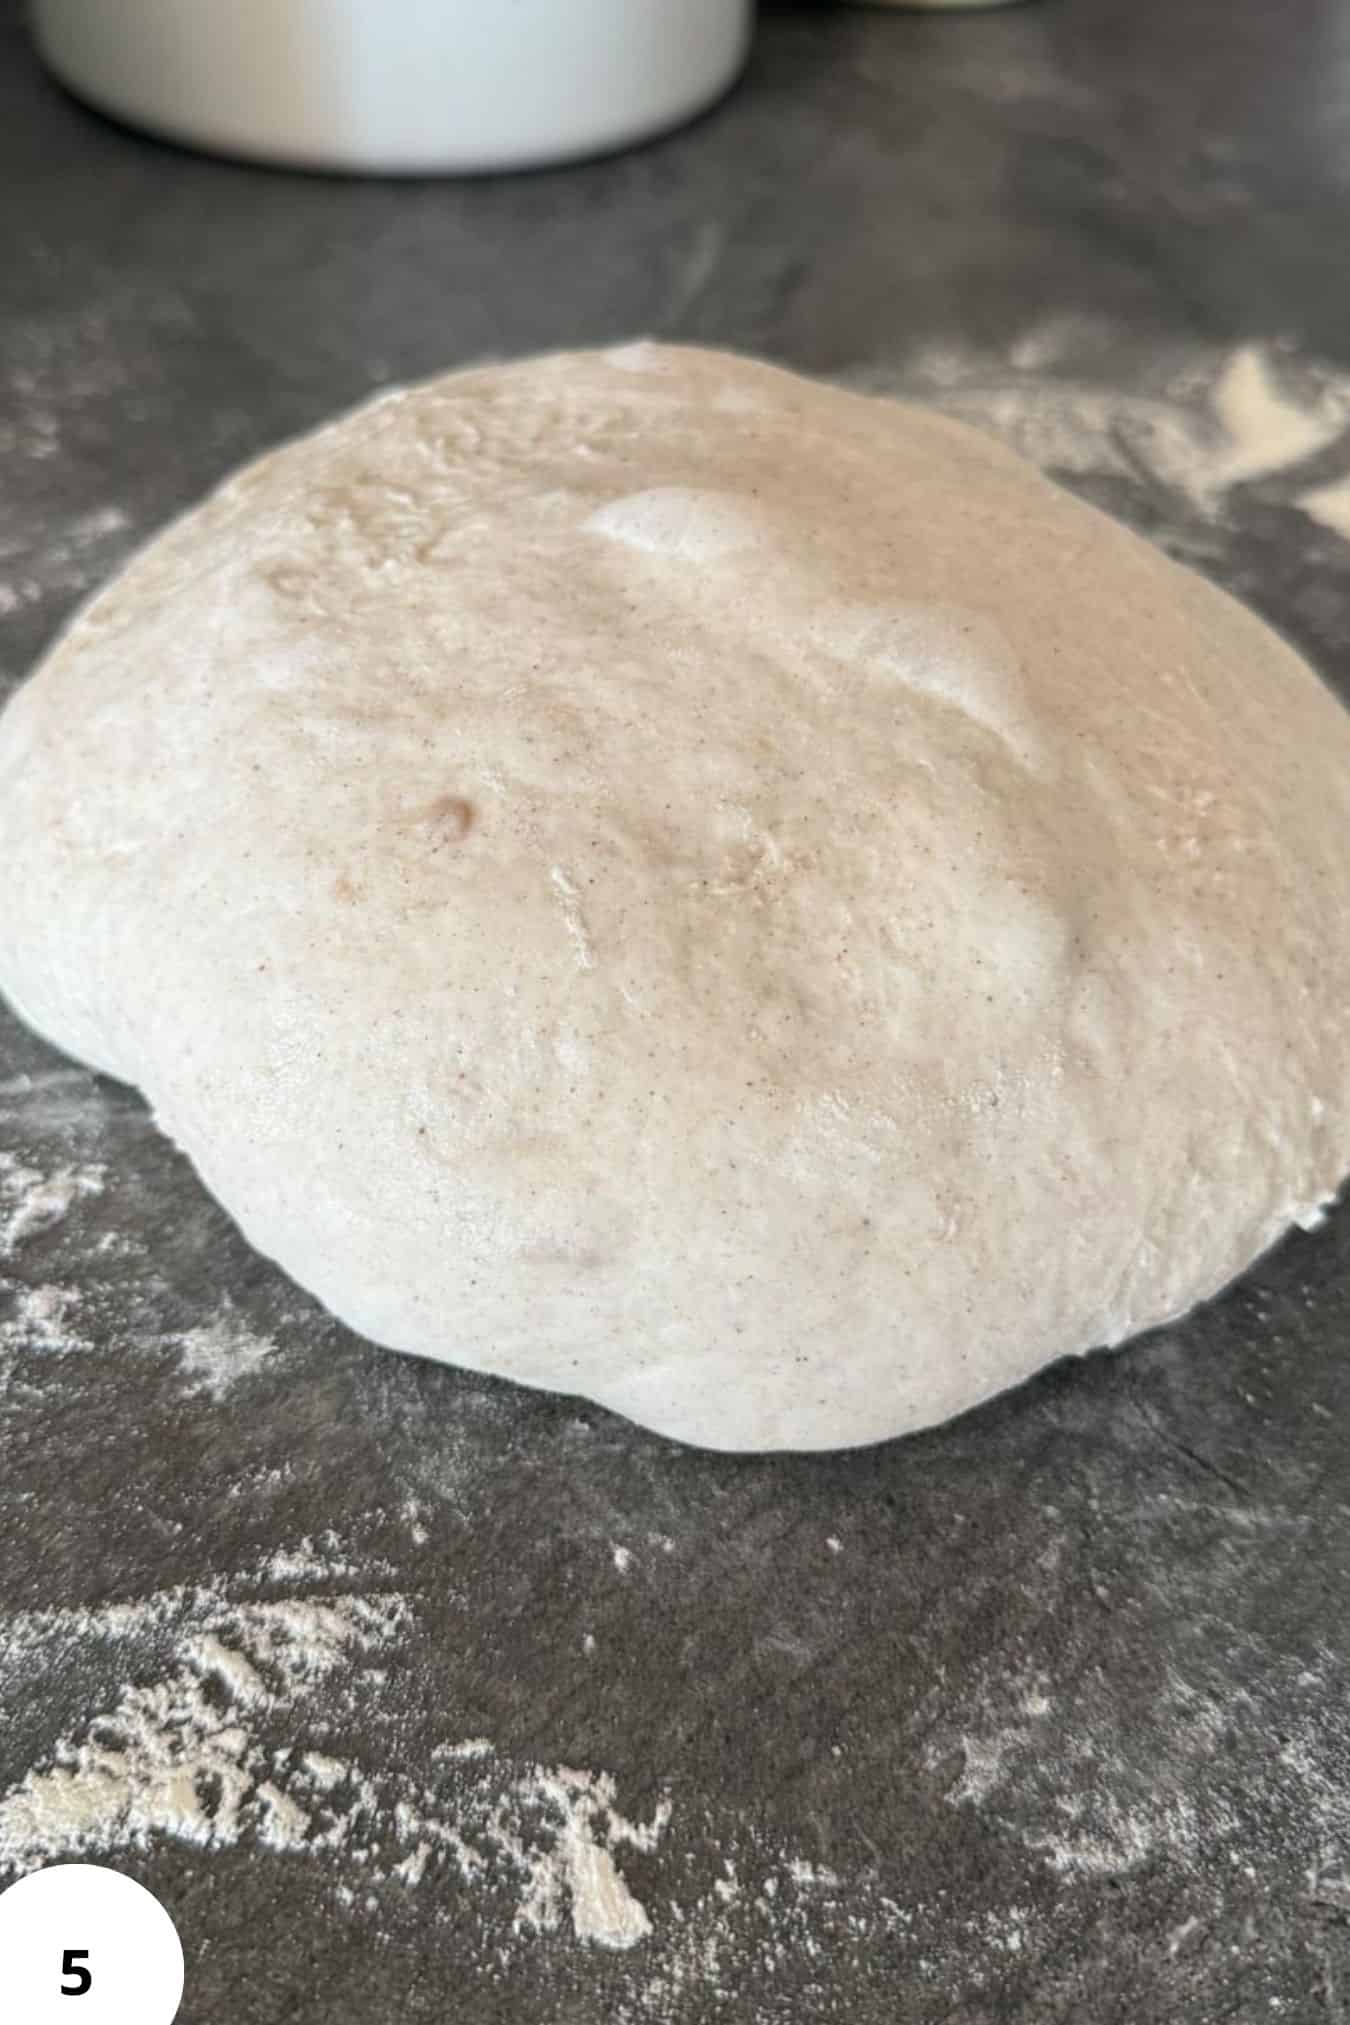
Step 5: Transfer dough to a lightly floured surface and gently shape into a round chape (Image 5). Place dough seam-side up into a towel-lined banneton basket or a glass bowl. Cover and refrigerate overnight (8-16 hours).

Step 6: Preheat your oven with the dutch oven inside to 450°F (230°C). Turn dough out onto parchment paper, score the top (Image 6), and carefully transfer into the hot dutch oven.
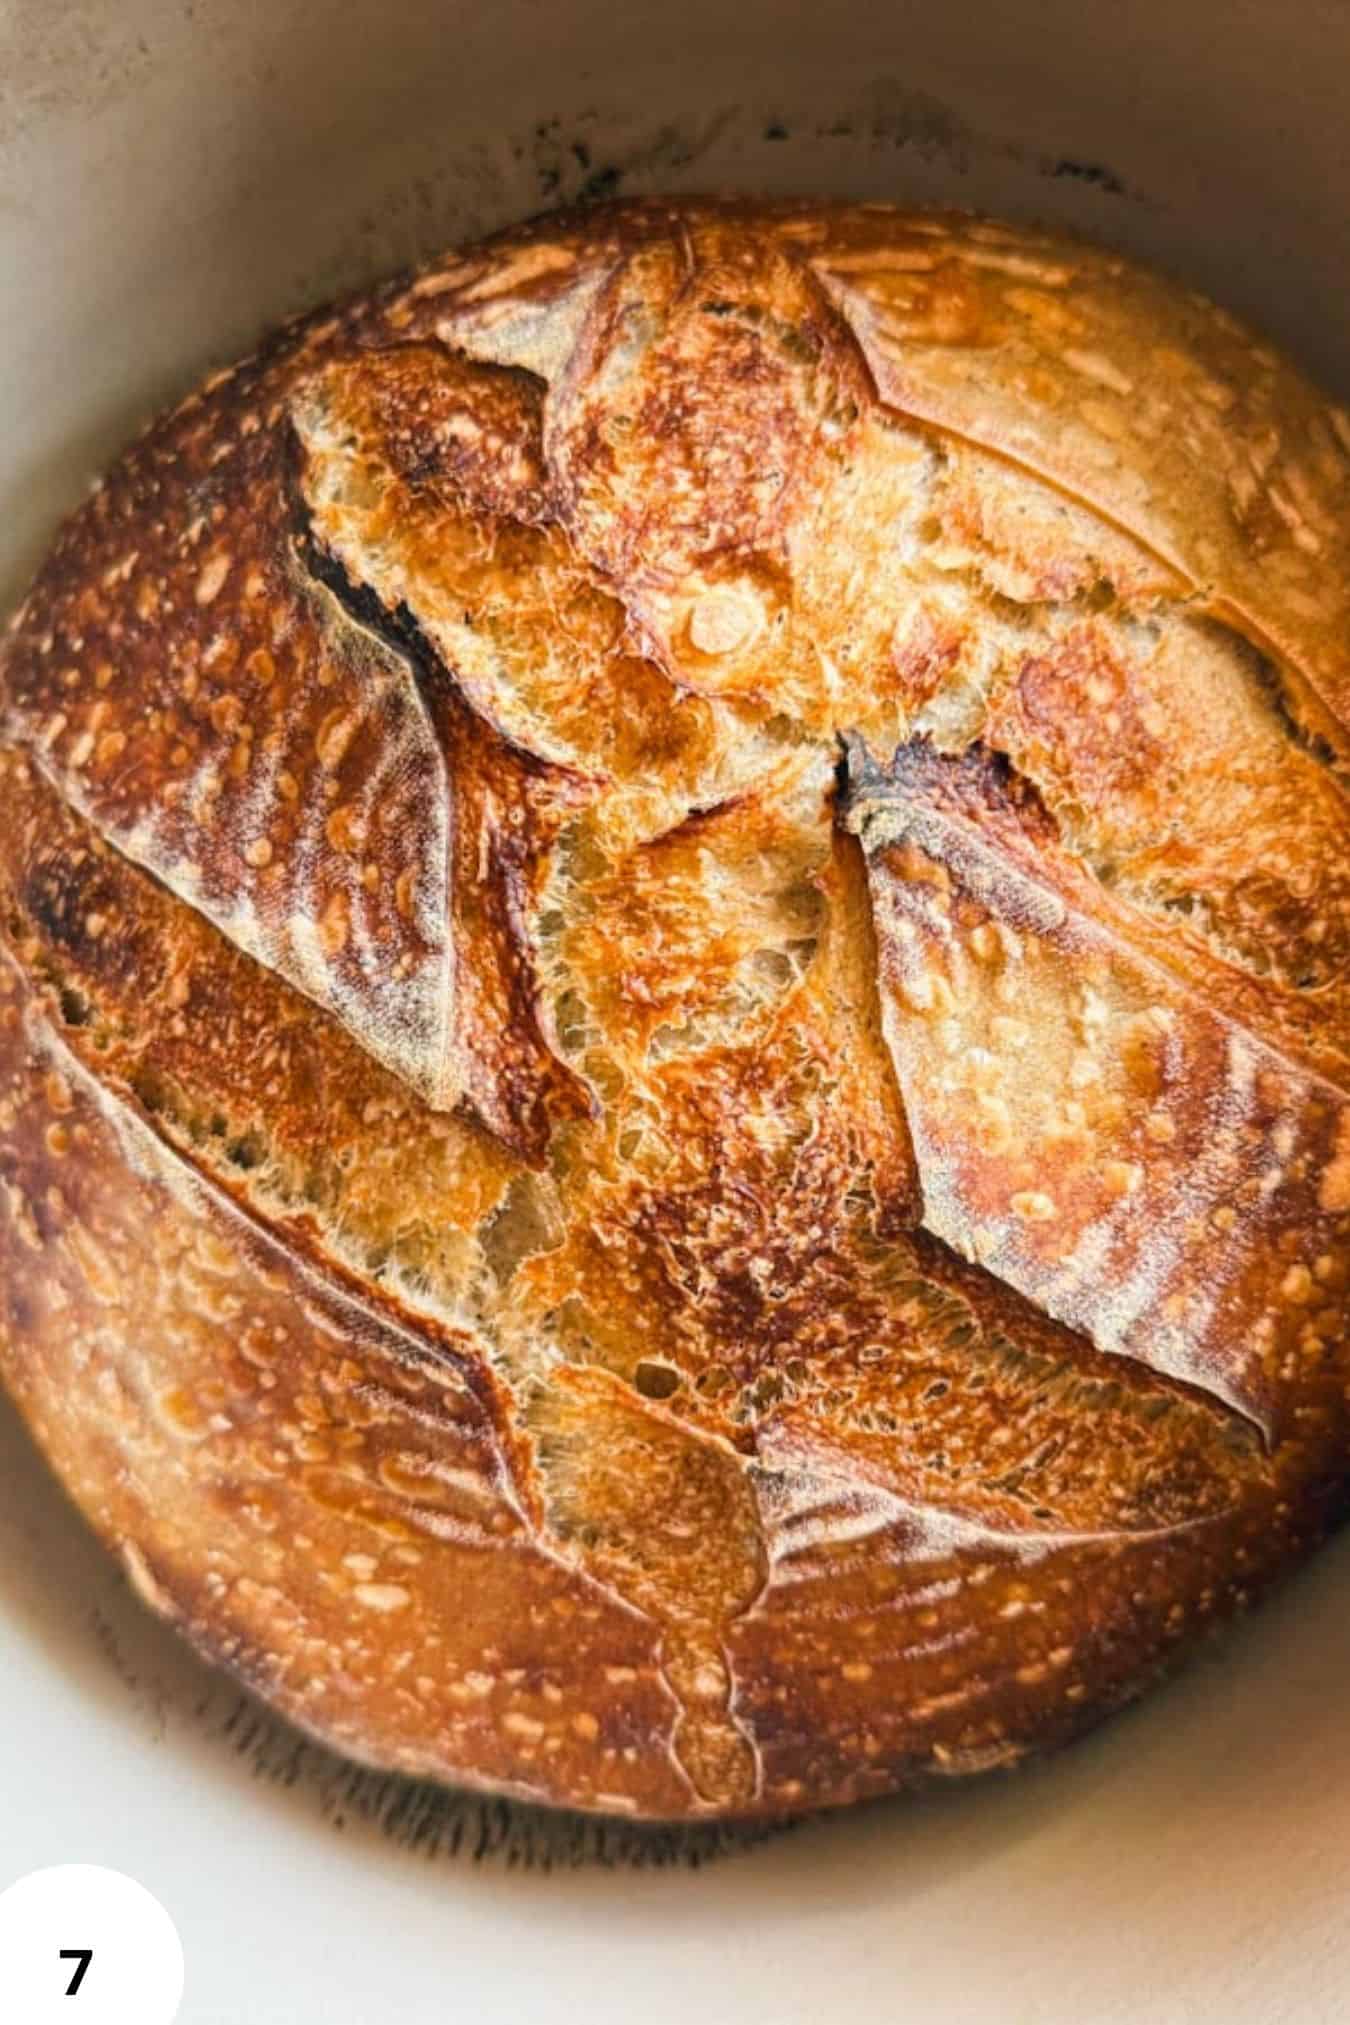
Step 7: Bake covered for 20 minutes. Remove lid and bake another 20-25 minutes until deep golden brown (Image 7).

Step 8: Transfer bread to a cooling rack and let cool completely before slicing (Image 8).
Hint: let your dough fully cool before slicing. Cutting too early releases steam and can make the crumb gummy. I know it's tempting, but waiting makes a big difference.
Baking Schedule
- Morning: Make scald + mix dough
- Midday: Stretch and folds
- Afternoon: Bulk fermentation
- Evening: Shape + refrigerate
- Next morning: Bake
💭Crucial Success Tips
Do not rush bulk fermentation. Buckwheat sourdough bread should rise about 50 percent, not double. Over-fermented dough spreads and turns dense.
Recipe FAQs
I bet you can, BUT that is very hard to do. This recipe contains bread flour for structure. Buckwheat flour alone does not contain gluten, but the loaf itself is not gluten free.
The scald gelatinizes the starch in the buckwheat flour. Gelatinized starch holds more water. More water retention means a softer crumb and better shelf life.
Dense bread is usually caused by under-fermentation, over-fermentation, or a weak starter. Make sure your dough rises about 50 percent during bulk and that your starter is active and bubbly before mixing.
How To Store Buckwheat Sourdough Bread
Store at room temperature in a covered container or bag for up to 2-3 days. You can refrigerate it, but it may dry out faster.
This bread freezes well. Slice it first, then freeze for up to 2 months. Toast straight from frozen when needed.
Other Delicious Recipes
- Sourdough Pretzel Bagels

- Neapolitan-Style Sourdough Pizza Dough
- Italian Semolina Sourdough Bread
- Sourdough Picnic Rolls (Pull-Apart Bread Rolls)


If you tried this buckwheat sourdough bread (with simple buckwheat scald) or any other recipe on my blog please leave a 🌟 star rating and let me know how it went in the 📝 comments below! Happy Baking!
Buckwheat Sourdough Bread (With Simple Buckwheat Scald)
Jump to VideoIngredients
Buckwheat scald
- 80 grams buckwheat flour
- 160 grams water boiling
Dough
- 360 grams all-purpose or bread flour
- 260 grams water plus extra if needed
- 120 grams active sourdough starter
- 8 grams salt
Instructions
- Place the buckwheat flour in a heatproof bowl. Pour boiling water over it and stir until thick and smooth. Cover and let cool completely.
- In a large bowl, combine the water, sourdough starter, and salt. Add the cooled buckwheat scald and mix well. Add the flour and mix until no dry spots remain. I usually start with a spoon and finish with my hands. Cover and let rest for 30 minutes.
- After 30 minutes, perform your first set of stretch and folds: grab one edge of the dough, stretch it up, and fold it over. Rotate the bowl and repeat 3 more times. Cover and rest 20 minutes. Repeat until you've done 4 total sets of stretch and folds.
- Cover the dough and let rise at room temperature for about 4-6 hours, or until slightly domed and about 50% bigger in volume.
- Transfer dough to a lightly floured surface and gently shape into a round chape. Place dough seam-side up into a towel-lined banneton basket or a glass bowl. Cover and refrigerate overnight (8-16 hours).
- Preheat your oven with the dutch oven inside to 450°F (230°C). Turn dough out onto parchment paper, score the top, and carefully transfer into the hot dutch oven.
- Bake covered for 20 minutes. Remove lid and bake another 20-25 minutes until deep golden brown.
- Transfer bread to a cooling rack and let cool completely before slicing.
Video
Notes
- This is a mixed-flour loaf, not gluten-free. Buckwheat has no gluten, so wheat flour is needed for structure.
- If your dough feels stiff, add a splash more water. Buckwheat absorbs more moisture than wheat.
- The flavor improves the next day, and this loaf makes excellent toast.
- You can add seeds during the last set of stretch and folds if you'd like a seeded version.