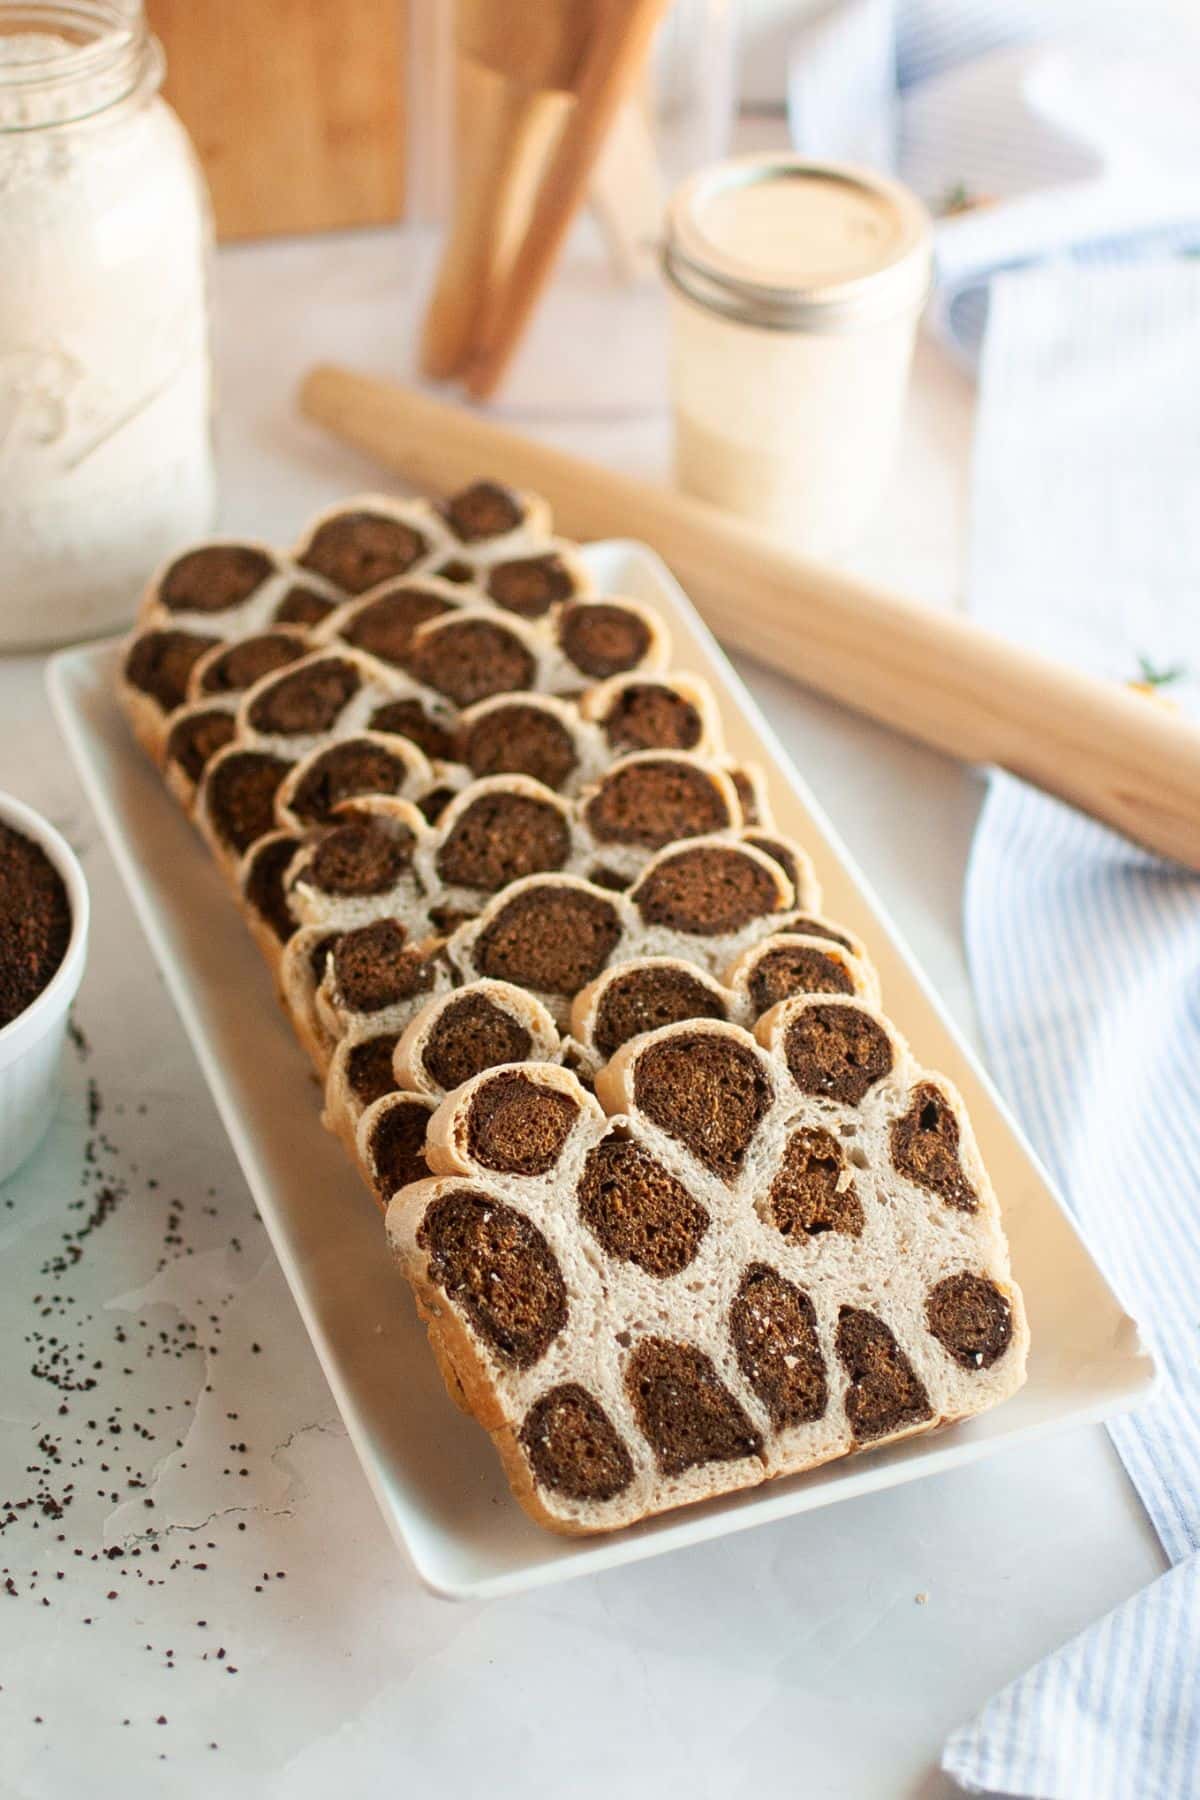
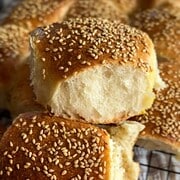
Giraffe Sourdough Sandwich Bread
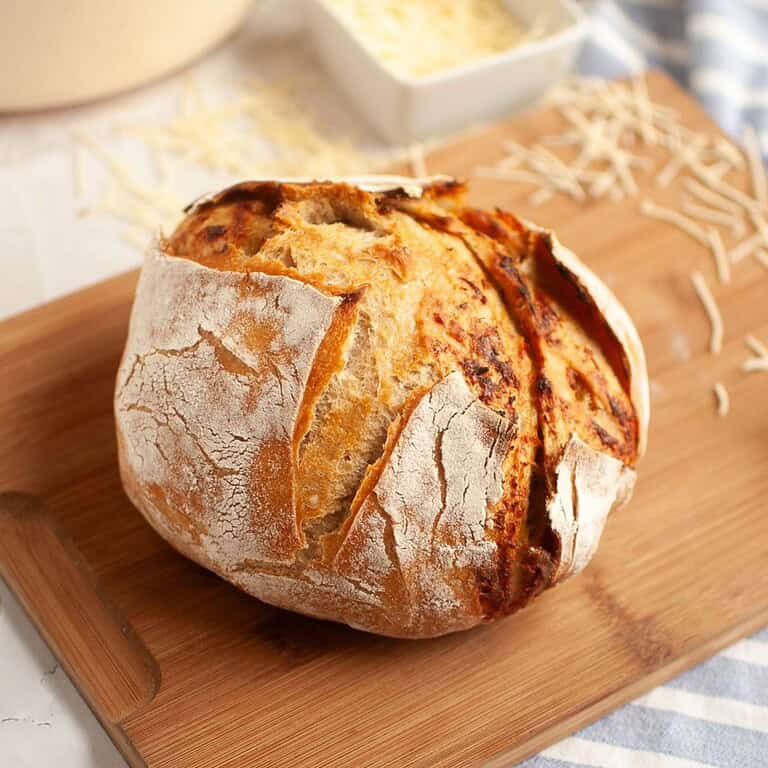
If you love soft sourdough sandwich bread but also want something that makes people stop and stare when you slice it, this loaf is for you. Giraffe sourdough sandwich bread is patterned all the way through with warm brown "spots" that look cool but are surprisingly doable at home. It's playful, kid-friendly, and still delicious enough for sandwiches
This loaf was made because I wanted to do something fun for the kids,, and it pairs especially well with soups, simple lunch plates, and toasted sandwiches. If you're looking for an extra-soft everyday loaf, my sourdough tangzhong sandwich bread is a great companion recipe to try next.
Quick Look
- Prep Time: 1 hour 30 minutes
- Bulk Fermentation: about 5 hours
- Final Proof: overnight (10-12 hours in the fridge)
- Cook Time: 50 minutes
- Total Time: about 18-20 hours
- Servings: 1 loaf (12-16 slices)
- Difficulty: Intermediate
- Baking Method: Oven-baked loaf pan sourdough
- Best For: Sandwiches, toast, kids, special occasions
Jump to:
- Quick Look
- Important Ingredients
- Substitutions & Variations
- How to Make Giraffe Sourdough Sandwich Bread
- Baking Schedule
- 💭Crucial Success Tips
- Recipe FAQs
- How To Store Giraffe Sourdough Sandwich Bread
- Other Delicious Recipes
- Giraffe Sourdough Sandwich Bread
- Need Help Tweaking This Recipe?
- Other Sourdough Bread Recipes You'll Love
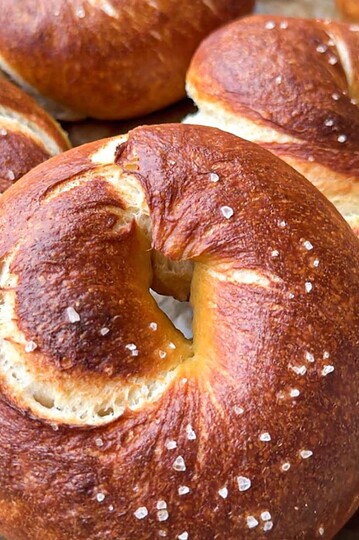
- Sourdough Pretzel Bagels
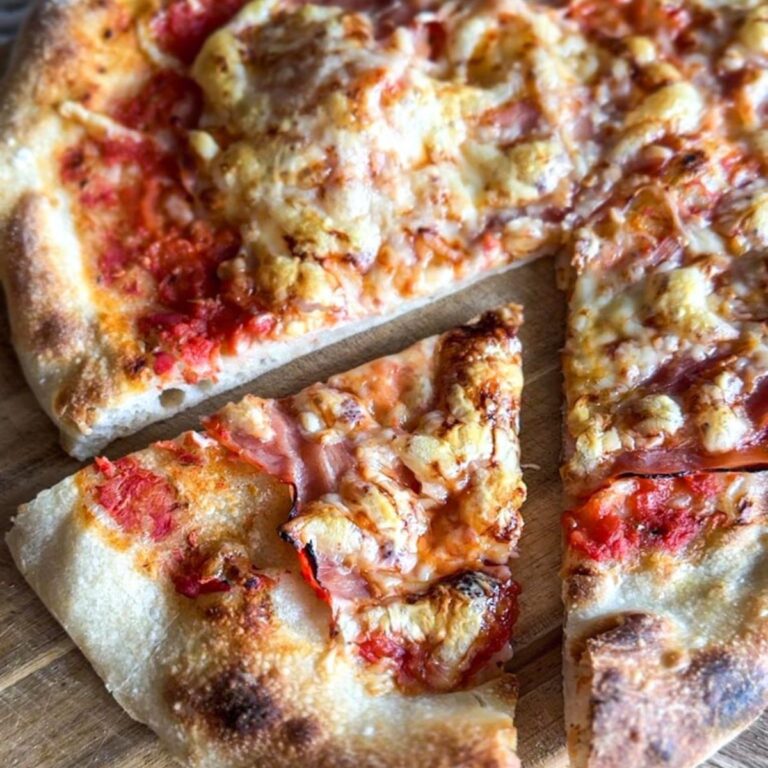
- Neapolitan-Style Sourdough Pizza Dough
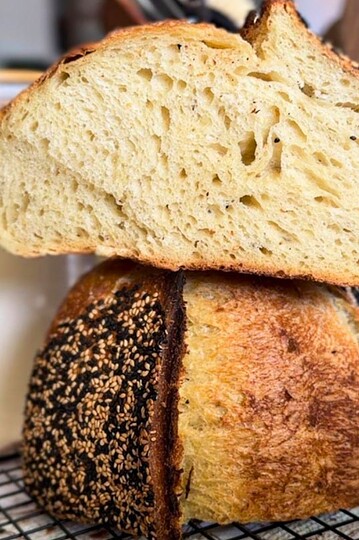
- Italian Semolina Sourdough Bread
Important Ingredients
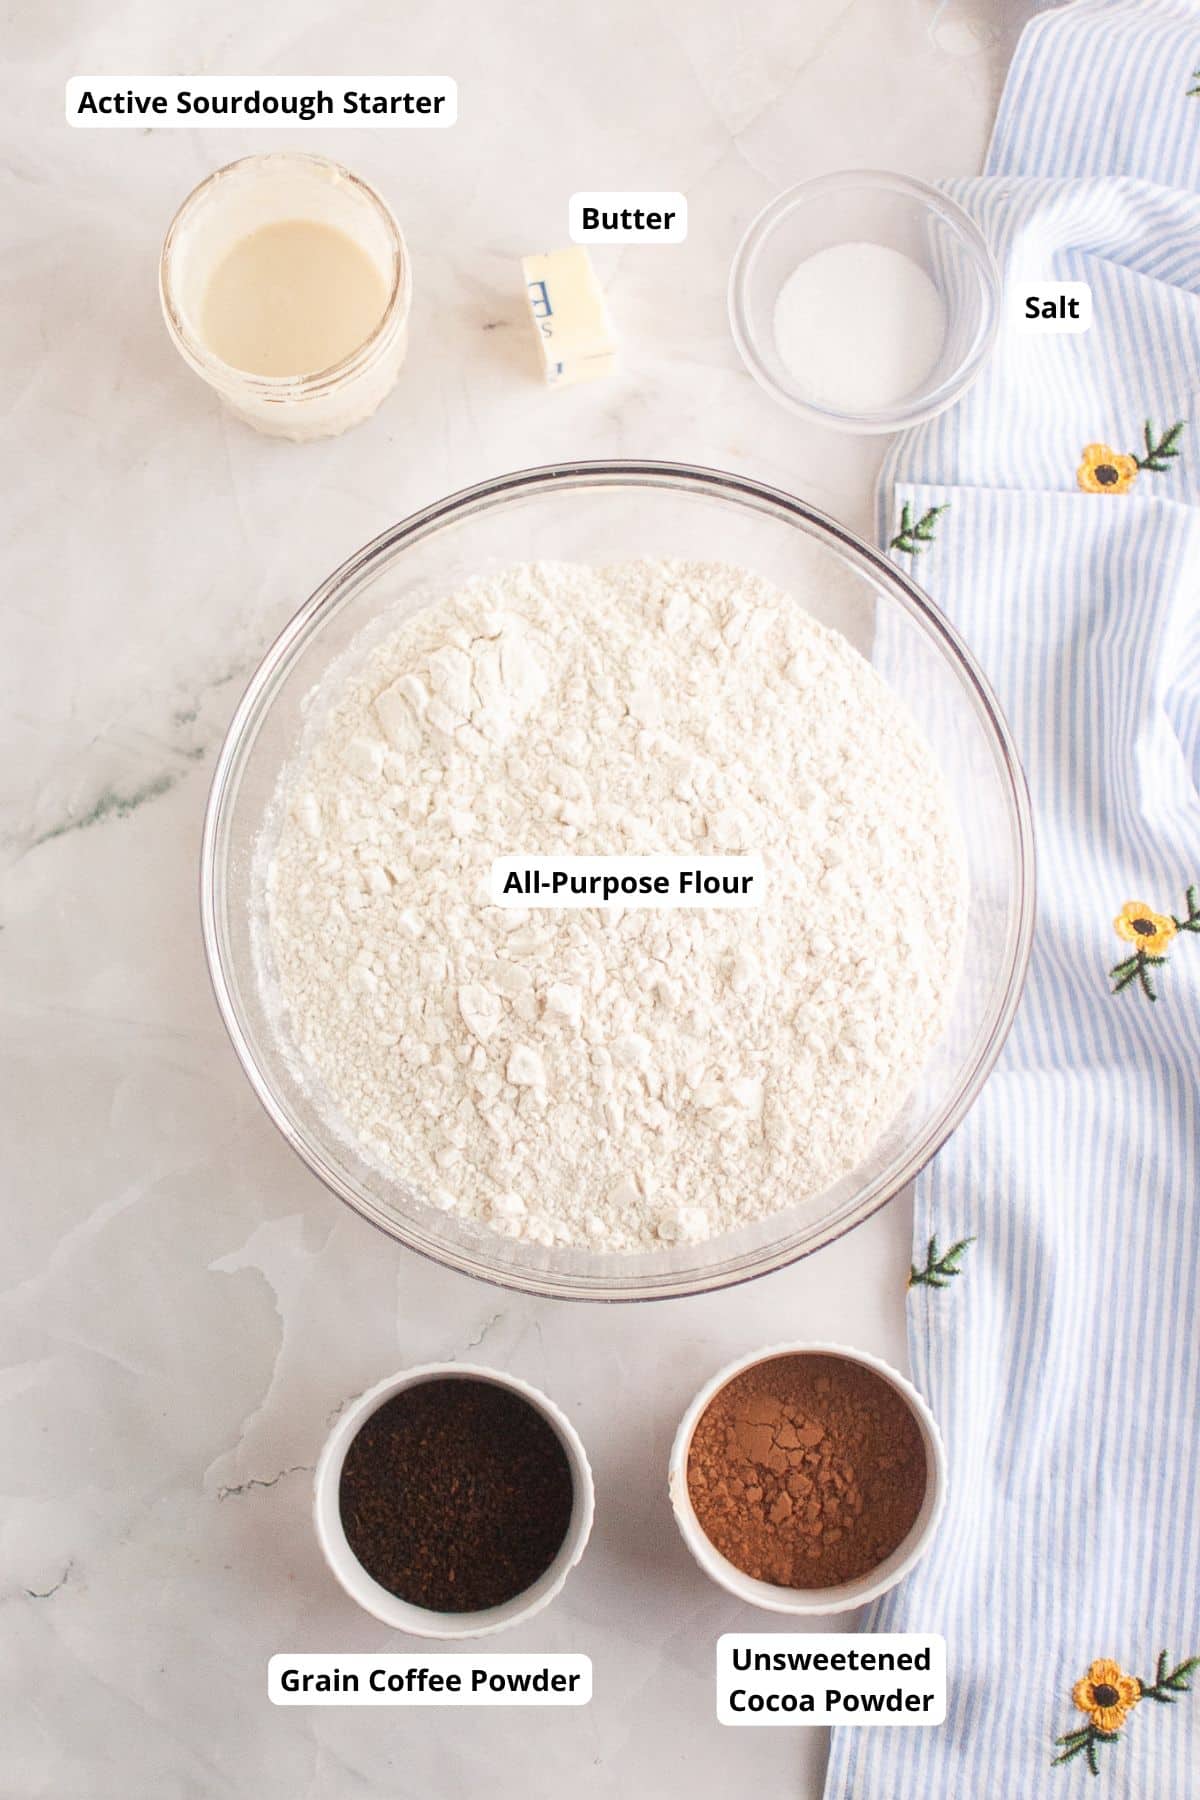
- Active sourdough starter gives the bread rise and a mild sour flavor.
- Grain coffee (chicory or barley coffee) adds color without making the bread taste like coffee.
- Unsweetened cocoa powder creates the dark brown "spots" and adds gentle color, but not sweetness.
See recipe card for quantities.
Substitutions & Variations
- You can use bread flour instead of all-purpose flour for a slightly chewier crumb.
- If you don't have grain coffee, instant chicory works well. Avoid regular coffee, it is too strong.
How to Make Giraffe Sourdough Sandwich Bread
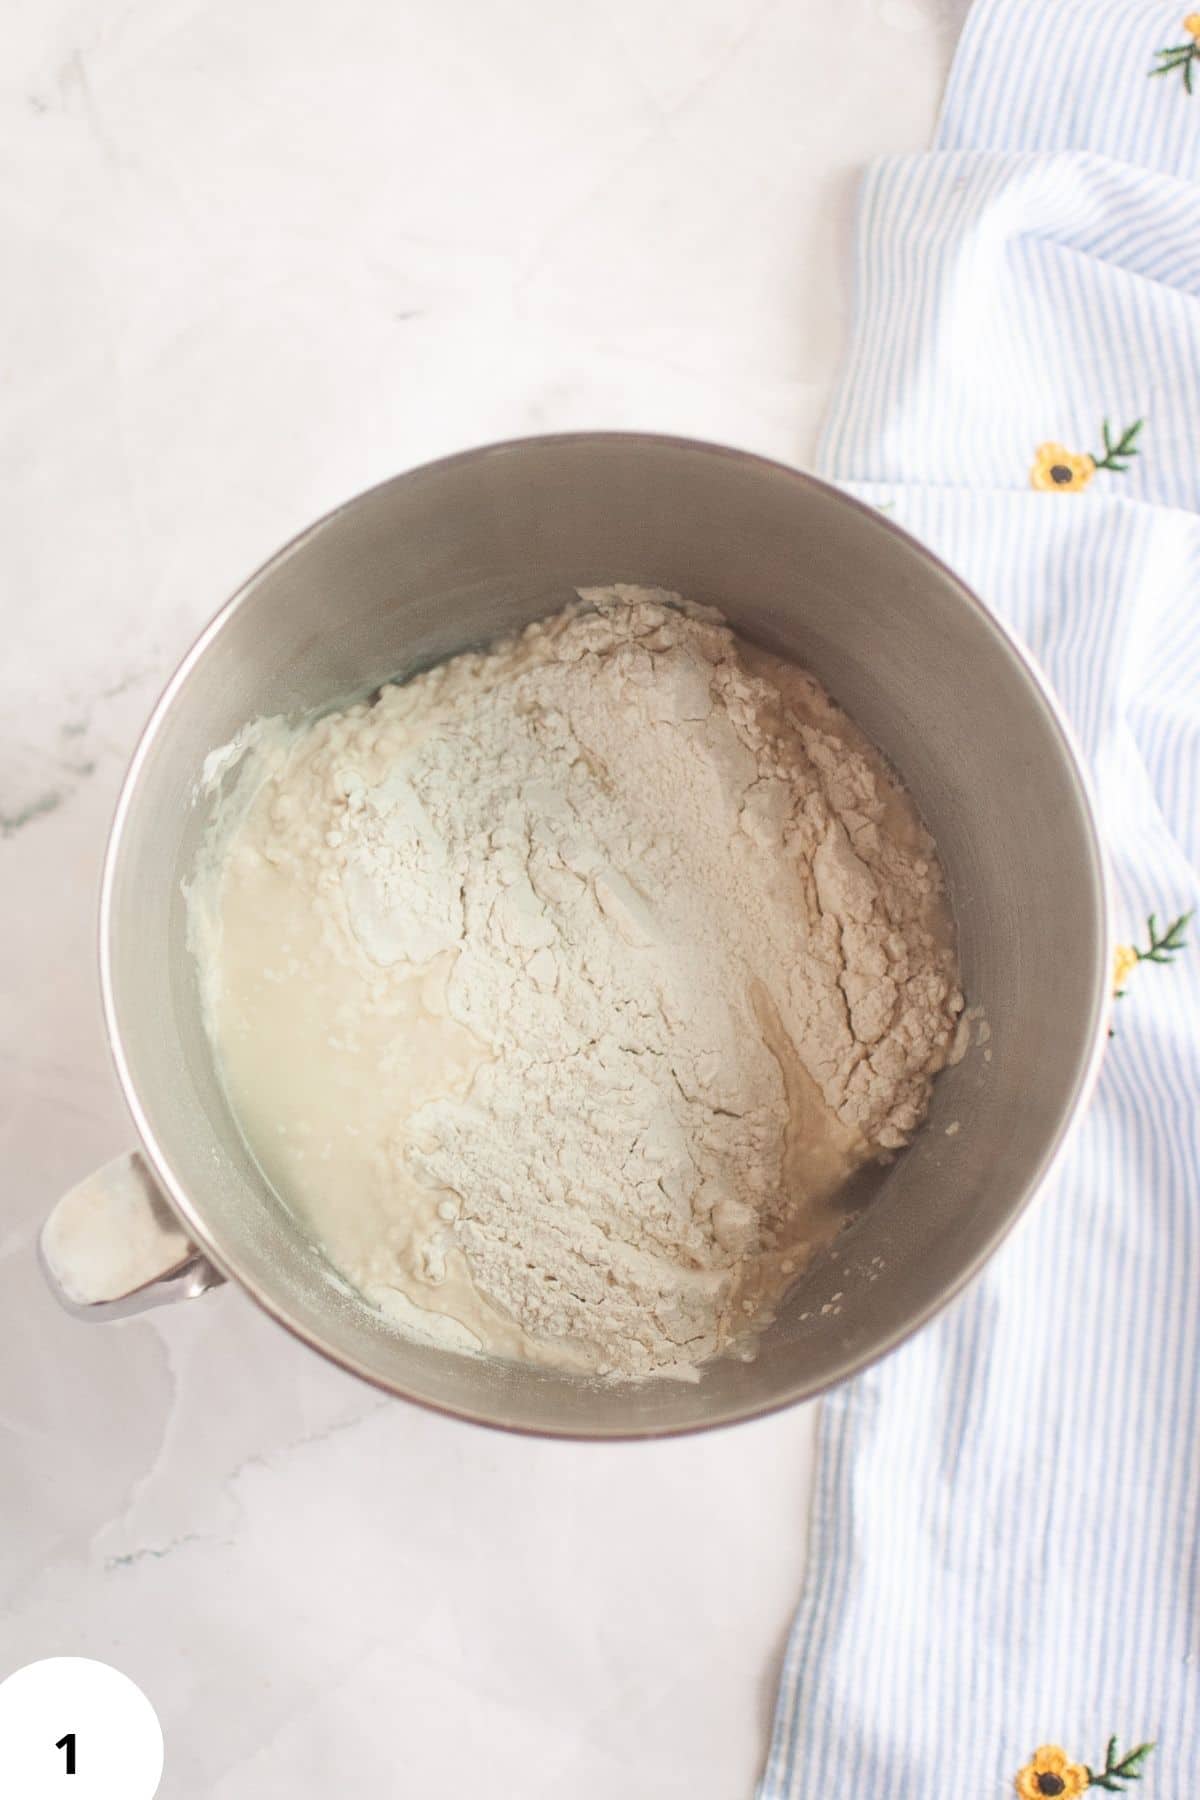
Step 1: In a mixing bowl, combine the flour and water (Image 1) and mix just until no dry spots remain. Cover the bowl and let the dough rest for one hour for autolyse.
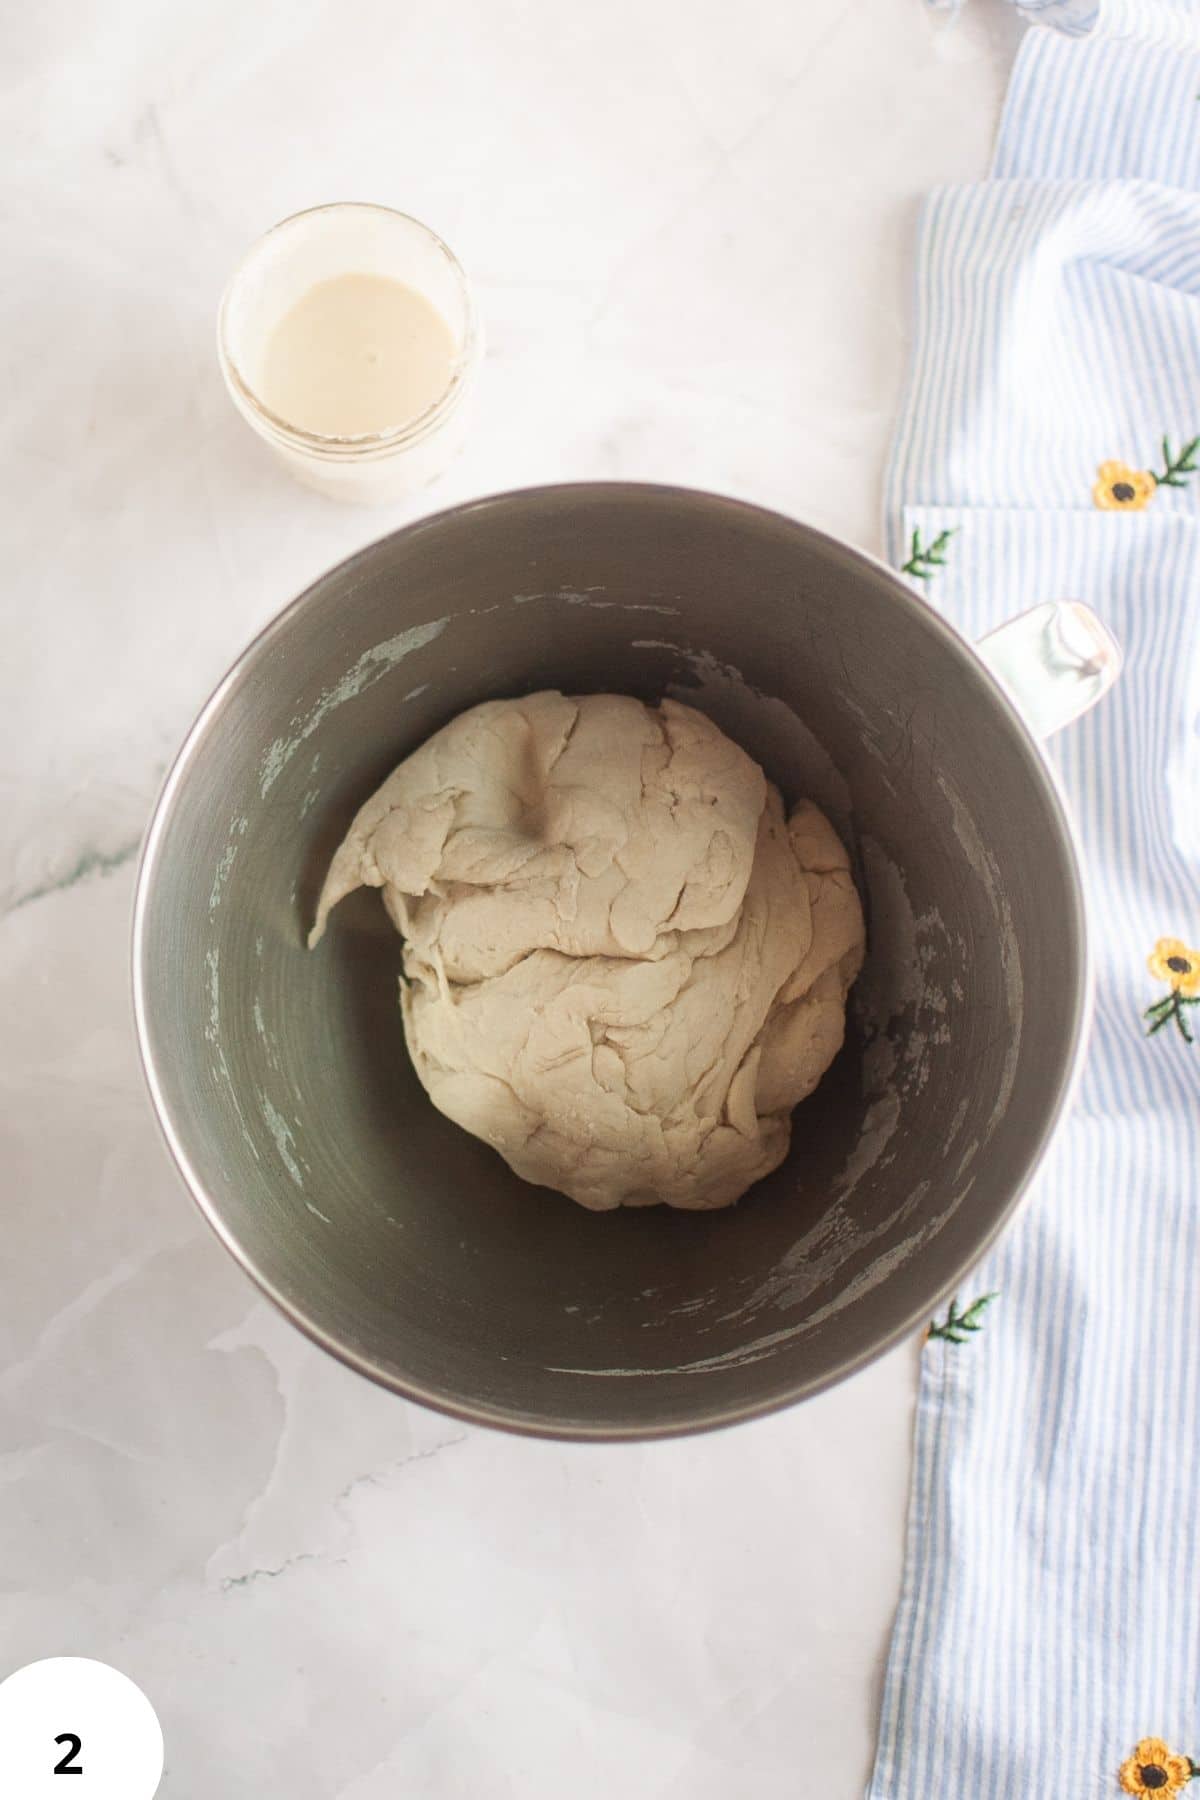
Step 2: Add the active sourdough starter, then knead in the salt and butter (Image 2). Continue mixing until the dough becomes smooth, elastic, and easy to handle.

Step 3: Transfer half of the white dough into a separate bowl (Image 3) and cover it. To the remaining half of the white dough, add the grain coffee powder along with a small amount of water. Knead until evenly incorporated and smooth. This is your light brown dough.
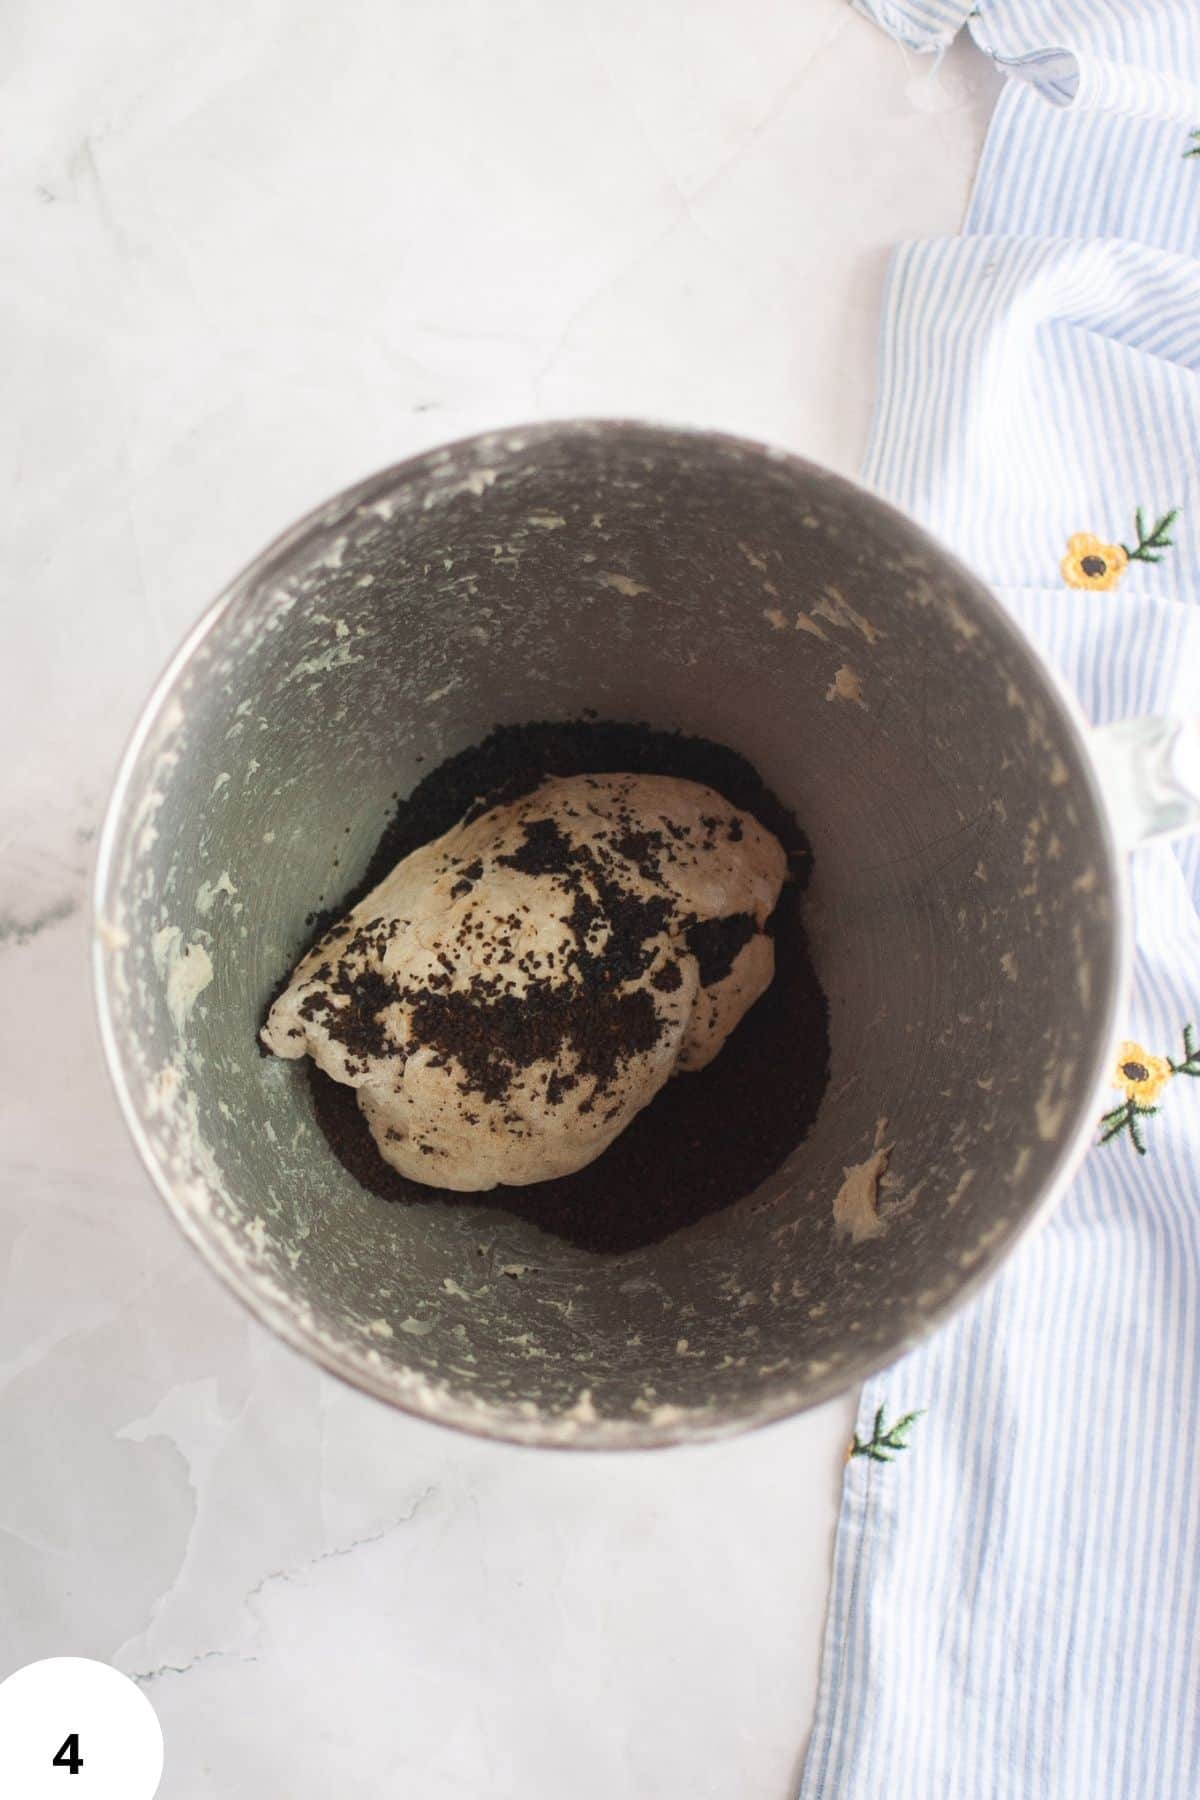
Step 4: To the remaining half of the white dough, add the grain coffee powder (Image 4) along with a small amount of water.
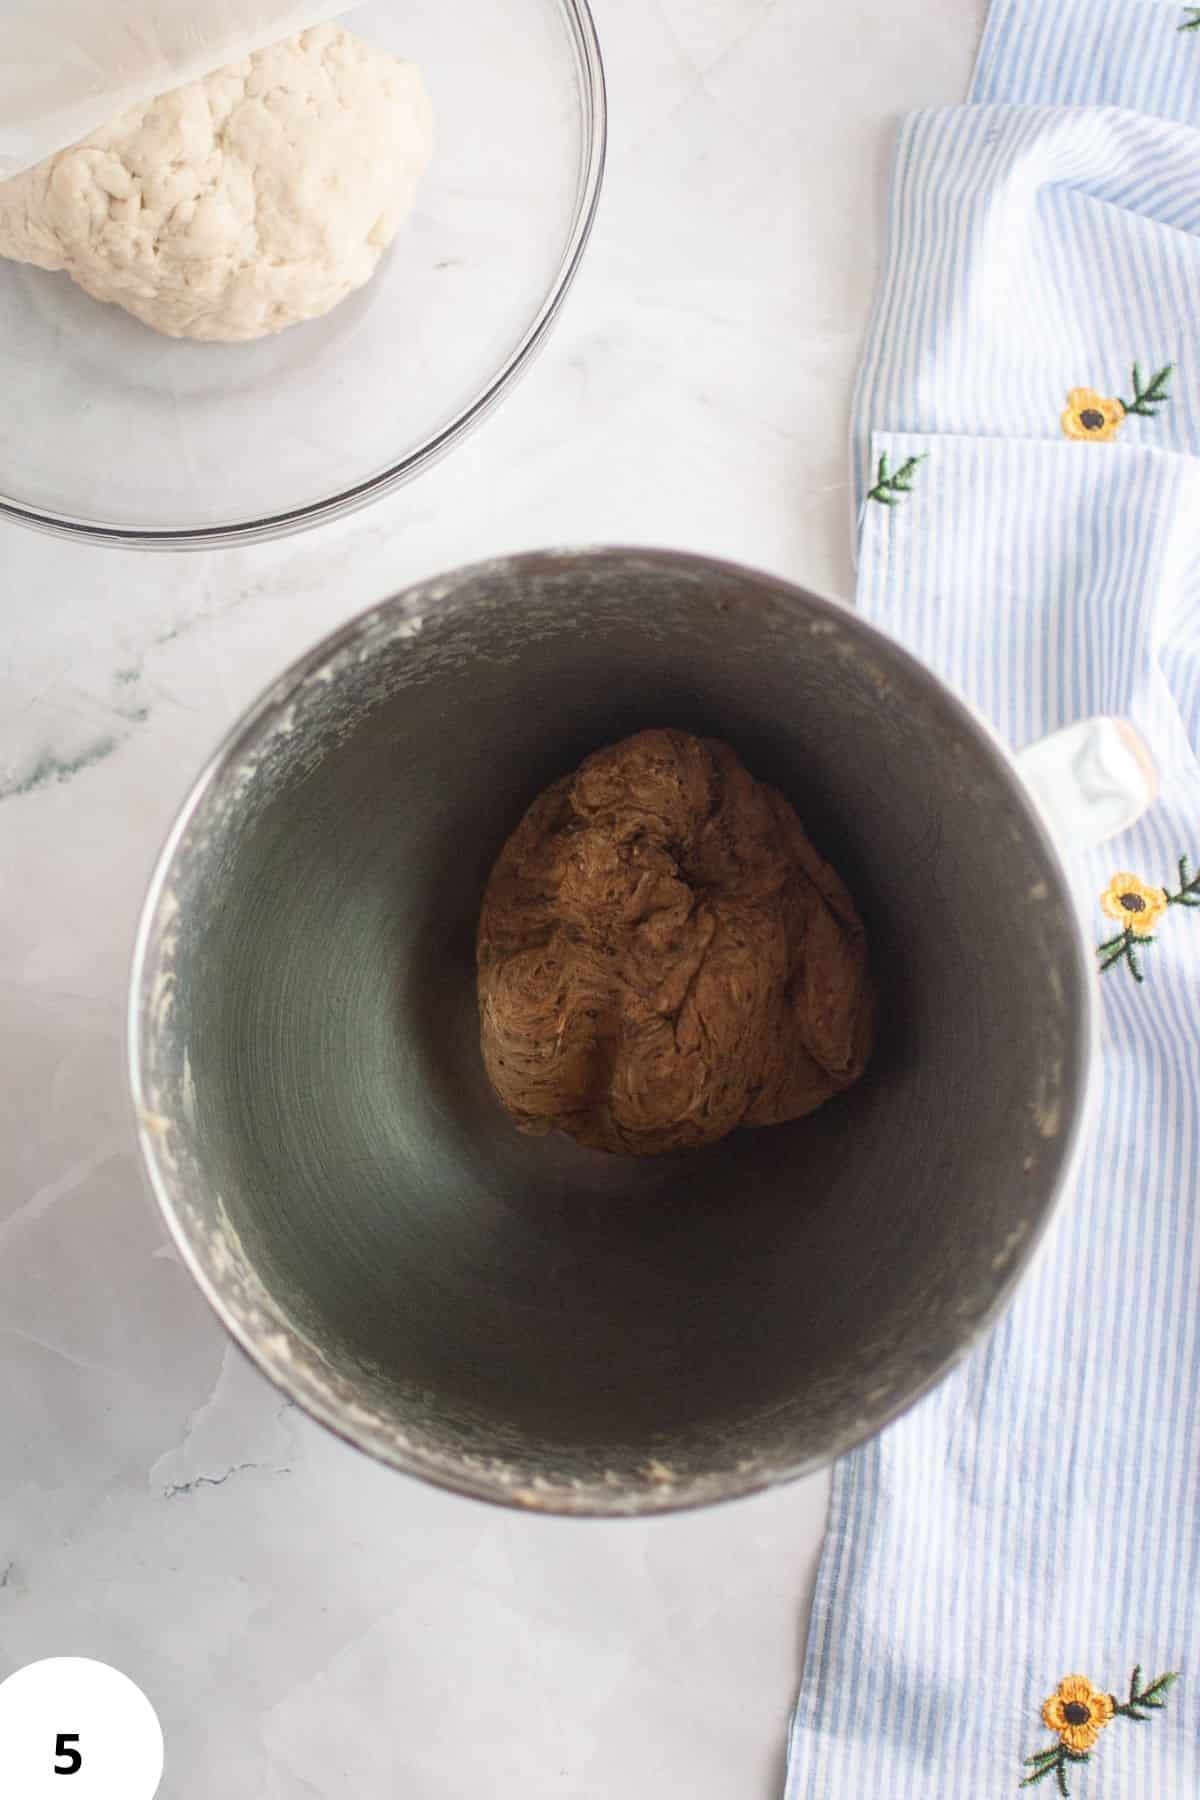
Step 5: Knead until evenly incorporated and smooth. This is your light brown dough (Image 5).

Step 6: Divide the light brown dough in half and cover one portion. To the remaining portion, knead in the cocoa powder (Image 6) and a small amount of water until the dough is fully colored and smooth. This is your dark brown dough.
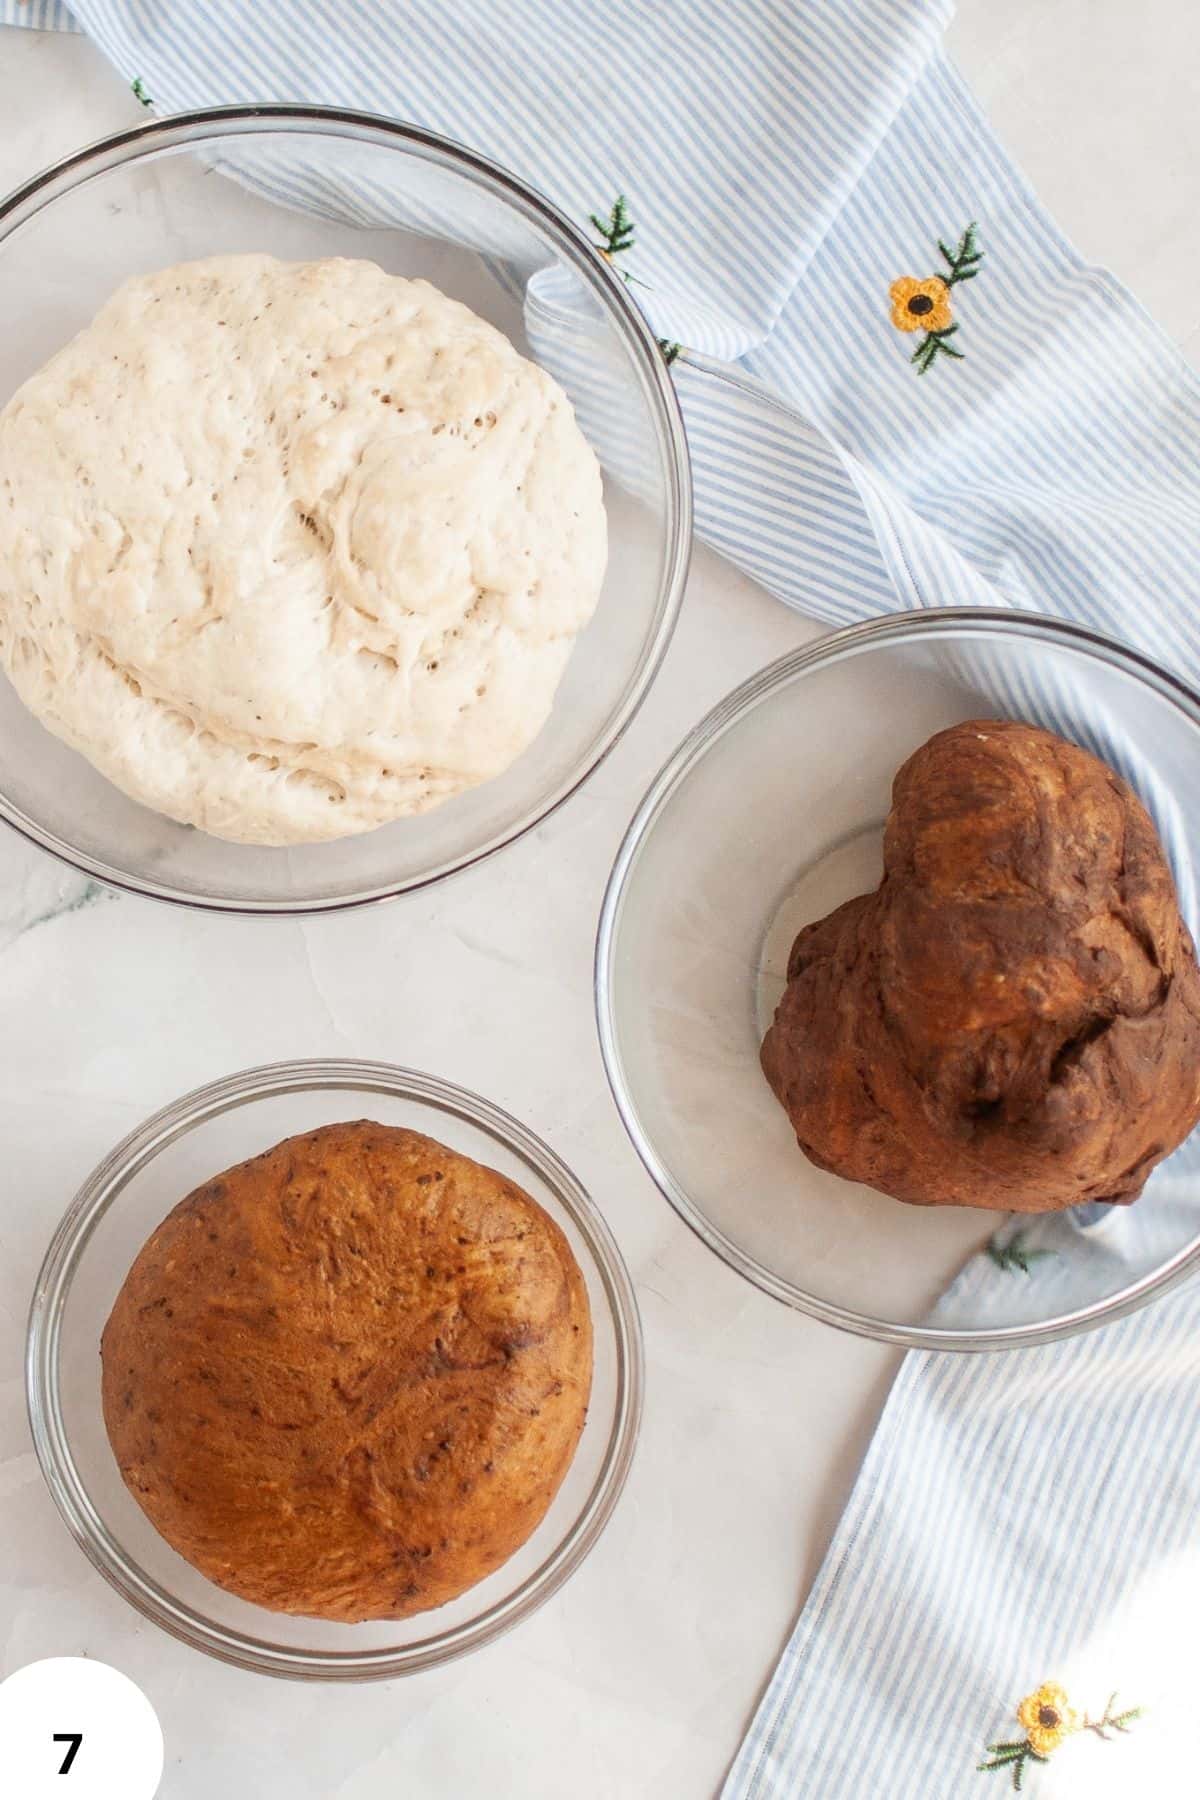
Step 7: At this point, you should have three doughs: white, light brown, and dark brown (Image 7).
Perform three sets of stretch and folds for each dough, spacing them about twenty to thirty minutes apart. Work with each dough separately, but within the same time frame. After the final set, cover all three doughs and let them rest.
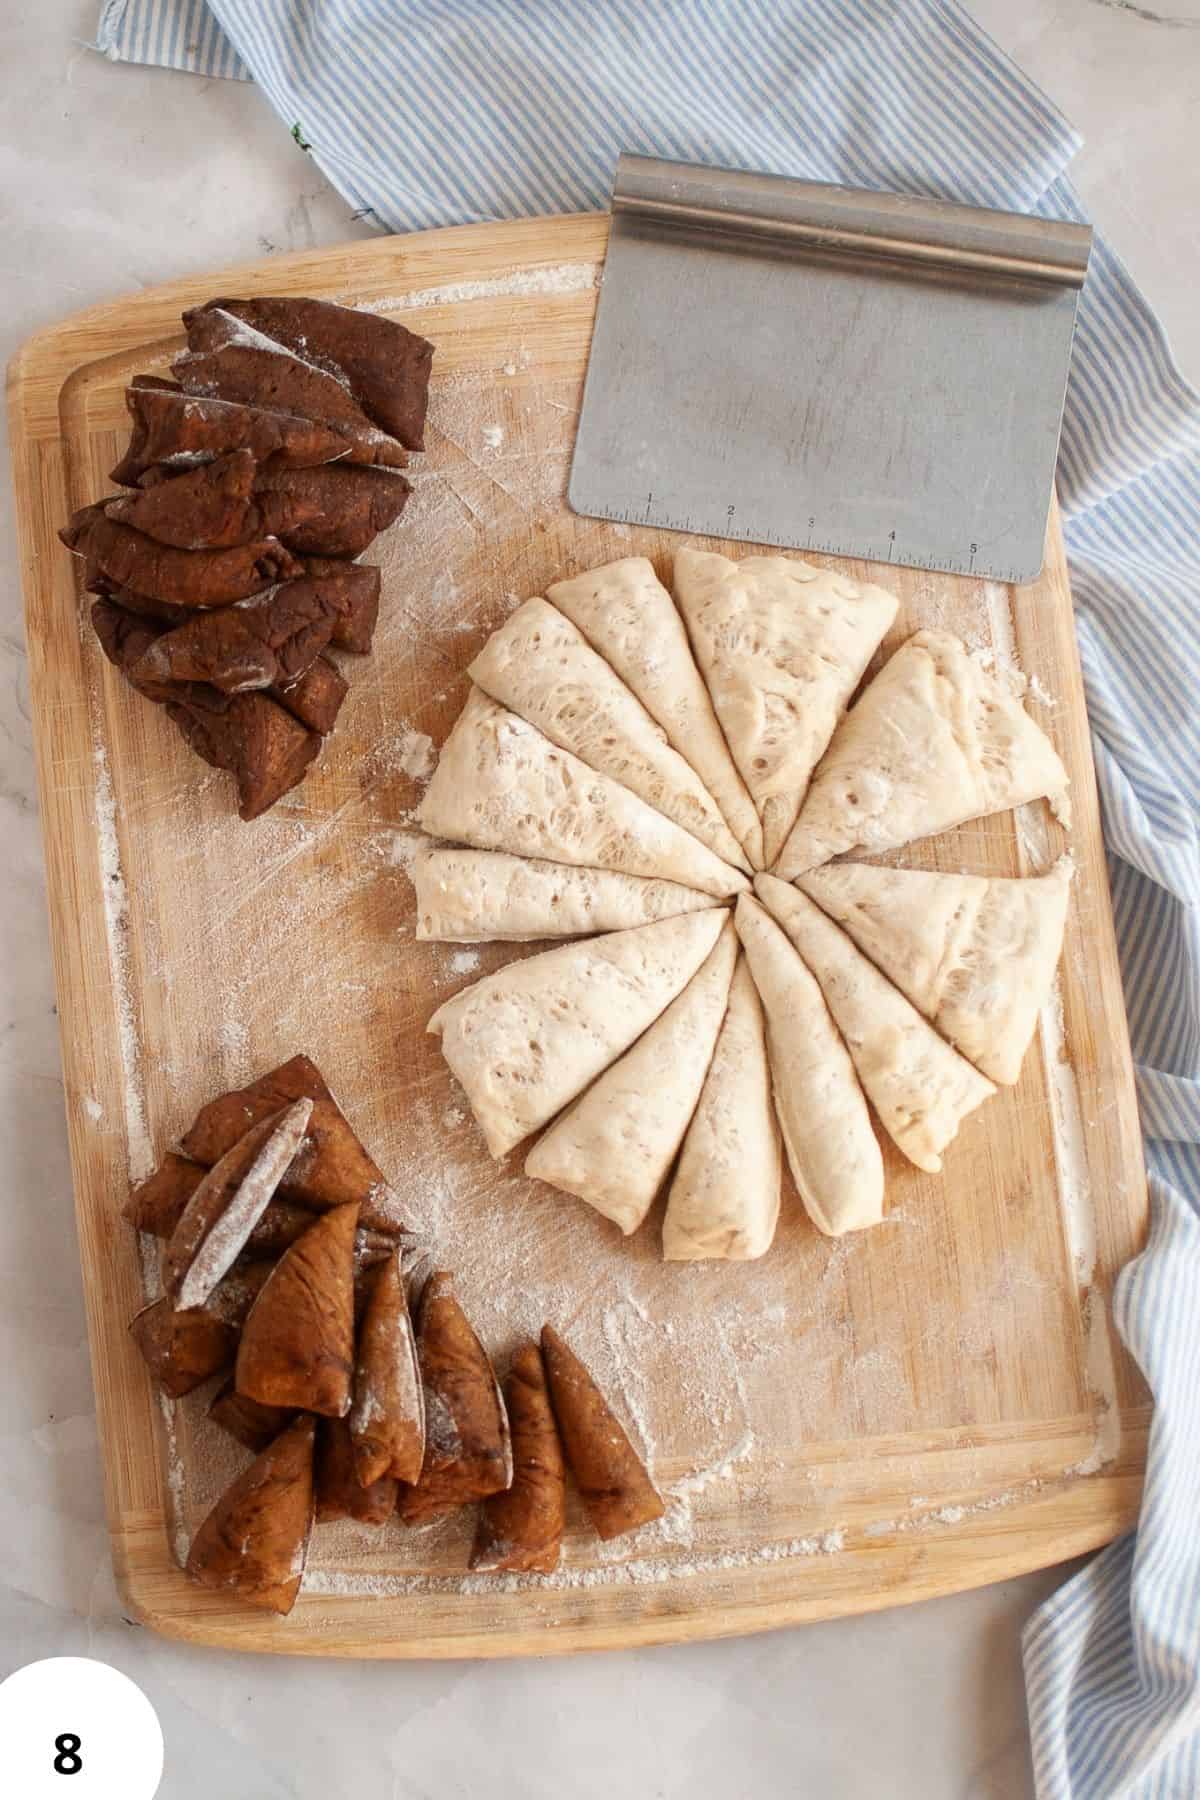
Step 8: Divide each dough into twelve uneven pieces (Image 8). The pieces do not need to be the same size. The irregularity is what gives the bread its natural leopard or giraffe pattern.
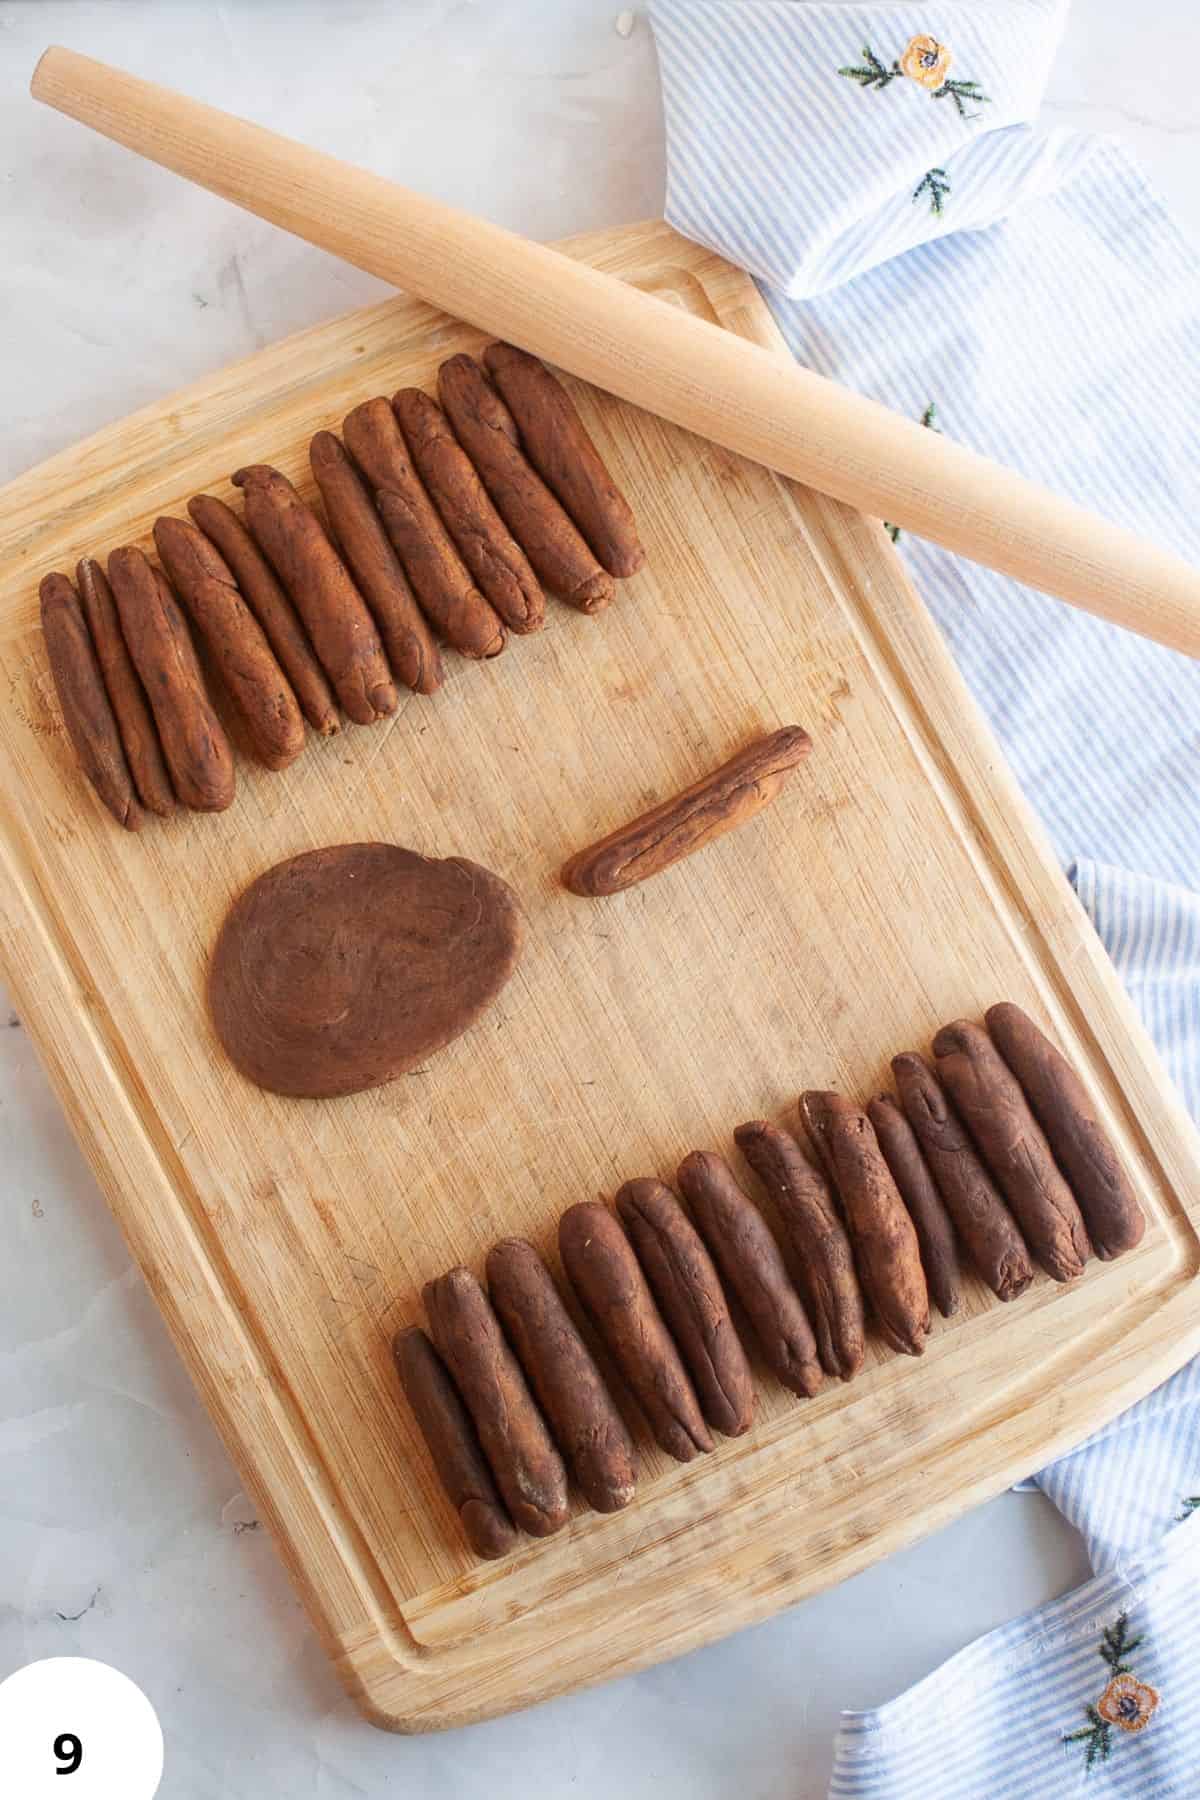
Step 9: Roll each light brown piece into a short rope about 10 cm or 4 inches long. Roll each dark brown piece into a strip of the same length (Image 9).
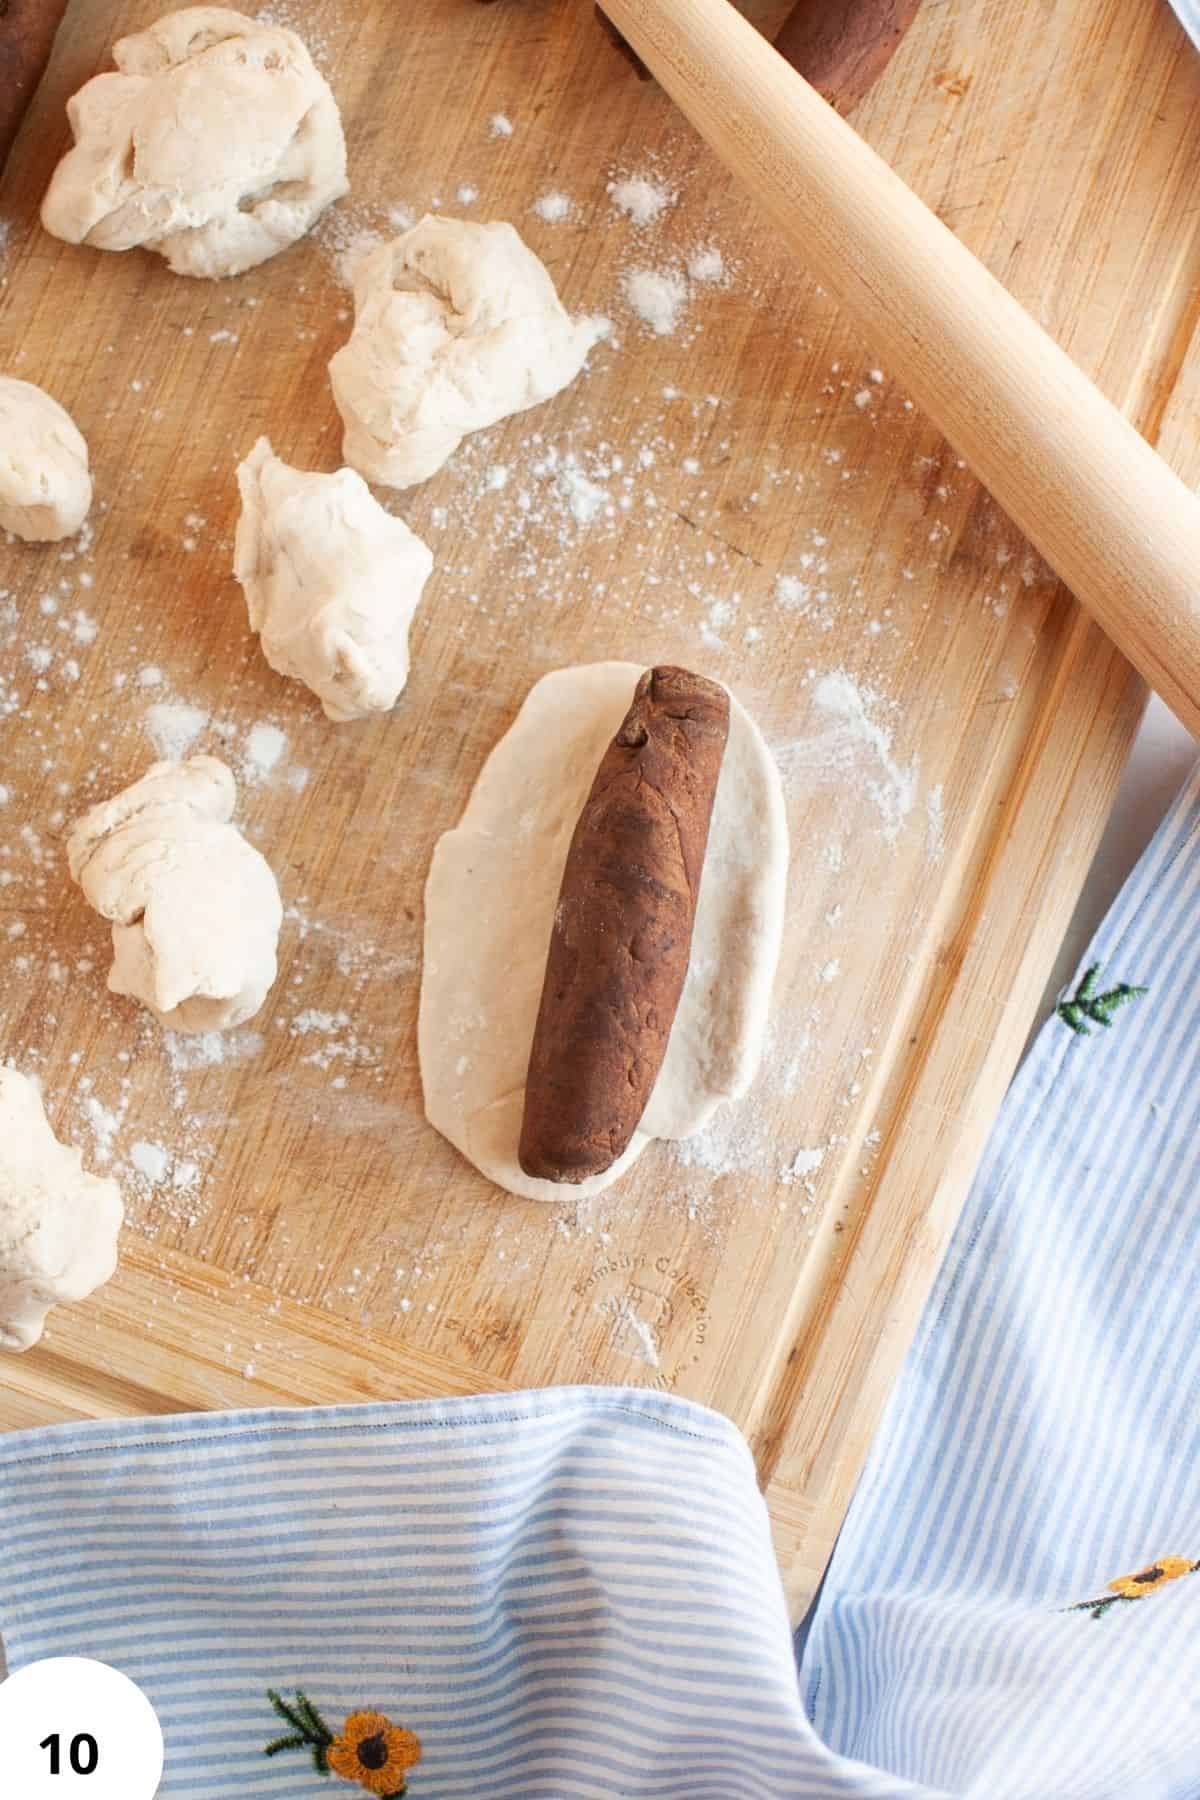
Step 10: Place the light brown rope along the longer edge of the dark brown strip (Image 10) and roll it up to enclose it. This creates the "spot" that will show in the final loaf.
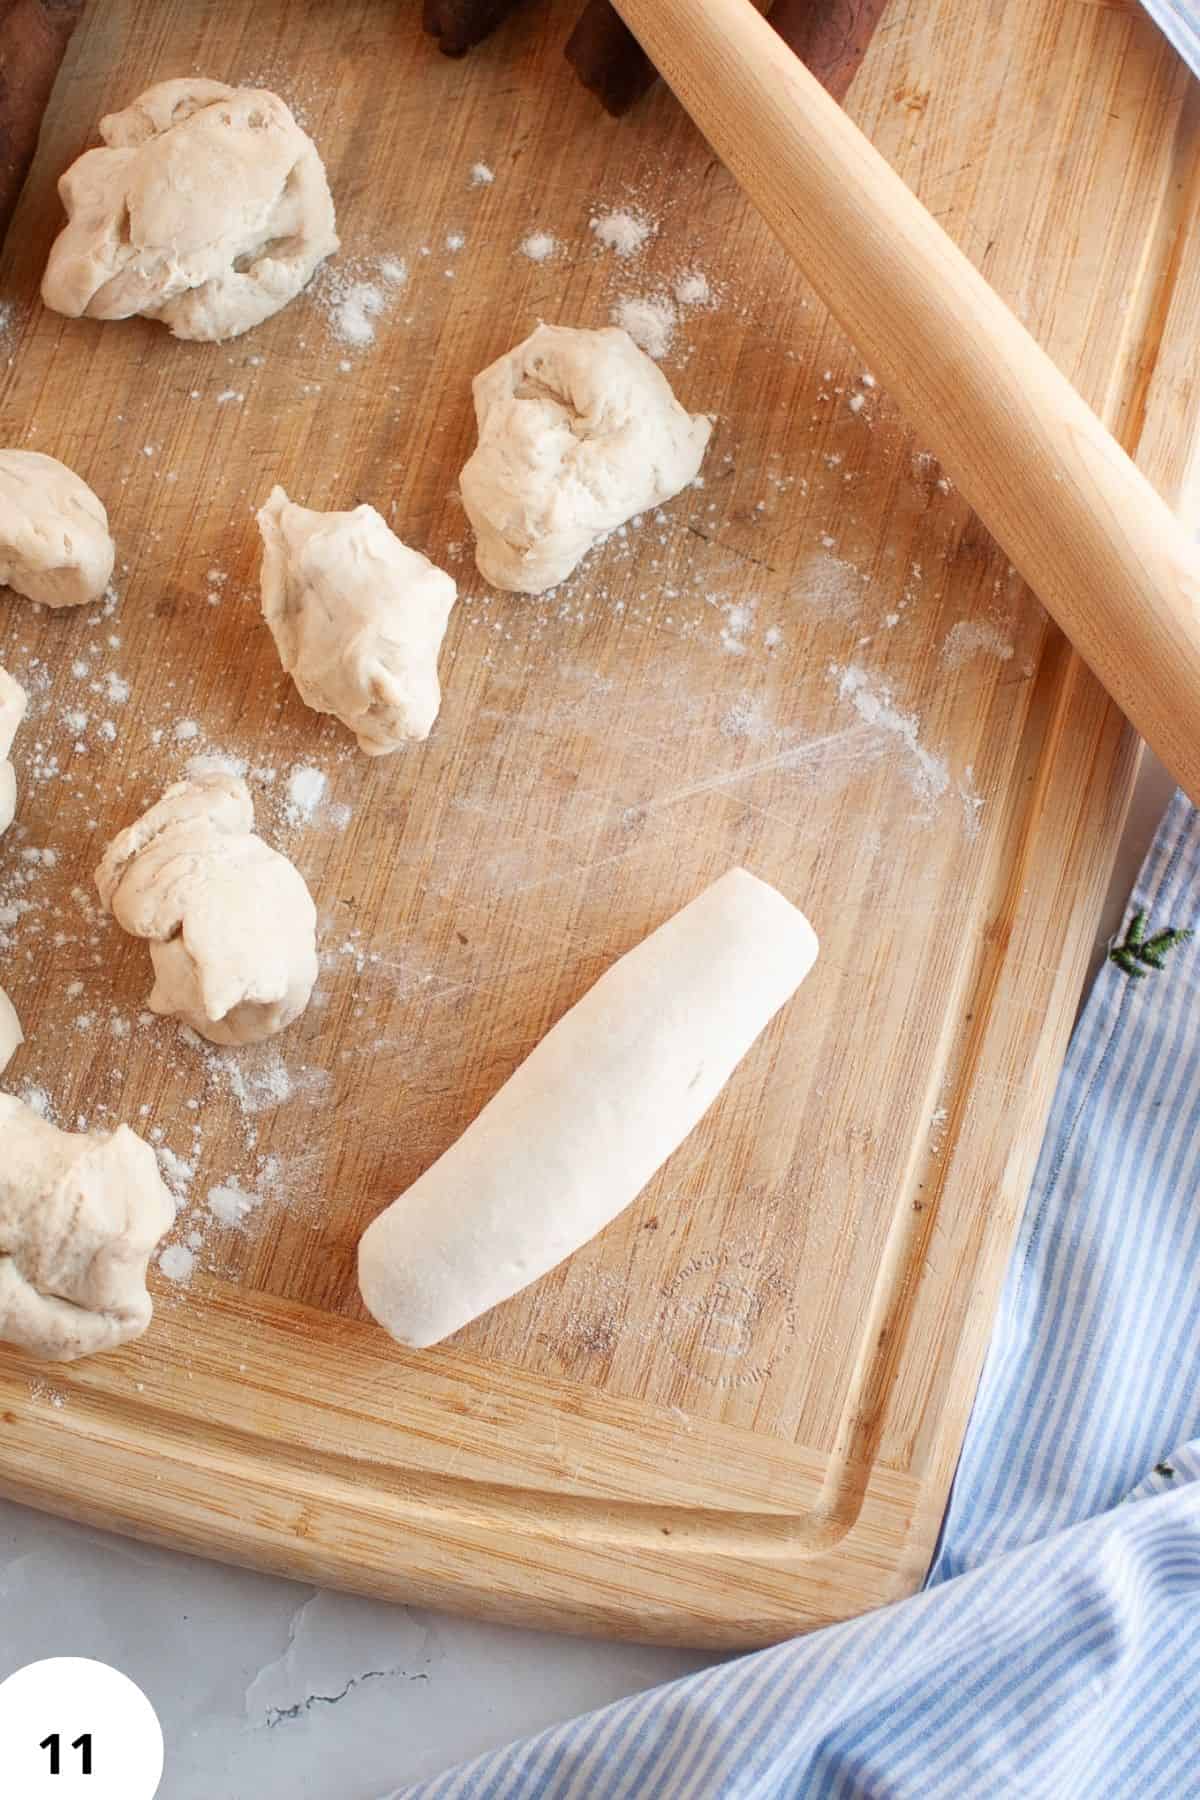
Step 11: Roll each white piece into a strip of the same length. Place one dark brown roll on the longer edge of the white strip and roll it up (Image 11). Gently roll the white dough logs with your hands until they match the length of your loaf pan. You can lightly flatten them with your hand if needed.
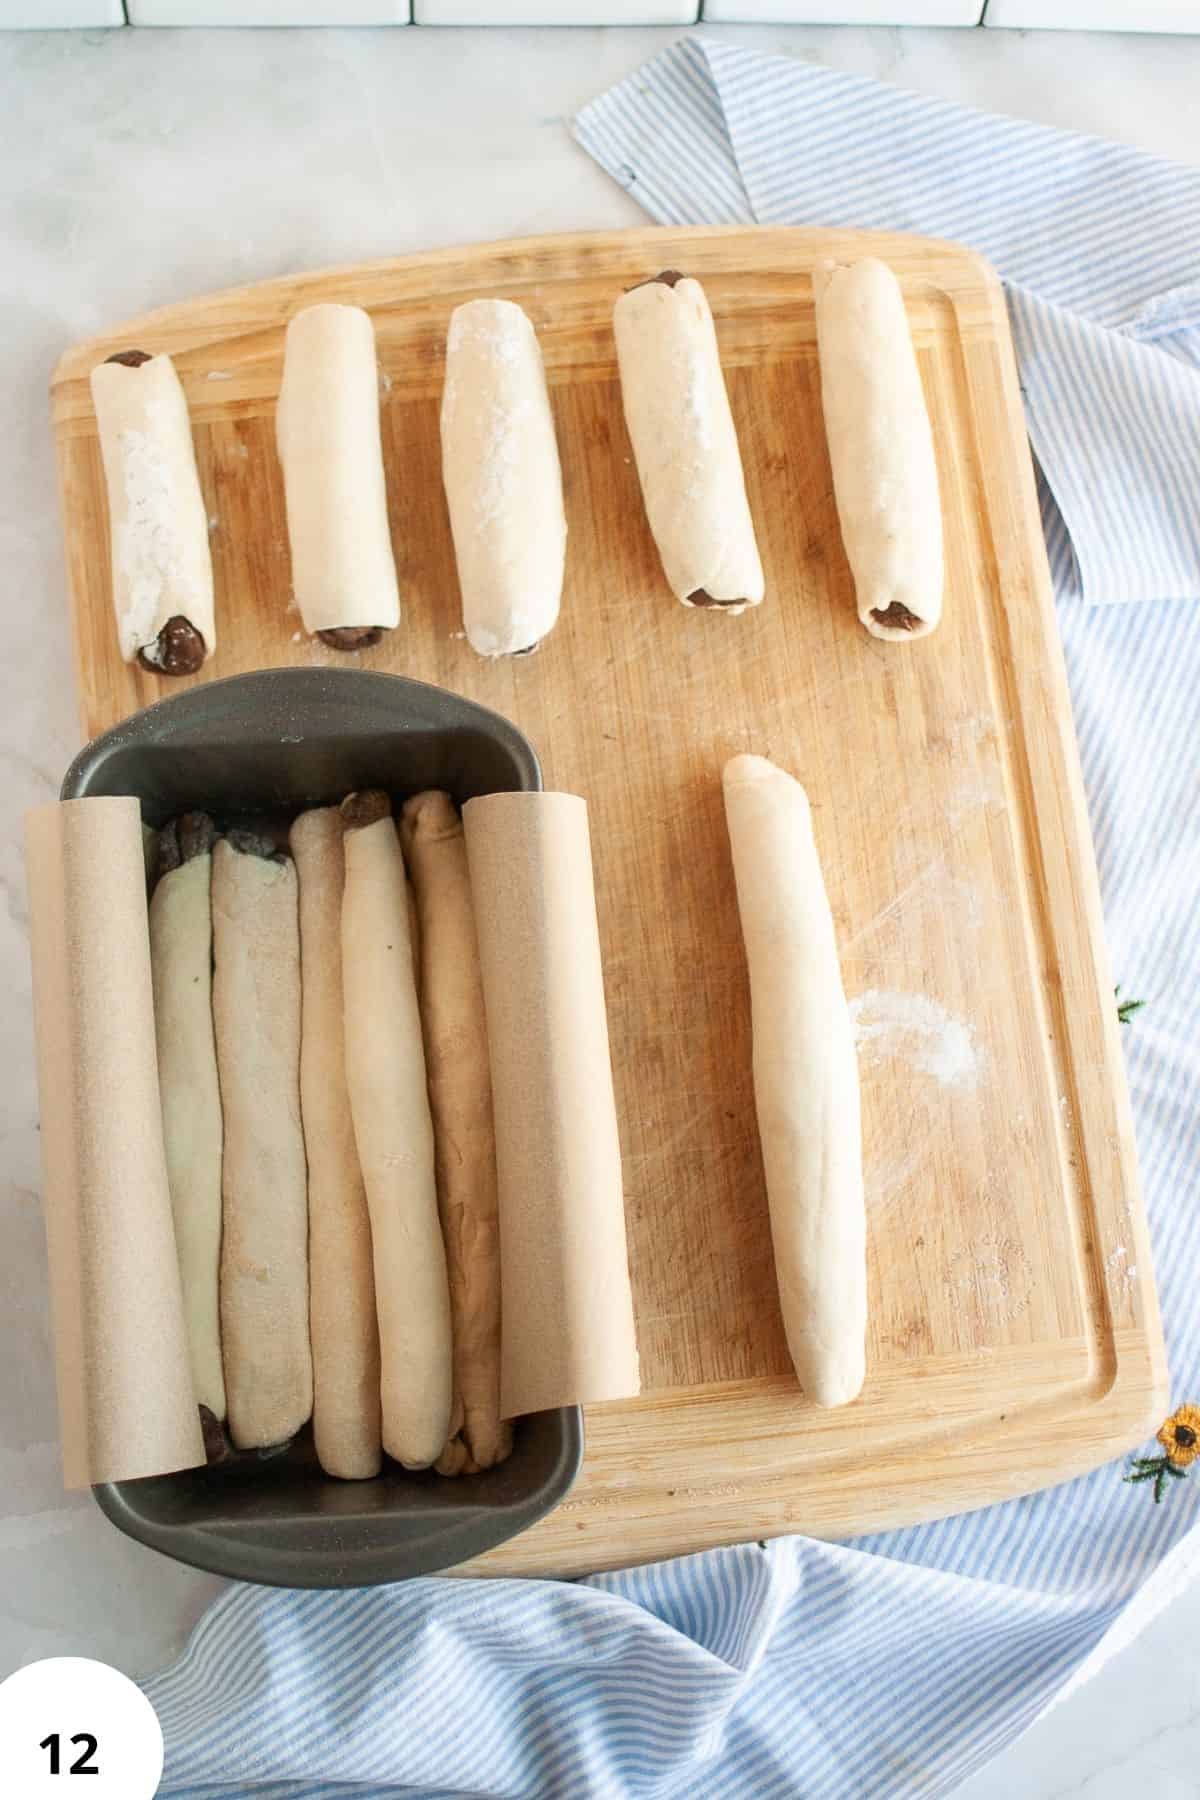
Step 12: Line the loaf pan with a reusable liner or parchment paper (Image 12), letting the long sides hang over so the bread is easy to lift out later. Lightly dust the pan with flour and arrange all the white dough logs next to each other inside the pan.

Step 13: Cover the pan and let the dough rise for about five hours at room temperature (Image 13), then transfer it to the refrigerator to rest overnight. If you prefer, you can also let the dough finish rising completely at room temperature and bake it the same day.
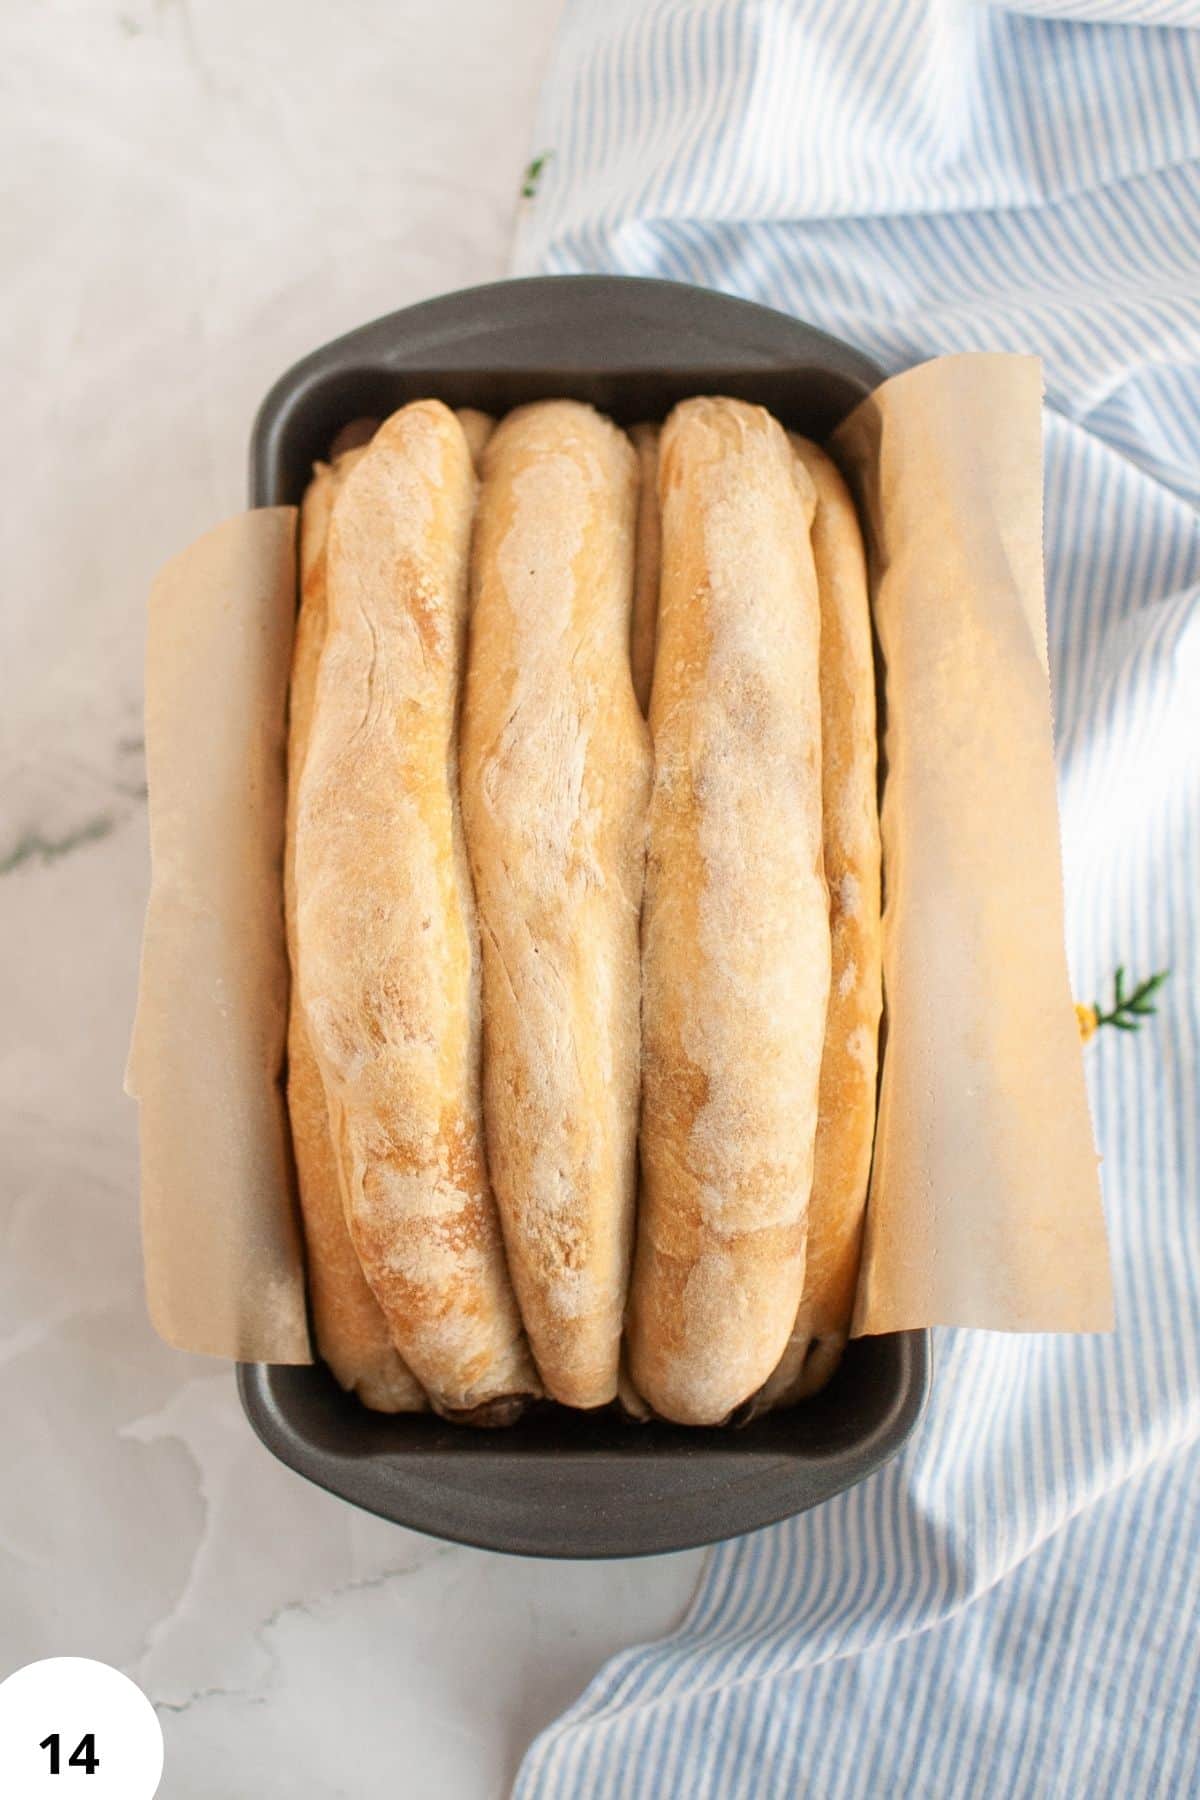
Step 14: Bake the bread for about fifty minutes (Image 14). With a convection or fan oven, bake at 180°C or 355°F. Without a fan, bake at 200°C or 390°F. The loaf should be fully set and nicely browned. Let the bread cool in the pan for about ten minutes, then lift it out and allow it to cool completely on a rack before slicing.
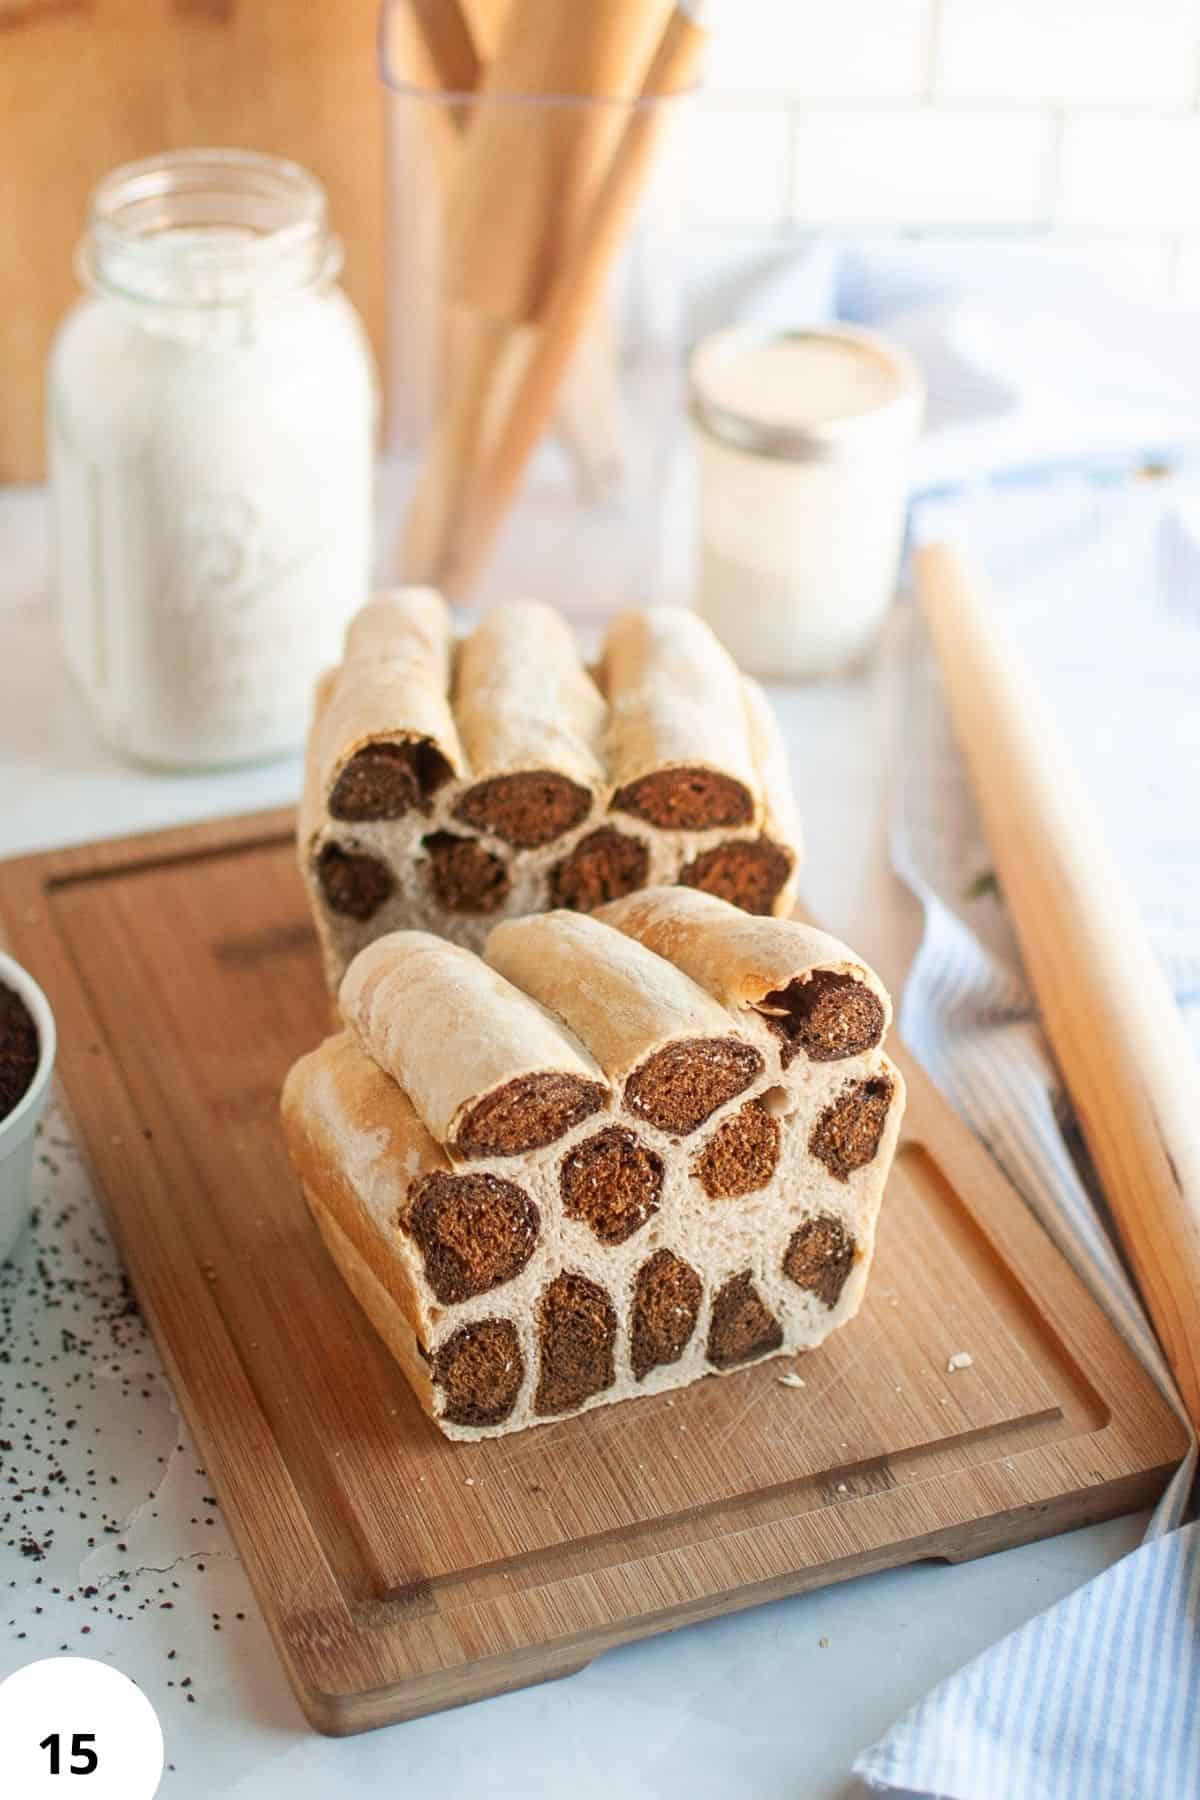
Step 15: Every loaf turns out slightly different, and that is part of the charm (Image 15)!
Hint: When shaping, don't aim for perfection. Irregular dough pieces and slightly uneven rolls are what give this bread its natural, organic giraffe pattern.
Baking Schedule
- Morning: Mix dough + autolyse
- Late morning: Add starter, salt, butter
- Midday: Stretch and folds
- Afternoon: Shape and pan
- Evening: Refrigerate
- Next day: Bake
💭Crucial Success Tips
The biggest key to success is fermentation. Don't rush the bulk rise just to stay on the clock. The dough should feel lighter, puffier, and more relaxed before shaping. Under-proofed dough will tear during rolling and bake up dense.
Recipe FAQs
Yes. You can let the loaf finish rising at room temperature and bake it the same day. The overnight cold proof improves flavor and structure, but it isn't required.
No. The grain coffee and cocoa powder are used in small amounts for color. The finished bread tastes like mild, classic sourdough sandwich bread.
This usually happens if the dough is over-proofed or rolled too tightly. Gentle handling and proper fermentation help keep the pattern clear.
How To Store Giraffe Sourdough Sandwich Bread
Store at room temperature in a bread bag or wrapped in a clean towel for 2-3 days. Freeze slices for longer storage. This bread freezes well for up to 2 months.

Other Delicious Recipes
- Sourdough Pretzel Bagels

- Neapolitan-Style Sourdough Pizza Dough
- Italian Semolina Sourdough Bread
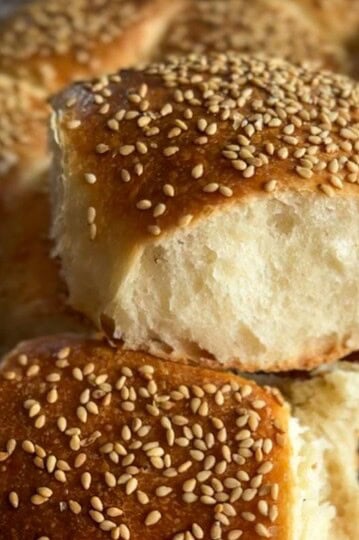
- Sourdough Picnic Rolls (Pull-Apart Bread Rolls)


If you tried this giraffe sourdough sandwich bread or any other recipe on my blog please leave a 🌟 star rating and let me know how it went in the 📝 comments below! Happy Baking!

Giraffe Sourdough Sandwich Bread
Ingredients
Basic White Dough
- 500 g all-purpose flour
- 325 g water
- 130 g active sourdough starter
- 11 g salt
- 20 g butter
Light Brown Dough
- 15 g coffee powder chicory or barley coffee, grain
- 5 g water
Dark Brown Dough
- 15 g unsweetened cocoa powder
- 5 g water
Instructions
- In a mixing bowl, combine the flour and water and mix just until no dry spots remain. Cover the bowl and let the dough rest for one hour for autolyse.
- Add the active sourdough starter, then knead in the salt and butter. Continue mixing until the dough becomes smooth, elastic, and easy to handle.
- Transfer half of the white dough into a separate bowl and cover it.
- To the remaining half of the white dough, add the grain coffee powder along with a small amount of water.
- Knead until evenly incorporated and smooth. This is your light brown dough.
- Divide the light brown dough in half and cover one portion. To the remaining portion, knead in the cocoa powder and a small amount of water until the dough is fully colored and smooth. This is your dark brown dough.
- At this point, you should have three doughs: white, light brown, and dark brown.
- Perform three sets of stretch and folds for each dough, spacing them about twenty to thirty minutes apart. Work with each dough separately, but within the same time frame. After the final set, cover all three doughs and let them rest.
- Divide each dough into twelve uneven pieces. The pieces do not need to be the same size. The irregularity is what gives the bread its natural leopard or giraffe pattern.
- Roll each light brown piece into a short rope about 10 cm or 4 inches long. Roll each dark brown piece into a strip of the same length.
- Place the light brown rope along the longer edge of the dark brown strip and roll it up to enclose it. This creates the "spot" that will show in the final loaf.
- Roll each white piece into a strip of the same length. Place one dark brown roll on the longer edge of the white strip and roll it up. Gently roll the white dough logs with your hands until they match the length of your loaf pan. You can lightly flatten them with your hand if needed.
- Line the loaf pan with a reusable liner or parchment paper, letting the long sides hang over so the bread is easy to lift out later. Lightly dust the pan with flour and arrange all the white dough logs next to each other inside the pan.
- Cover the pan and let the dough rise for about five hours at room temperature, then transfer it to the refrigerator to rest overnight. If you prefer, you can also let the dough finish rising completely at room temperature and bake it the same day.
- Bake the bread for about fifty minutes. With a convection or fan oven, bake at 180°C or 355°F. Without a fan, bake at 200°C or 390°F. The loaf should be fully set and nicely browned. Let the bread cool in the pan for about ten minutes, then lift it out and allow it to cool completely on a rack before slicing.
- Every loaf turns out slightly different, and that is part of the charm!