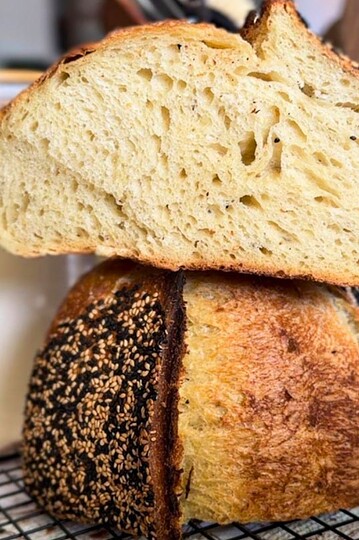
3-Step Sourdough in Under 4 Hours
If you want fresh sourdough without turning it into a whole project, this 3-step sourdough in under 4 hours is one of the easiest ways to make it happen. It bakes up with a crisp golden crust, a soft chewy crumb, and retains most of the sourdough flavor (and health benefits!) we all love, but with a much simpler (and shorter) timeline.

This is what a go for when I'm finishing lunch and I remember we need fresh bread...by dinner.
If you're not in so much of a hurry, I also have a "speedy" sourdough recipe on my site that's been the most popular for over 2 years now!
Summarize & Save This Recipe On:
Quick Look
- Prep Time: 15-20 minutes
- Bulk Fermentation: ~4 hours
- Final Proof: ~1 hour (optional)
- Cook Time: 40-45 minutes
- Total Time: ~5-6 hours
- Servings: 1 loaf (6-8 slices)
- Difficulty: Beginner-friendly
- Baking Method: Dutch oven
- Best For: Simple, same-day sourdough
Jump to:
- Summarize & Save This Recipe On:
- Quick Look
- Important Ingredients
- Substitutions & Variations
- Baking Schedule
- 💭Crucial Success Tips
- Recipe FAQs
- How To Store 3-Step Sourdough in Under 4 Hours
- Other Delicious Recipes
- 3-Step Sourdough in Under 4 Hours
- Need Help Tweaking This Recipe?
- Other Sourdough Bread Recipes You'll Love
- Neapolitan-Style Sourdough Pizza Dough
- Italian Semolina Sourdough Bread
- Sourdough Picnic Rolls (Pull-Apart Bread Rolls)
Important Ingredients
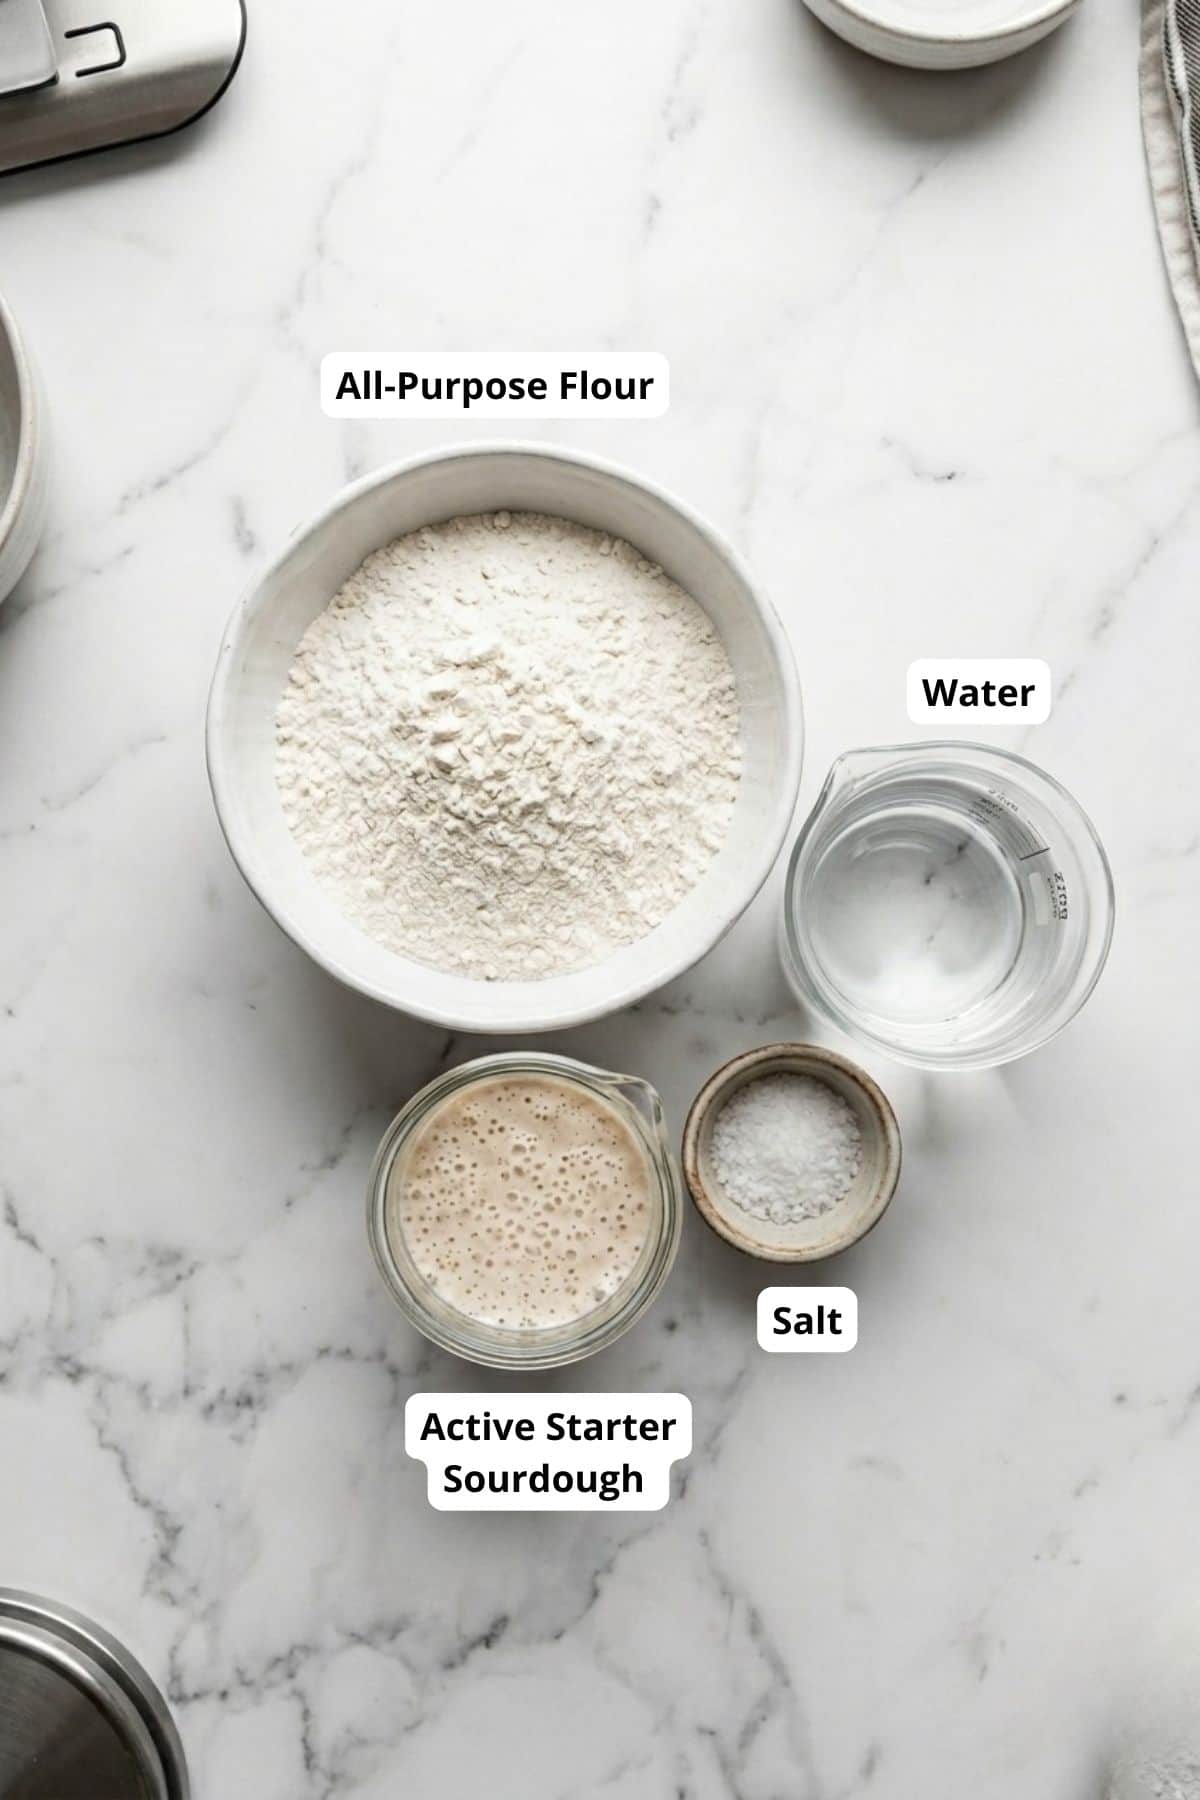
- Starter for fermentation and rise
- Flour (all purpose of bread flour) base of the dough, provides structure
- Water hydrates the dough and activates gluten
- Salt enhances flavor and strengthens the dough
See recipe card for quantities.
Substitutions & Variations
- You can use bread flour for a chewier texture or all-purpose for a softer crumb
- Adjust water slightly depending on your flour (some absorb more)
- Skip the final proof if you're short on time!

Free resource
Get all 3 when you subscribe
Bake beautiful bread that fits Your life - not the other way around
Hint: The most helpful tip for this recipe is to start with a very active starter. That is what keeps the timeline moving and helps the loaf rise the way it should. If your starter is sluggish, the dough will likely need more time.
Baking Schedule
- Mix + dough development: 15-20 minutes
- Bulk ferment: ~4 hours
- Shape + final proof: ~1 hour
- Bake: 40-45 minutes
💭Crucial Success Tips
Do not rush the dough if it has not visibly changed during bulk fermentation. The dough should look puffier, feel lighter, and show some air before you move on. If you shape it too early, the loaf can turn out dense. It also helps to fully preheat your Dutch oven so you get better oven spring and a more developed crust. Gentle shaping matters too. You want to build tension without pressing all the air out of the dough.
Recipe FAQs
Yes, you can, as long as your starter is active and your kitchen is fairly warm. This recipe is designed for a faster same-day process, but small timing changes are normal depending on your environment.
No, the final proof is optional here. It can help improve texture and shape, but the loaf will still bake up well if you need to skip it.
A dense loaf usually means the dough needed more fermentation time or the starter was not active enough. It can also happen if the dough was handled too roughly during shaping.
How To Store 3-Step Sourdough in Under 4 Hours
Store at room temperature in a paper bag or bread box for up to 2 days. For longer storage, keep it in the fridge and reheat before serving.
You can freeze slices for up to a few weeks and reheat when needed.
Other Delicious Recipes
- Neapolitan-Style Sourdough Pizza Dough

- Italian Semolina Sourdough Bread
- Sourdough Picnic Rolls (Pull-Apart Bread Rolls)
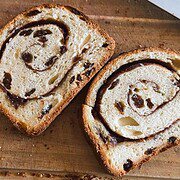
- Sourdough Cinnamon Raisin Swirl Bread (The Simplest Version)


If you tried this 3-step sourdough in under 4 hours or any other recipe on my blog please leave a 🌟 star rating and let me know how it went in the 📝 comments below! Happy Baking!

3-Step Sourdough in Under 4 Hours
Jump to VideoIngredients
- 160 g active sourdough starter
- 400 g flour
- 270 g water
- 8 grams salt
Instructions
- Add all ingredients to a bowl (flour, water, starter, and salt).
- Mix everything with your hands until fully incorporated. There shouldn't be any dry flour left.
- Start developing the dough a bit: Fold it from the sides toward the center, then lift it slightly and tuck it underneath itself. Do this for a few minutes until the dough starts to feel smoother.
- Cover the bowl and let the dough bulk ferment at room temperature for about 4 hours. During this time, the dough should slowly become a bit puffier and softer. You're not looking for it to double completely, but it should look slightly risen and feel lighter than when you first mixed it. Since we're not doing any stretch and folds during this stage, just let it sit undisturbed. This is where the dough develops naturally, so don't rush it. If your kitchen is cooler, it might take a bit longer.
- Turn the dough out onto a lightly floured countertop. Shape it by gently scooping it toward yourself while tucking it under. Take your time here, since this is where most of your structure is built.
- Place the shaped dough into a towel-lined banneton basket. Cover and let it rise for about 1 hour at room temperature.
- Optional: You can also skip the final rise and go straight to baking after shaping.
- Preheat: 240°C / 465°F Place your Dutch oven inside while preheating.
- Bake: Transfer the dough into the hot Dutch oven and score it. Without fan (conventional oven): - 20 minutes with lid on at 240°C / 465°F - Lower to 220°C / 430°F, remove lid, bake 20-25 minutes. With fan (convection): -20 minutes with lid on at 220°C / 430°F. -Lower to 200°C / 390°F, remove lid, bake 20-25 minutes