Milling Your Own Flour: A Simple Beginner’s Guide
If you want to start milling your own flour at home, keep it simple: find a suitable way to grind your grain, buy a small bag of hard white wheat berries, and try a recipe you already enjoy. You don't need five kinds of wheat or a new mixer before you can bake your first batch of muffins.
When I first got interested in milling, I thought grinding the grain would be the difficult part. It turns out that's the easy bit. Choosing a mill, figuring out which wheat to buy, and deciding what to make with it took more thought.
So here's where I'd begin, without turning your kitchen into a grain warehouse.
Prefer to watch? In this video, I walk through the choices I'd make if I were starting from scratch.
Do You Need a Grain Mill to Get Started?
For regular milling, I'd want a proper grain mill. But I wouldn't tell everyone to spend hundreds of dollars before finding out whether they actually enjoy baking with freshly milled flour.
Can you try a blender first?
Some high-powered blenders, including suitable Vitamix models, can grind small batches of grain. Check the instructions for your particular machine and container first. Not every blender is designed for dry grains.
It can be a way to experiment with equipment you already own. The texture and batch size will depend on your setup, though. A dedicated mill is my preference for frequent milling because it's made for that job.
The mill I use
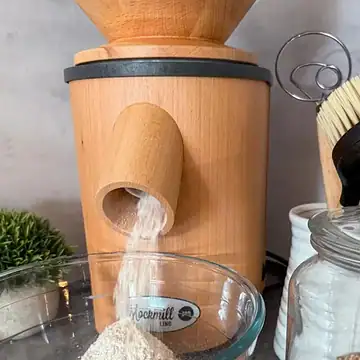
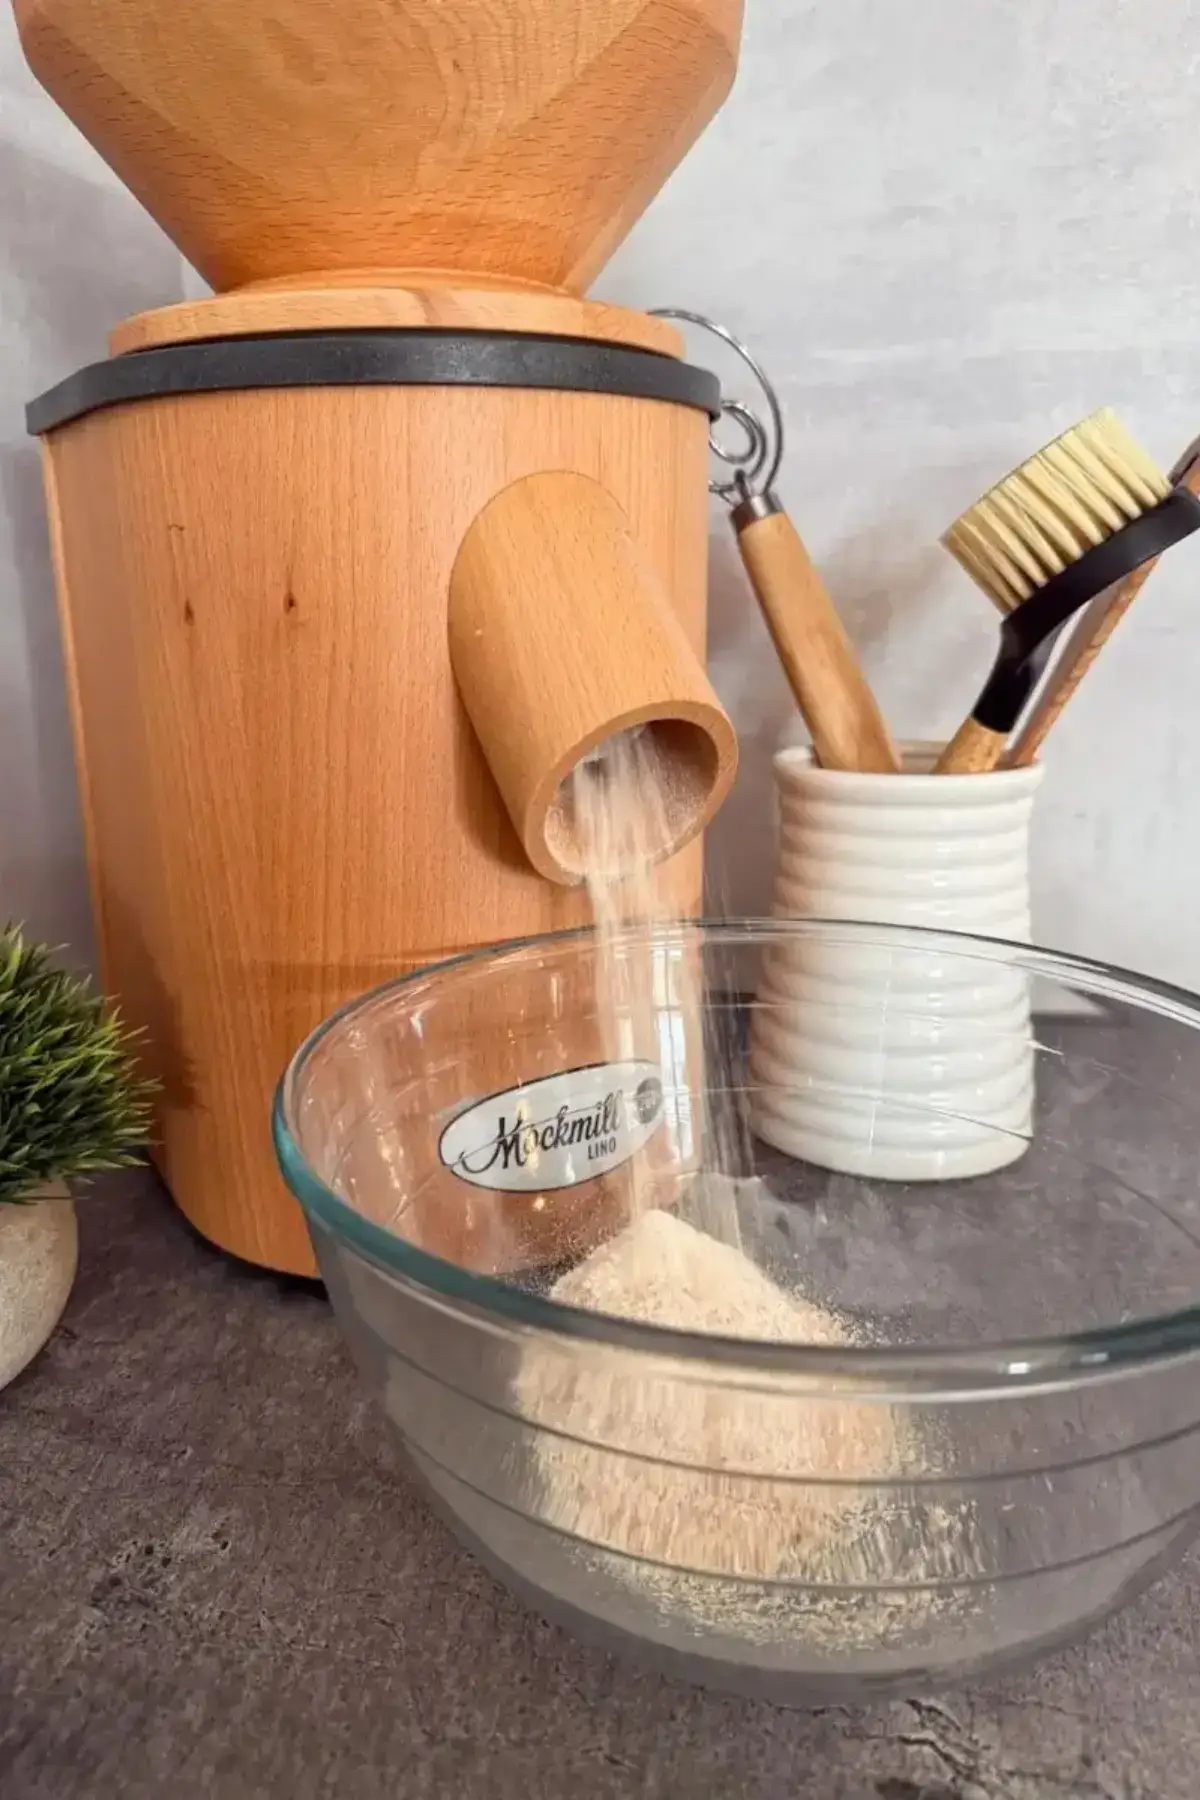
I use a Mockmill Lino 200, and one of my favorite things about it is how little fuss there is. I put my mixing bowl underneath, pour the grain into the top, and the flour goes straight into the bowl. There's no separate flour chamber to empty afterward.
Mockmill, WonderMill, NutriMill and KoMo are names you'll come across when researching mills. That doesn't mean you need to compare every model before getting started. Think about how often you'll bake and how much flour you'll need at once.
A secondhand mill can be worth considering, too. Check its condition and the manufacturer's instructions before using it. If you're considering the one I own, I've written a review of my Mockmill Lino 200.
Which Wheat Berries Should You Buy First?
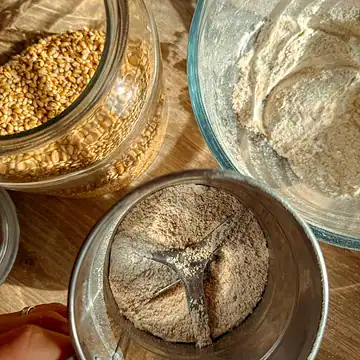
Wheat berries are simply whole wheat kernels. Grind them, and you have flour.
If I were buying just one grain to start with, I'd choose hard white wheat. That's what I started with, and I still think it's a very useful grain to have in the kitchen.
It has a milder flavor than hard red wheat, which can make it an easier introduction if you're used to white flour. But "white wheat" doesn't mean refined white flour. When you mill the whole kernel and leave everything in, it's still whole wheat.
Here's a simple way to think about the three types you'll see most often:
| Wheat | What to know |
|---|---|
| Hard white | Mild flavor and good gluten-forming potential for bread. My first choice for an all-round starting grain. |
| Hard red | A fuller wheat flavor; also a good choice for bread. |
| Soft white | Usually lower in protein, making it useful for tender bakes such as biscuits, cakes and pastries. An optional later addition. |
Hard wheats generally give you more of the gluten structure that bread needs to rise. Soft wheats are useful when tenderness matters more than a strong dough. Those are starting points, not rules for every recipe.
You don't need a different grain for every bake
I use hard white wheat for much more than bread: muffins, pancakes, pizza dough and cookies, too. I actually prefer hard wheat for cookies, even though soft wheat is often recommended for them.
That doesn't mean hard white will give you the same result as cake flour in a delicate cake. It means you can make plenty of everyday things with one grain while you learn what you like.
Once you're comfortable, you can add soft white wheat or explore spelt, einkorn and other grains. They'll still be there when you're ready.
fresh-milled sourdough course
Want to master fresh-milled sourdough?
15 step-by-step video lessons, 4 sourdough recipes, and lifetime access
Where Can You Buy Wheat Berries?
For US readers, places to look include Azure Standard, Country Life Natural Foods and Grand Teton Ancient Grains. You can also find wheat berries through Amazon, though the seller and selection will vary. Check that you're buying grain intended for food and suitable for milling.
I'm in Europe, and I get most of my grain directly from local farmers. Local Facebook groups have been especially useful for finding them. Farms, co-ops and local mills are worth checking wherever you live.
I'd start with a small bag rather than ordering 50 pounds of several different grains. Bake with it first. Once you know what you enjoy and how much you use, buying in bulk makes more sense.
Keep storage simple, but keep the grain dry
A few small bags don't need an elaborate storage setup. Keep your wheat berries in food-grade, airtight containers in a cool, dry place, protected from moisture and pests. Check them before use.
I like milling what I need for the recipe in front of me. If you have leftover whole-grain flour, seal it well; refrigeration or freezing helps it keep longer than a warm cupboard.

Free guide
Fresh Milled Flour Guide
Keep my grain-mill, wheat berry and sourcing tips handy while you get started.
What Equipment Can You Skip?
If you already bake, you probably own most of what you need. A kitchen scale is useful for weighing grain and flour, and you'll need your usual bowls and baking equipment.
For sandwich bread, that means a loaf pan. A Dutch oven is useful for some artisan loaves, but you don't need one just because you're milling flour. And your leavener depends on the recipe: yeast for a yeasted bread, an active sourdough starter for sourdough, or baking powder or soda for many quick bakes.
You don't have to buy a stand mixer before you begin, either. Choose a recipe and follow the mixing method it calls for.
Do you need vital wheat gluten or sunflower lecithin?
No. These are optional ingredients, not the entry fee for baking with fresh flour.
- Vital wheat gluten adds gluten-forming protein and can help give whole-grain bread more structure.
- Sunflower lecithin is an emulsifier, which helps ingredients such as fat and water mix together. Bakers sometimes use it to adjust bread texture, but the effect depends on the recipe.
I bought both to experiment with, and I'm still on my first bags. I very rarely use either one. I'd rather get comfortable with the flour before adding more ingredients to figure out.
How to Mill Flour at Home
Once you have the mill and the grain, the actual milling is straightforward. Here's the basic process:
- Check your grain. Use clean, dry grain intended for food. Look for stones or other debris, and make sure your mill is designed to handle that grain.
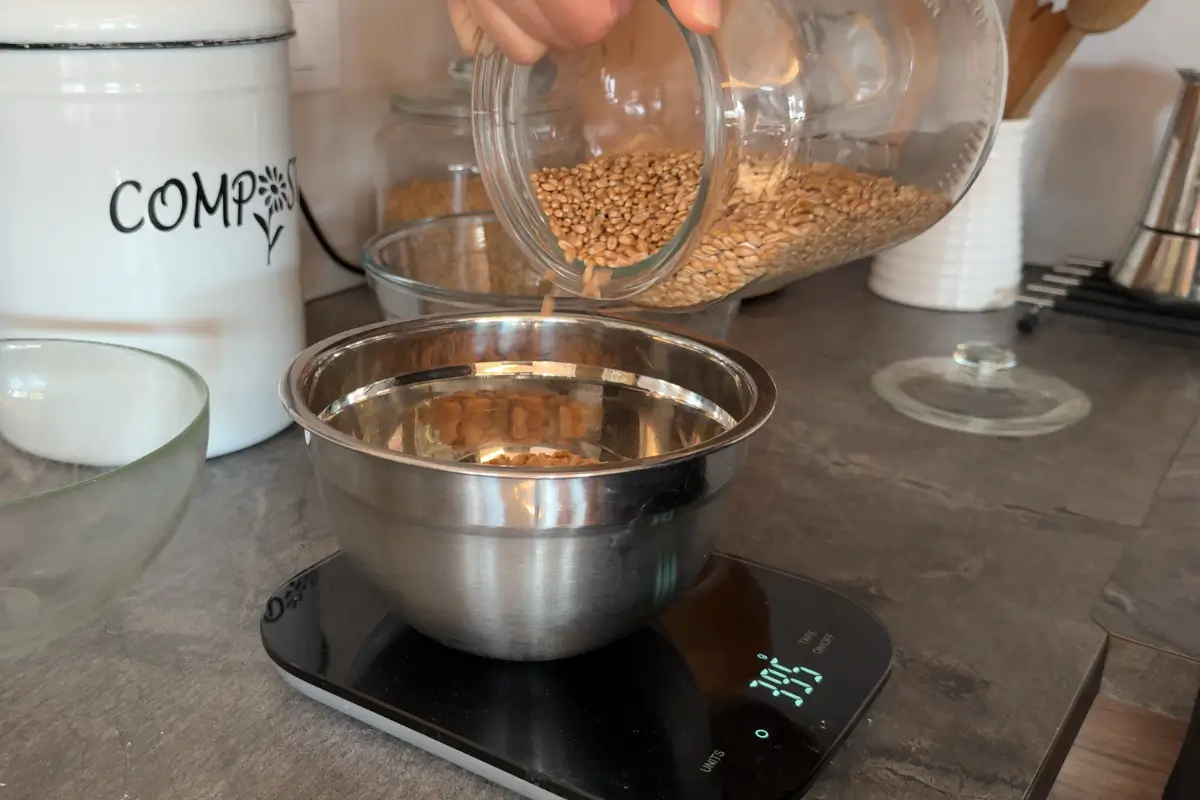
- Weigh what you need. For unsifted flour, the weight of the grain is approximately the weight of the flour you'll get. A little may stay in the mill, so check the finished flour weight against your recipe.
- Set up your mill. Put the bowl or collection container in place and choose a suitable grind according to the manufacturer's instructions.
- Mill the grain. Follow your machine's directions for when to switch it on and add the wheat berries. With my Lino 200, I switch it on before adding grain.
- Use the flour in your recipe. If you're not baking right away, put it in a sealed container and store it appropriately.
With my mill, this usually adds only a few minutes to something I'm already doing. The exact time depends on the amount of grain, the mill and the grind setting.
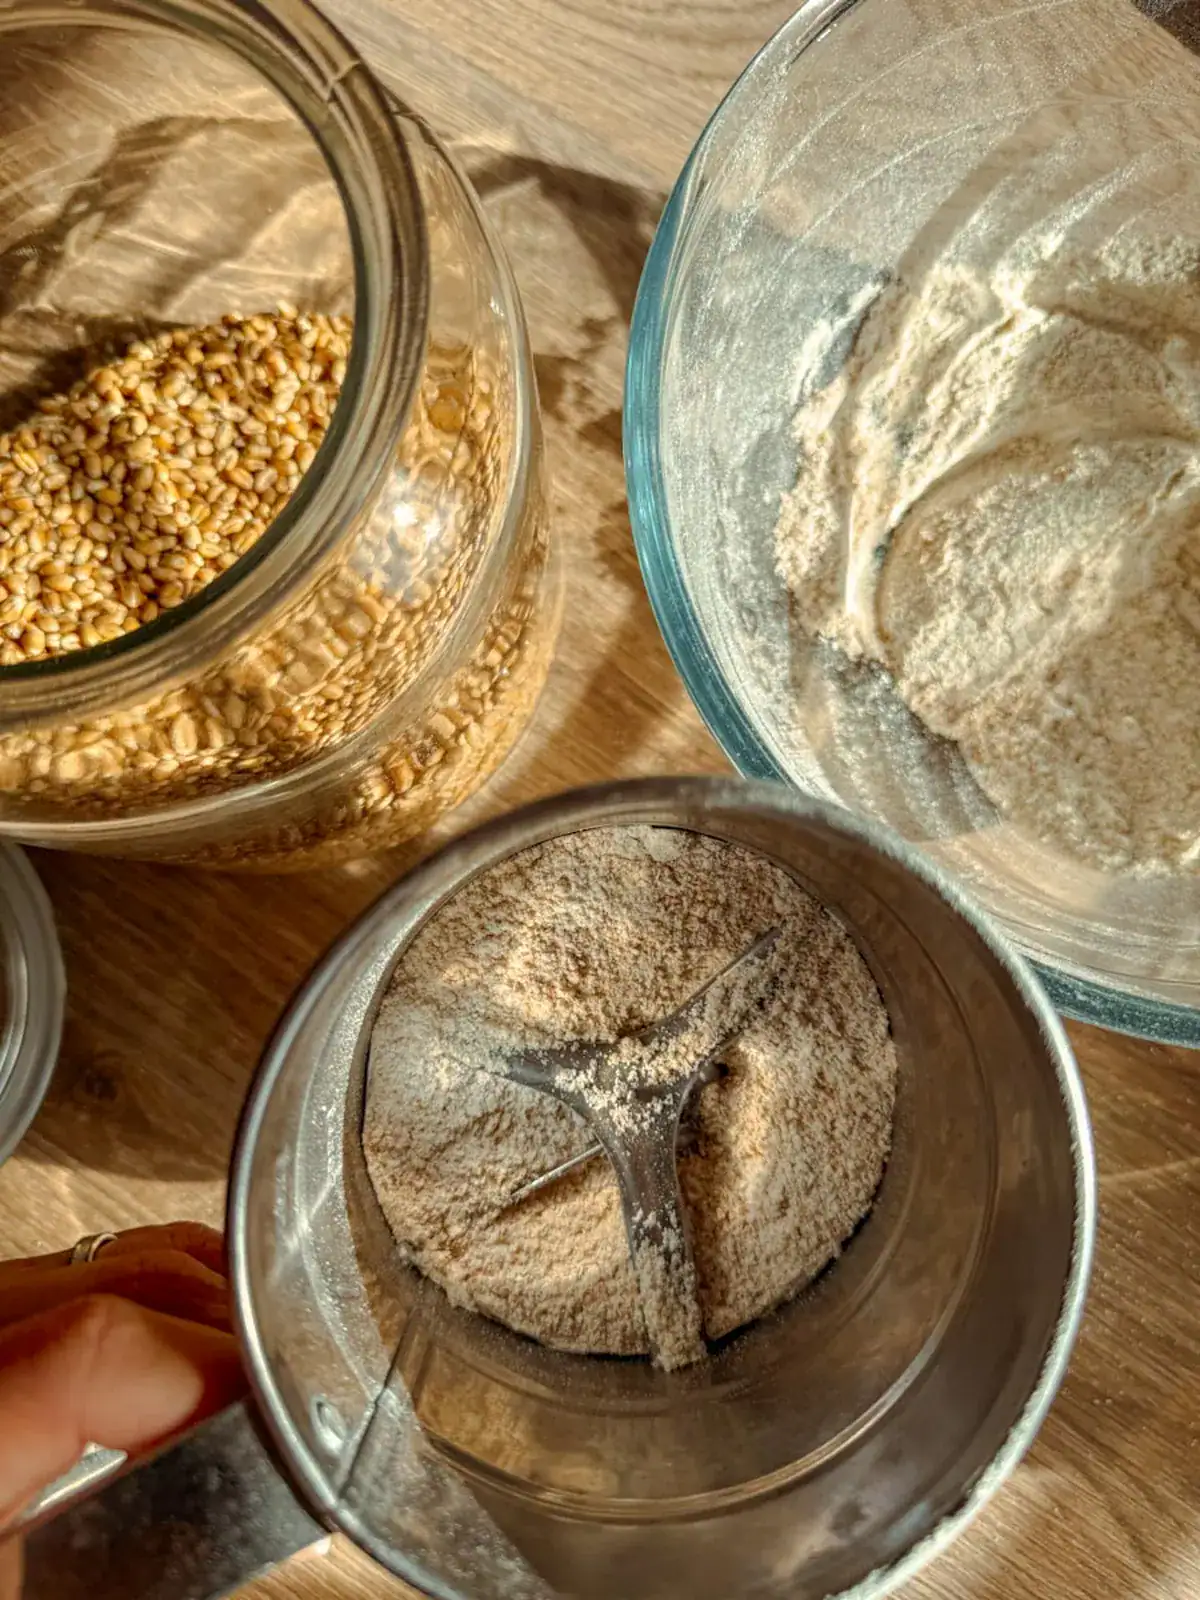
Don't expect whole-grain flour to look exactly like all-purpose flour, even when it's finely ground. You'll still see bits of bran. You don't have to remove them before you can bake; sifting is a separate choice.
Can You Use Fresh Milled Flour in Your Usual Recipes?
Yes, but don't expect every recipe to behave exactly as it did with refined white flour. Unsifted wheat flour contains the bran, germ and endosperm-the whole kernel-so you're changing more than how recently the flour was ground.
When I'm working with hard white or hard red wheat, I often start by replacing the flour by weight, then adjust the liquid based on the dough or batter in front of me. That's a starting point, not a guaranteed one-to-one conversion for every bake.
If you'd rather ease in, replace only part of the flour first. A blend lets you get used to the flavor and texture without changing everything at once.
This is why I don't like universal conversion charts. The grain, how it was milled and what you're making all affect the amount of liquid you need. Some recipes need a change; others work quite well with very little adjustment.
For a closer look at those differences, read my guide to fresh milled flour vs. all-purpose flour.
What Should You Bake First?
I wouldn't make a complicated artisan sourdough your first experiment. A batter-based recipe gives you a chance to learn how the flour behaves without also worrying about shaping and a loaf holding itself up.
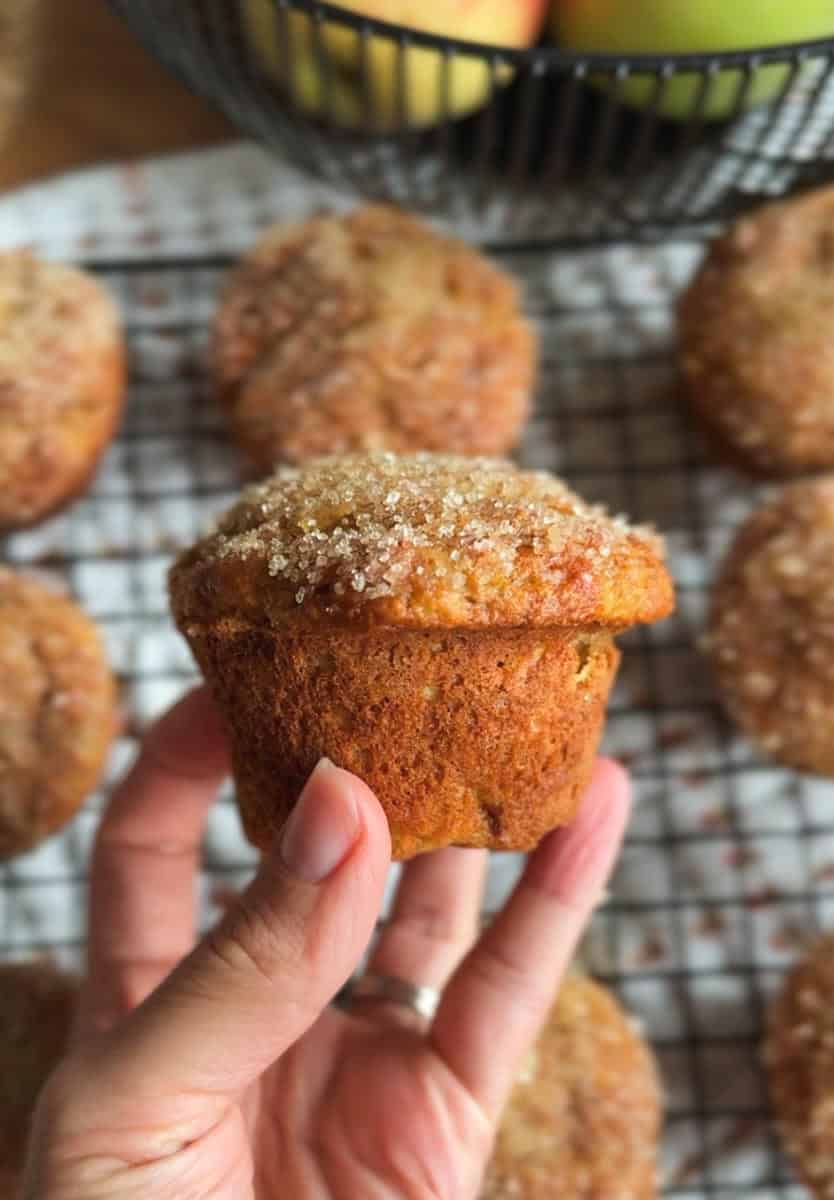
My fresh milled banana muffins with applesauce are a useful place to start. They use hard white wheat and don't need a sourdough starter. Or try the flour in a familiar pancake or cookie recipe, keeping the substitution advice above in mind.
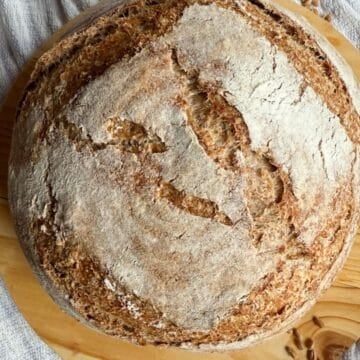
When you're ready for bread, a loaf pan can make the first attempts less demanding because it supports the dough. You can also use a blend rather than starting with all whole-grain flour. My 50/50 fresh milled sourdough bread is an option if you already bake sourdough and want to ease into that change.
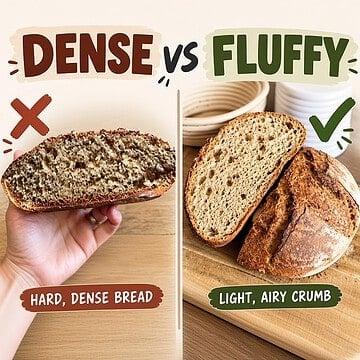
Whole-grain bread often has a tighter crumb than white-flour bread. That doesn't mean it has to be tough. I find fresh milled bread can be soft and enjoyable without having huge holes inside.
If it's specifically sourdough that's turning out heavy, I've put the checks I use in my guide to dense fresh milled sourdough. There are several possible causes, so I'd change one thing at a time rather than assuming the flour is the problem.
I was already a fairly experienced sourdough baker when I started milling, and it took me about a month to feel I was making really good fresh milled sourdough. That was my learning curve, not a deadline for yours. You'll learn more from a few bakes than from trying to research every possible grain first.
Want to Bake Fresh Milled Sourdough Alongside Me?
If sourdough is where you want to go next, my Fresh Milled Sourdough Made Simple course starts with a loaf-pan bread and moves on to an artisan loaf, with bake-alongs for both. It also includes two multipurpose dough recipes and guidance on mills, wheat berries and starters.
You can begin with a flour blend rather than going straight to 100% freshly milled flour. You'll need an active sourdough starter for the bread bake-alongs.
And if you'd rather keep exploring on your own, there are plenty of beginner fresh milled flour recipes here to try. Pick one that sounds good, mill a little flour, and bake something you'll enjoy eating.