The Easiest Fresh Milled Einkorn Sourdough Bread (Loaf Pan Method)

This loaf pan version of fresh milled einkorn sourdough bread is a nice recipe to start with if you are new to baking with fresh-milled einkorn. For this recipe, I chose a loaf pan because it takes away some of the pressure of shaping and supporting the dough. If you're an einkorn beginner, this is the recipe you can confidently try first!
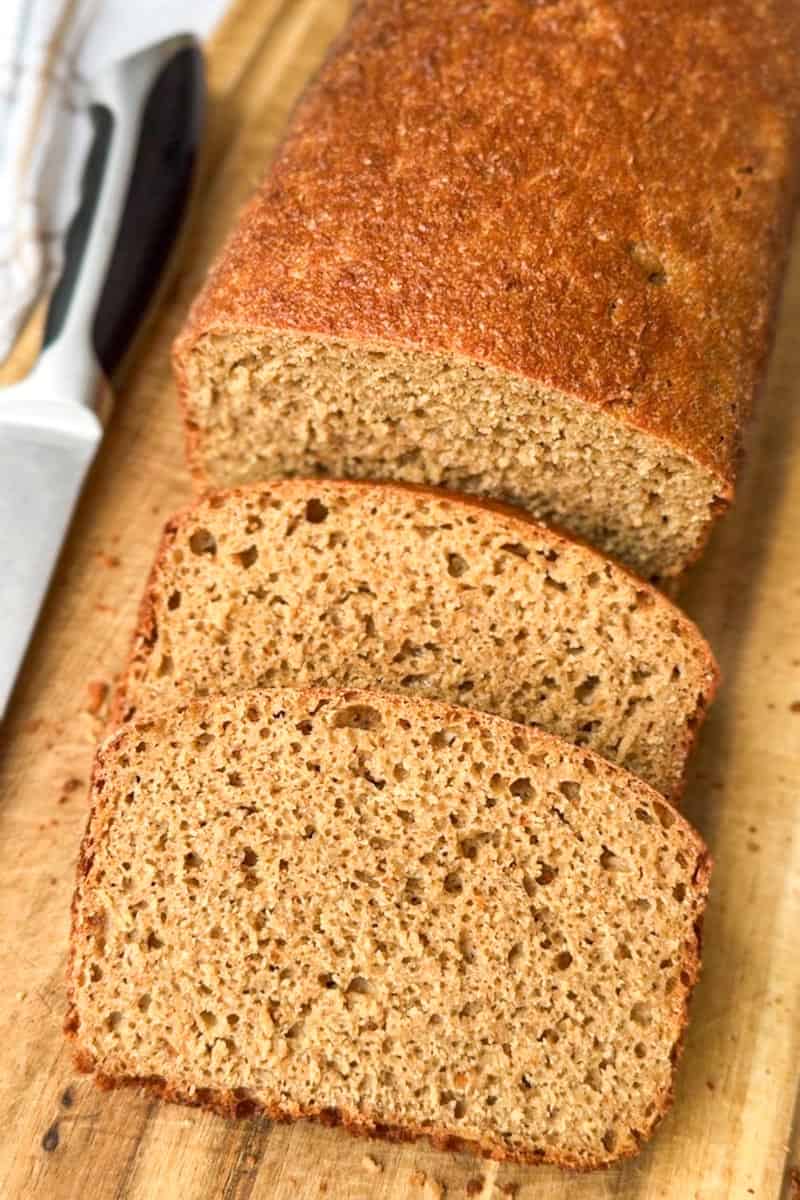
Einkorn dough is naturally sticky and has a more fragile gluten structure, so letting the loaf pan provide the support makes the whole process a little easier. And once you get comfortable with how einkorn looks and feels during fermentation, this can become a simple loaf to make for everyday sandwiches, toast, or a slice with butter.
If you enjoy baking with fresh-milled einkorn, you might also want to try my 100% fresh-milled einkorn sourdough bread and fresh milled einkorn kaiserschmarrn (shredded pancake). They're two more simple ways to use einkorn!
Summarize & Adapt This Recipe On:
Quick Look
- Prep Time: 15 minutes
- Bulk Fermentation: 5-7 hours
- Final Proof: 1-3 hours
- Cook Time: 50-60 minutes
- Total Time: 7-10 hours
- Servings: 10-12 slices
- Difficulty: Easy
- Baking Method: Oven-baked
- Best For: Sandwiches, toast, and everyday sourdough bread
Jump to:
- Summarize & Adapt This Recipe On:
- Quick Look
- Important Ingredients
- Substitutions & Variations
- How to Make Fresh Milled Einkorn Sourdough Bread (Loaf Pan Method)
- Baking Schedule
- 💭Crucial Success Tips
- Recipe FAQs
- How To Store Fresh Milled Einkorn Sourdough Bread
- Other Delicious Fresh Milled Bread Recipes
- The Easiest Fresh Milled Einkorn Sourdough Bread (Loaf Pan Method)
- Need Help Tweaking This Recipe?
- Other Fresh Milled Sourdough Recipes You'll Love
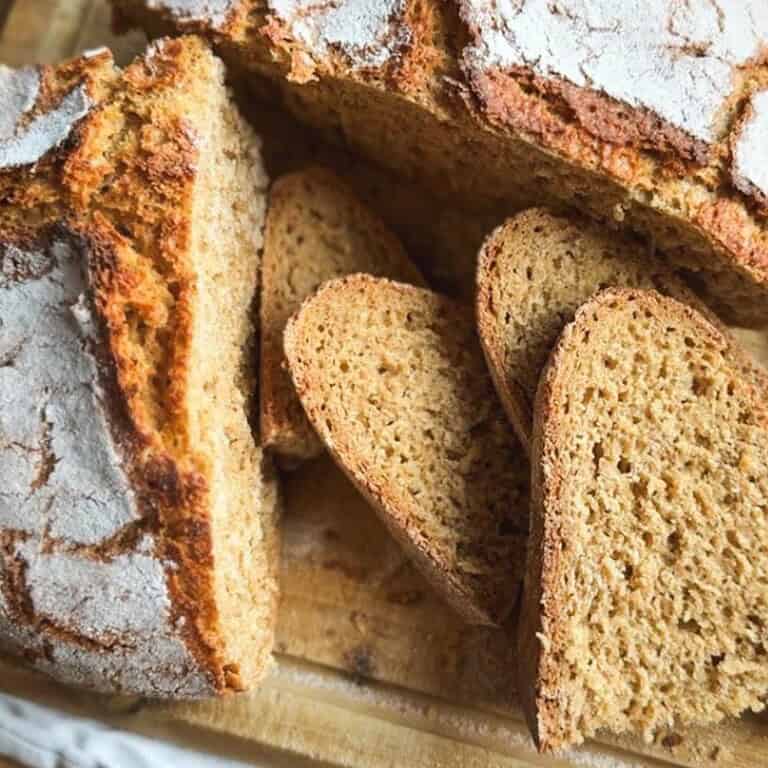
- 100% Fresh-Milled Einkorn Sourdough Bread
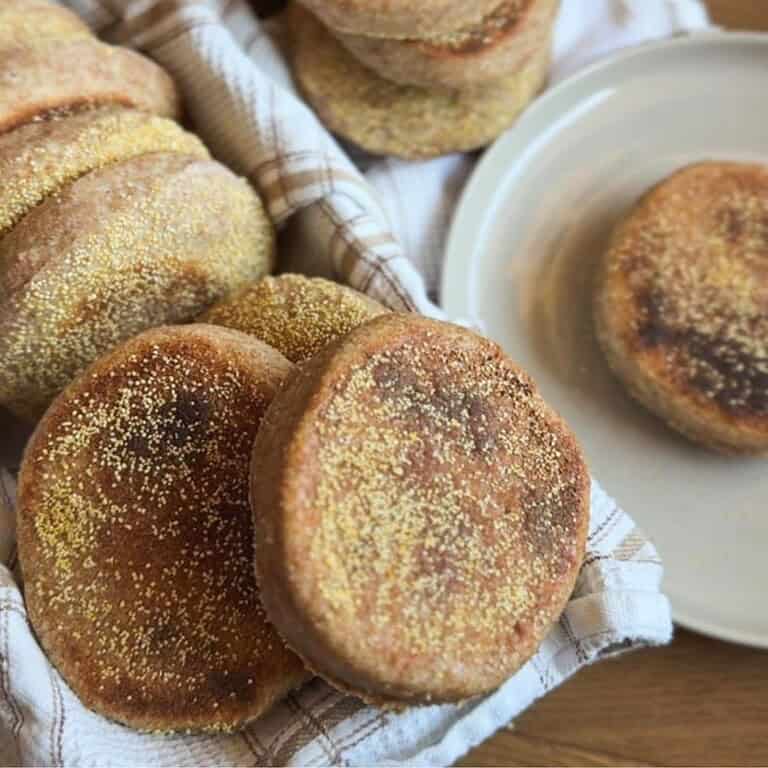
- Fresh Milled Sourdough English Muffins (Same Day or Overnight)
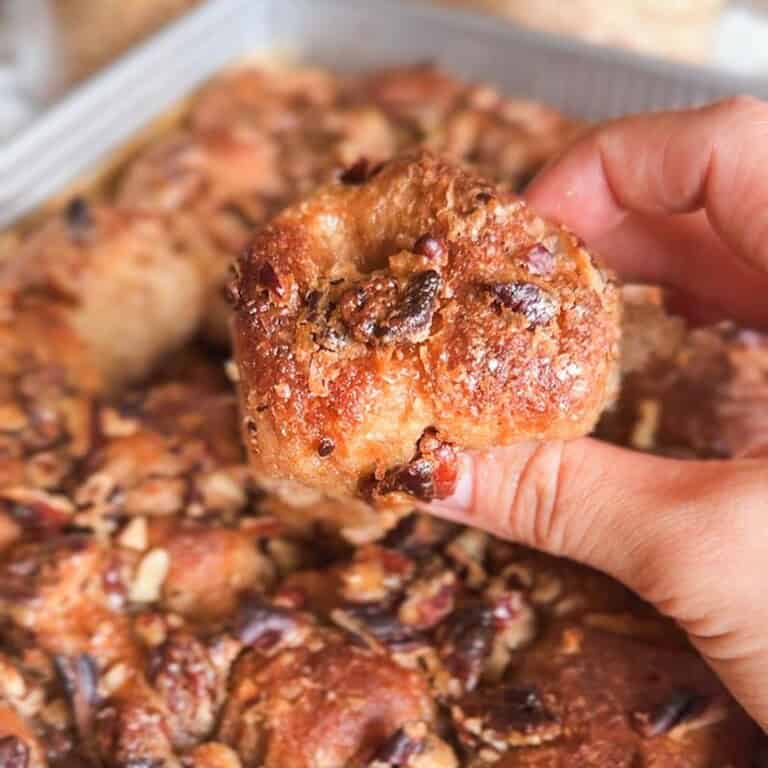
- Fresh Milled Sticky Pecan Pie Pull-Apart Sourdough Focaccia
Important Ingredients
- freshly milled einkorn flour gives the bread its distinct einkorn flavor, texture, and hearty crumb.
- water hydrates the fresh-milled flour and creates the sticky dough needed for this loaf.
- active sourdough starter helps the bread rise naturally while adding a mild sourdough flavor.
- salt balances the flavor and helps support the dough's structure during fermentation.
- butter or oil used to generously grease the loaf pan and help prevent sticking.
See recipe card for quantities.
Substitutions & Variations
- About sourdough starter, you can use less or more than the 100g called for in the recipe. Just remember that changing the starter amount will change the fermentation time.
- For the water, start with the amount listed in the recipe. If your flour absorbs water differently, you can adjust the hydration slightly in your next loaf.
- You can use either butter or oil to generously grease the loaf pan.
- After shaping, cover the loaf and refrigerate it for up to 12 hours for an overnight fermentation.
- For a crustier loaf, use an upside-down loaf pan as a cover during the first part of baking.
- You can try adding a small amount of seeds such as sunflower, sesame, or flax if you enjoy them in your bread.

Free resource
Get all 3 when you subscribe
Bake beautiful bread that fits Your life - not the other way around
How to Make Fresh Milled Einkorn Sourdough Bread (Loaf Pan Method)
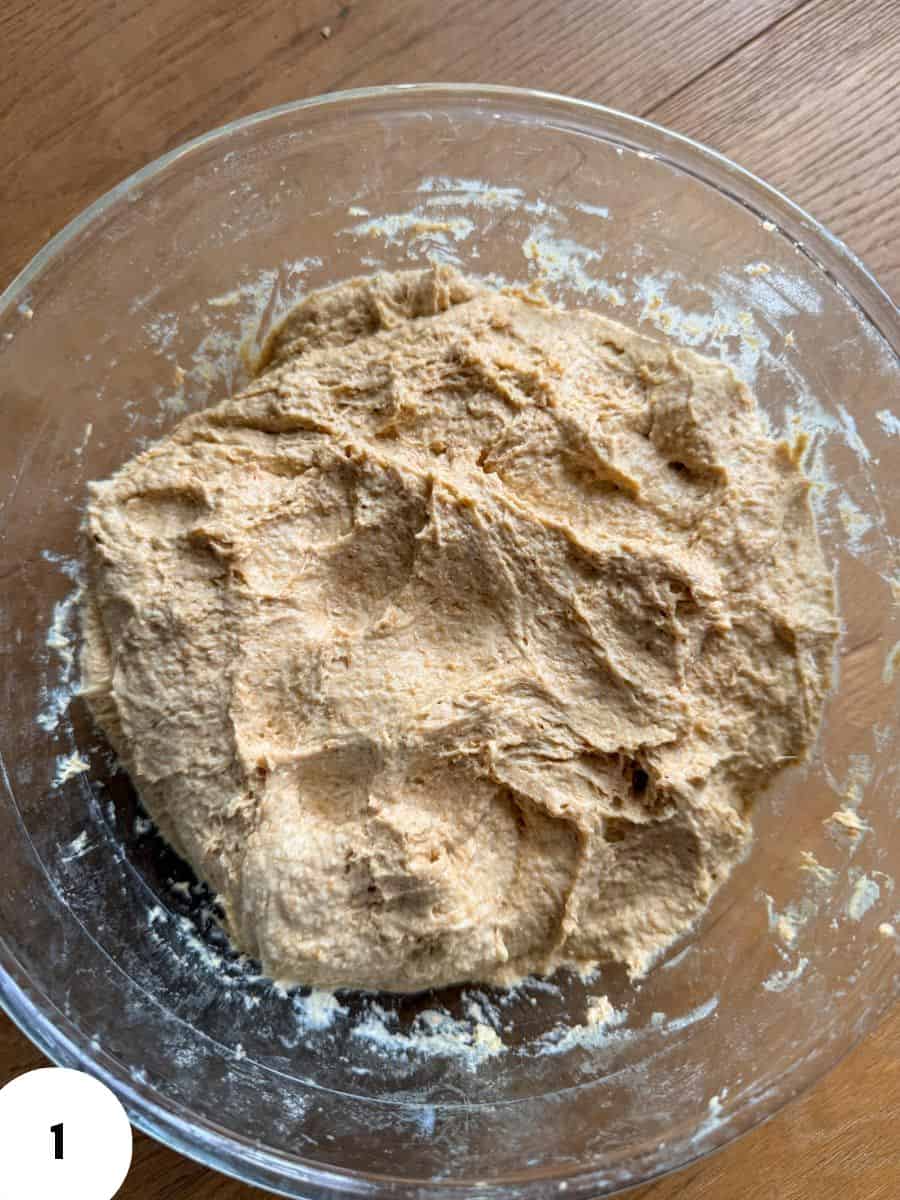
Step 1: Add the freshly milled einkorn flour, 455g water, active sourdough starter, and salt to a large bowl.
Mix well until everything is evenly incorporated (you'll most likely need your hands for this!). The dough will be very sticky, and the goal is merely to incorporate everything nicely. (Image 1)
Cover and let the dough rest for 30-60 minutes.
Don't try to make einkorn dough feel like regular bread-flour sourdough. It won't become as elastic or strong!
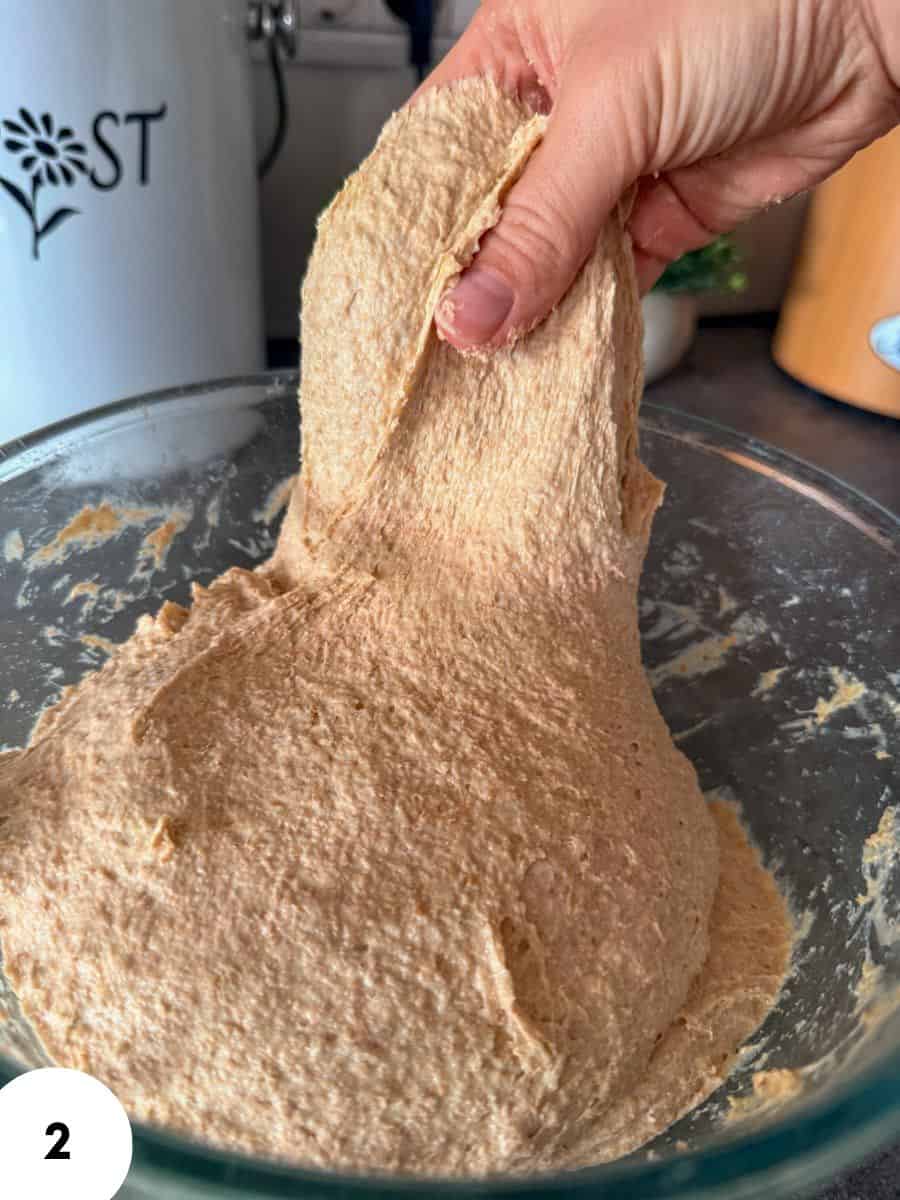
Step 2: After the 30 minute rest, perform one and only set of "stretch and folds." (Image 2) Those won't be your typical stretch and folds you're used to with regular sourdough dough, but rather more like rearranging sticky dough a bit. Don't pull the dough aggressively. The goal is not to build strength in the dough, but to evenly and gently give the dough a second mix to ensure even fermentation and add a little bit of elasticity to it.
Cover again and leave the dough to continue fermenting.
TIP: More stretch and folds aren't necessarily better with einkorn. Einkorn has a much more fragile gluten structure than modern wheat, and excessive handling can actually weaken the dough.
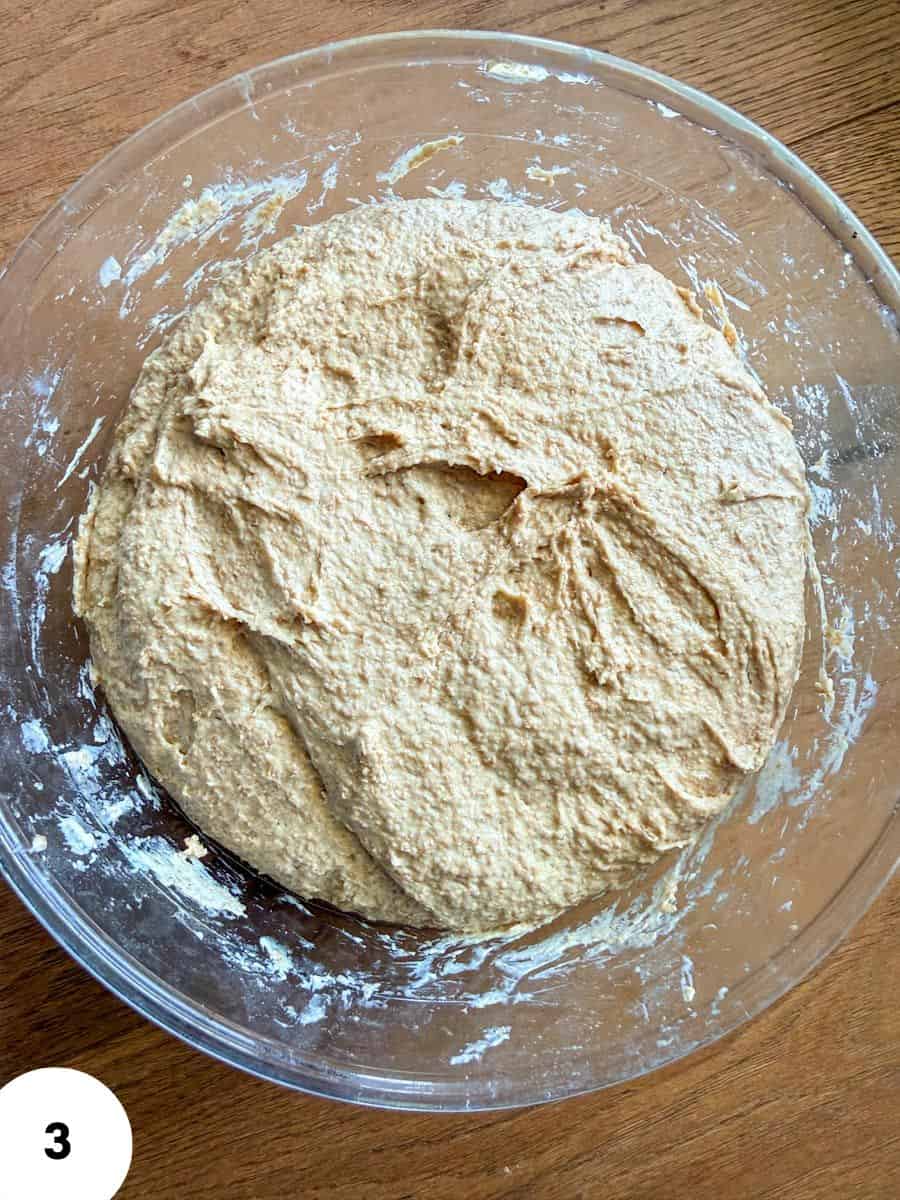
Step 3: Cover the dough and leave it to bulk ferment at room temperature for about 5-7 hours. (Image 3)
Keep in mind that the time for bulk fermentation starts when you add in your starter, so the 30-minute rest and stretch and folds are included in this time.
Instead of following the clock exactly, watch the dough. You're looking for it to become visibly puffy and aerated, with some visible bubbles and approximately 30% growth in volume.
Do not wait for the dough to double! Einkorn can go from nicely fermented to overfermented much faster than a strong bread-flour dough.
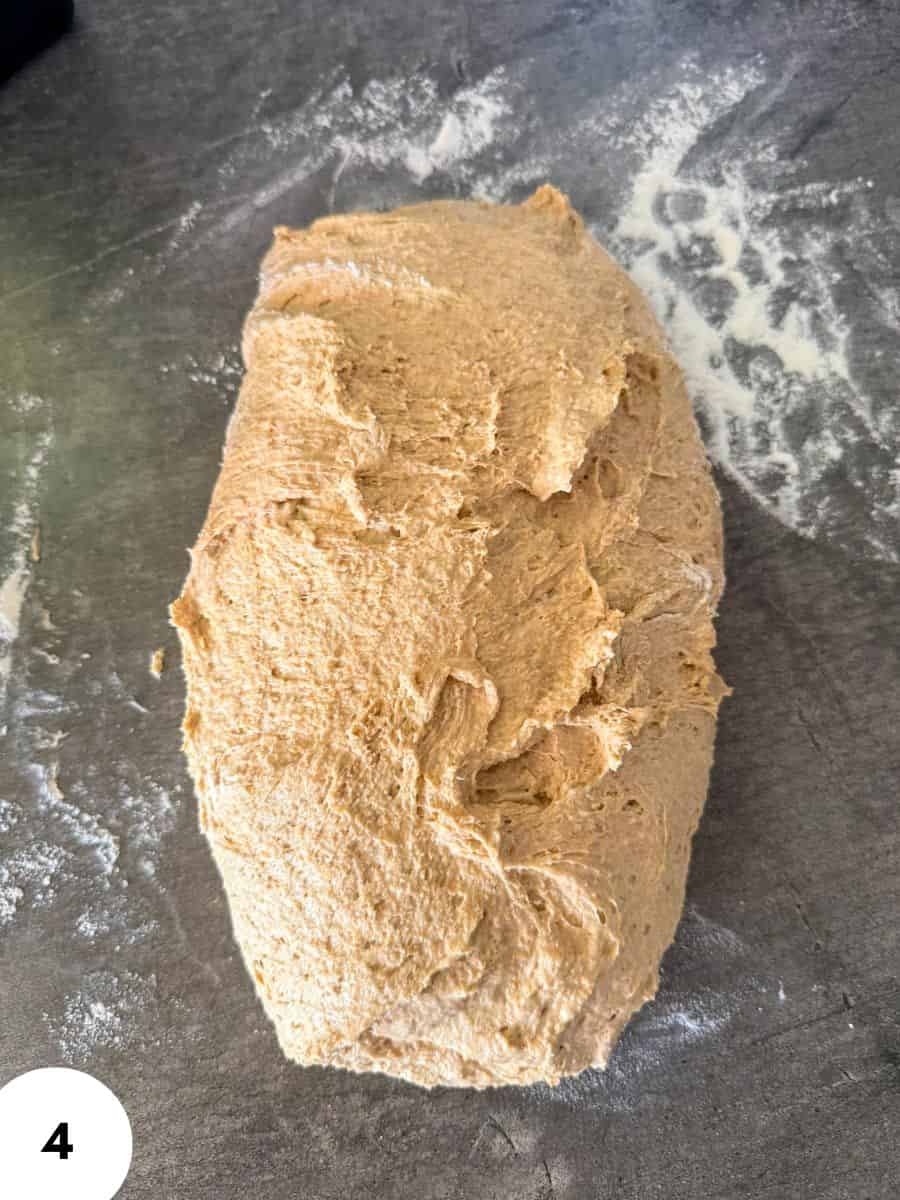
Step 4: Generously (because the dough is supposed to be super sticky!) grease a 9 x 5-inch (23 x 13cm) loaf pan. Heavily flour your working surface.
Lightly wet your hands and gently turn out the dough. Shape it into a rough log (Image 4) and transfer it to the prepared loaf pan.
I recommend working quickly here: flour will only keep the stickiness at bay for a little, so as soon as you can get the dough into a long and into the loaf pan, just do it.
Use wet hands to gently smooth out the top, but keep in mind that the dough will rise and even itself out a lot anyway.
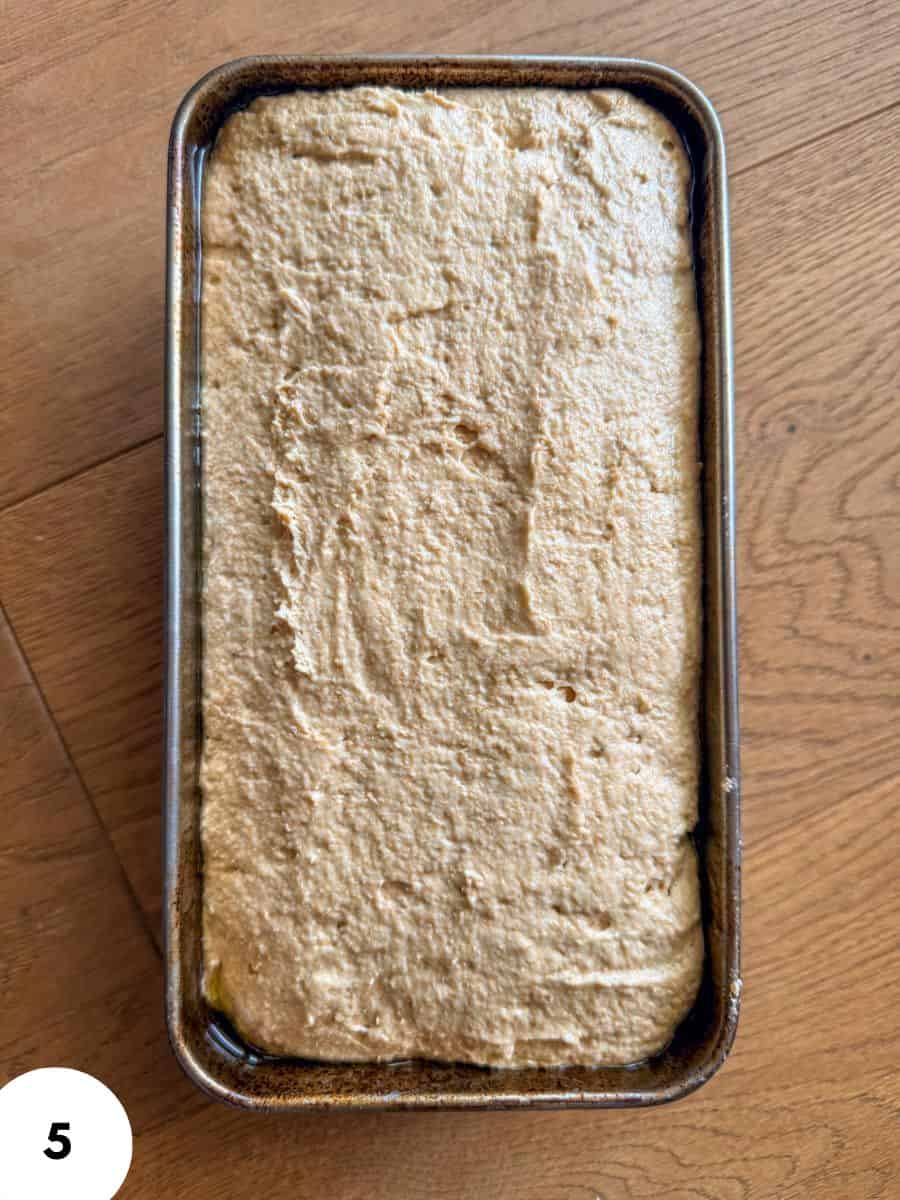
Step 5: Cover the loaf pan and leave it to rise for about 1-3 hours.
Optionally, you can do an overnight cold fermentation too, by putting the dough into the fridge for up to 12 hours.
Again, don't wait for the dough to double or necessarily rise dramatically above the rim. Einkorn's gluten structure is fragile, and pushing the second rise too far can cause the dough to weaken or collapse. (Image 5)
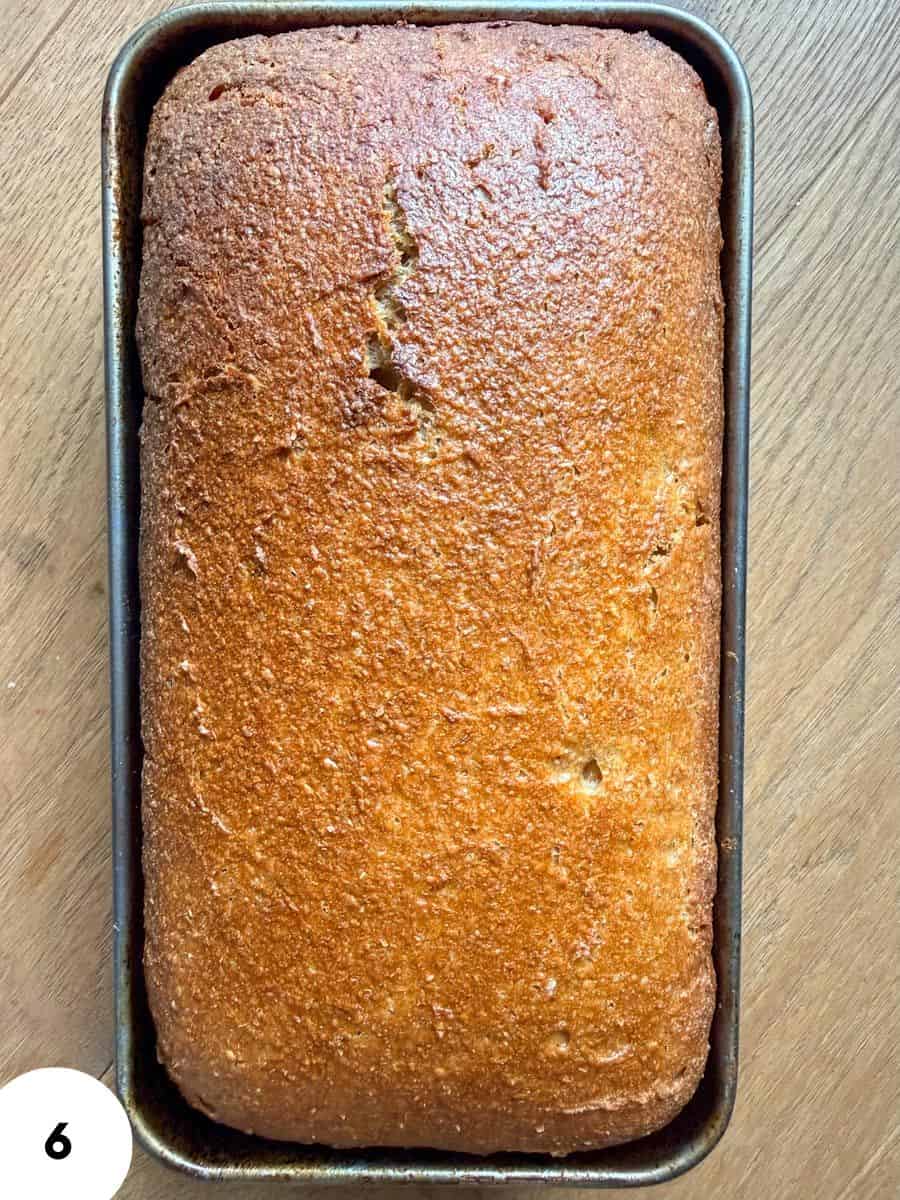
Step 6: Toward the end of the second rise, preheat the oven to 375°F (190°C) (or to 425°F (220°C) if using my two-pan method, see instructions below!)
Bake uncovered for about 50-60 minutes, until the loaf is nicely browned and baked through (Image 6). If the top starts getting too dark before the center is done, loosely cover it with aluminum foil.
If you have an instant-read thermometer, aim for an internal temperature of approximately 200-205°F (93-96°C) in the center.
Optional: use my two-pan method for a crustier loaf. Preheat the oven to 425°F (220°C). Place a second loaf pan upside down over the pan containing the dough, creating a lid that traps steam around the bread. Bake covered for 45 minutes. Carefully remove the top pan, reduce the oven temperature to 400°F (205°C), and bake uncovered for another 10-20 minutes, until the crust is nicely browned and the center reaches 200-205°F (93-96°C).
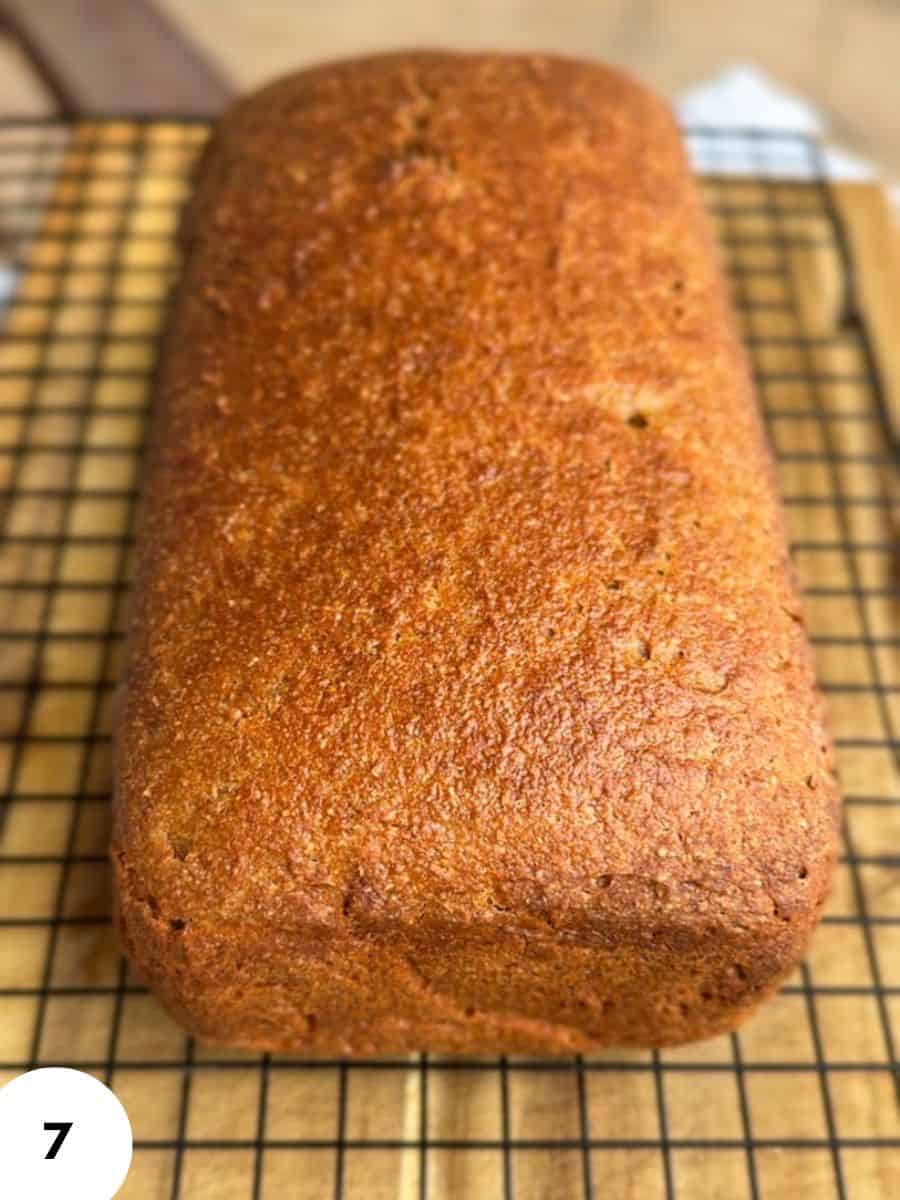
Step 7: Leave the bread in the pan for about 10 minutes, then remove it and transfer it to a cooling rack. (Image 7)
Let it cool completely before slicing, ideally for about 2 hours.
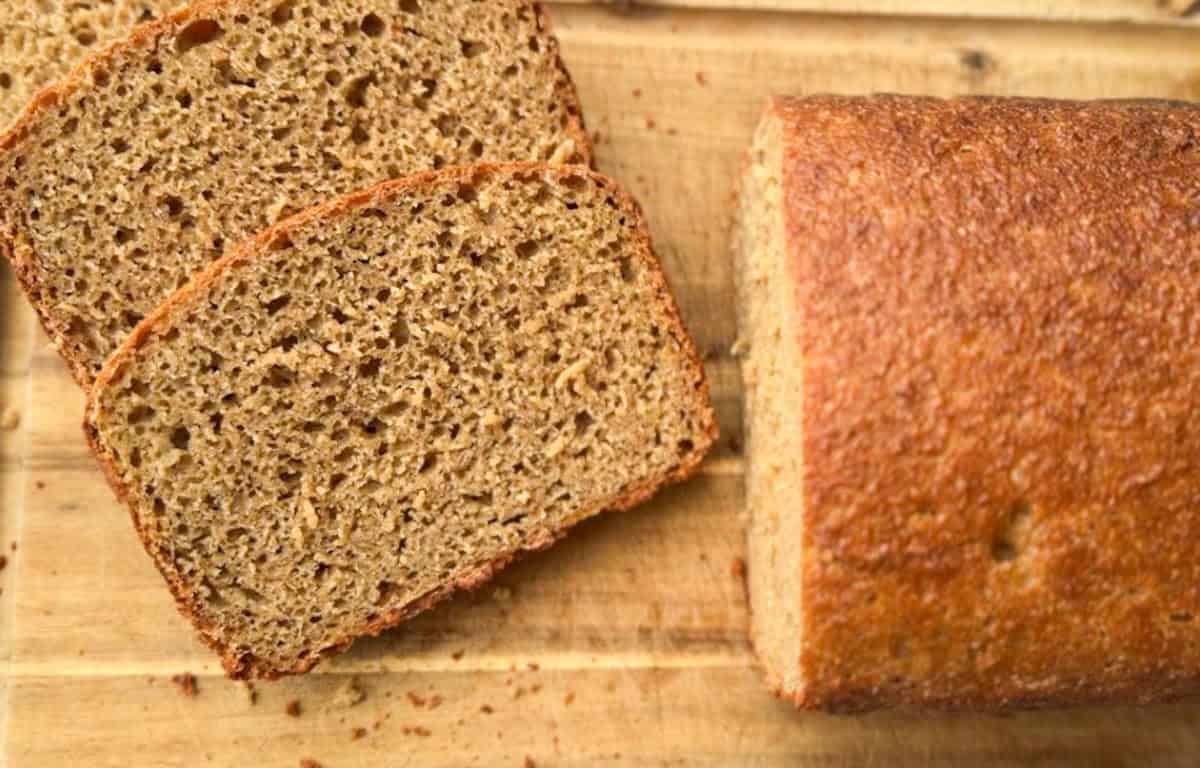
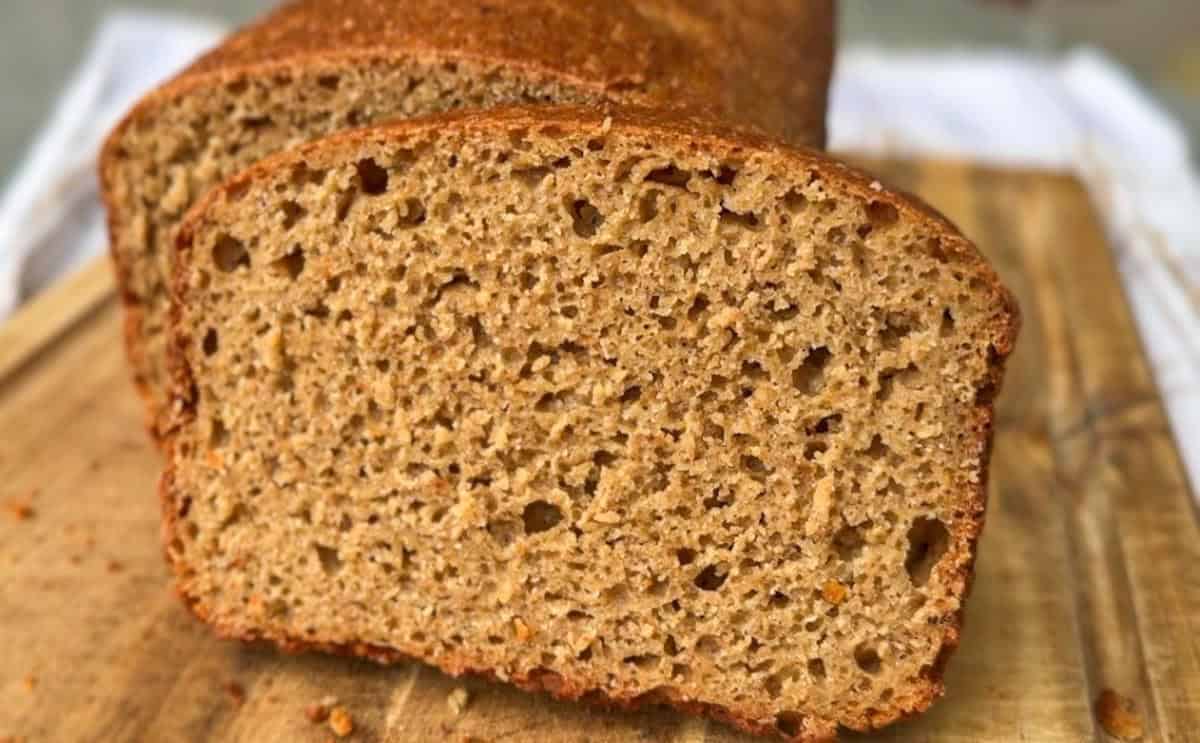
This is especially important with fresh-milled einkorn. Cutting into it while it's still hot can leave you with a gummy crumb even when the loaf is properly baked.
*NOTES ON THE STARTER AMOUNT: This recipe is (as all sourdough recipes are!) flexible. Sometimes I only have 50g of starter left, so that's how much I'll use. Sometimes it's in my interest to use up a lot. This recipe works best with around 100g of starter (but that's my opinion!), but you can go higher or lower! Just keep in mind to adjust the bulk fermentation time in case you're diverging from the recipe's starter amount.
Hint: Keep your hands slightly wet when handling the dough. It will be very sticky, and adding lots of extra flour can make shaping more difficult. Also, use the dough's appearance as your guide during fermentation instead of waiting for it to double. I really like glass bowl for this purpose: so I can see the bubbles forming inside the dough (because they'll usually not be visible on the surface!).
Baking Schedule
- 8:00 AM - mix the dough
- 8:30 AM - rest the dough
- 9:00 AM - gently fold the dough
- 9:05 AM - start bulk fermentation
- 2:00 PM - check dough and shape
- 2:15 PM - transfer to loaf pan
- 2:15-5:15 PM - final proof
- 5:15 PM - preheat oven
- 5:45 PM - bake
- 6:45 PM - cool in pan
- 6:55 PM - transfer to rack
- 8:55 PM - cool completely and slice
💭Crucial Success Tips
Expect sticky dough. Einkorn dough won't feel like regular bread-flour dough. That's normal! That's why we're baking it in a loaf pan.
Recipe FAQs
Einkorn naturally produces a sticky dough, especially at this hydration. The loaf pan allows you to work with a wetter dough without needing it to hold a free-standing shape.
Yes. You can use less starter, but you'll likely need more time for fermentation. Using more starter can shorten the fermentation time.
Look for a dough that has become puffy and aerated, with some visible bubbles and around 30% growth in volume. You don't need to wait for it to double.
How To Store Fresh Milled Einkorn Sourdough Bread
Let the loaf cool completely before storing it. Once cooled, keep it in a bread bag, reusable bread container, or another container that allows a little airflow. Store it at room temperature and enjoy within a few days for the best texture.
For longer storage, slice the bread and freeze the slices in a freezer-safe bag or container. You can take out individual slices as needed and thaw them at room temperature or toast them straight from frozen.
Other Delicious Fresh Milled Bread Recipes
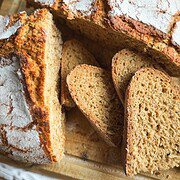
- The Easiest Fresh Milled Einkorn Sourdough Bread (Loaf Pan Method)

- 100% Fresh-Milled Einkorn Sourdough Bread
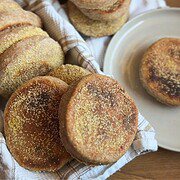
- Fresh Milled Sourdough English Muffins (Same Day or Overnight)
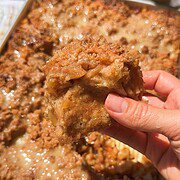
- Fresh Milled Apple Cinnamon Crumble Pull-Apart Sourdough Focaccia
If you tried this fresh milled einkorn sourdough bread (loaf pan method) or any other recipe on my blog please leave a 🌟 star rating and let me know how it went in the 📝 comments below! Happy Baking!
The Easiest Fresh Milled Einkorn Sourdough Bread (Loaf Pan Method)
Ingredients
- 650 g freshly milled einkorn flour
- 455 g water
- 100 g active sourdough starter 100% hydration
- 14 g salt
- Butter or oil for greasing the loaf pan
Instructions
- Add the freshly milled einkorn flour, 455g water, active sourdough starter, and salt to a large bowl. Mix well until everything is evenly incorporated (you'll most likely need your hands for this!). The dough will be very sticky, and the goal is merely to incorporate everything nicely.Cover and let the dough rest for 30-60 minutes.Don't try to make einkorn dough feel like regular bread-flour sourdough. It won't become as elastic or strong!
- After the 30 minute rest, perform one and only set of "stretch and folds." Those won't be your typical stretch and folds you're used to with regular sourdough dough, but rather more like rearranging sticky dough a bit. Don't pull the dough aggressively. The goal is not to build strength in the dough, but to evenly and gently give the dough a second mix to ensure even fermentation and add a little bit of elasticity to it.Cover again and leave the dough to continue fermenting.TIP: More stretch and folds aren't necessarily better with einkorn. Einkorn has a much more fragile gluten structure than modern wheat, and excessive handling can actually weaken the dough.
- Cover the dough and leave it to bulk ferment at room temperature for about 5-7 hours.Keep in mind that the time for bulk fermentation starts when you add in your starter, so the 30-minute rest and stretch and folds are included in this time.Instead of following the clock exactly, watch the dough. You're looking for it to become visibly puffy and aerated, with some visible bubbles and approximately 30% growth in volume.Do not wait for the dough to double! Einkorn can go from nicely fermented to overfermented much faster than a strong bread-flour dough.
- Generously (because the dough is supposed to be super sticky!) grease a 9 x 5-inch (23 x 13cm) loaf pan. Heavily flour your working surface.Lightly wet your hands and gently turn out the dough. Shape it into a rough log and transfer it to the prepared loaf pan. I recommend working quickly here: flour will only keep the stickiness at bay for a little, so as soon as you can get the dough into a long and into the loaf pan, just do it. Use wet hands to gently smooth out the top, but keep in mind that the dough will rise and even itself out a lot anyway.
- Cover the loaf pan and leave it to rise for about 1-3 hours.Optionally, you can do an overnight cold fermentation too, by putting the dough into the fridge for up to 12 hours. Again, don't wait for the dough to double or necessarily rise dramatically above the rim. Einkorn's gluten structure is fragile, and pushing the second rise too far can cause the dough to weaken or collapse.
- Toward the end of the second rise, preheat the oven to 375°F (190°C) (or to 425°F (220°C) if using my two-pan method, see instructions below!)Bake uncovered for about 50-60 minutes, until the loaf is nicely browned and baked through. If the top starts getting too dark before the center is done, loosely cover it with aluminum foil.If you have an instant-read thermometer, aim for an internal temperature of approximately 200-205°F (93-96°C) in the center.Optional: use my two-pan method for a crustier loaf. Preheat the oven to 425°F (220°C). Place a second loaf pan upside down over the pan containing the dough, creating a lid that traps steam around the bread. Bake covered for 45 minutes. Carefully remove the top pan, reduce the oven temperature to 400°F (205°C), and bake uncovered for another 10-20 minutes, until the crust is nicely browned and the center reaches 200-205°F (93-96°C).
- Leave the bread in the pan for about 10 minutes, then remove it and transfer it to a cooling rack.Let it cool completely before slicing, ideally for about 2 hours.This is especially important with fresh-milled einkorn. Cutting into it while it's still hot can leave you with a gummy crumb even when the loaf is properly baked.*NOTES ON THE STARTER AMOUNT: This recipe is (as all sourdough recipes are!) flexible. Sometimes I only have 50g of starter left, so that's how much I'll use. Sometimes it's in my interest to use up a lot. This recipe works best with around 100g of starter (but that's my opinion!), but you can go higher or lower! Just keep in mind to adjust the bulk fermentation time in case you're diverging from the recipe's starter amount.