Crispy Mac and Cheese Balls Recipe
These crispy mac and cheese balls are pure comfort food in bite-sized form. Creamy, cheesy macaroni on the inside, a golden crunchy coating on the outside, and just the right amount of indulgence for parties, holidays, or snack nights at home. They feel fancy enough for guests but are actually very doable with simple ingredients and a little chill time. If you love classic mac and cheese, this fun twist is guaranteed to win people over fast.

Crispy mac and cheese balls are especially popular for holidays, game days, and parties where finger foods rule the table. They're a great make-ahead option because the mixture needs time to chill anyway, which makes them easy to plan around busy schedules. I also love making these when I have leftover mac and cheese that needs a second life.
Quick Look
- Prep Time: 25 minutes + 2 hours chilling
- Cook Time: 20 minutes
- Servings: 20-24 bites
- Main Ingredients: Pasta, cheddar cheese, breadcrumbs
- Cooking Method: Deep-fry 🡢
- Difficulty: Easy
- Serving Ideas: Serve warm with yogurt-mustard dip, or alongside your favorite dipping sauce
Jump to:
- Quick Look
- Important Ingredients
- Substitutions & Variations
- How to Make Mac and Cheese Balls
- Baking Schedule
- 💭Crucial Success Tips
- Recipe FAQs
- How To Store Mac and Cheese Balls
- Other Delicious Recipes
- Sourdough Guinness Bread
- Need Help Tweaking This Recipe?
- Other Snack Recipes You'll Love
- Chocolate Coconut Puffed Rice Clusters
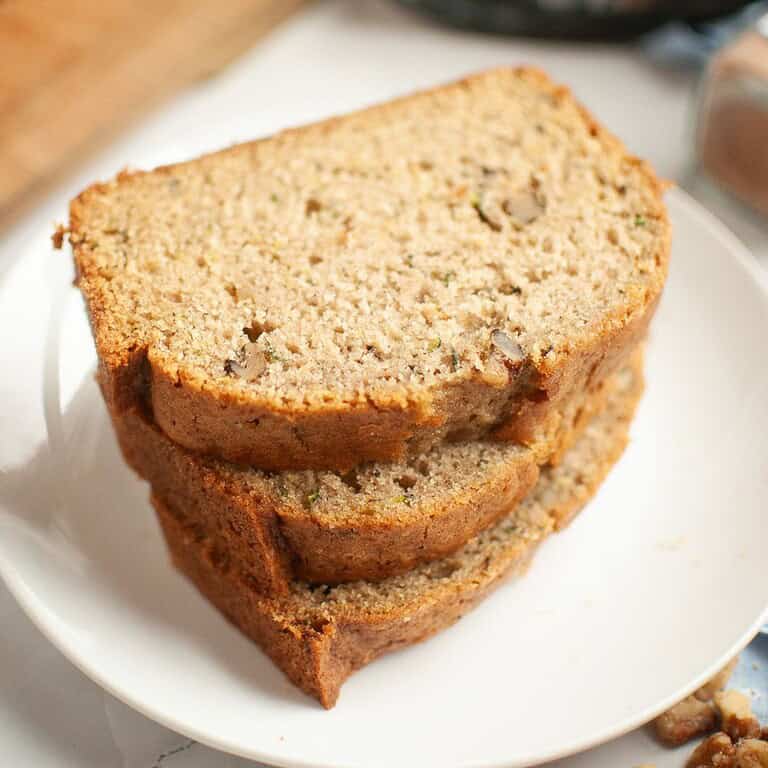
- Chocolate Chip Zucchini Bread with Walnuts
- Easy Sourdough Discard Zucchini Bread with Walnuts
Important Ingredients
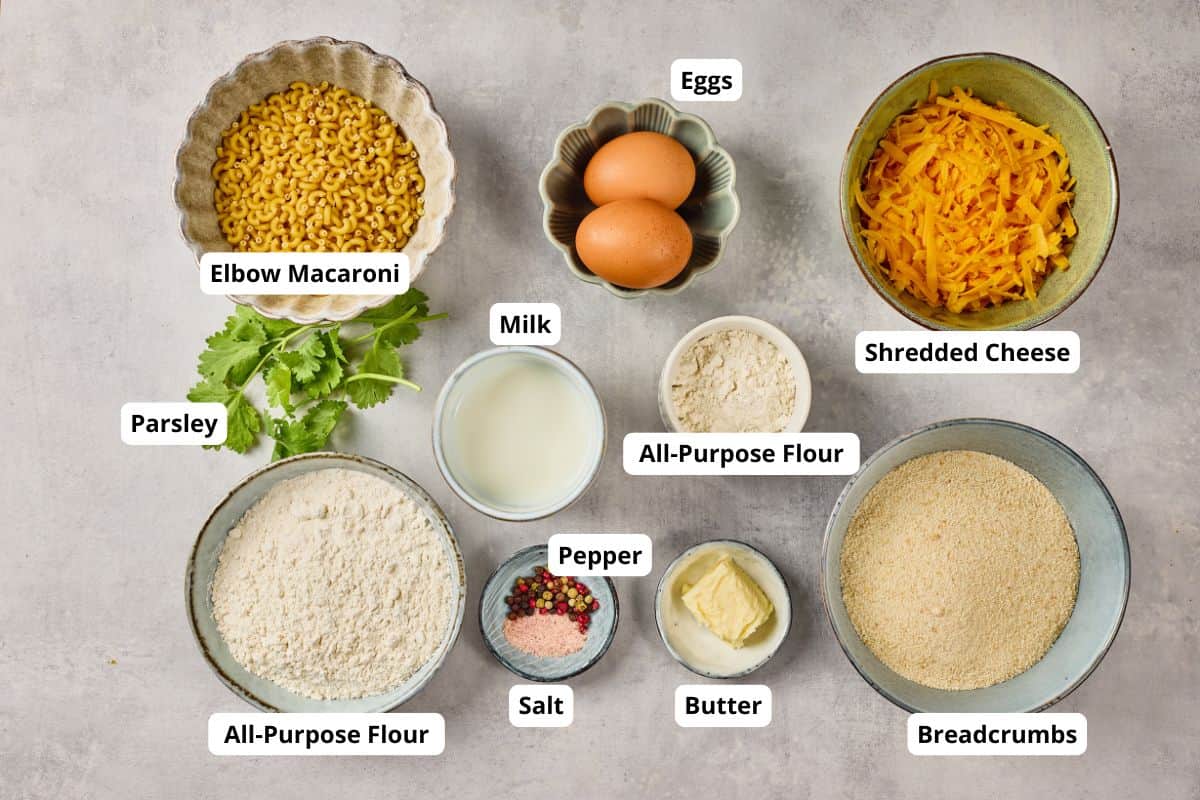

- Elbow macaroni forms the base of each bite.
- Sharp cheddar cheese melts into creamy perfection inside the balls.
- Panko breadcrumbs give a crunchy, golden exterior.
See recipe card for quantities.
Substitutions & Variations
- Vegetarian: Swap cheddar for a plant-based cheese to make this vegetarian-friendly.
- Gluten-free: Use gluten-free pasta and breadcrumbs.
- Flavor Boost: Add a pinch of smoked paprika or chili powder to the breadcrumbs for extra kick.
- Kid-Friendly: Mix small bits of cooked bacon or ham into the cheese mixture for extra fun.
How to Make Mac and Cheese Balls
Step 1: Cook the macaroni in salted boiling water until just tender. Drain and set aside (Image 1).
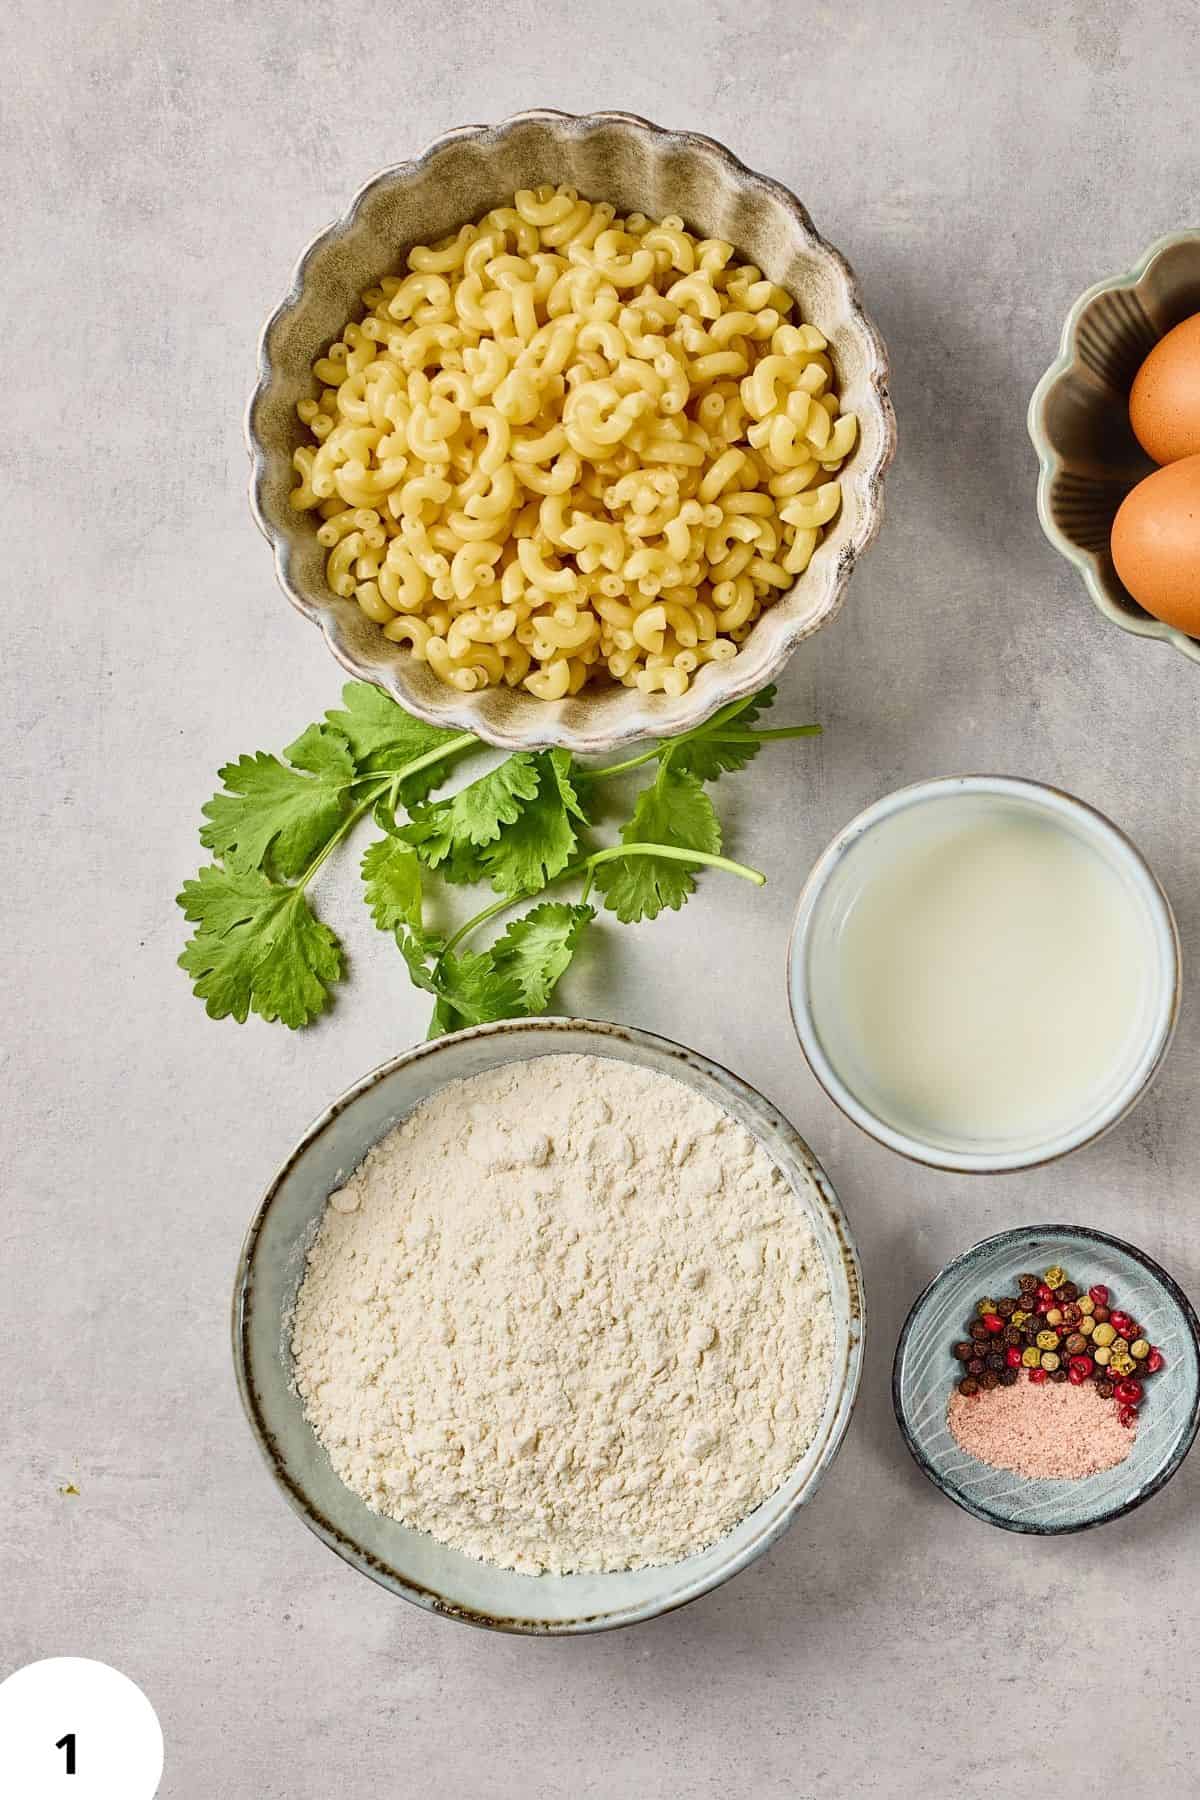
Step 2: In a medium saucepan, melt the butter over medium heat. Add the flour (Image 2) and whisk for about a minute to cook out the raw taste.
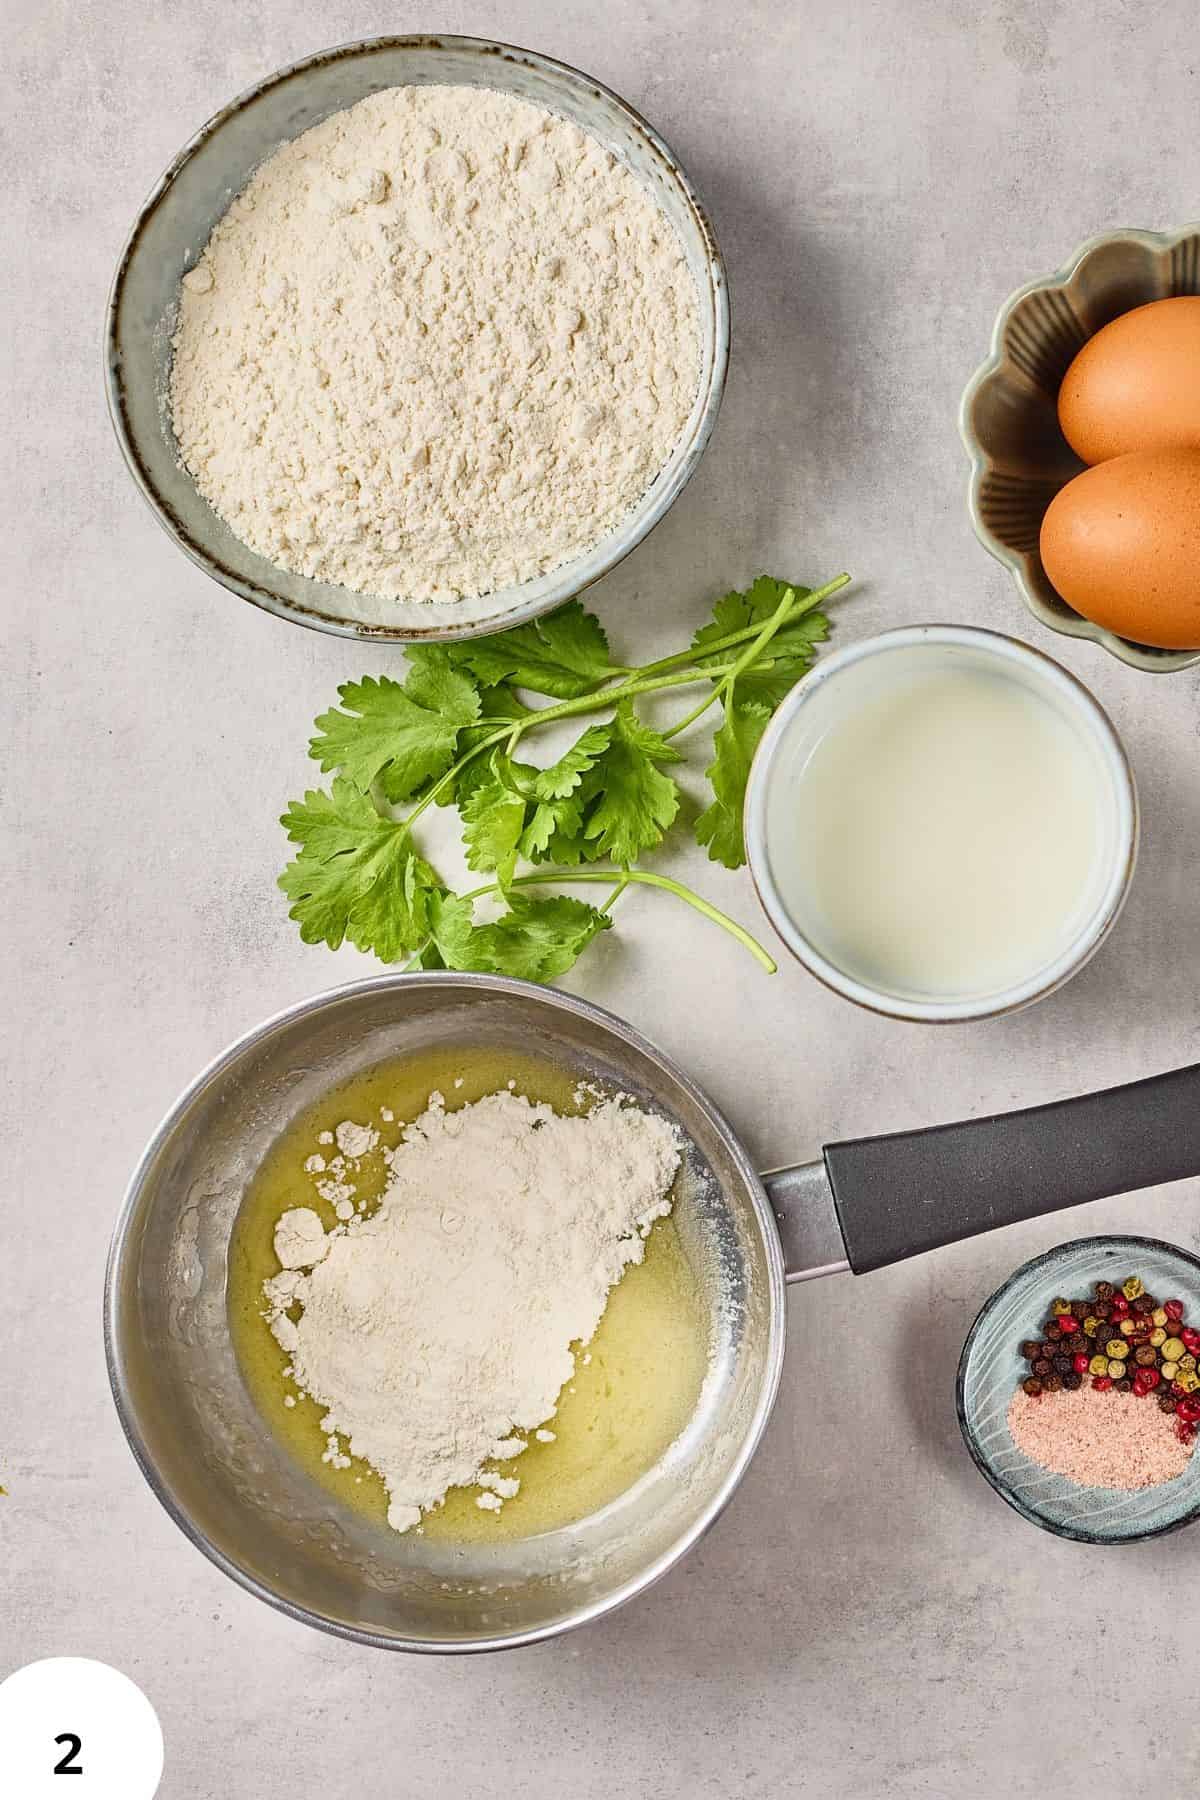
Step 3: Gradually whisk in the warm milk and continue cooking until the sauce thickens slightly (Image 3).
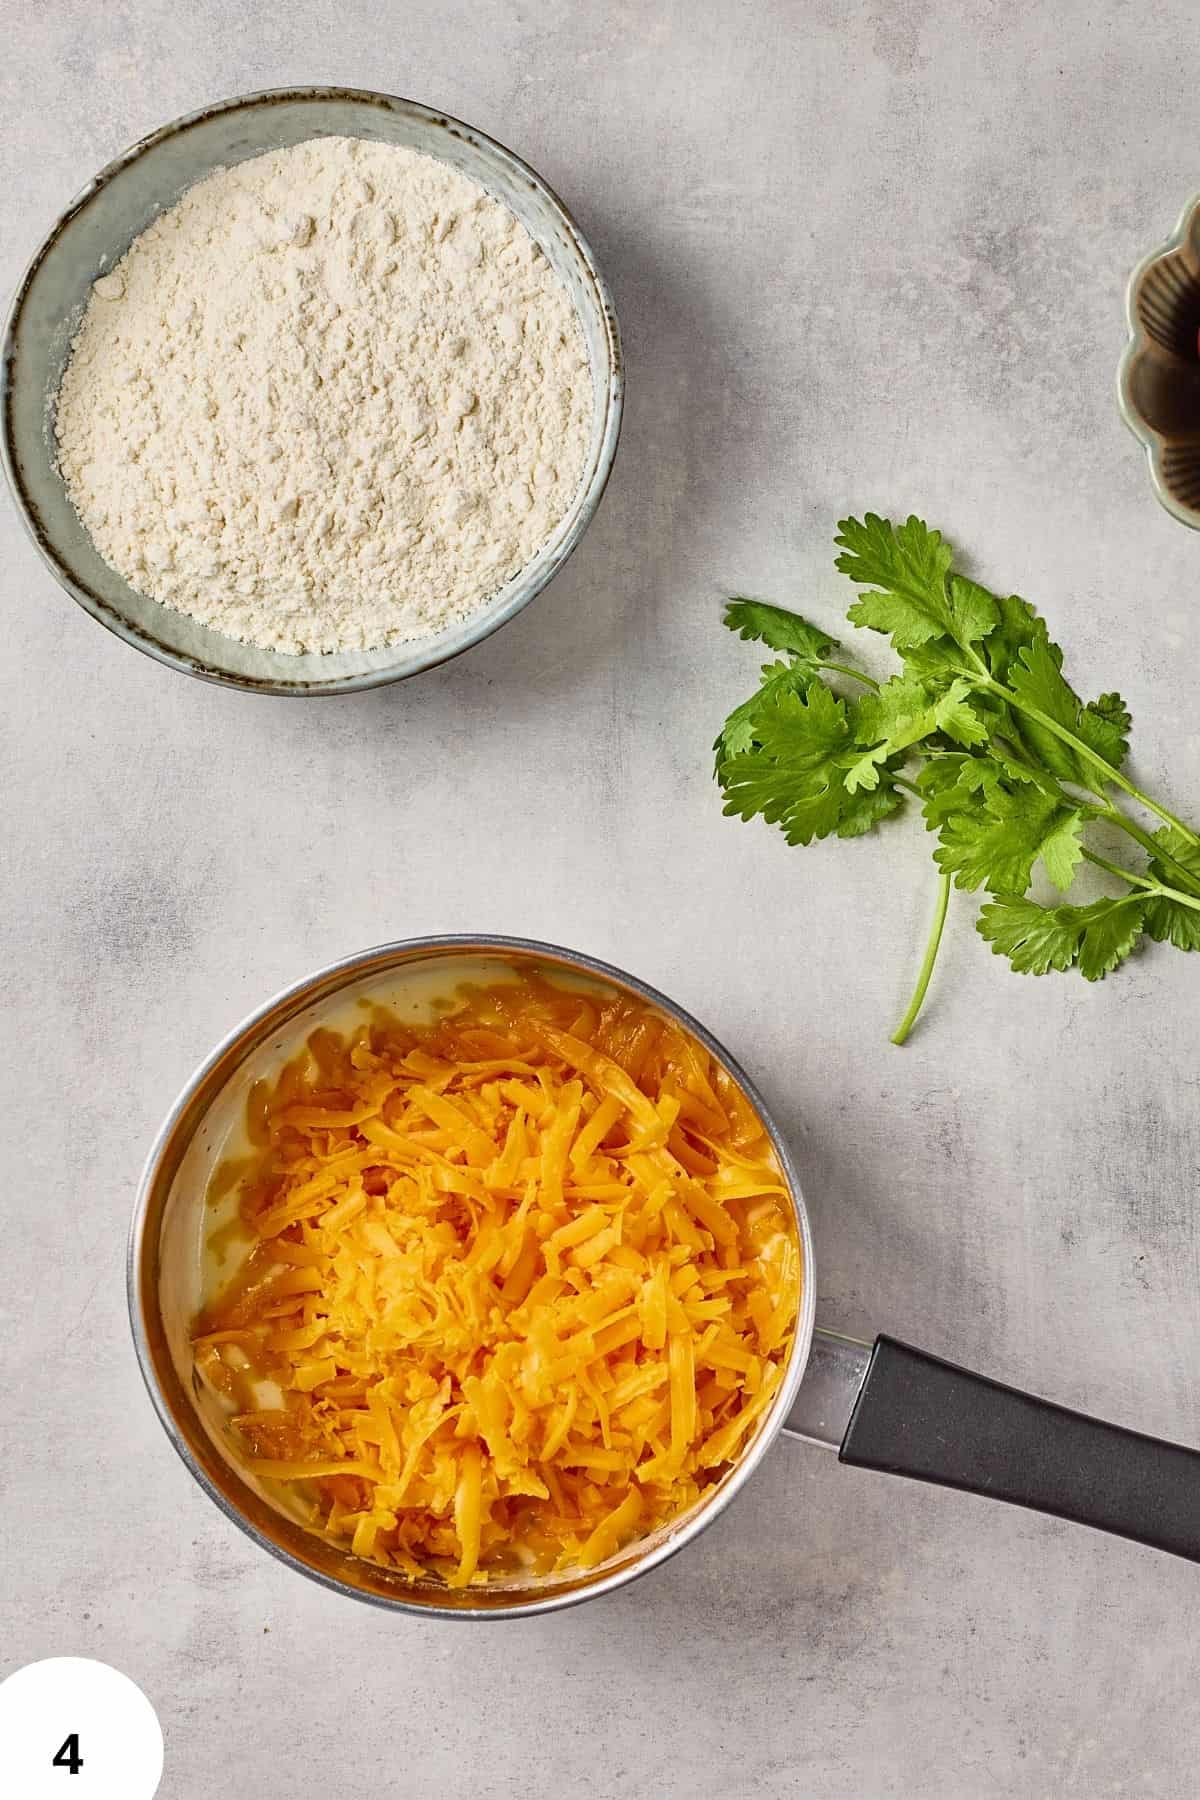
Step 4: Stir in the shredded cheddar (Image 4) and season with salt and pepper. Mix well until the cheese melts completely.
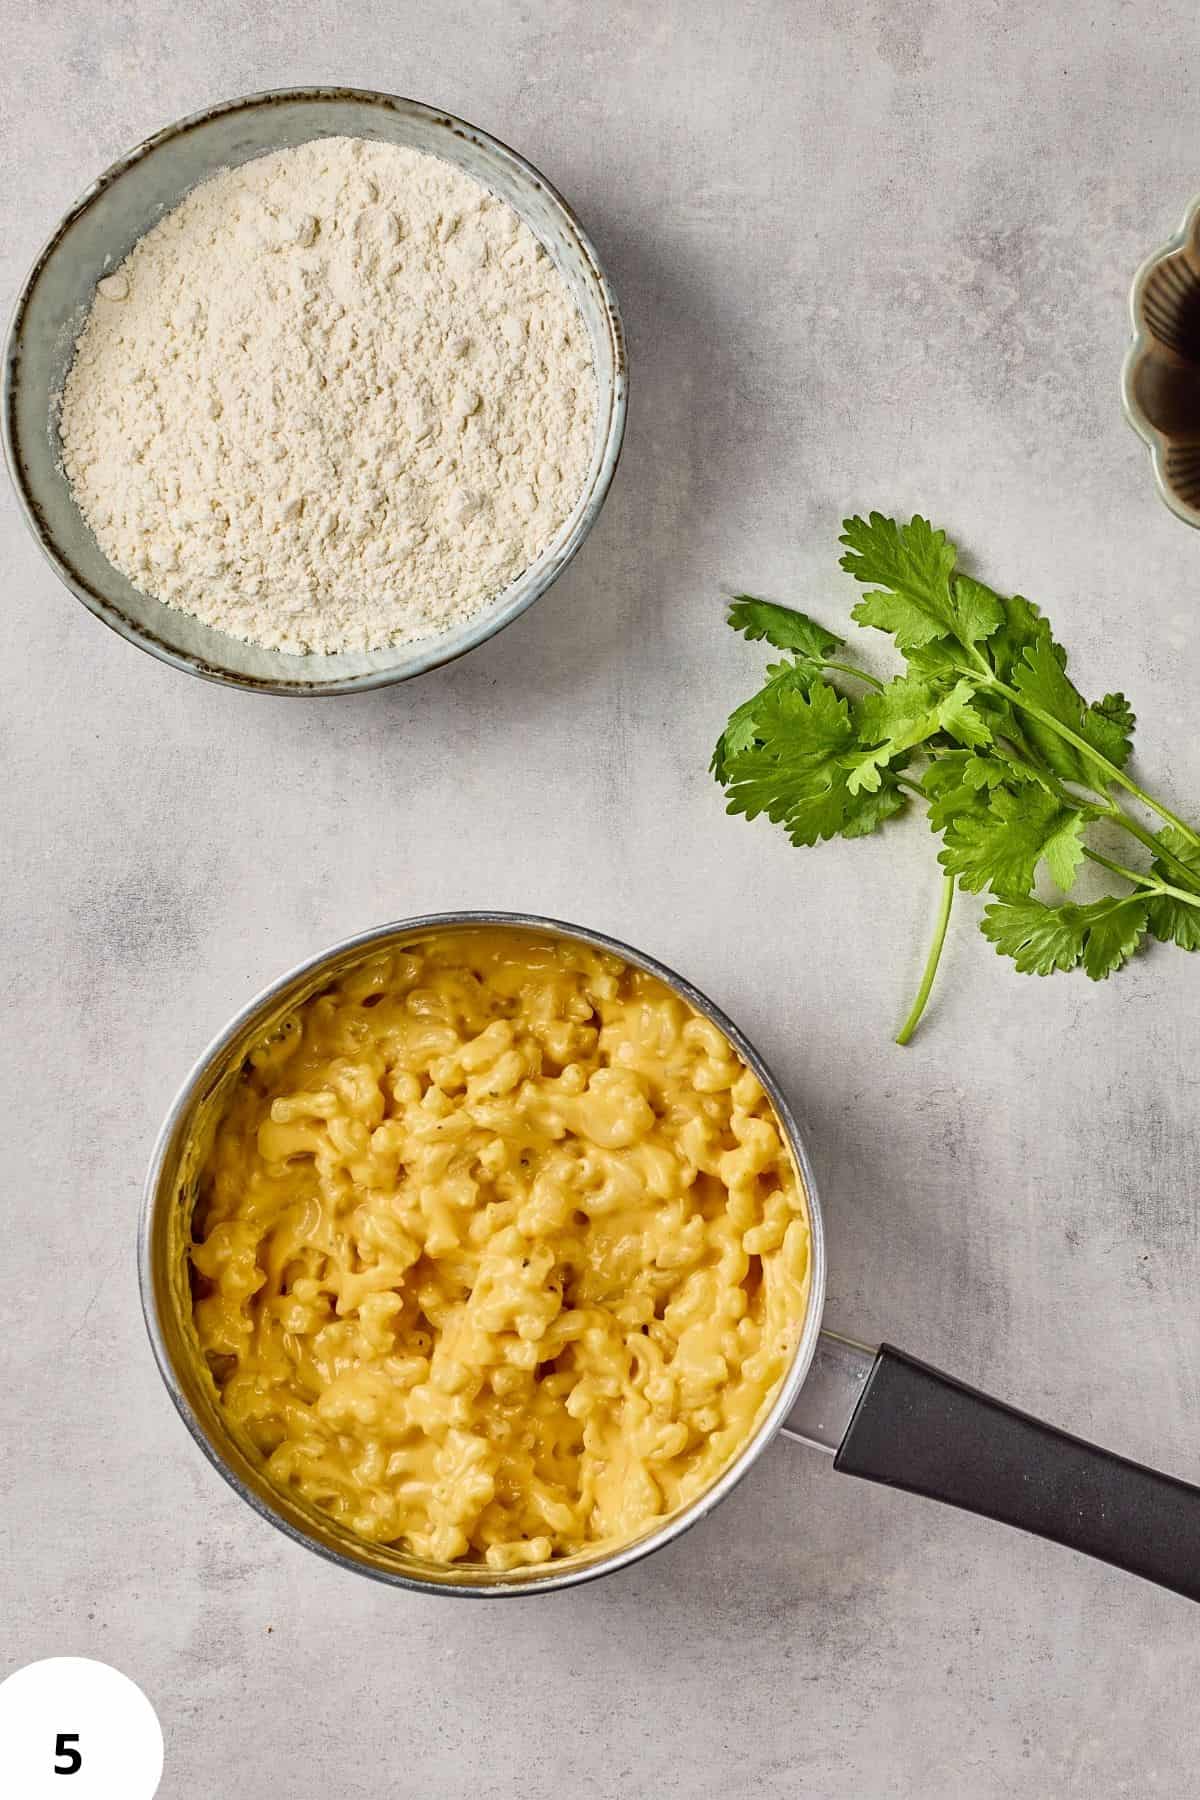
Step 5: Combine the cooked pasta with the cheese sauce (Image 5). Cover and chill in the refrigerator for at least 2 hours, until firm enough to shape.
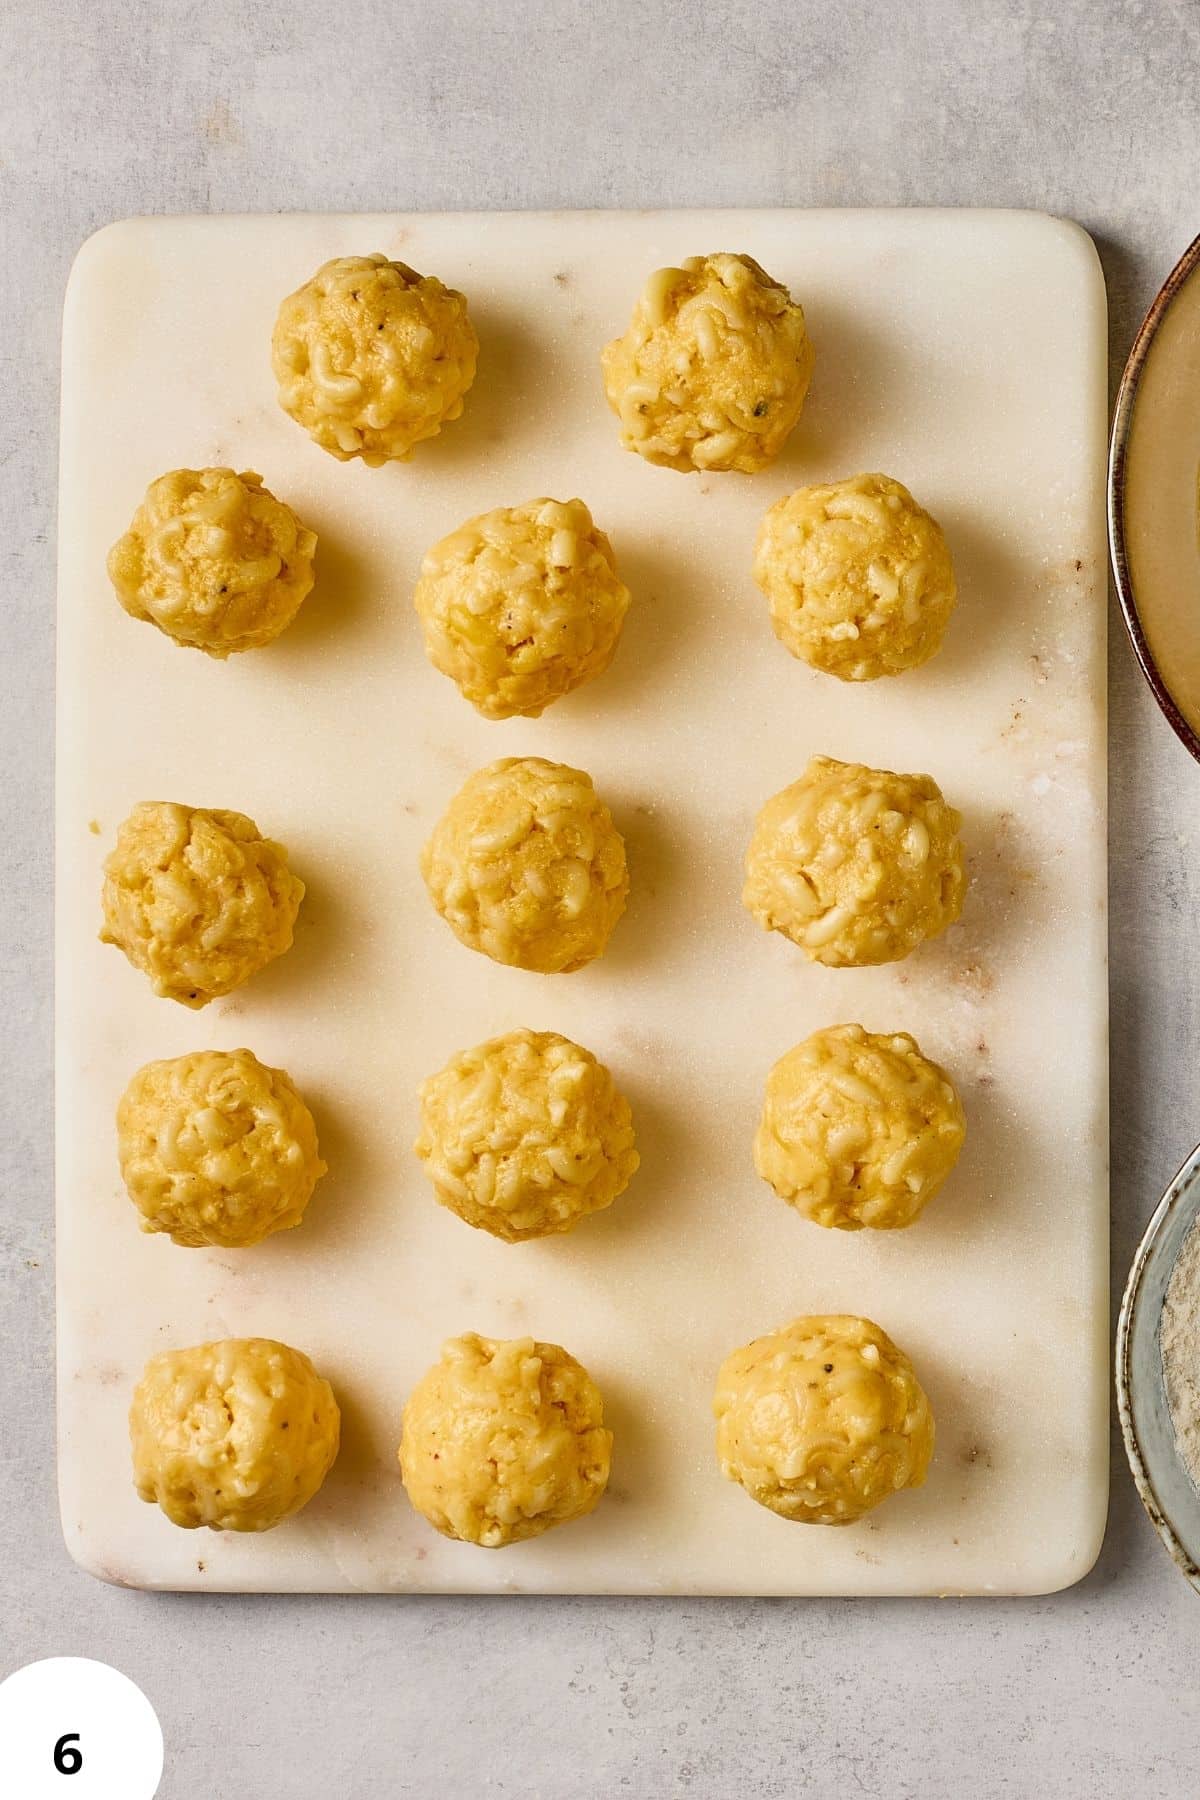
Step 6: Once chilled, scoop the mixture and roll into balls about 1.5 inches (4 cm) in size (Image 6).

Step 7: Coat each ball in flour, dip in beaten eggs (Image 7).
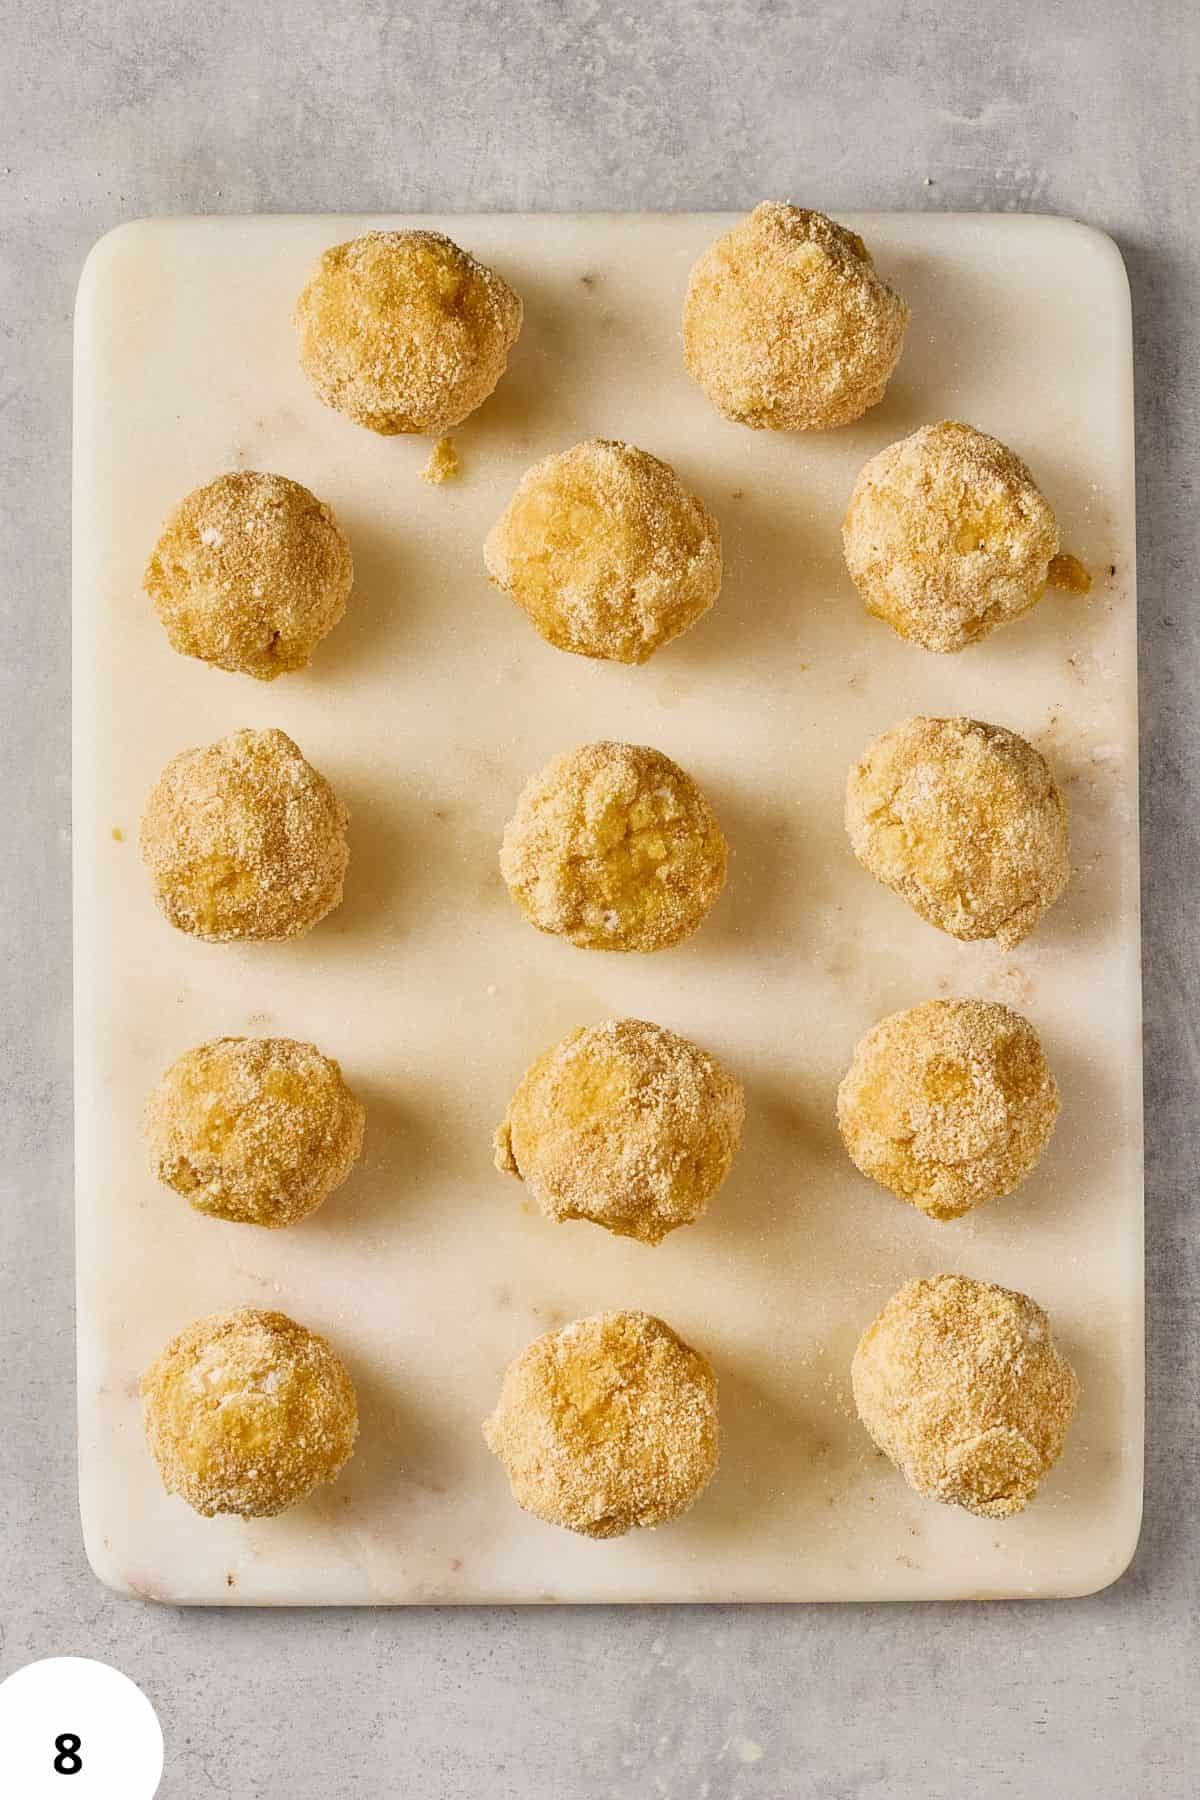
Step 8: Then, roll in panko breadcrumbs to fully cover (Image 8).
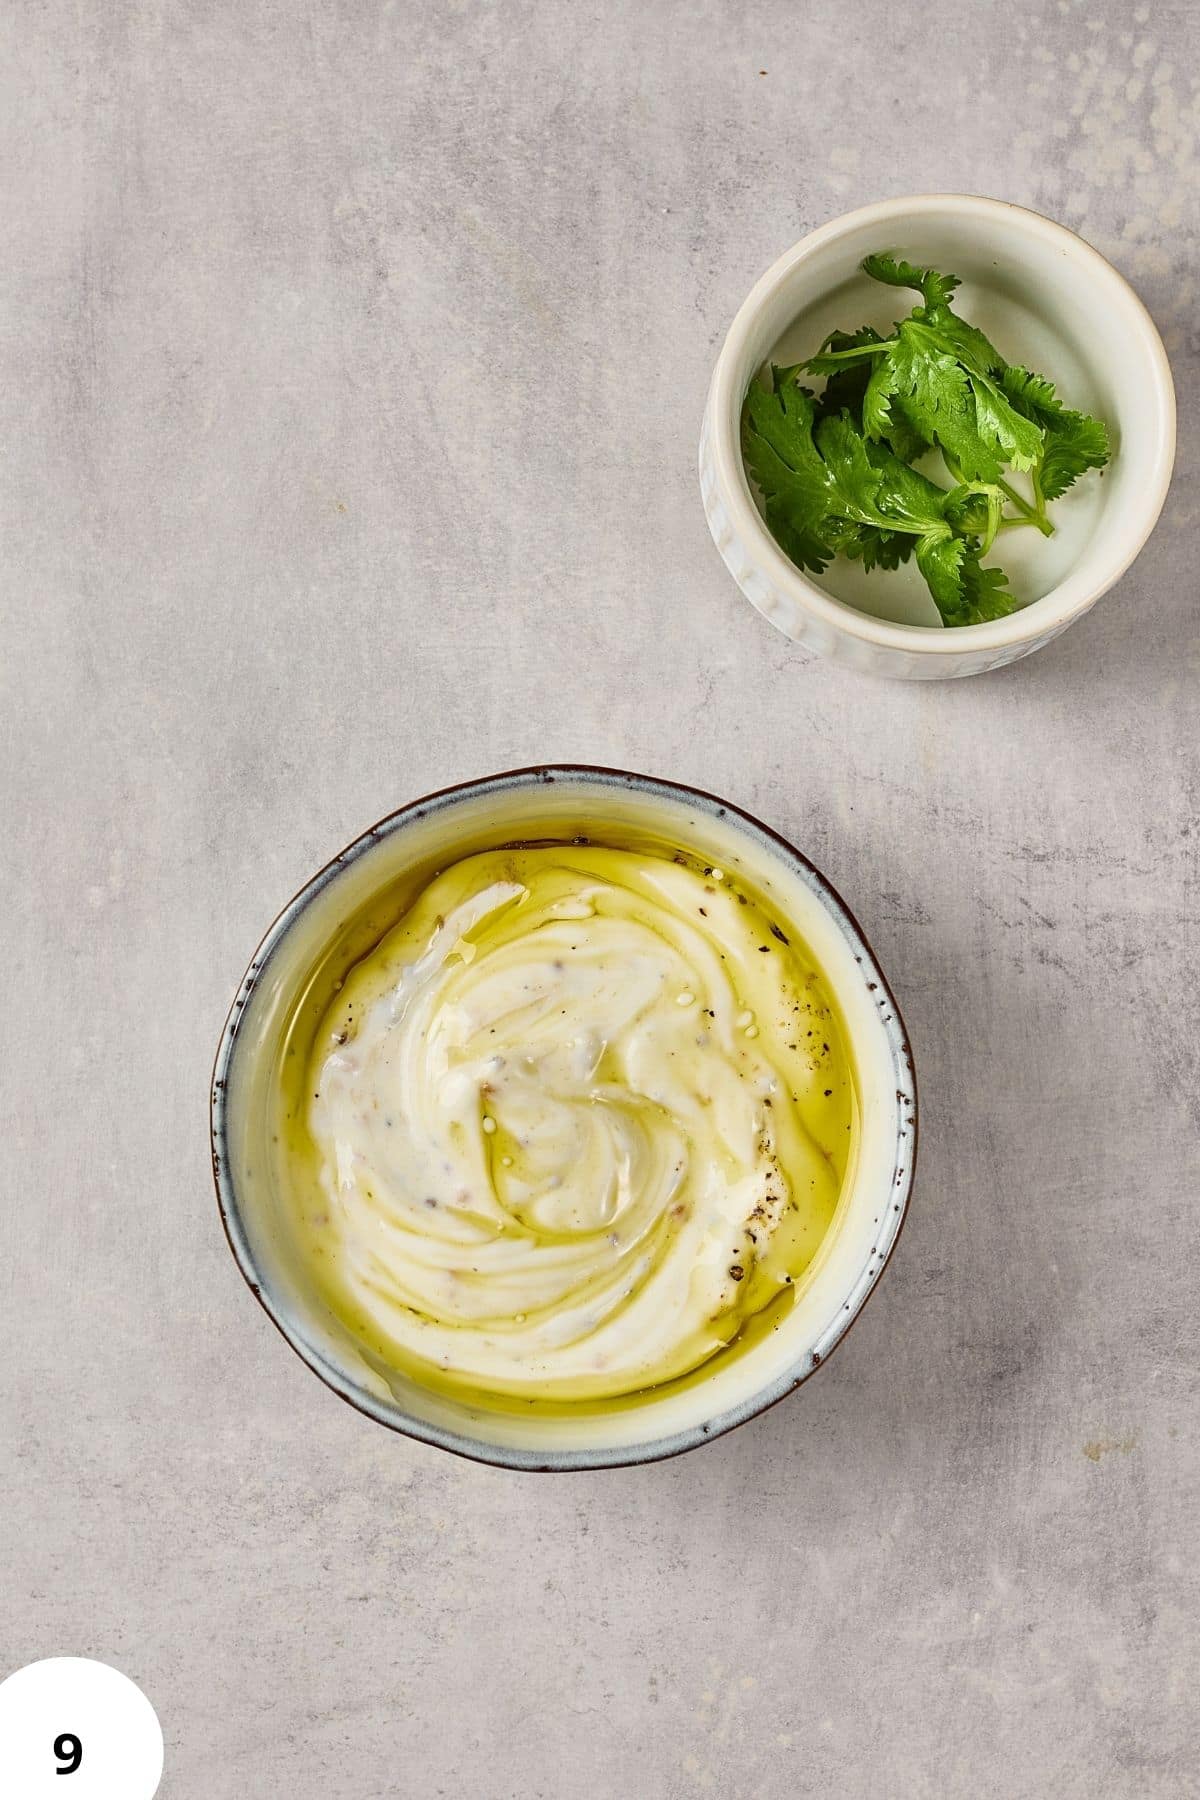
Step 9: In a small bowl, whisk together Greek yogurt, mustard, olive oil, chopped cilantro, salt, and pepper until smooth (Image 9).

Step 10: Heat oil in a deep pan to 350°F (175°C). Fry the bites in small batches for 2-3 minutes or until golden brown. Drain on paper towels.
Sprinkle with chopped parsley, if desired, and serve immediately with the yogurt-mustard dip (Image 10).
Hint: Chilling the mac and cheese mixture is not optional here. The colder and firmer it is, the easier it will be to roll and bread without falling apart. If the mixture starts feeling soft while shaping, pop it back in the fridge for a few minutes before continuing.
Baking Schedule
- Preheat oven to 400°F (200°C).
- Arrange the breaded mac and cheese balls on a lined baking sheet.
- Bake for 15-20 minutes, turning halfway through for even browning.
- Bake until golden and crispy on the outside.
- Remove from oven and let cool slightly before serving.
💭Crucial Success Tips
The most important thing for crispy mac and cheese balls is temperature control. Cold filling helps the balls hold their shape, and properly heated oil ensures they fry quickly without absorbing excess grease. Fry in small batches so the oil temperature stays steady, and remove them as soon as they turn golden brown to keep the centers creamy.
Recipe FAQs
Mac and cheese balls fall apart when the mixture is too warm or too soft. Chilling the mixture thoroughly helps it firm up, making it easier to shape and fry without breaking.
Yes, mac and cheese balls can be baked, but the texture will be different. Baking produces a firmer, less crispy coating than frying. If baking, make sure the balls are well chilled and evenly coated.
You can shape and bread the mac and cheese balls up to a day ahead and store them in the refrigerator. Fry them just before serving for the best texture and flavor.
How To Store Mac and Cheese Balls
Store leftovers in an airtight container in the fridge for up to 2-3 days. Reheat in the oven to maintain crispiness. These do not stay crispy well if refrigerated for too long, so frying fresh is always best.

Other Delicious Recipes
- Neapolitan-Style Sourdough Pizza Dough

- Italian Semolina Sourdough Bread
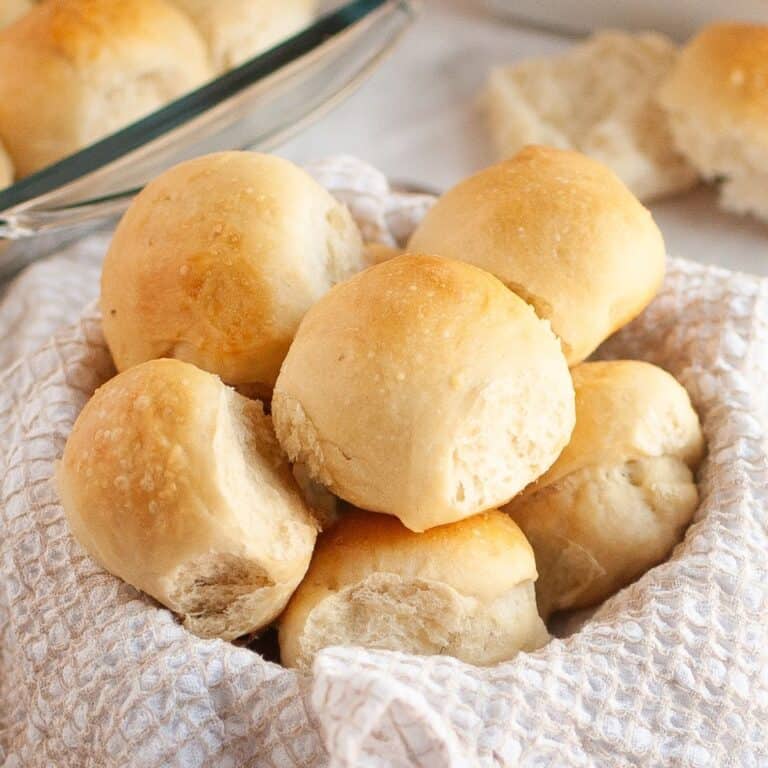
- Sourdough Picnic Rolls (Pull-Apart Bread Rolls)
- Sourdough Cinnamon Raisin Swirl Bread (The Simplest Version)

If you tried these crispy mac and cheese balls recipe or any other recipe on my blog please leave a 🌟 star rating and let me know how it went in the 📝 comments below! Happy Baking!
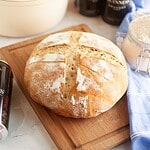
Sourdough Guinness Bread
Ingredients
- 500 g all purpose flour
- 330 g dark beer Guinness, stout, or dark lager11-12oz room temp
- 125 g active sourdough starter
- 10 g salt
Instructions
- In a mixing bowl, combine the sifted flour, sourdough starter, and dark beer.
- Knead until a cohesive dough forms. Cover and let the dough rest for 15 minutes. Add the salt and knead until the dough becomes smooth, elastic, and slightly tacky. Cover and let it rest for another 15 minutes.
- Over the next two hours, perform four sets of stretch and folds, spacing them about 30 minutes apart.
- After the final fold, cover the dough and let it rest in the bowl for about 3 to 4 hours, until visibly risen and airy.
- Turn the dough out onto a lightly floured surface and shape it into a round loaf.
- Let it rest briefly, then tighten the surface if needed.
- Place the dough seam-side up into a well-floured proofing basket. Cover and let it rise at room temperature for about 2 to 3 hours, then transfer it to the refrigerator for an overnight cold proof.Preheat the oven with the Dutch oven inside.- With convection (fan): Preheat to 270°C / 520°F- Without convection (no fan): Preheat to 280°C / 535°F
- Carefully transfer the dough into the hot Dutch oven, score the top, cover, and bake.- With convection (fan): Bake 25 minutes covered at 240°C / 465°F, then uncover and bake another 25 minutes at 200°C / 390°F- Without convection (no fan): Bake 25 minutes covered at 250°C / 480°F, then uncover and bake another 25 minutes at 210°C / 410°F
- Remove the loaf from the Dutch oven and let it cool completely on a rack before slicing.
Notes
- Dark beer works incredibly well in sourdough. It boosts fermentation and gives the bread a deeper flavor and darker crust without making it bitter.


I was an easy to make recipe and make some great bread! I will be making this again!
Hi Katie!
Thank you so much for taking the time to leave a review!! It helps a lot!