What is a 100% Hydration Sourdough Starter and is it the Best?
While there's plenty of information out there about the hydration level of sourdough and the science behind it, you might notice a gap when it comes to understanding sourdough starter hydration. Some recipes mention using a 100% hydration sourdough starter, but there's not much explanation about the "whys" behind it.
Why should you consider using a 100% hydration starter? And when might you prefer a stiff starter or a liquid starter? Let's explore these questions. I promise I'll try to be as practical as possible.
Oh, and I experimented because, let's face it, testing our ideas before sharing them online is crucial in my opinion!
Jump to:
- What Does "100%" Stand for?
- How To Easily Calculate the Exact Starter Hydration Percentage?
- Why is a 100% Hydration Sourdough Starter the Norm?
- What Are Stiff Sourdough Starters and Why Do Some People Prefer to Use Them?
- What Are Liquid Sourdough Starters and Why Do Some People Prefer to Use Them?
- COMPARISON TABLE: Proc and Cons of Sourdough Starters Based on Hydration
- Does Sourdough Started Hydration Affect the Final Dough?
- Does the Type of Flour I Use Affect Sourdough Starter Hydration?
- What Does Sourdough Starter Hydration Mean in Practice?
- 🤓 The Experiment
- Main Takeaways:
- The Float Test
- FAQ
- Related
- Pin It For Later
- End Notes
What Does "100%" Stand for?
When we talk about different hydration levels for sourdough starter, we're essentially talking about the balance between water and flour in the starter.
The hydration level of our starter depends on the amount of water we add during feeding.
- When we match the water and flour amounts, we achieve a 100% hydration starter.
- If we add less water than flour, the hydration falls below 100%.
- If we use more water than flour, the hydration exceeds 100%.
How To Easily Calculate the Exact Starter Hydration Percentage?
To determine the exact percentage, we can easily calculate it relative to the flour content. It all comes down to how much water and how much flour you add.
Here are some simple practical examples:
Suppose you're feeding your starter with 100 grams of flour.
- For an 80% hydration starter, add 80 grams of water (100 grams x 0.8 = 80 grams).
- For a 100% hydration starter, add 100 grams of water (100 grams x 1 = 100 grams).
- For a 120% hydration starter, add 120 grams of water (100 grams x 1.2 = 120 grams).
Easy, right? Now let us try something a little bit more challenging:
Suppose you're feeding your starter with 40 grams of flour.
- For an 80% hydration starter, add 32 grams of water (40 grams x 0.8 = 32 grams).
- For a 100% hydration starter, add 40 grams of water (40 grams x 1 = 40 grams).
- For a 120% hydration starter, add 48 grams of water (40 grams x 1.2 = 48 grams).
Hint: You can also just ask an AI (ChatGPR, Bard, etc.) to do the math for you!

Why is a 100% Hydration Sourdough Starter the Norm?
The most common hydration level for a sourdough starter is 100%. This means that during each feeding, you add equal amounts of flour and water, resulting in a 100% hydration starter.
You might wonder why is the 100% hydration starter so commonly used. Well, it's because this type of starter is convenient. It pours easily, mixes effortlessly with water and flour, and stays vibrant and active. What's more, when you incorporate a 100% hydration starter into your recipe, you don't need to worry about adjusting the hydration level separately. It simplifies the process.
Because the ratio of flour and water in a starter like that is 1:1, you can simply skip it altogether, because it does not change anything. But if your starter is, let's say, 80% hydration, you will have to include that in your hydration calculation.
That means that you have to add the amount of flour and water your starter consists of to the total water and total flour amount. Then you have to run the hydration formula and get a hydration level of the dough.
BUT! (And there's always a "but", right?)
What Are Stiff Sourdough Starters and Why Do Some People Prefer to Use Them?
A sourdough starter becomes a "stiff starter" when it's kept at lower hydration, typically around 80%.
The key advantage of this type of starter is that it requires less frequent feeding. This happens because the lower hydration level slows down the consumption of the added flour by the wild yeasts and bacteria.
However, there's a downside to a stiffer starter. It can be a bit trickier to evenly incorporate into the dough. Unlike more liquid starters, you can't simply pour them into the water and flour mixture; it might take a bit more effort and work to ensure they mix in thoroughly.
Another consideration is the flavor profile. Stiff starters often yield bread with a more pronounced sour taste. This is because the slower movement of yeasts and bacteria leads to a longer fermentation process and more acetic acid as a by-product, intensifying the sourness. Whether this is a positive or negative aspect depends on your personal preference.
Stiff starters are great if you're making a recipe that has little to no additional flour added, like sourdough pancakes, shredded pancakes, and waffles. The flour in the starter is what makes the final dish doughy and provides the texture we're looking for.
Lastly, a frequently overlooked aspect of a stiff starter is its slower rising rate, which is precisely why it requires less frequent feeding. I'll delve into this more detail in the following section, emphasizing the practicality of leveraging this quality to better fit sourdough baking into your schedule!
What Are Liquid Sourdough Starters and Why Do Some People Prefer to Use Them?
In contrast, a "liquid starter" or "liquid levain" has a higher hydration level, typically around 120%, where the weight of water is greater than the weight of flour, resulting in a more liquid or thick pancake batter-like consistency.
It's easy to mix into dough.
But, it needs to be fed more often because the microorganisms eat the flour quickly.
Shifting our focus to flavor, liquid starters tend to result in bread with a milder sour taste. This occurs because the faster action of yeast and bacteria leads to shorter fermentation periods, resulting in a less pronounced sourness. Another factor is that liquid starters favor lactic acid bacteria, which are responsible for milder, sweeter notes in the starter (and later in the bread). Since we all have different flavors, you'll have to experiment a bit to get to know your own preferences.
Liquid starters typically have a faster rise, so make sure to keep an eye on them!
A great example of a recipe that thrives with a liquid starter is sourdough discard crackers. To create these, you'll want your starter to be quite runny, allowing you to pour it smoothly onto a baking tray for a perfectly even spread.
COMPARISON TABLE: Proc and Cons of Sourdough Starters Based on Hydration
| 100% Hydration Starter | Stiff Starter | Liquid Starter | |
| Hydration Level | 100% | Around 80% | Around 120% |
| Mixing | Average | Harder | Easier |
| Feeding | Average | Less Often | More Often |
| Rise Time | Average | Slower | Faster |
| Taste | Average | More Sour | Less Sour |
Does Sourdough Started Hydration Affect the Final Dough?
A common misconception in the world of sourdough is that adding a liquid starter will produce a wetter dough (high hydration dough) and adding a stiff starter will produce a dry dough. That is only partially true.
If you follow the same recipe and use a stiff starter once and a liquid starter another time, yes, the bread dough will reflect those changes in the starter's hydration.
But if you adjust the hydration of the dough, the hydration of the starter itself won't play a role anymore.
What does that mean in practice?
If I know my starter is on the stiffer side, I'll just add a bit more water. That way, you can still achieve a higher hydration level of the dough. And vice-versa: If your starter is liquid, add a small amount of extra flour to your dough and you'll have no problem making low-hydration doughs.
Does the Type of Flour I Use Affect Sourdough Starter Hydration?
In theory? No. But in practice? Yes!
Flour absorbency can vary significantly between different types of flour. Put simply, certain flours have a higher capacity to soak up water compared to others.
In theory, we can create a 100% hydration flour mixture using all-purpose flour and a 100% hydration starter with rye flour. However, they won't behave the same way. Rye flour is highly absorbent, so the 100% rye starter will be firmer and act more like a stiff starter. On the other hand, the all-purpose flour mixture will be more liquid and resemble a standard 100% hydration starter made with wheat flour.
Highly absorbent flours include rye flour, whole wheat flour, whole grain flour, spelt flour, barley flour, teff flour, and buckwheat flour. Fresh flour (as in freshly milled flour) also soaks up more water.
What Does Sourdough Starter Hydration Mean in Practice?
I experimented with rising times by preparing three versions of my starter, each with varying hydration levels: 80%, 100%, and 120%.

The time it takes for your sourdough starter to rise is the most crucial factor in sourdough baking. Feeding frequency, though important, is essentially a result of rising time. If your starter rises and falls rapidly, it naturally demands more frequent feeding.
And why would we want to know the rising time of our starter?
To simplify our sourdough bread baking routine!
How many times have you fed your starter at night, hoping to make dough in the morning, only to discover it's already deflated? It's a common occurrence, and I've been there too. Now, I've learned that if I start with a thicker starter, and it's ready to use in the morning if I feed it the night before. Understanding sourdough starter hydration has transformed my daily bread-making game, and I hope this experiment shows you just how simple it is.
🤓 The Experiment
That was a long intro, huh? Now onto the fun part!
In the experiment that follows, I put a hypothesis to the test:
Stiff starters are likely to have longer rising times compared to liquid starters, which in turn require more frequent feedings.

I started by placing 20 grams of starter into three separate jars. Then, I adjusted each jar to have three different hydration levels: 80%, 100%, and 120%, adding the respective amount of flour to achieve those percentages. I marked the height with a rubber band.
I wanted to keep everything as basic as possible, so I used tap water and all-purpose flour.

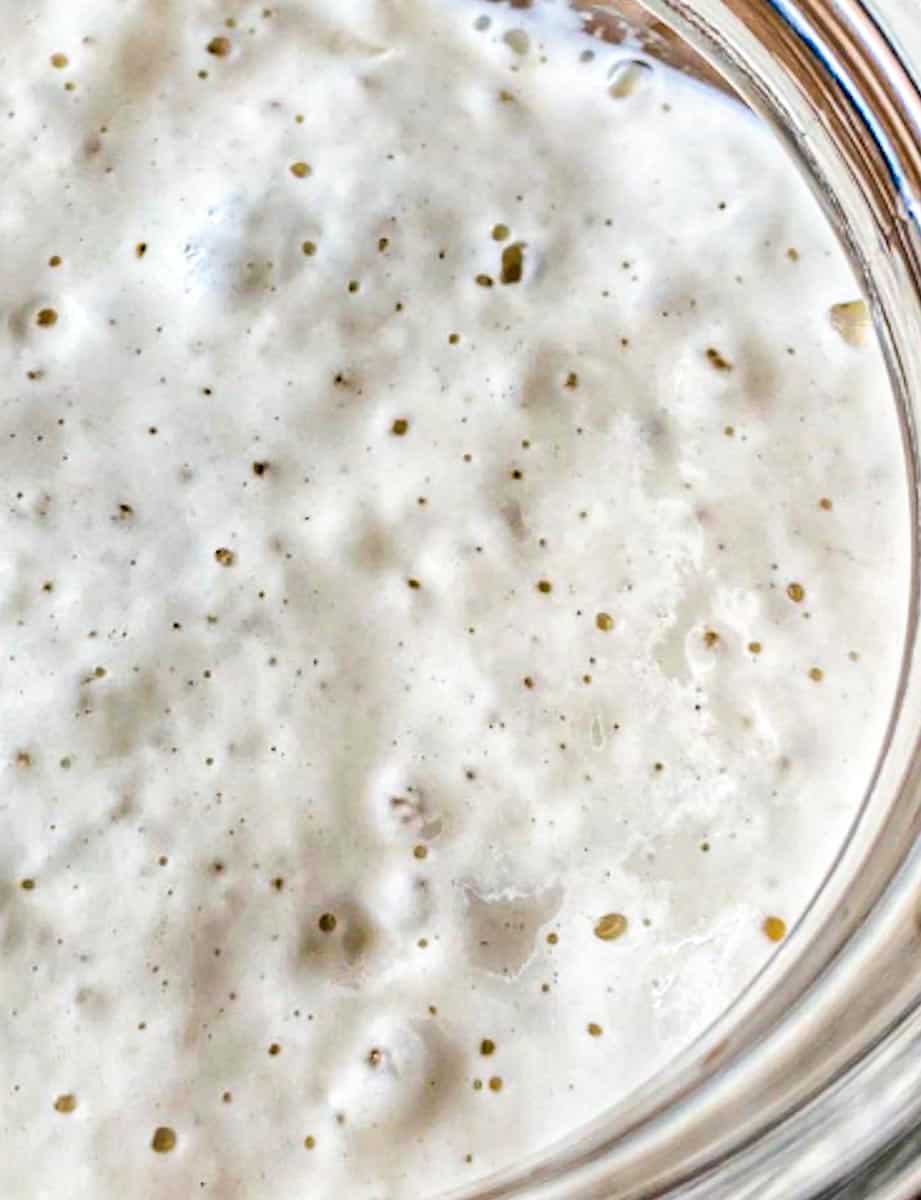
As seen in the photo above, the starters appear quite different visually: the 80% has a thicker consistency, while the 120% is notably runnier.

Starters from left to right: 80%, 100%, and 120% hydration. All done at room temperature.
AFTER 4 HOURS: You can easily see that the 80% stiff starter hasn't risen much, while the 120% liquid starter has nearly doubled in size. Tha 100% starter is somewhere in between.

AFTER 6 HOURS: The 80% stiff starter has begun to rise, while the 120% liquid starter has already doubled in size. 100% starter is almost doubled as well.

AFTER 8 HOURS: At this stage, the 120% liquid starter has already peaked, achieving this in approximately 6.5 hours. Meanwhile, the 100% starter is rapidly approaching its peak, which took about 8.5 hours. The stiff starter is slightly below its peak, reaching it in about 9.5 hours.

AFTER 10 HOURS: As you can see, the 120% liquid starter is nearly fully deflated, the 100% starter is about halfway down, and the 80% starter is slightly above its peak, still quite elevated.

AFTER 12 HOURS: The 120% and 100% starters are almost done, while the stiff one is still tall.
Main Takeaways:
- The more hydrated the starter, the faster it will rise.
- More hydrated starters also fall much quicker, because they lose the structure quickly because of the consistency they have.
- If you are feeding a starter in the evening to bake in the morning, you might want to consider maintaining a stiffer starter in order for it to be at or close to its peak in the morning.
The hypothesis is confirmed!
I understand that starters vary in how quickly they reach their peaks.
However, regardless of where your starter falls on that spectrum, the first two points I mentioned remain consistent. By adjusting the hydration of your starter, you can influence the time it takes to reach its peak. This gives you much-needed flexibility and control when planning your sourdough baking schedule!
The Float Test
I can't delve into sourdough starter hydration without mentioning the "float test." This test has become known in sourdough circles as a handy way to predict whether your starter is ready to leaven your bread or not.
Here's the deal: a starter will float if it's bubbly enough, but the number of bubbles depends on its hydration level. Stiffer starters hold onto their bubbles better, while liquid starters have plenty of bubbles, but most of them rise to the surface, making the starter appear less active.
While the float test often serves as a reliable indicator of starter readiness, don't worry if your liquid starter doesn't float flawlessly. If you're sure your starter is healthy, don't let the float test deter you from making your sourdough bread.
FAQ
If you're making your own sourdough starter from scratch, I'd follow a trusted recipe which is almost always written for a 100% hydration starter.
But if you decide to go in one direction, go for a stiffer one, meaning I'd increase the flour amount. A stiffer starter is less likely to go too hungry on you, which is a common problem when a starter is still establishing.
The best way to go about it is to wait until you have a happy, healthy starter before you start playing with hydration.
But maybe you'd like a stiffer or more liquid starter for some sourdough recipes.
If that's the case, a stiff starter is less likely to become too hungry and requires easier handling in my opinion, so I think you'll have no problem using a little less water. But making a starter too runny too soon can be a problem. You may underestimate how hungry it is and destroy it with too infrequent feedings.
GRAMS! I cannot stress this enough. I've already written about how a cup of starter can have different weights based on its hydration level.
The weight of water and the weight of the flour are two metrics we calculate the level of hydration on, not the volume.
If you INSIST on using cups, you can achieve a 100% hydration starter if you feed it 1 cup flour and ½ cup water.
Related
Looking for more tips and tricks like this? Try these:
Pin It For Later

End Notes
Please don't hesitate to drop your questions or concerns about sourdough starter hydration in the comments below! I'll do my best to respond.
Feel free to share your thoughts or let me know if you'd like to see more experiments like this-I always appreciate your feedback!
HAPPY BAKING!👩🏻🍳