Sourdough Bread in a Loaf Pan (Two-Pan Method)
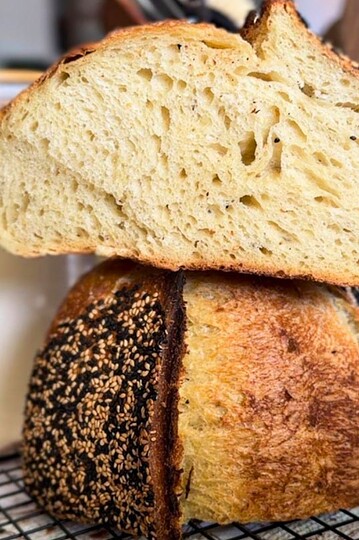
If you've ever dreamed of baking sourdough bread with the perfect crust, a fluffy interior, and minimal equipment, let me introduce you to the two pan method. It's a great alternative to Dutch ovens (and bannetons!) that create a beautiful, bakery-style loaf. Plus, you can bake multiple loaves at once. Whether you're baking for a family dinner or want to try sourdough without needing to buy anything special, read on.

Summarize & Save This Recipe On:
Why Use the Two Pan Method?
The two pan method mimics the steam-trapping environment of a Dutch oven. Steam is essential for oven rise and achieving that signature sourdough crust. Instead of investing in an expensive Dutch oven, you can use two loaf pans - one for the dough and the other as a lid. Here's why I love it:
- Low Mess: Perfect for inclusions like nuts or dried fruit since any spills stay contained.
- Affordable: Most of us already have loaf pans at home.
- Space-Saving: Bake multiple loaves at once without crowding your oven.
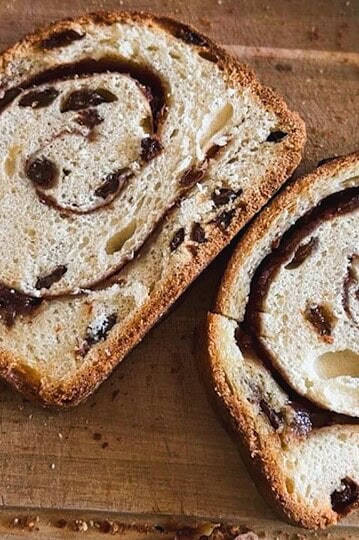
It's great to use even for enriched or special sourdough loaves (like my giraffe sourdough sandwich bread or marble rye sourdough bread!)


Sourdough Bread in a Loaf Pan (Two-Pan Method)
Jump to VideoEquipment
- 2 Loaf pan
Ingredients
- 400 grams all purpose flour
- 275 grams water
- 97 grams sourdough starter active
- 8 grams salt
Instructions
- Mix the Dough: Combine flour, water, active starter, and salt. Mix until well combined using a spoon - no fancy tools required! Let it rest for 30 minutes to allow the flour to absorb the water.
- Stretch and Folds: Perform three rounds of stretch and folds about 30 minutes apart. This strengthens the dough and builds structure. Don't stress if the timing isn't perfect; flexibility is key.
- Bulk Fermentation: Let the dough bulk ferment at room temperature for 6-8 hours or until it's about 70% bigger in size.
- Shape the Dough: Lightly flour your surface and pre-shape the dough into a round or oval. Let it rest for 10-15 minutes, then shape it into a loaf. Place it seam-side down into a parchment-lined loaf pan.
- Second Rise: Cover the dough to prevent it from drying out. You can proof it at room temperature for 3-4 hours or refrigerate it overnight for a more complex flavor.
- Bake: Preheat your oven to 465°F (240°C). Score the loaf, I usually just cut it right down the middle. Place the loaf pan with the dough on the oven rack and cover it with the second loaf pan as a lid. Bake for 30 minutes covered, then remove the top pan and bake for an additional 15-20 minutes at 430°F (220°C) until golden brown.
- Cool and Enjoy: Remove the loaf from the pan immediately to avoid a soggy crust. Let it cool completely before slicing.
Video
Notes
- Parchment Paper or Oil: Line your pans with parchment paper or lightly spray them with olive oil for easy release.
- Scoring: Use a sharp blade to score your dough before baking to control the expansion.
- Cooling Time: Patience is key! Let your loaf cool fully to avoid a gummy crumb.
Nutrition
Need Help Tweaking This Recipe?
Ingredients
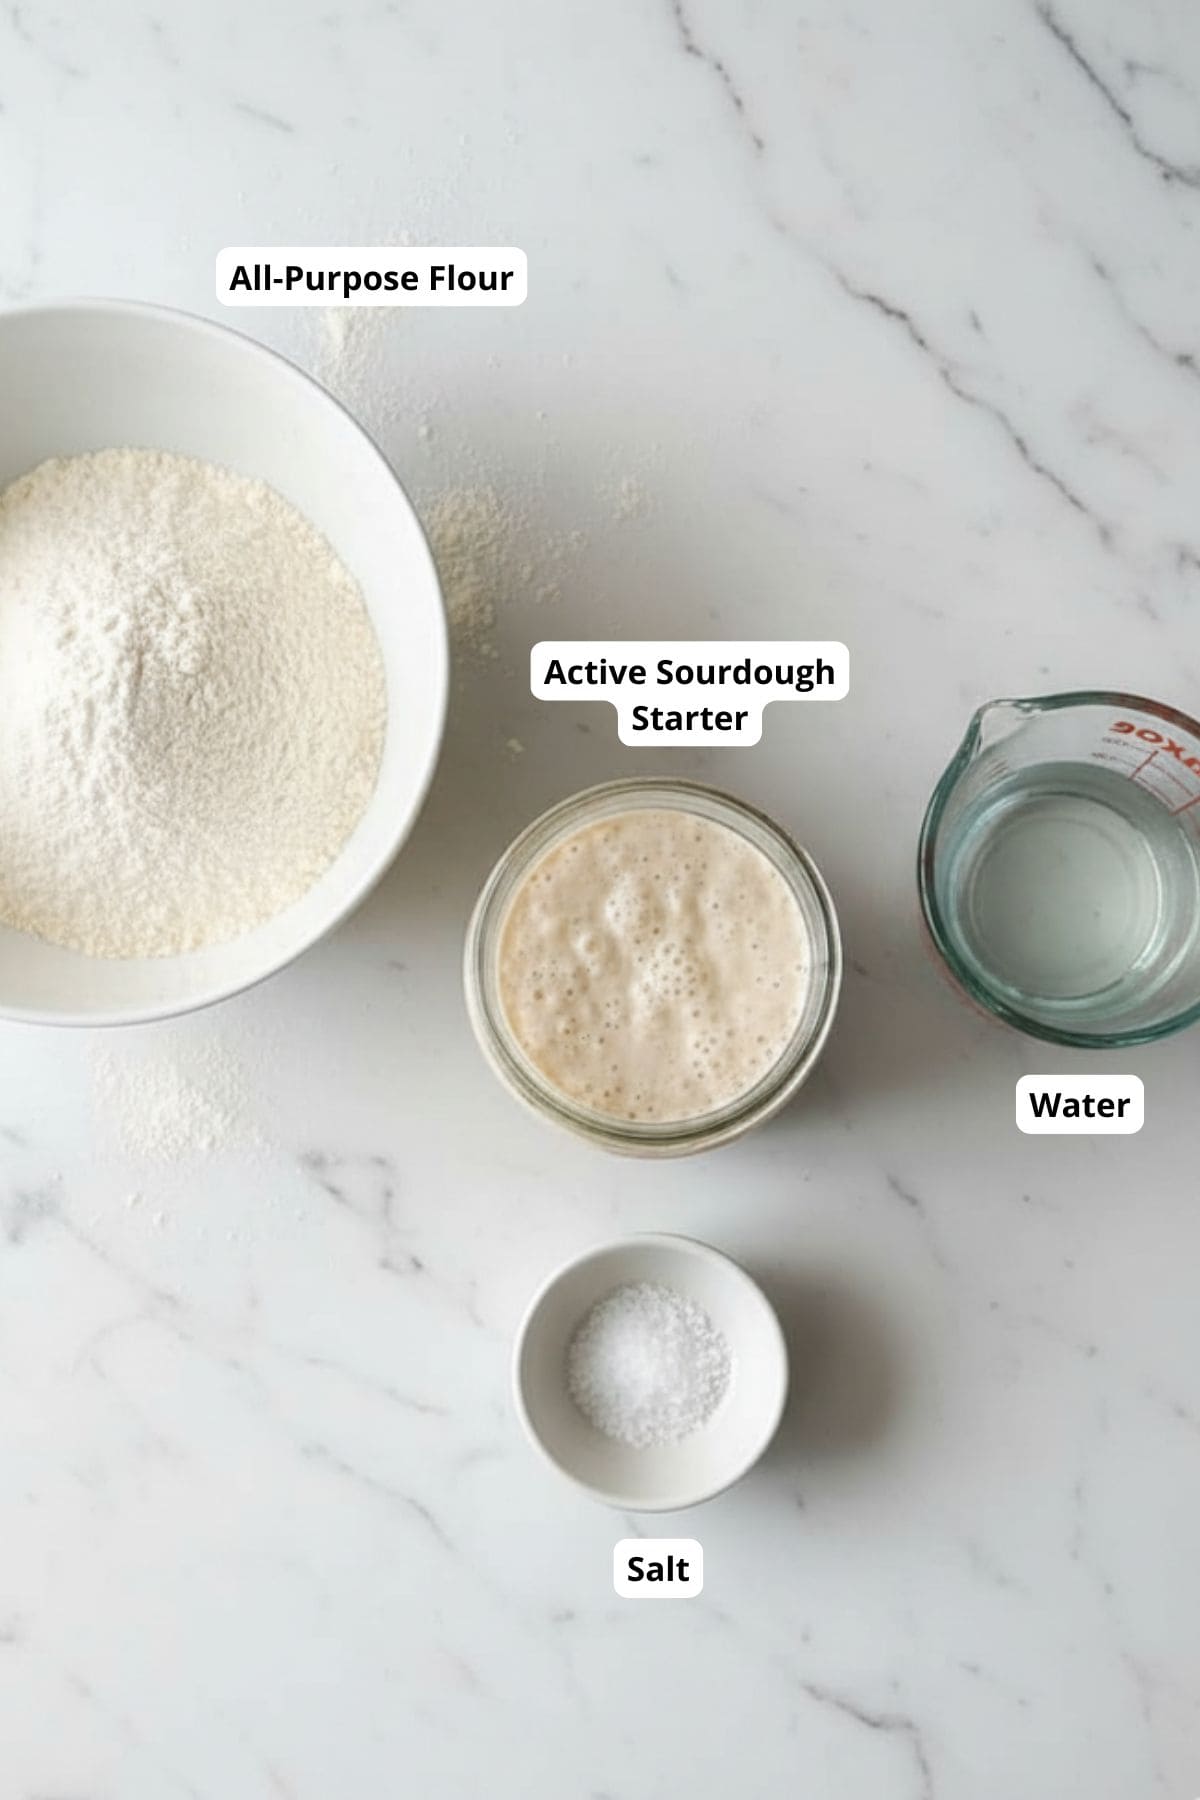
- All-purpose flour - I like to use it for softness, bread flour will produce better crumb but tougher bread.
- Water - tap water is fine!
- Active sourdough starter - make sure to use a starter that is active and bubbly.
- Salt - regular sea salt works just fine.
See recipe card for quantities.
How to Make Sourdough Bread Loaf

Mix the Dough: Combine flour, water, active starter, and salt. Mix until well combined using a spoon - no fancy tools required! Let it rest for 30 minutes to allow the flour to absorb the water.

Stretch and Folds: Perform three rounds of stretch and folds about 30 minutes apart. This strengthens the dough and builds structure. Don't stress if the timing isn't perfect; flexibility is key.

Bulk Fermentation: Let the dough bulk ferment at room temperature for 6-8 hours or until it's about 70% bigger in size.

Shape the Dough: Lightly flour your surface and pre-shape the dough into a round or oval. Let it rest for 10-15 minutes, then shape it into a loaf. Place it seam-side down into a parchment-lined loaf pan.

Second Rise: Cover the dough to prevent it from drying out. You can proof it at room temperature for 3-4 hours or refrigerate it overnight for a more complex flavor.
Bake: Preheat your oven to 465°F (240°C). Score the loaf, I usually just cut it right down the middle. Place the loaf pan with the dough on the oven rack and cover it with the second loaf pan as a lid. Bake for 30 minutes covered, then remove the top pan and bake for an additional 15-20 minutes at 430°F (220°C) until golden brown.

Cool and Enjoy: Remove the loaf from the pan immediately to avoid a soggy crust. Let it cool completely before slicing.
Scaling Your Recipe
Want a smaller or larger loaf? Here's how to adjust:
- 300g Loaf: 300g flour, 206g water, 73g starter, 6g salt.
- 500g Loaf: 500g flour, 344g water, 121g starter, 10g salt.
The baking times remain similar, but keep an eye on smaller loaves as they might brown faster.
💭Crucial Success Tips
- Parchment Paper or Oil: Line your pans with parchment paper or lightly spray them with olive oil for easy release.
- Scoring: Use a sharp blade to score your dough before baking to control the expansion.
- Cooling Time: Patience is key! Let your loaf cool fully to avoid a gummy crumb.
FAQ
Parchment paper is recommended for easy release and minimal cleanup, but you can also lightly grease the pans with olive oil or butter as an alternative.
Yes, you can proof the dough at room temperature for 3-4 hours instead of refrigerating it overnight. Just make sure to monitor the dough to prevent over-proofing.
You can use a serrated knife or even kitchen scissors to score the dough. The important thing is to make a clean cut to control the oven spring.
How To Store Sourdough Bread Loaf
- Short-Term: Store the bread in a paper bag or wrapped in a clean kitchen towel at room temperature for up to 2 days. Avoid plastic bags as they can make the crust soggy.
- Freezing: Slice the loaf and store the slices in an airtight container or freezer bag. Freeze for up to 3 months. Toast or reheat the slices directly from frozen.


If I put the dough in the fridge for the second rise should I take my dough out and let it get to room temp or can I bake it right out if the fridge?
Hi Sarah, I'm sorry for a late answer! But no, you can bake it straight from the fridge. I actually prefer it that way! But no worries if you waited for it to come to room temp, that's completely ok too.
My husband bought me a 9x5 enameled cast iron pan with matching lid. Would there be any modifications?
Hi Ginger!
Hm I've never baked in those, sorry. My guess is that maybe you'll need to bake for a bit longer to account for the time the pans need to heat up? I'm really not sure. The best way to find out is to test it. If you have a food thermometer, it's as easy as checking the internal temperature!
My first loaf came out absolutely beautiful. I wish I could share a photo of it.
I'll be baking my 2nd one tomorrow and I'm so excited.
Thanks for a wonderful and easy recipe.
I'm glad!! thank you for the feedback!
I am trying this recipe today. I am very excited to see how it turns out. I do however have a couple of questions. I would love to try this with inclusions, how and when would I do that? At what point in the recipe, would I add my inclusions? Also, if I wanted to make more than one loaf, can I Just multiply the recipe and separate into individual loves after the 6 to 8 hours, or do I have to make each loaf in its own bowl? Thank you for your help.
Hi Alyssa!
This method is actually great for inclusions, I find the potential mess way easier to clean than if I were to bake in a Dutch oven.
The timing of adding inclusions depends on the type of inclusions: if you're adding rosemary, turmeric or something like that, you can add that when you first mix the dough. But most inclusions (cheeses, cinnamon, sugar, raisins etc) are best added when you shape the bread. So after bulk fermentation, when you spread out the dough into a rectangle, simple spread/sprinkle the inclusions on the dough, roll it up and bake!
And yes, you can double or triple the recipe if you want, no problem! In this case, it's perfectly fine to use one bowl and separate the dough for multiple loaves when shaping!
Let me know if you have any more questions!
How much would I use per loaf (grams) when separating out to make multiple loaves?
How would I know how much to use for each loaf? If multiplying the recipe
This is the perfect recipe. So easy to follow along. Makes perfect sour dough loaves every time! I have shared this video with several others. Thank you!
Hi Jennifer,
thank you so much for your comment, and for sharing my recipe. That's all I can hope for, and it makes me happy to hear it! 🙂
I'm gonna try this! How do you score it cleanly when you opt to do a room temp final proof? Because I notice the dough is a bit draggy, unlike cold dough from the fridge which is a lot easier to score.
Hi Jo!
You're right, any room temperature dough is a bit challenging to score. I don't actually have solution, my advice is to simply not take scoring to seriously. I know you're "supposed to" score in one clean cut and all that, but in my experience, you can score it quite awkwardly and as long as the cut is somewhat ok, it will open up beautifully. So just take an extra minute and try to score it the best that you can, and that's it!
I'm thinking you could put the loaf in the freezer for a bit, or the refrigerator for an hour or more until dough gets firm enough to score.
That's a good suggestion I think!