Same-Day Sourdough with Fresh-Milled Flour (100% Whole Grain)
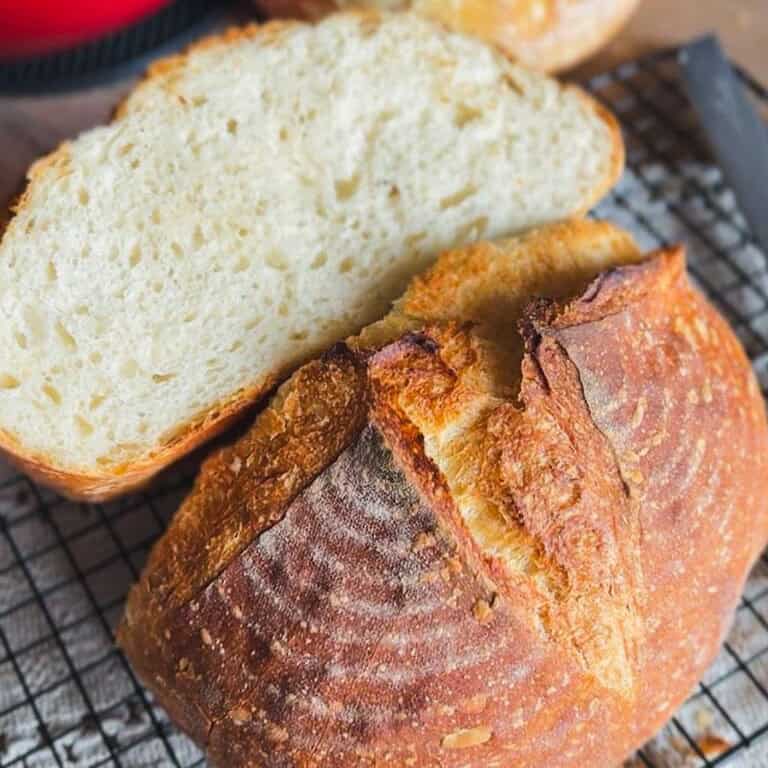
If you love homemade bread that's warm, crusty, and full of flavor, this Same-Day Sourdough with Fresh-Milled Flour will be your new favorite. It's simple to make, a lot healthier than any bread you can buy, and in my family, it's toddler approved. And don't worry, I go through everything you need to know even if you're a beginner baker when it comes to freshly milled flour.
Sourdough is always in season, but there's something extra special about baking it during colder months when your kitchen smells like fresh bread. This recipe is perfect for weekends, holidays, or when you just want to fill your home with that "fresh-baked" aroma.
This recipe was inspired by my Speedy Same-Day Sourdough Bread Recipe (Easy to Make), which is still my most popular recipe. If you do decide to go the freshly milled route, give these Whole Grain Sourdough Rolls With Freshly Milled Flour a try!
Quick Look
- Prep time: 20 mins (plus 8-12 hours fermentation).
- Cook time: 45 mins.
- Servings: 1 8smallish) loaf.
- Main ingredients: fresh-milled flour, water, salt, sourdough starter
- Cooking method: 🡢 Baking
- Difficulty: Intermediate (just because freshly milled flour is a little different)
- Serving ideas: Slice it warm with butter, serve with soup, or make rustic sandwiches
Jump to:
- Quick Look
- Important Ingredients
- Substitutions & Variations
- How to Make Same-Day Sourdough with Fresh-Milled Flour
- Baking Schedule
- 💭Crucial Success Tips
- Recipe FAQs
- How To Store Same-Day Sourdough with Fresh-Milled Flour
- Other Delicious Recipes
- Same-Day Sourdough with Fresh-Milled Flour (100% Whole Grain)
- Other Sourdough Recipes You'll Love
- Sourdough Double Chocolate Zucchini Muffins
- Sourdough Pretzel Bagels
- Sourdough Discard Pancake Bowls
Important Ingredients

- Fresh-milled flour gives the loaf its nutty, earthy flavor + all the health benefits!
- Sourdough starter is your natural yeast.
- Salt enhances flavor and strengthens gluten.
See recipe card for quantities.
Substitutions & Variations
- Mix with all purpose flour for a milder flavor - you can make a mixed loaf if 100% whole wheat is a bit hardcore for you. The more all purpose flour you use, the more you need to reduce water in this recipe. You can experiment to find your family's sweet spot!
How to Make Same-Day Sourdough with Fresh-Milled Flour
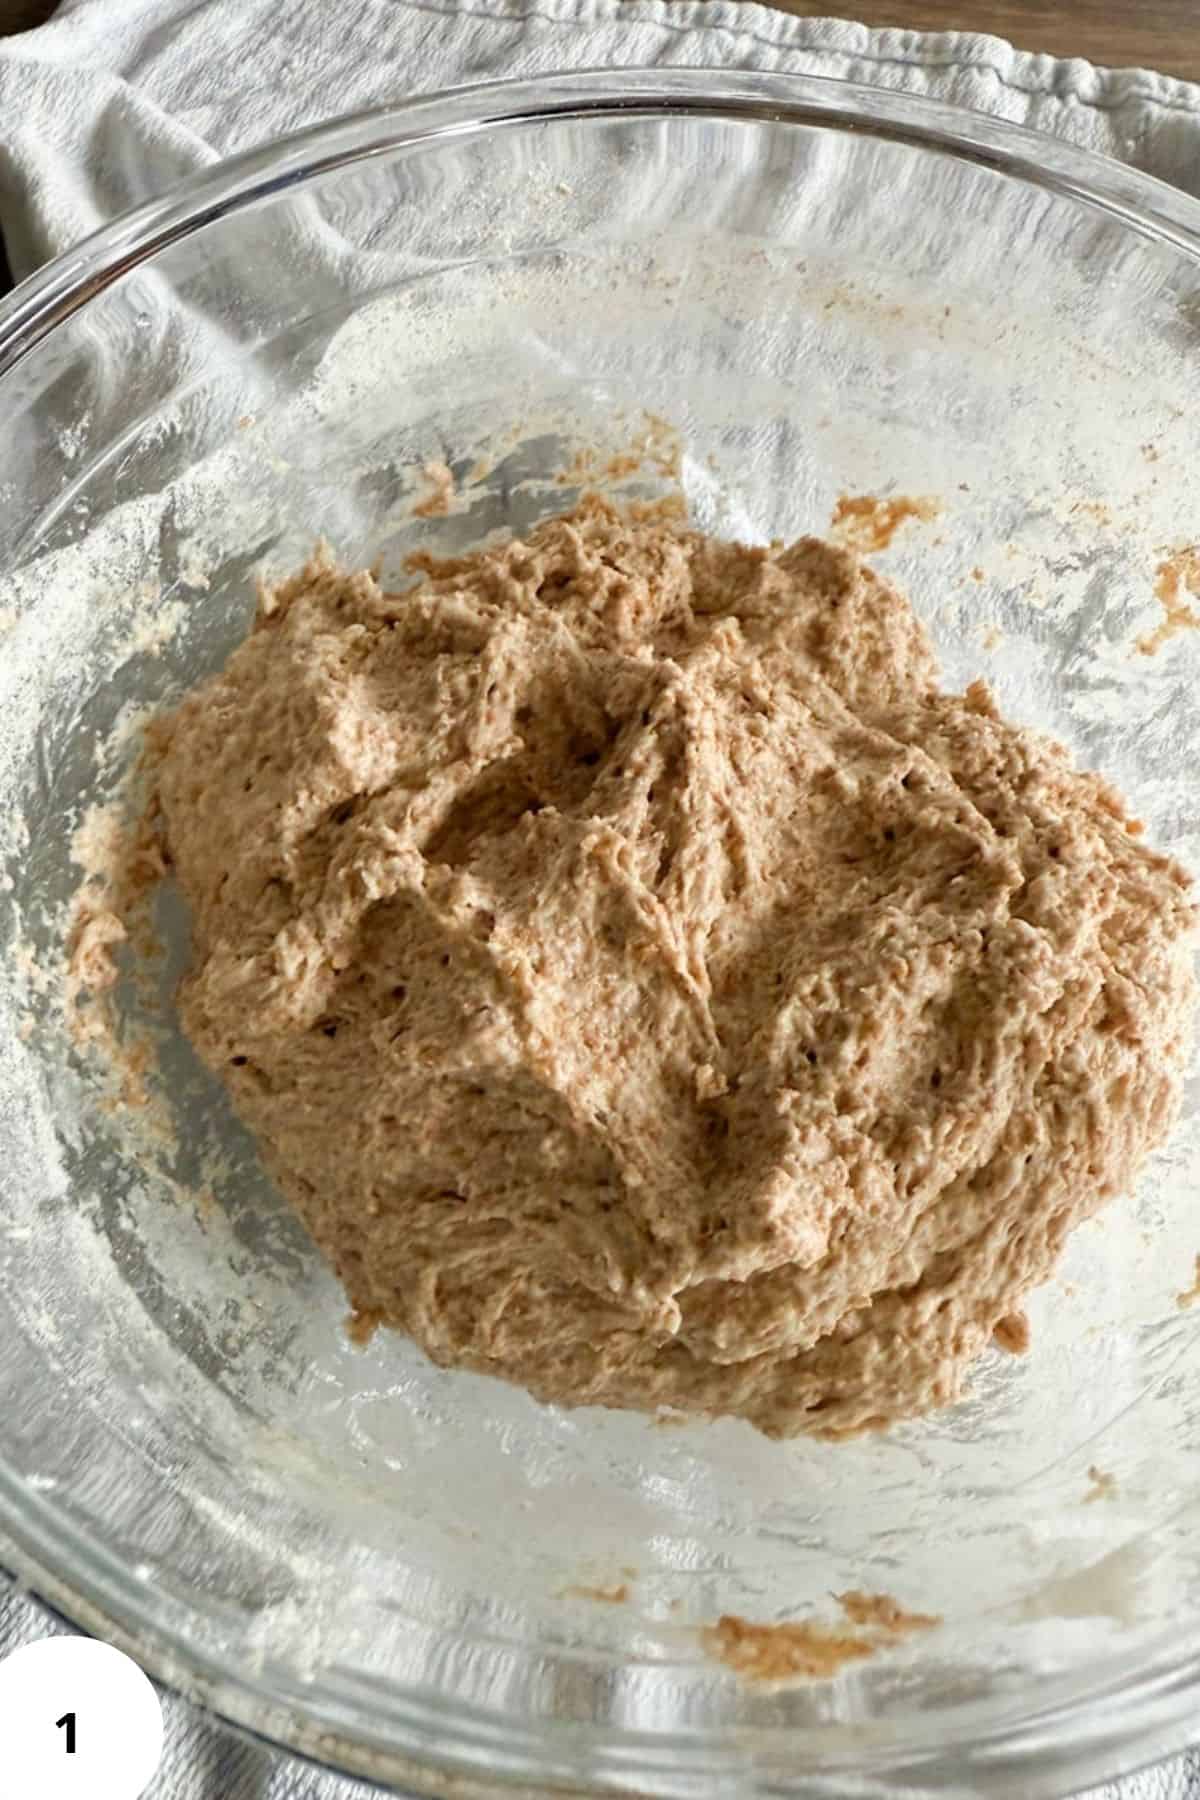
Step 1: In a large bowl, combine the water, starter, and salt. Mix briefly to disperse the starter, then add the flour (Image 1). Stir with a dough whisk, spoon, or wet hands until no dry bits remain and the dough looks cohesive (1-2 minutes). I usually just use a regular kitchen spoon, no special tools needed. The dough should be very loose and soupy, too soft to lift in one piece. Cover with a damp tea towel or a plastic bag/shower cap.
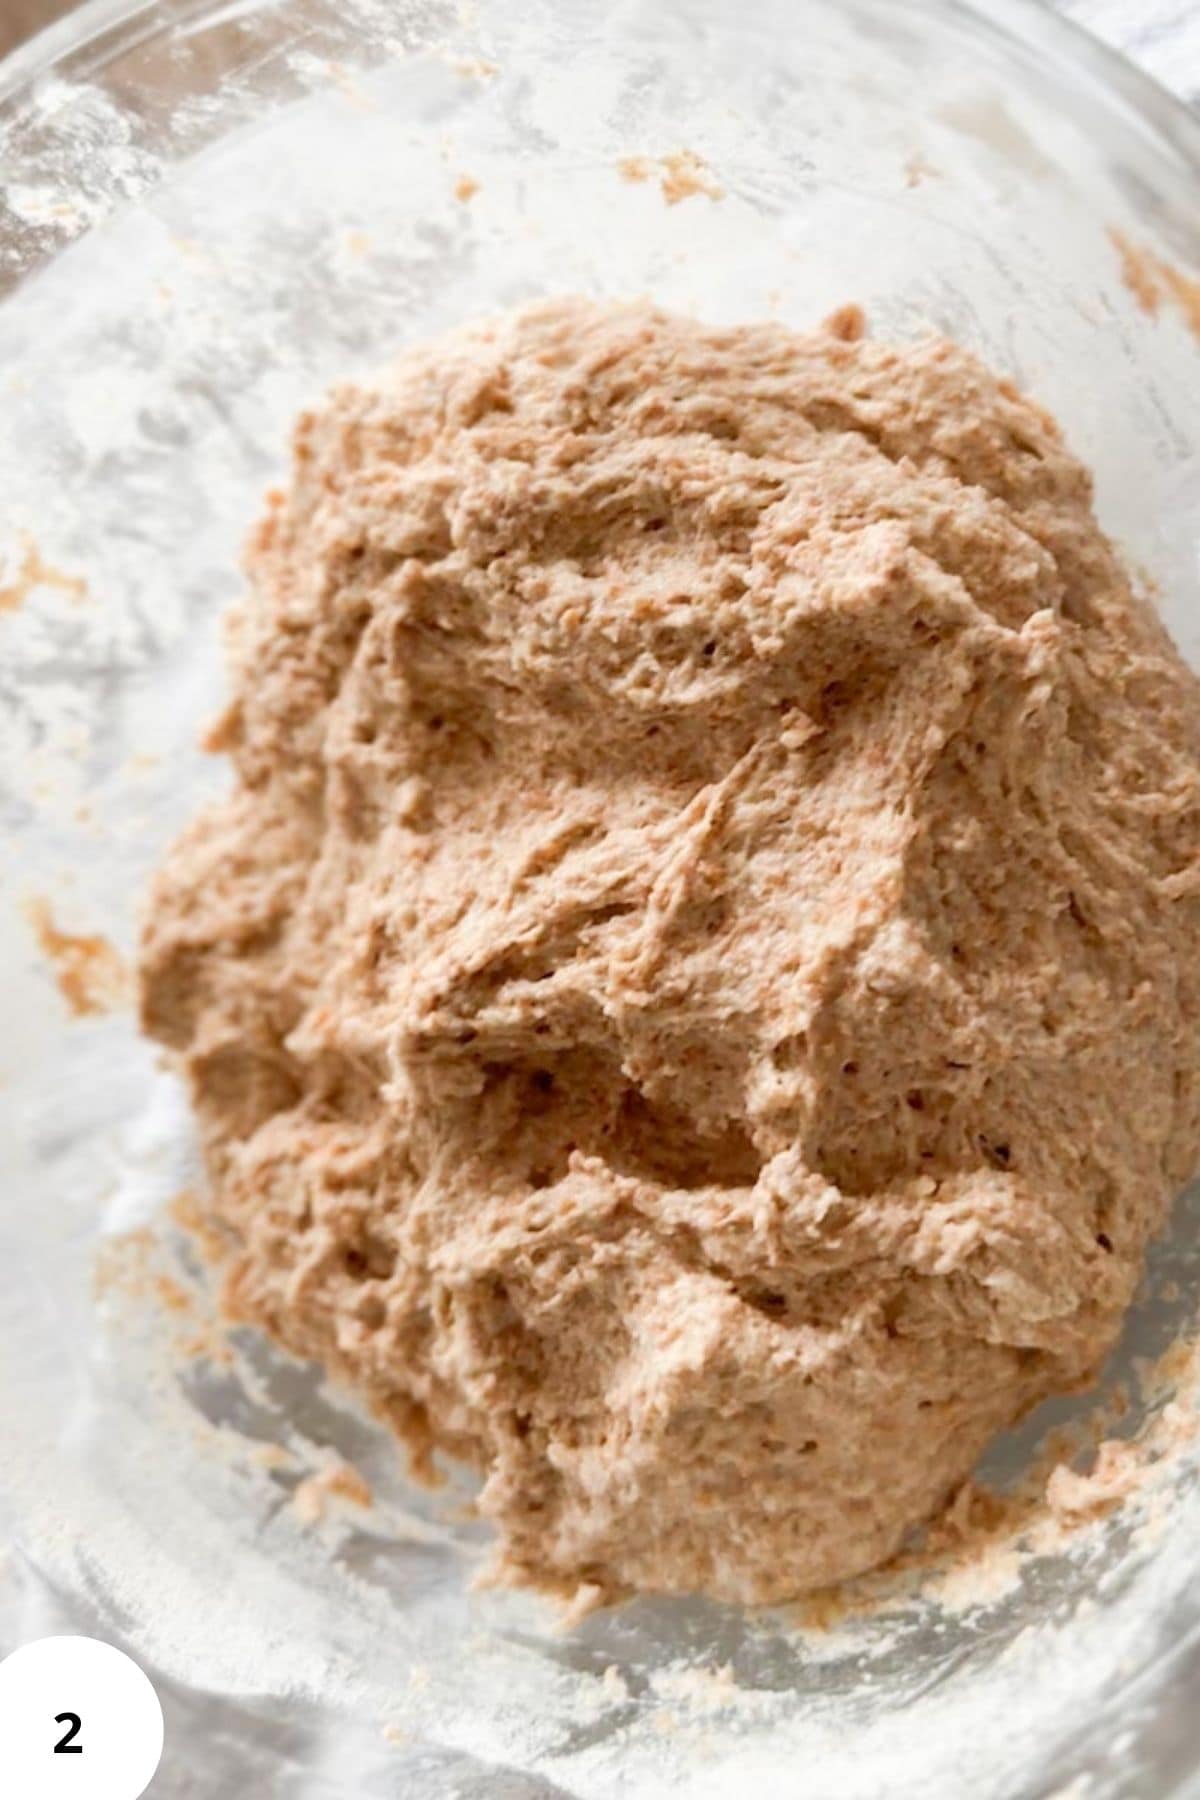
Step 2: Let the dough rest for at least 30 minutes to relax the gluten (you can go up to 1 hour). If the dough feels tight afterward, add 5-15 g more water and work it in with your hands. You're aiming for a wet, loose dough, but not soupy (Image 2). You should be able to lift it without it dripping back into the bowl.
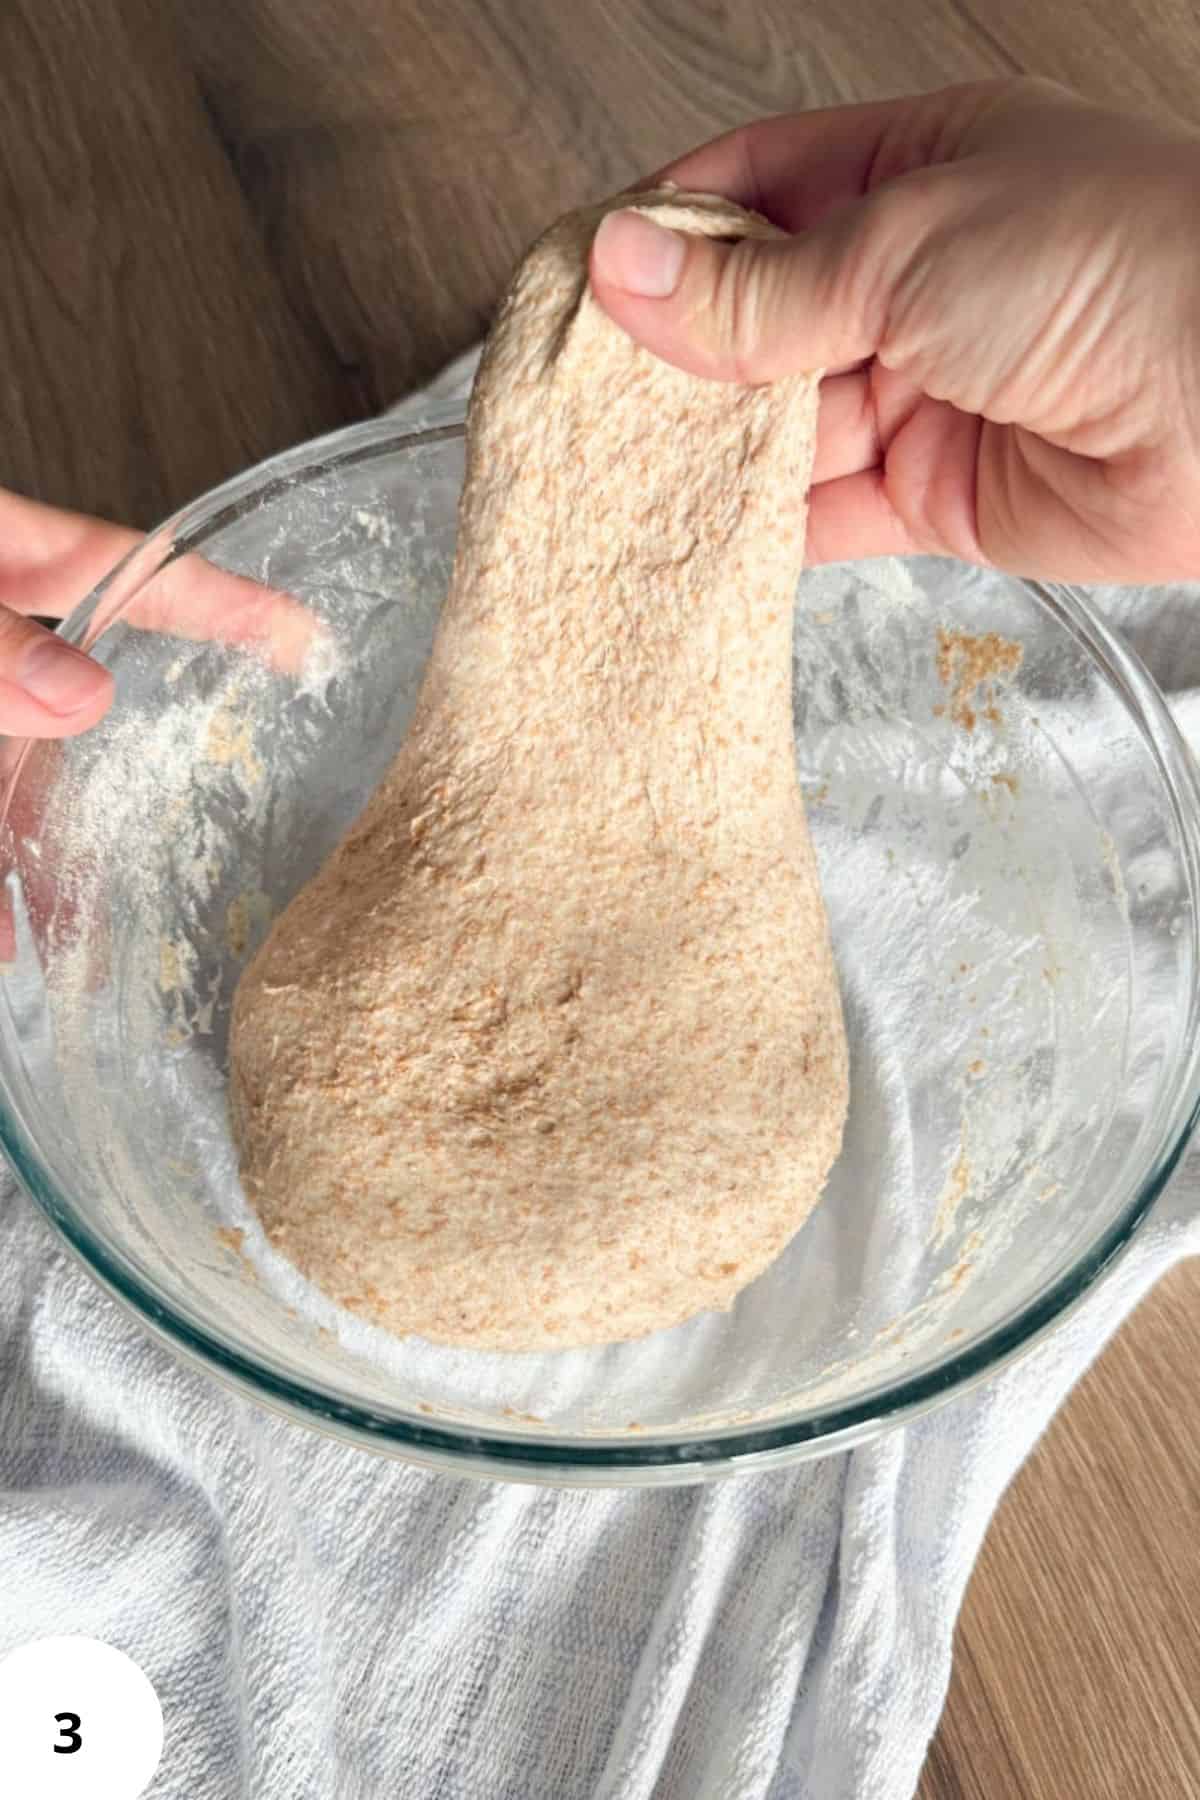
Step 3: Do 3 sets of stretch-and-folds (Image 3), about every 20 minutes (4-6 lifts per set, stop when you feel resistance). Keep the bowl covered between each set.
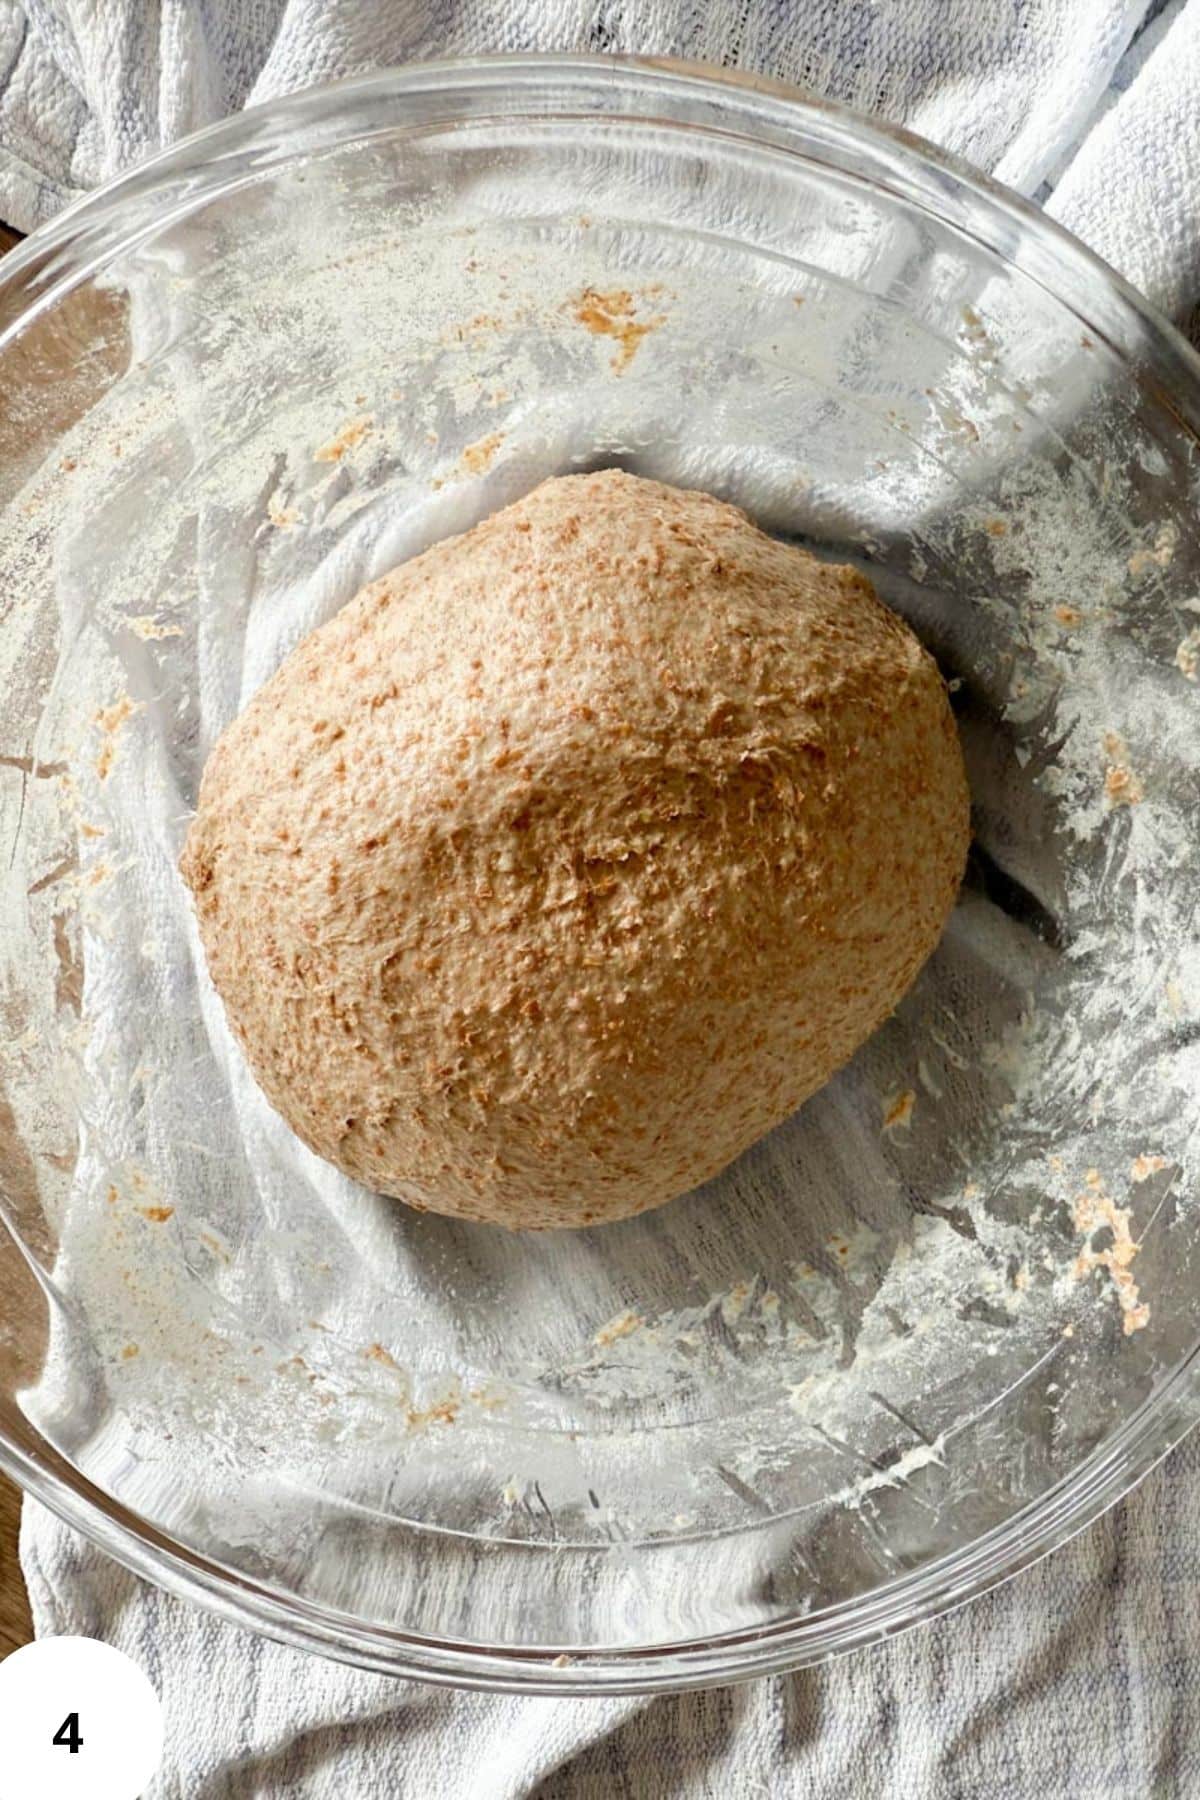
Step 4: Let the dough rise at warm room temperature (23-25°C / 73-77°F)(Image 4) until it increases by about 30-50% and you see small bubbles around the edges (Image 5).
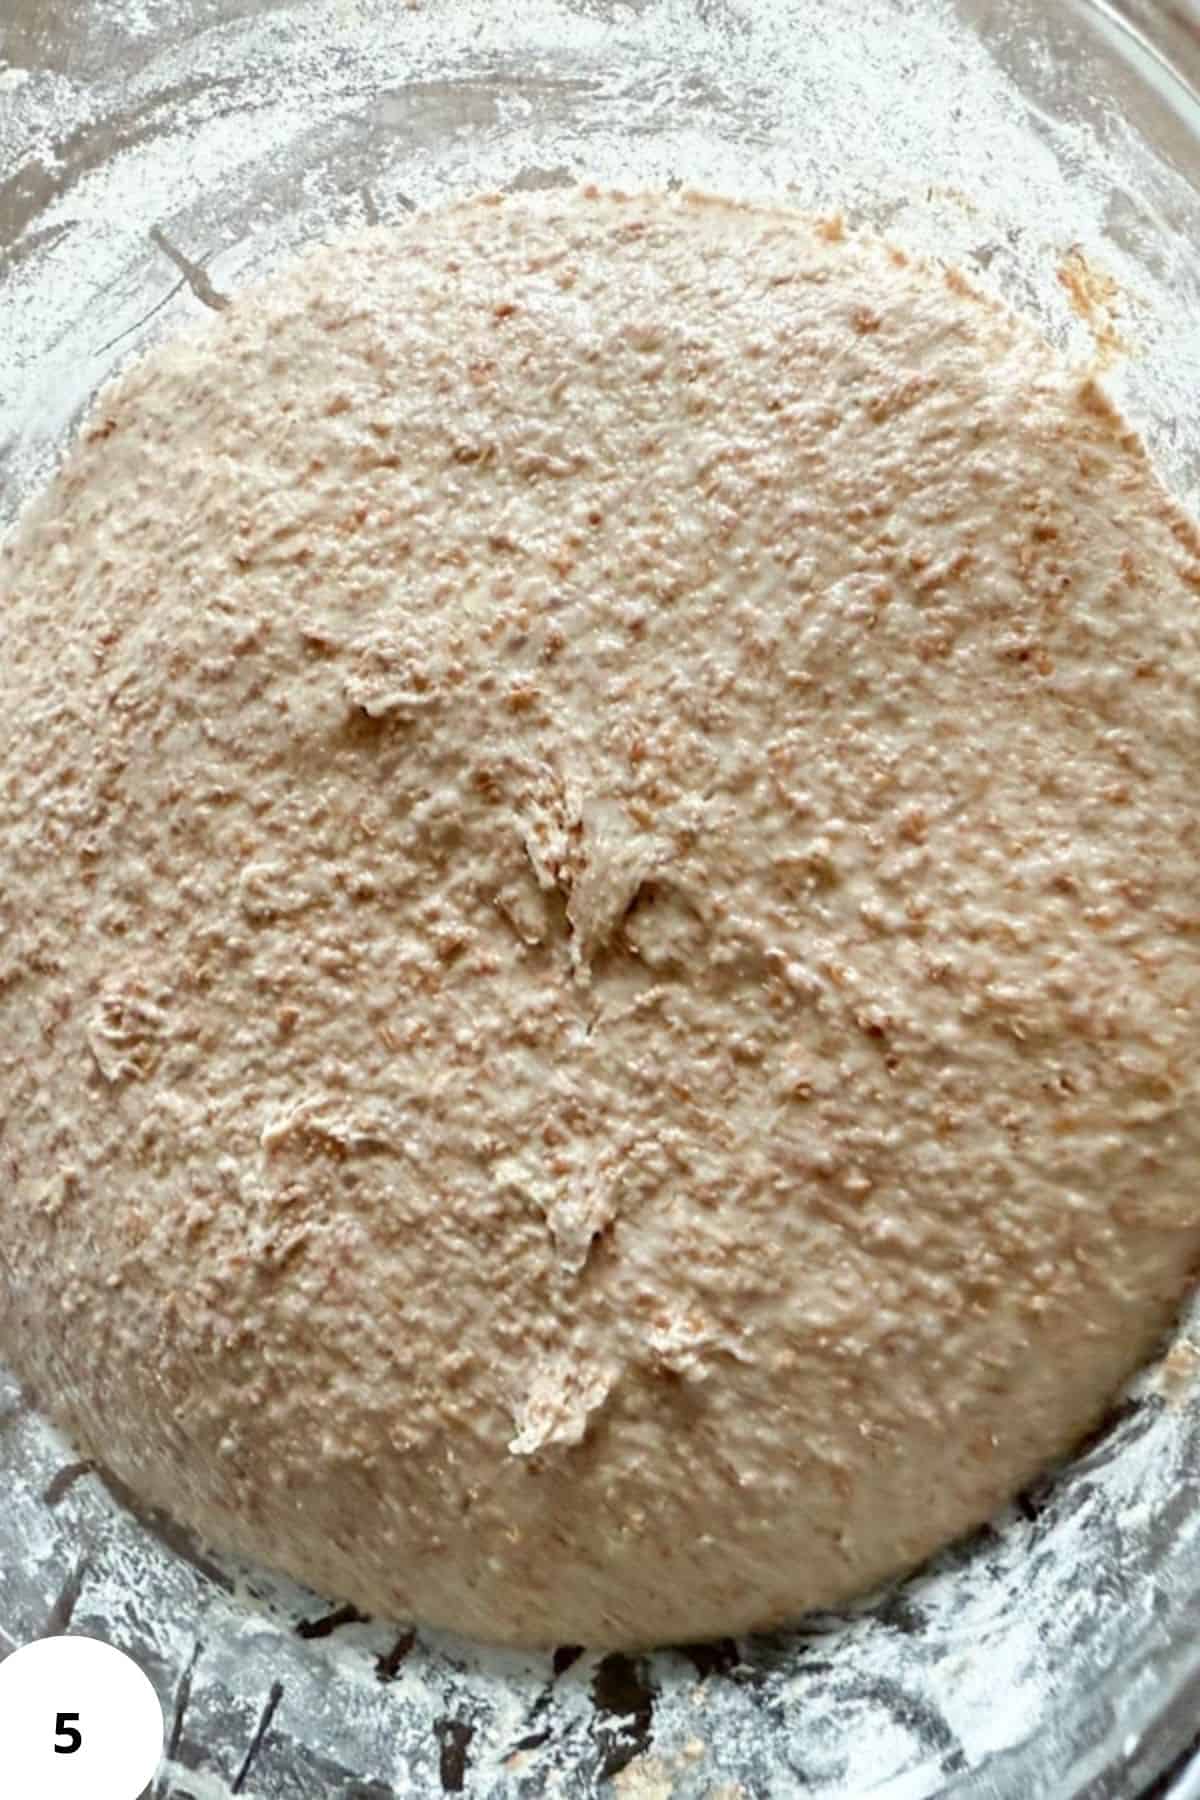
Step 5: This usually takes 6-7 hours, or closer to 5 in a warm spot (like during summer). Cooler rooms may take up to 10 hours. (The timing starts from when the starter was added to the dough.)
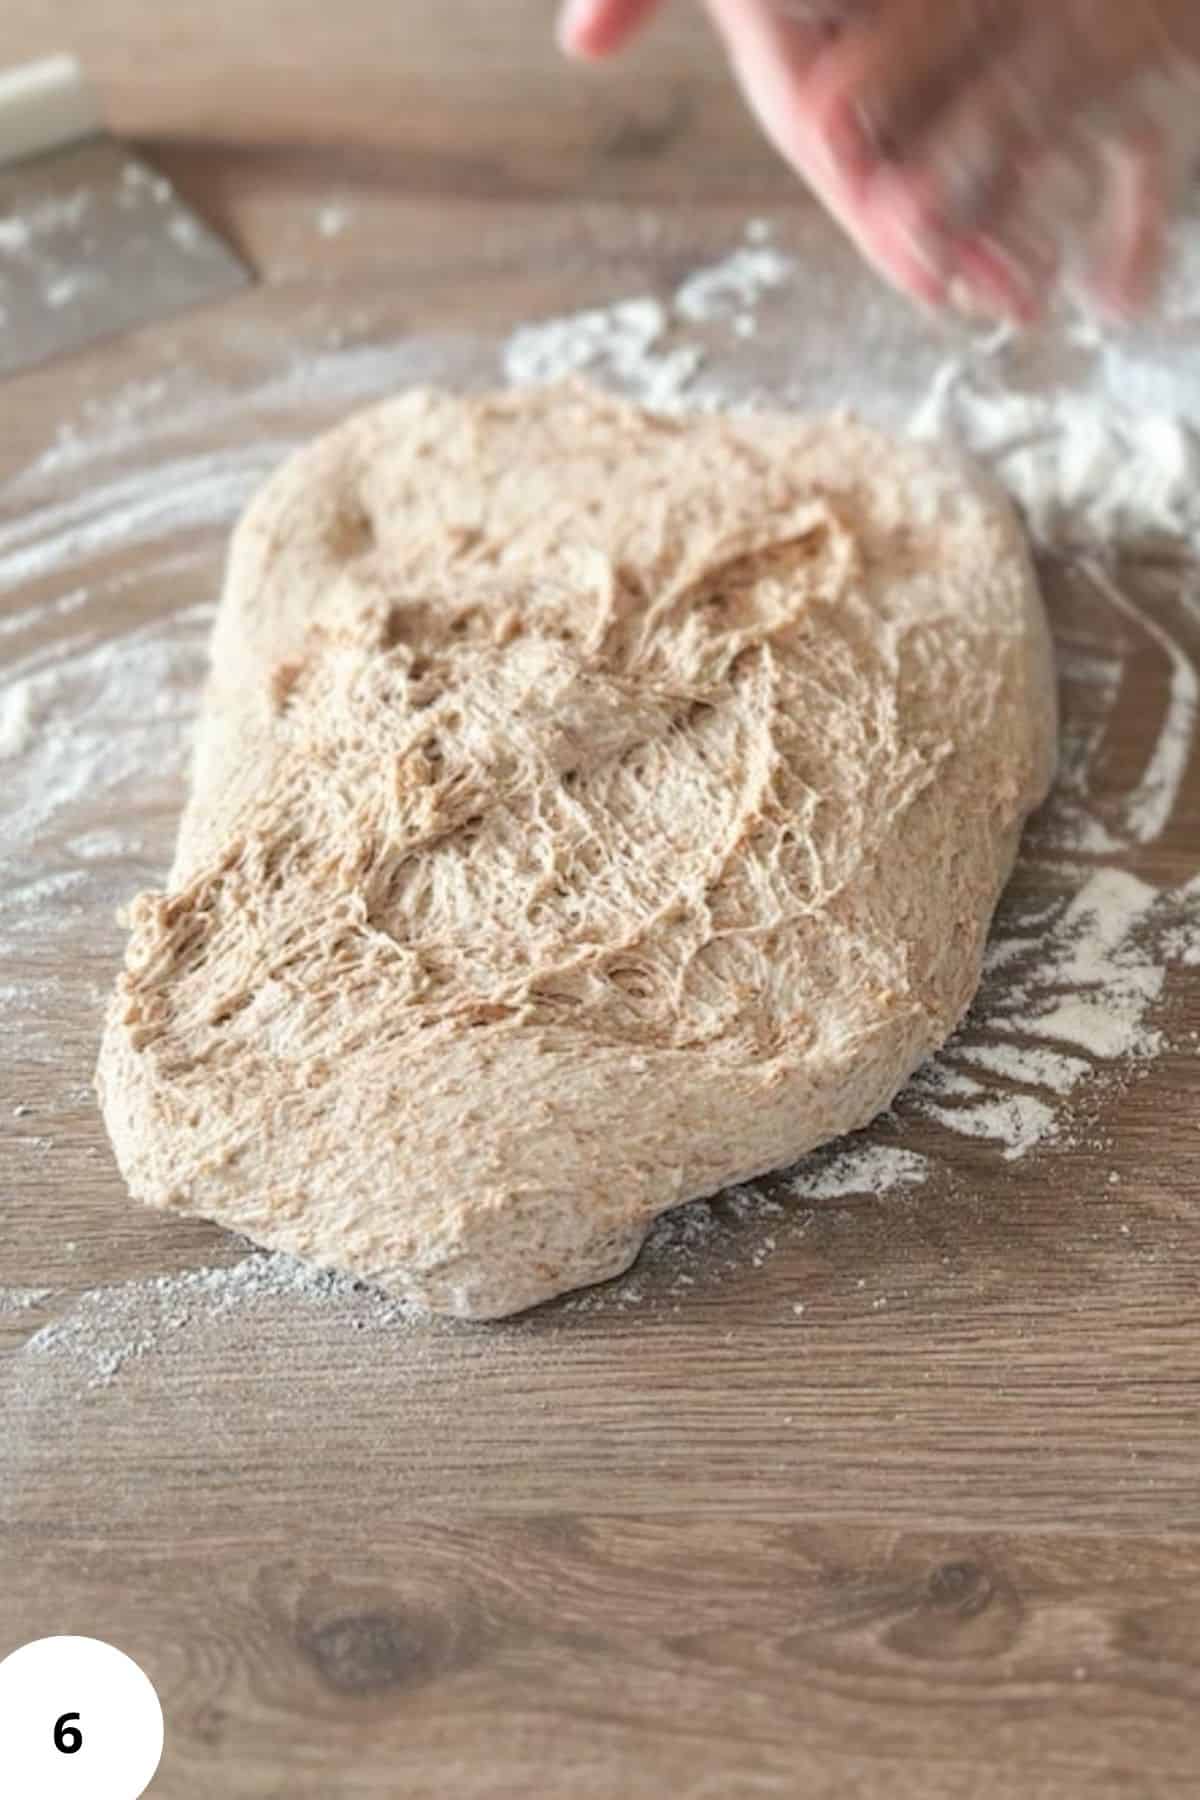
Step 6: Generously flour your counter (Image 6). Turn the dough out upside down, then gently shape it into a loose ball. Scoot the dough toward yourself to create a bit of surface tension. Rest uncovered for 15-20 minutes. This allows a thin "skin" to form, which makes final shaping easier.

Step 7: Using a bench scraper, lift and flip the dough onto your work surface. Stretch it into a rough rectangle. Fold the top third down, then lift the corners and "stitch" them into the center (Image 7). Fold the bottom third up and repeat. Flip seam-side down, rotate, and gently scoot it toward you to build surface tension.

Step 8: Place the dough seam-side up in a floured banneton or a tea towel-lined bowl. Pinch the seams if needed. Cover (Image 8). Proof at room temperature for 1-2 hours until slightly puffy. Don't expect a big rise. (If you're short on time, you can skip this step, the bread will still turn out about 90% as good!) See notes for doing a cold ferment instead of this step.
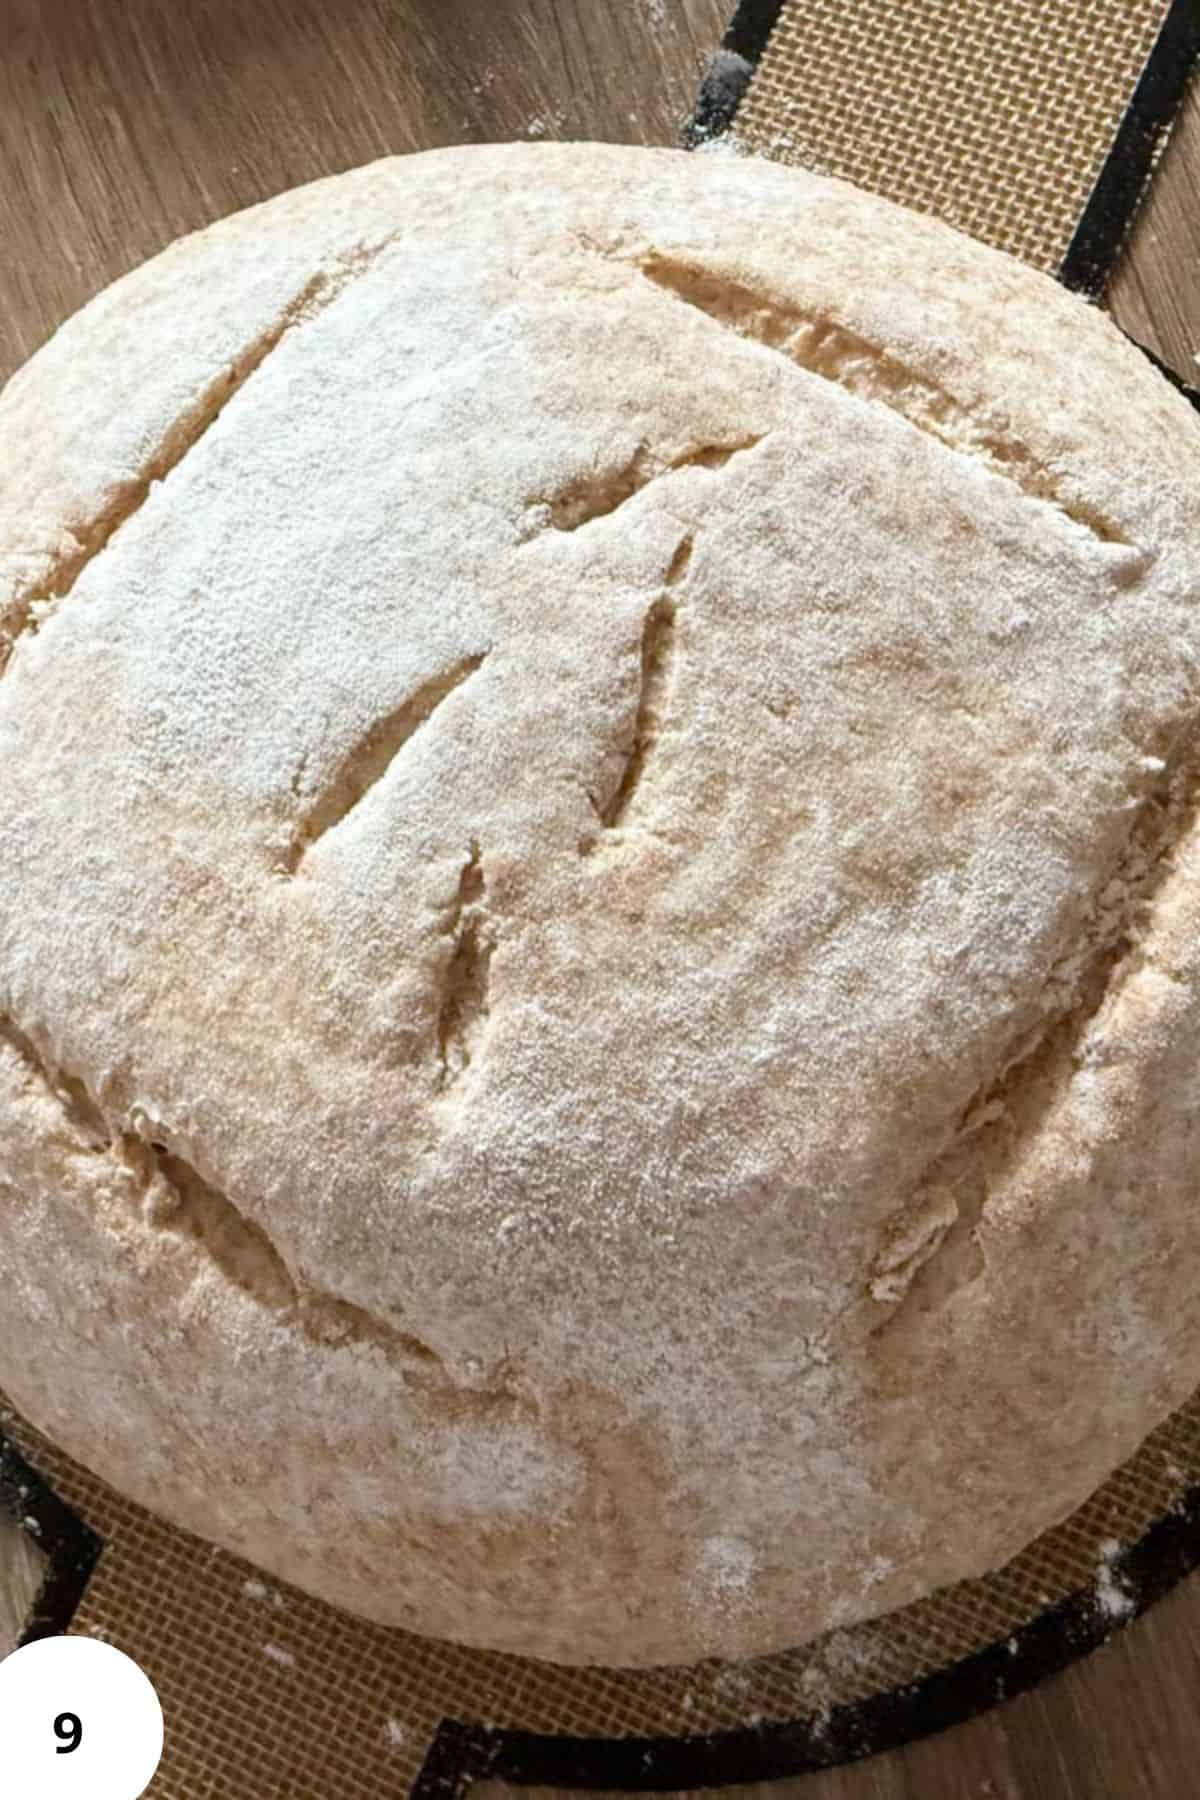
Step 9: Preheat your Dutch oven to 240°C / 465°F. Invert the loaf onto parchment paper or a bread mat. Dust with flour (Image 9) (optional, helps scoring stand out). Score the top (I like a deep square with shallow decorative cuts). Bake 35 minutes covered at 240°C / 465°F. Uncover, reduce the heat to 230°C / 445°F, and bake 10-15 minutes more until deep golden brown (internal temp 96-99°C / 205-210°F)
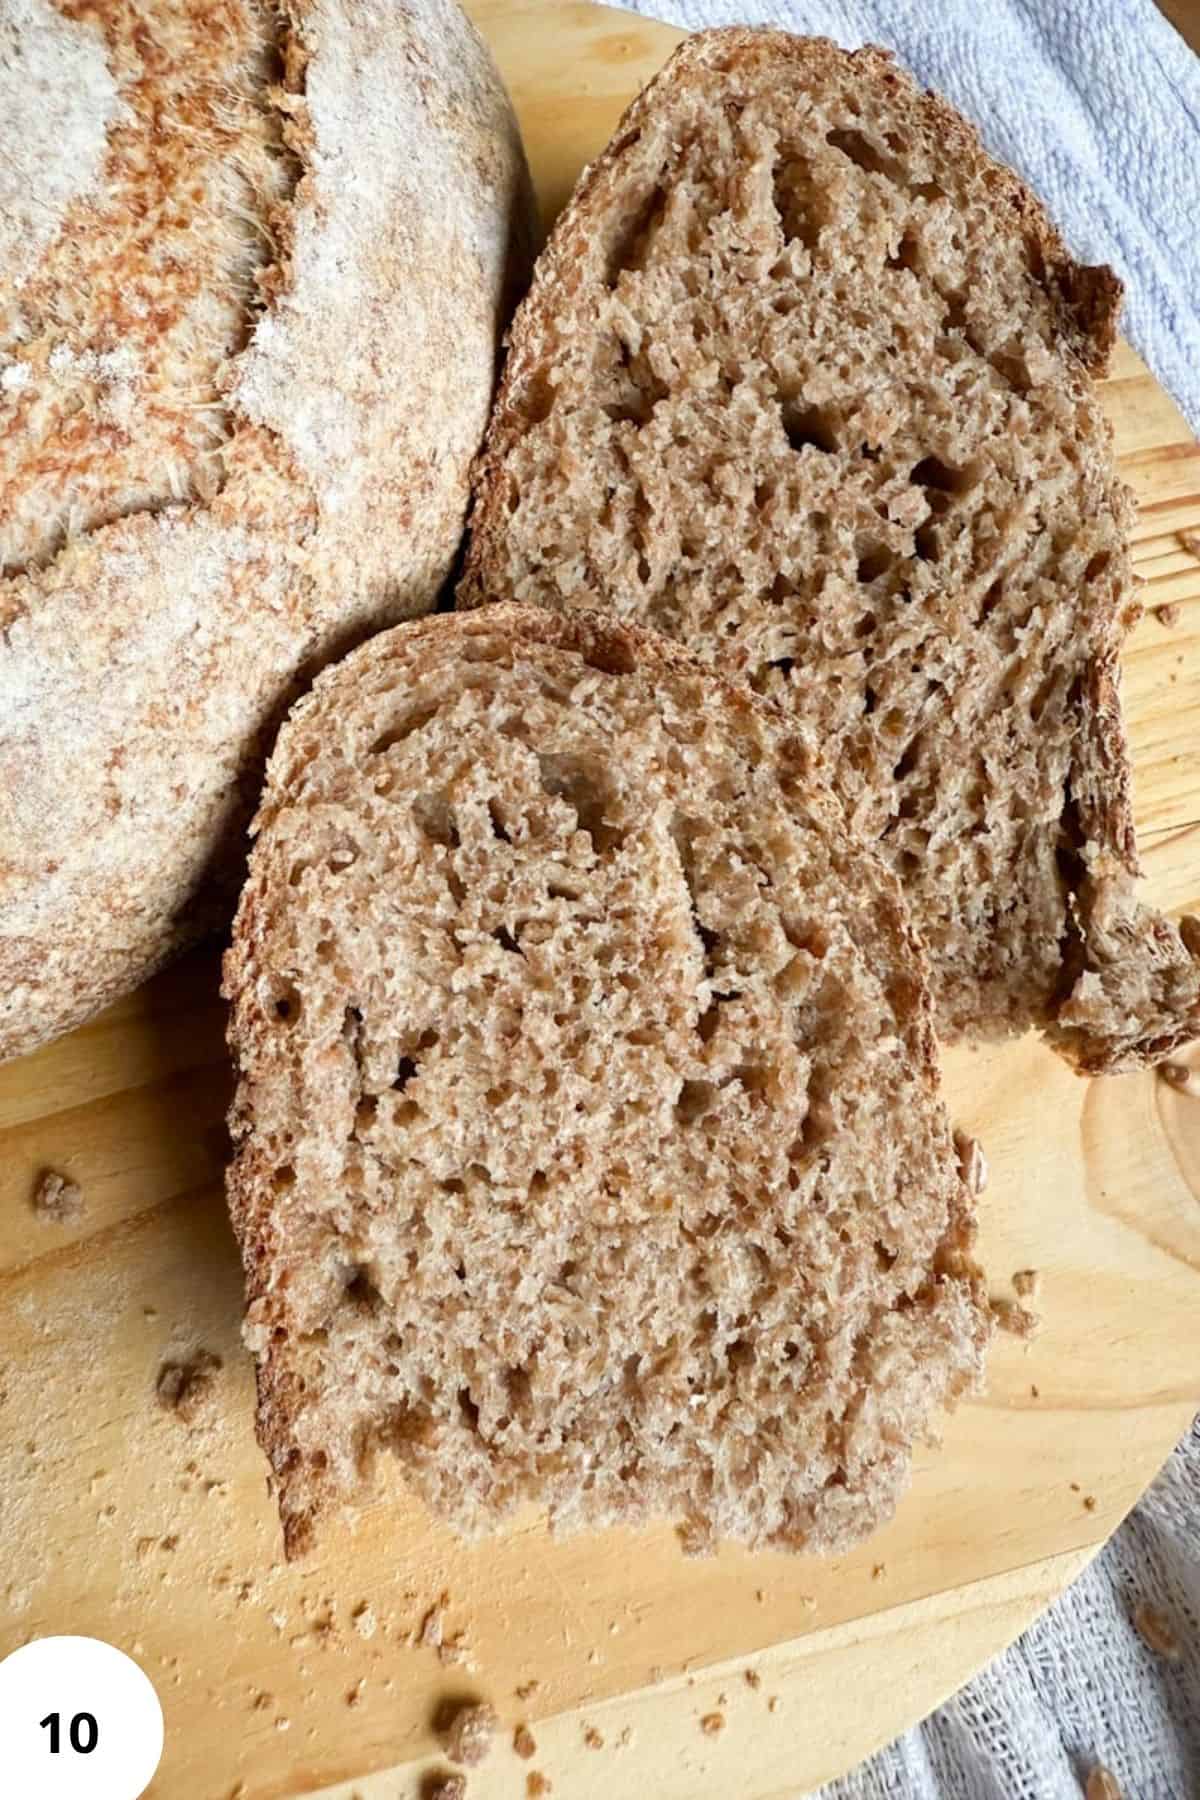
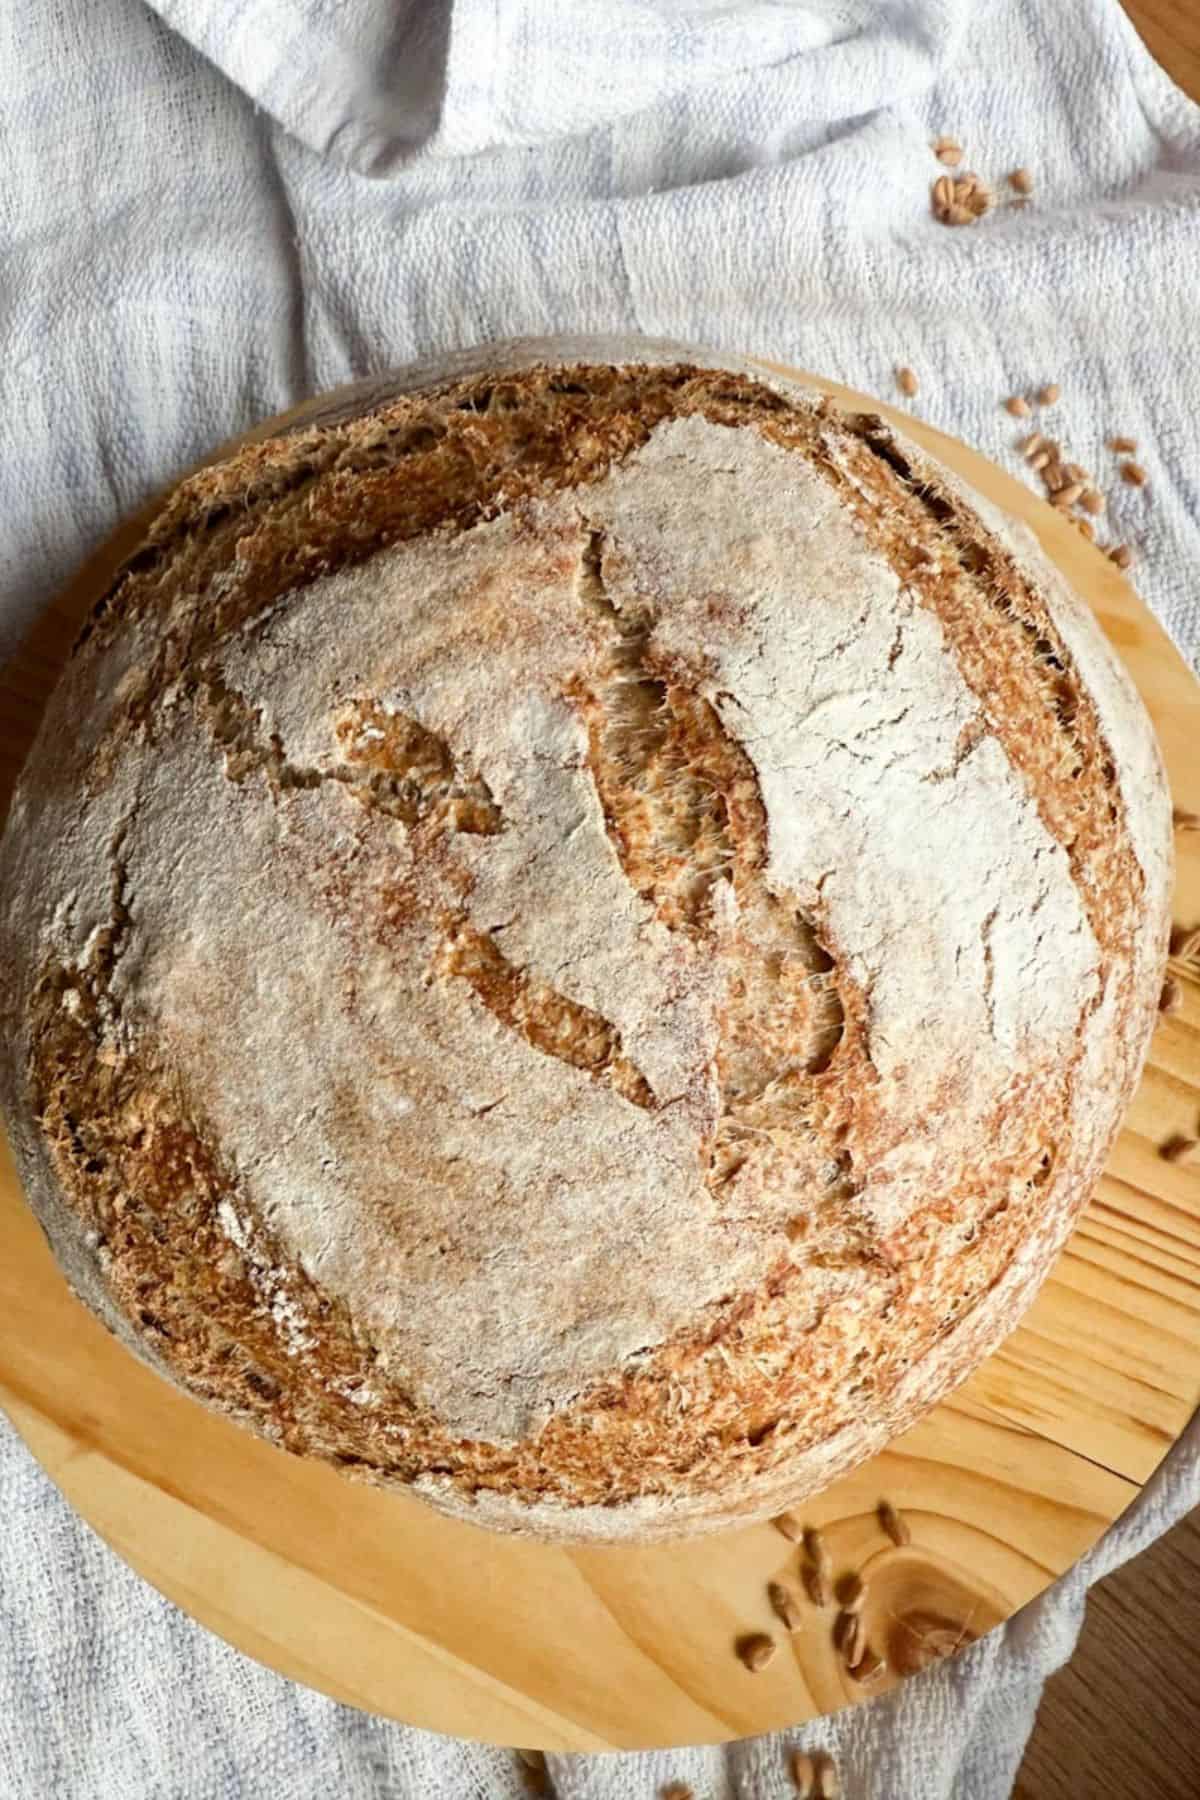
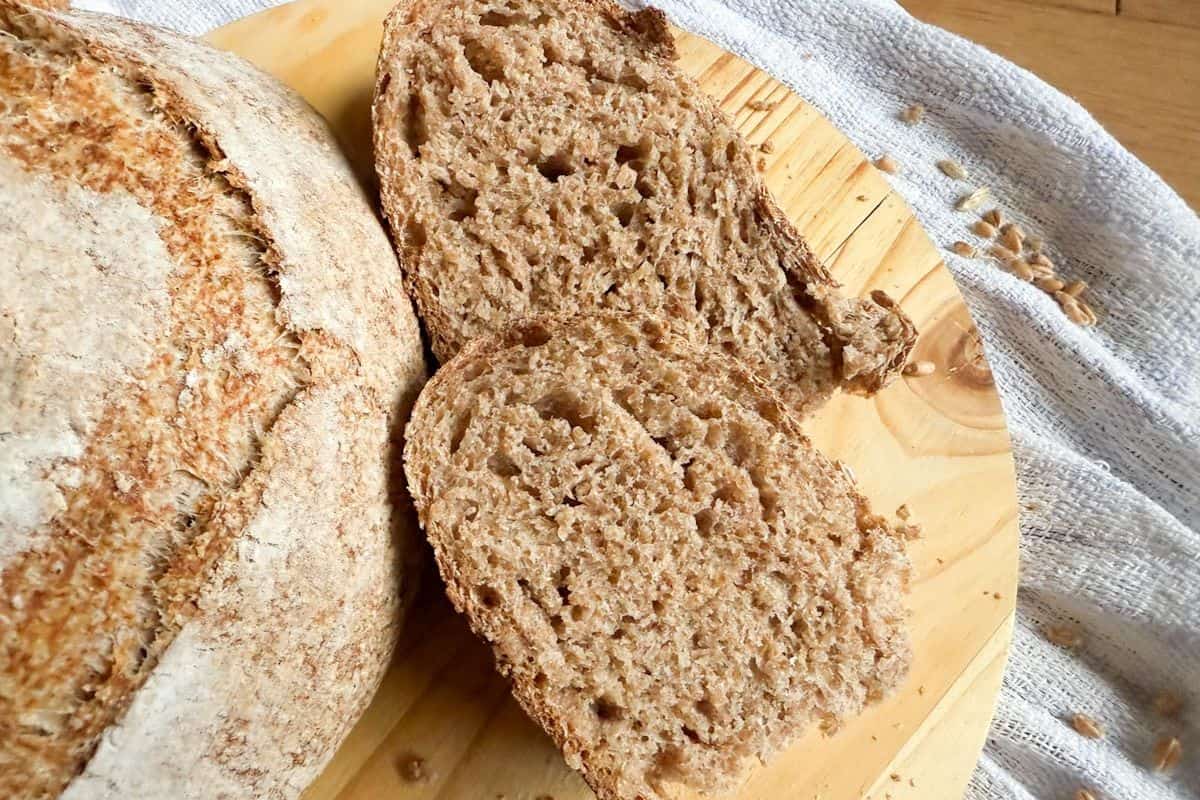
Step 10: Cool completely on a rack before slicing (Image 10).
Hint: Let your Dutch oven preheat for at least 30 minutes, it helps create that perfect crispy crust!
Baking Schedule
The Day Before: Feed starter.
Bake Day:
- 08:00 - Mix water + starter + salt, then add flour. Stir 1-2 min until no dry bits. Dough will look loose/soupy. Cover.
- 08:00-08:30 - Rest (autolyse) 30 min (up to 60 min is fine). If the dough feels tight after the rest, work in 5-15 g water with wet hands.
- 08:50 -9:30 Stretch & Folds (4-6 lifts, stop when you feel resistance). Cover between sets.
- 09:30-15:30 - Bulk rise at warm room temp (aim 23-25°C / 73-77°F).
- Look for 30-50% rise, jiggly top, and small edge bubbles (about 6 hours typical; ~5 hours if very warm, up to 9-10 hours if cooler).
- 15:30 - Turn out & preshape a loose ball on a well-floured counter.
- 15:30-15:50 - Bench rest 15-20 min (uncovered) to form a light skin.
- 15:50 - Final shape (letter fold + stitch), seam-side up into a floured banneton/bowl. Pinch seams if needed. Cover.
- 15:50-16:50 - Proof 1 hour at room temp (slightly puffy; don't expect a big rise).
- 16:15 - Start preheating oven + Dutch oven to 240°C / 465°F (give it at least 30 minutes).
- 16:50 - Invert, dust (optional), score (I like a deep square + shallow accents).
- 16:50-17:25 - Bake covered at 240°C / 465°F (35 min).
- 17:25-17:40 - Uncover, reduce to 230°C / 445°F, bake 10-15 min more until deep golden (internal 96-99°C / 205-210°F).
- 17:40-18:40(+) - Cool on a rack (at least 60 minutes; fully cool for best crumb).
💭Crucial Success Tips
Don't rush the rise. The dough should look puffy and airy, not flat or stiff. It's true the rise will not be as good as with conventional flour, but the dough does need to puff up and become larger in size.
Recipe FAQs
It should look slightly domed and jiggle a bit when you shake the bowl.
Yes! You can do the final proof in the fridge for up to 12 hours for deeper flavor.
How To Store Same-Day Sourdough with Fresh-Milled Flour
Let the bread cool fully, then store it in a paper bag or bread box for up to 3 days. You can also freeze slices for up to 1 month, just toast straight from frozen.
Other Delicious Recipes
- Sourdough Pretzel Bagels

- Neapolitan-Style Sourdough Pizza Dough
- Italian Semolina Sourdough Bread
- Sourdough Picnic Rolls (Pull-Apart Bread Rolls)


If you tried this Same-Day Sourdough with Fresh-Milled Flour (100% Whole Grain) or any other recipe on my blog please leave a 🌟 star rating and let me know how it went in the 📝 comments below! Happy Baking!

Same-Day Sourdough with Fresh-Milled Flour (100% Whole Grain)
Jump to VideoIngredients
- 400 g white wheat fresh-milled hard
- 315 g water up to 330 g
- 85 g sourdough starter 100% hydration
- 8 g fine sea salt
Instructions
- In a large bowl, combine the water, starter, and salt. Mix briefly to disperse the starter, then add the flour. Stir with a dough whisk, spoon, or wet hands until no dry bits remain and the dough looks cohesive (1-2 minutes). I usually just use a regular kitchen spoon, no special tools needed. The dough should be very loose and soupy, too soft to lift in one piece. Cover with a damp tea towel or a plastic bag/shower cap.
- Let the dough rest for at least 30 minutes to relax the gluten (you can go up to 1 hour). If the dough feels tight afterward, add 5-15 g more water and work it in with your hands. You're aiming for a wet, loose dough, but not soupy. You should be able to lift it without it dripping back into the bowl.
- Do 3 sets of stretch-and-folds, about every 20 minutes (4-6 lifts per set-stop when you feel resistance). Keep the bowl covered between each set.
- Let the dough rise at warm room temperature (23-25°C / 73-77°F) until it increases by about 30-50% and you see small bubbles around the edges. This usually takes 6-7 hours, or closer to 5 in a warm spot (like during summer). Cooler rooms may take up to 10 hours. (The timing starts from when the starter was added to the dough.)
- Generously flour your counter. Turn the dough out upside down, then gently shape it into a loose ball. Scoot the dough toward yourself to create a bit of surface tension. Rest uncovered for 15-20 minutes. This allows a thin "skin" to form, which makes final shaping easier.
- Using a bench scraper, lift and flip the dough onto your work surface. Stretch it into a rough rectangle. Fold the top third down, then lift the corners and "stitch" them into the center. Fold the bottom third up and repeat. Flip seam-side down, rotate, and gently scoot it toward you to build surface tension.
- Place the dough seam-side up in a floured banneton or a tea towel-lined bowl. Pinch the seams if needed. Cover. Proof at room temperature for 1-2 hours until slightly puffy. Don't expect a big rise. (If you're short on time, you can skip this step, the bread will still turn out about 90% as good!) See notes for doing a cold ferment instead of this step.
- Preheat your Dutch oven to 240°C / 465°F. Invert the loaf onto parchment paper or a bread mat. Dust with flour (optional, helps scoring stand out). Score the top (I like a deep square with shallow decorative cuts). Bake 35 minutes covered at 240°C / 465°F. Uncover, reduce the heat to 230°C / 445°F, and bake 10-15 minutes more until deep golden brown (internal temp 96-99°C / 205-210°F).
- Cool completely on a rack before slicing.
Video
Notes
- I highly recommend you watch the tutorial video, as I talk a lot more about what kind of consistency to look for when mixing the dough or deciding if the bulk fermentation is over.
- You can put the dough into the fridge overnight and up to 24 hours after shaping and that counts as a second rise. Keep in mind that if you do that, it will taste a bit more sour.
- If you don't have a cooling rack, try to perch the freshly baked bread onto the edge of a plate. The important thing is to get the air circulating around it so the crust sets properly.
- When mixing up the dough, aim for a soft, slightly sticky dough that clings to your fingers but isn't soupy. It will get less sticky after it sits for a bit.
- If you want your dough to be more manageable (smart if you're a beginner!), use 10-15 g less water - so about 320 g)
- Fresh-milled flour ferments faster in my experience, so keep a closer eye on it.
- Warm dough doesn't score that well, so do what you can, but don't stress too much about it.
- Fresh-milled flour absorbs more water, so don't be afraid to bake more high hydration doughs with it.