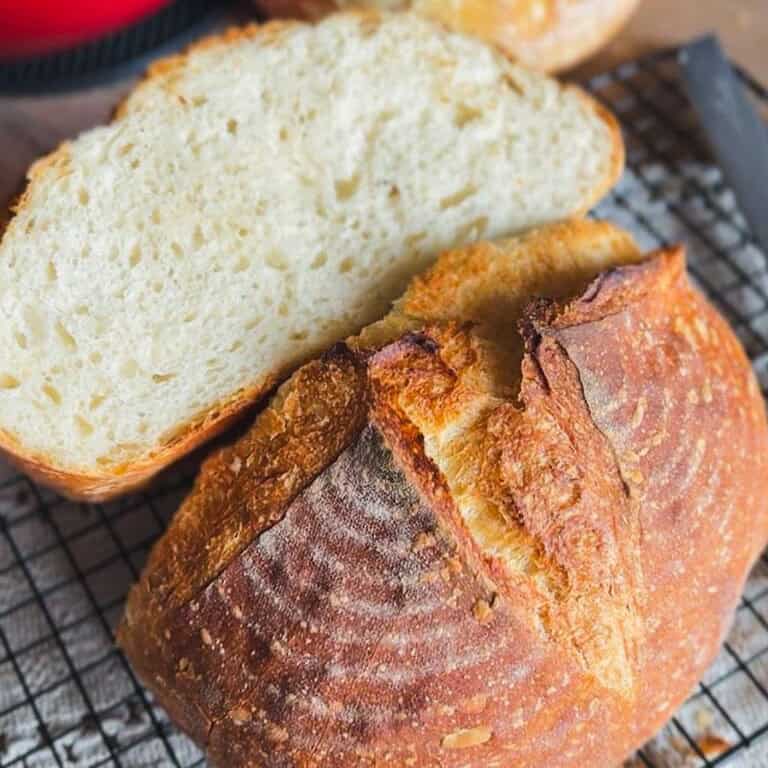
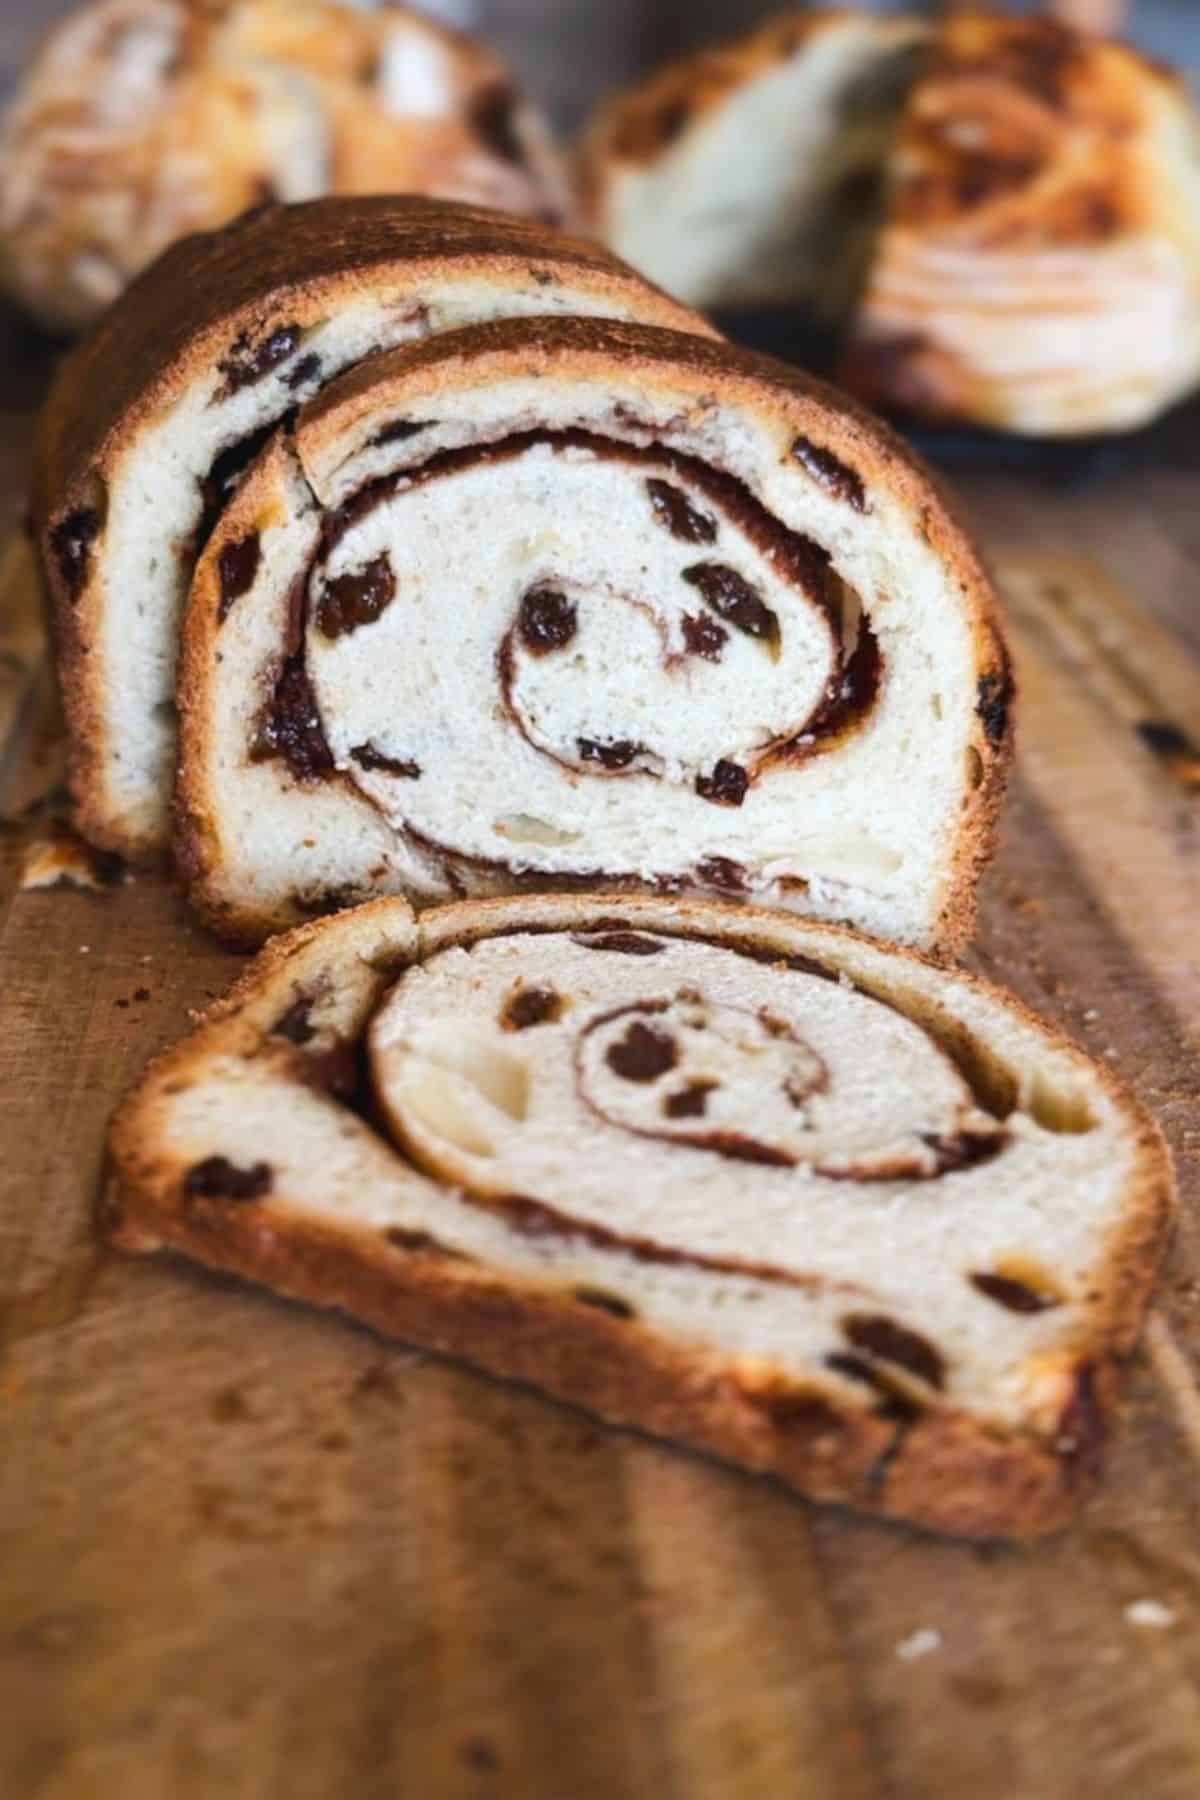
Sourdough Cinnamon Raisin Swirl Bread (The Simplest Version)
You need to make this sourdough cinnamon raisin swirl bread if something sweeter for weekend mornings, but still practical enough to not make a big deal about it. After a lot of testing, this version proved itself to be the one I kept coming back to. The crumb stays soft for days, the swirl actually holds together when sliced, and the cinnamon-raisin flavor tastes just sweet enough, so you don't need to put anything else on it if you don't have time to.
If you're familiar with my blog, you know my love for all things cinnamon!
If you'd like to include cinnamon into your next few bakes, check out my brioche sourcough cinnamon roll, classic sourdough cinnamon swirl bread, sourdough cinnamon babka or even cinnamon toast crunch cereal recipe!
Summarize & Save This Recipe On:
Quick Look
- Prep Time: 25 minutes
- Bulk Fermentation: 8 hours
- Final Proof: 4 hours
- Cook Time: 55 minutes
- Total Time: 13 hours and 20 minutes
- Servings: 1 loaf (10-16 slices)
- Difficulty: Medium
- Baking Method: Oven
- Best For: Breakfast, toast, sweet snack, weekend baking
Jump to:
- Summarize & Save This Recipe On:
- Quick Look
- Important Ingredients
- Substitutions & Variations
- How to Make Sourdough Cinnamon Raisin Swirl Bread (The Simplest Version)
- Baking Schedule
- 💭Crucial Success Tips
- Recipe FAQs
- How To Store Sourdough Cinnamon Raisin Swirl Bread
- Other Delicious Recipes
- Sourdough Cinnamon Raisin Swirl Bread (The Simplest Version)
- Need Help Tweaking This Recipe?
- Other Sourdough Bread Recipes You'll Love
- Fast Sourdough Bread Recipe
- Hybrid Sourdough Bread (With Yeast)
- 3-Step Sourdough in Under 4 Hours
Important Ingredients
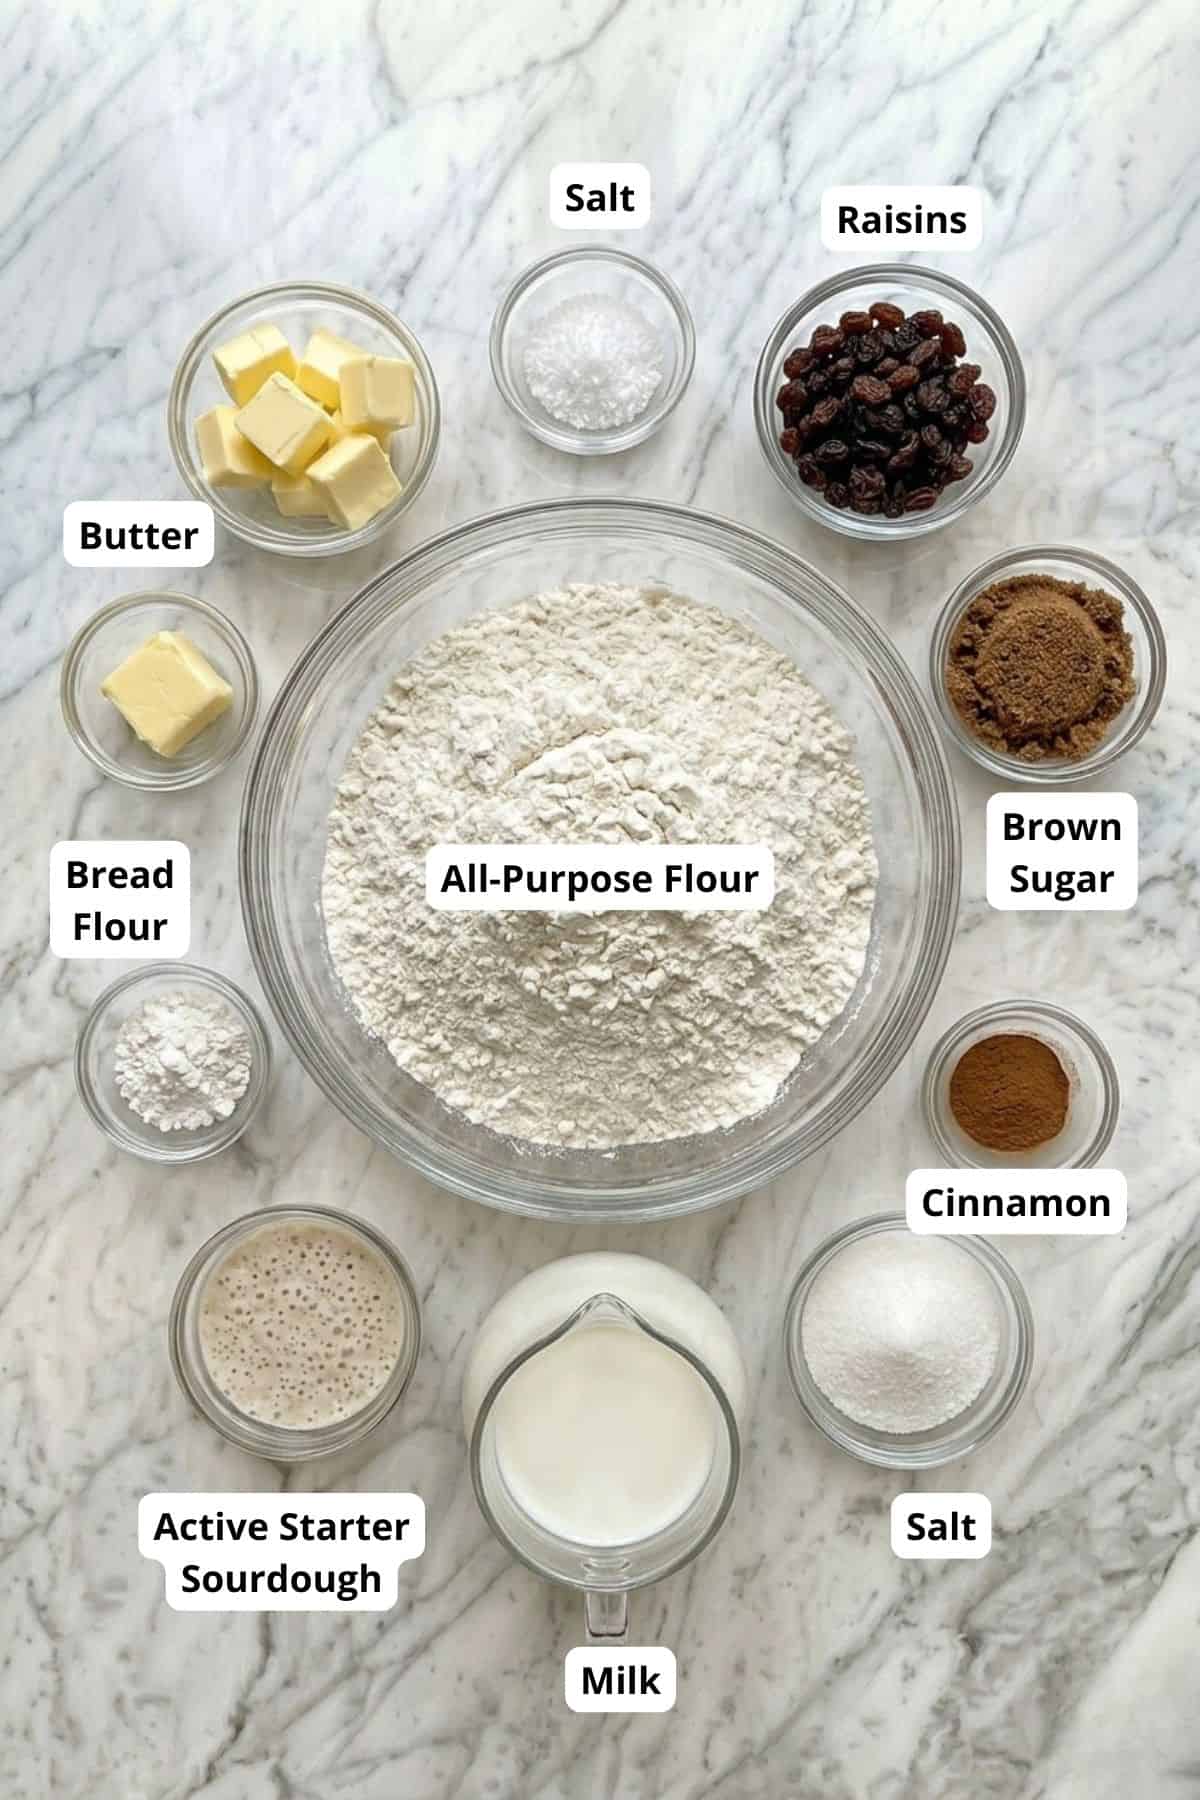
- Bread flour gives the loaf structure so the swirl holds its shape. In this case, I prefer it over all purpose flour, but you can use all purpose too if you're ok with the dough being a tad bit more difficult to handle.
- Raisins soften inside the dough and give little sweet bites in every slice
- Cinnamon filling the simple mix that creates that warm swirl inside
See recipe card for quantities.
Substitutions & Variations
- Swap raisins with chocolate chips if you want a chocolatey version
- Add a pinch of nutmeg or cardamom for extra warmth if you like either of those spices
- Use brown sugar only filling if you want a lighter cinnamon flavor

Free resource
Get all 3 when you subscribe
Bake beautiful bread that fits Your life - not the other way around
How to Make Sourdough Cinnamon Raisin Swirl Bread (The Simplest Version)
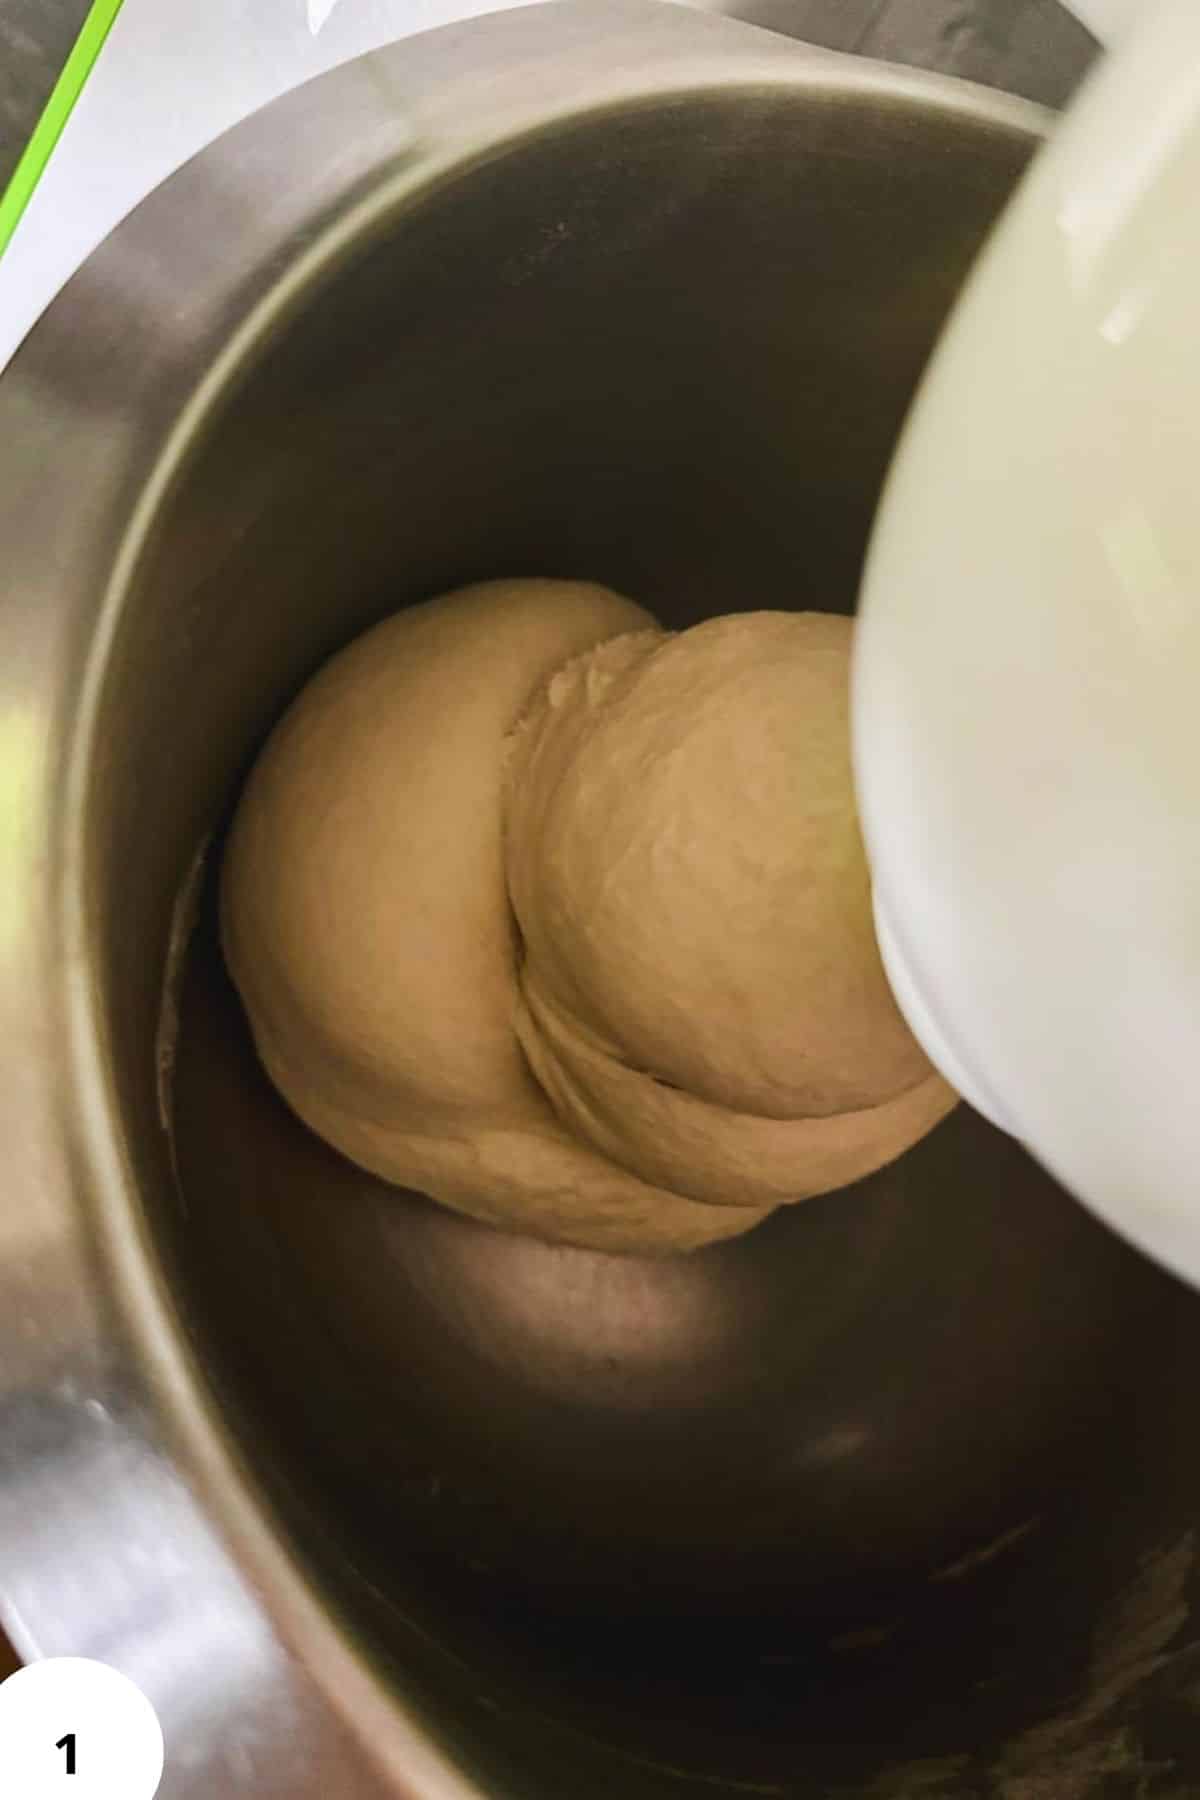
Step 1: Mix everything except raisins until combined.
Knead just until the dough comes together into a smooth mass (or almost) (Image 1). You're not trying to reach a full windowpane here; the goal is simply to incorporate everything and get a bit of gluten development started.
The dough should feel soft and sticky, and you might wonder if it's too wet. Don't be tempted to add any flour at this stage, because the raisins will pull some of the moisture from the dough and it will end up becoming stiffer later.
Add raisins at the end and mix just until evenly distributed.
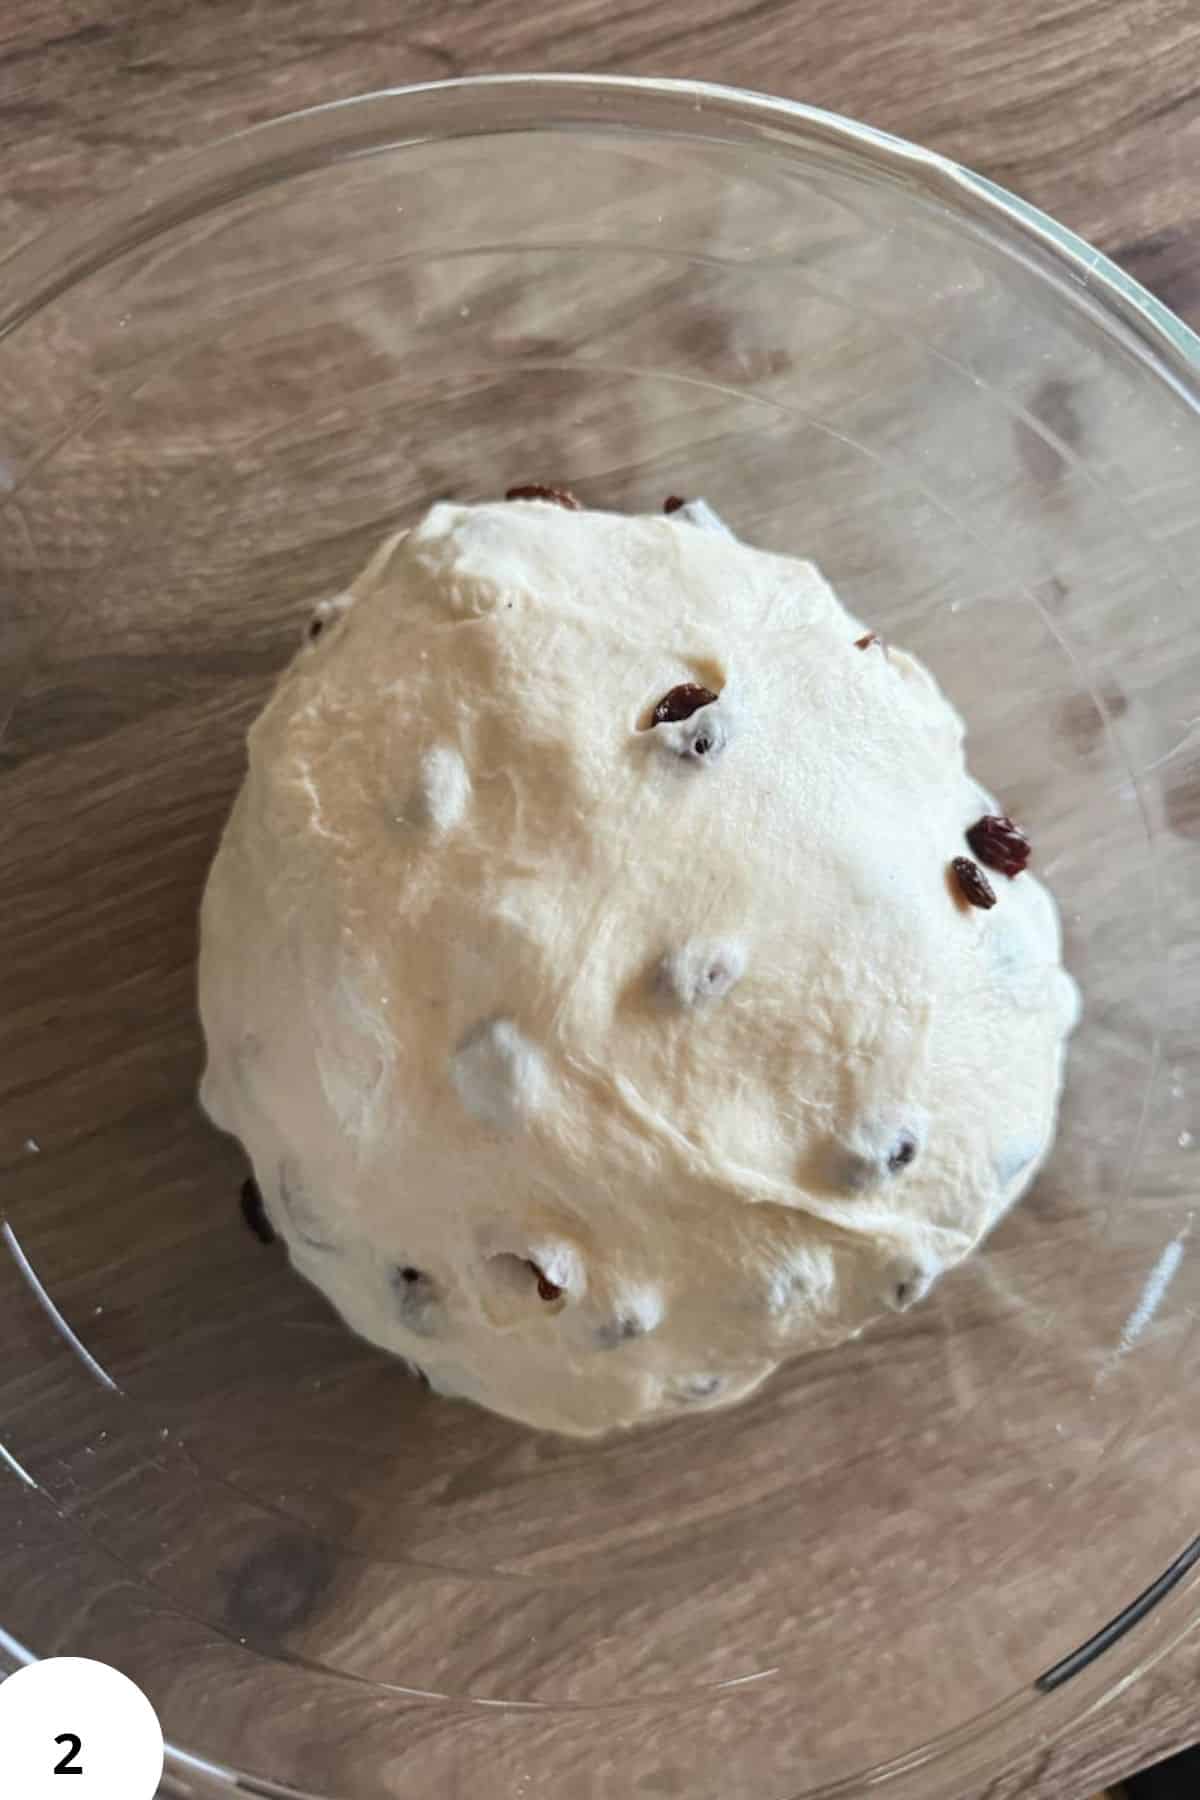
Step 2: Cover and let rise until about 30-50% bigger, not doubled (Image 2).
This usually takes about 5-8 hours, depending on your kitchen and starter strength.
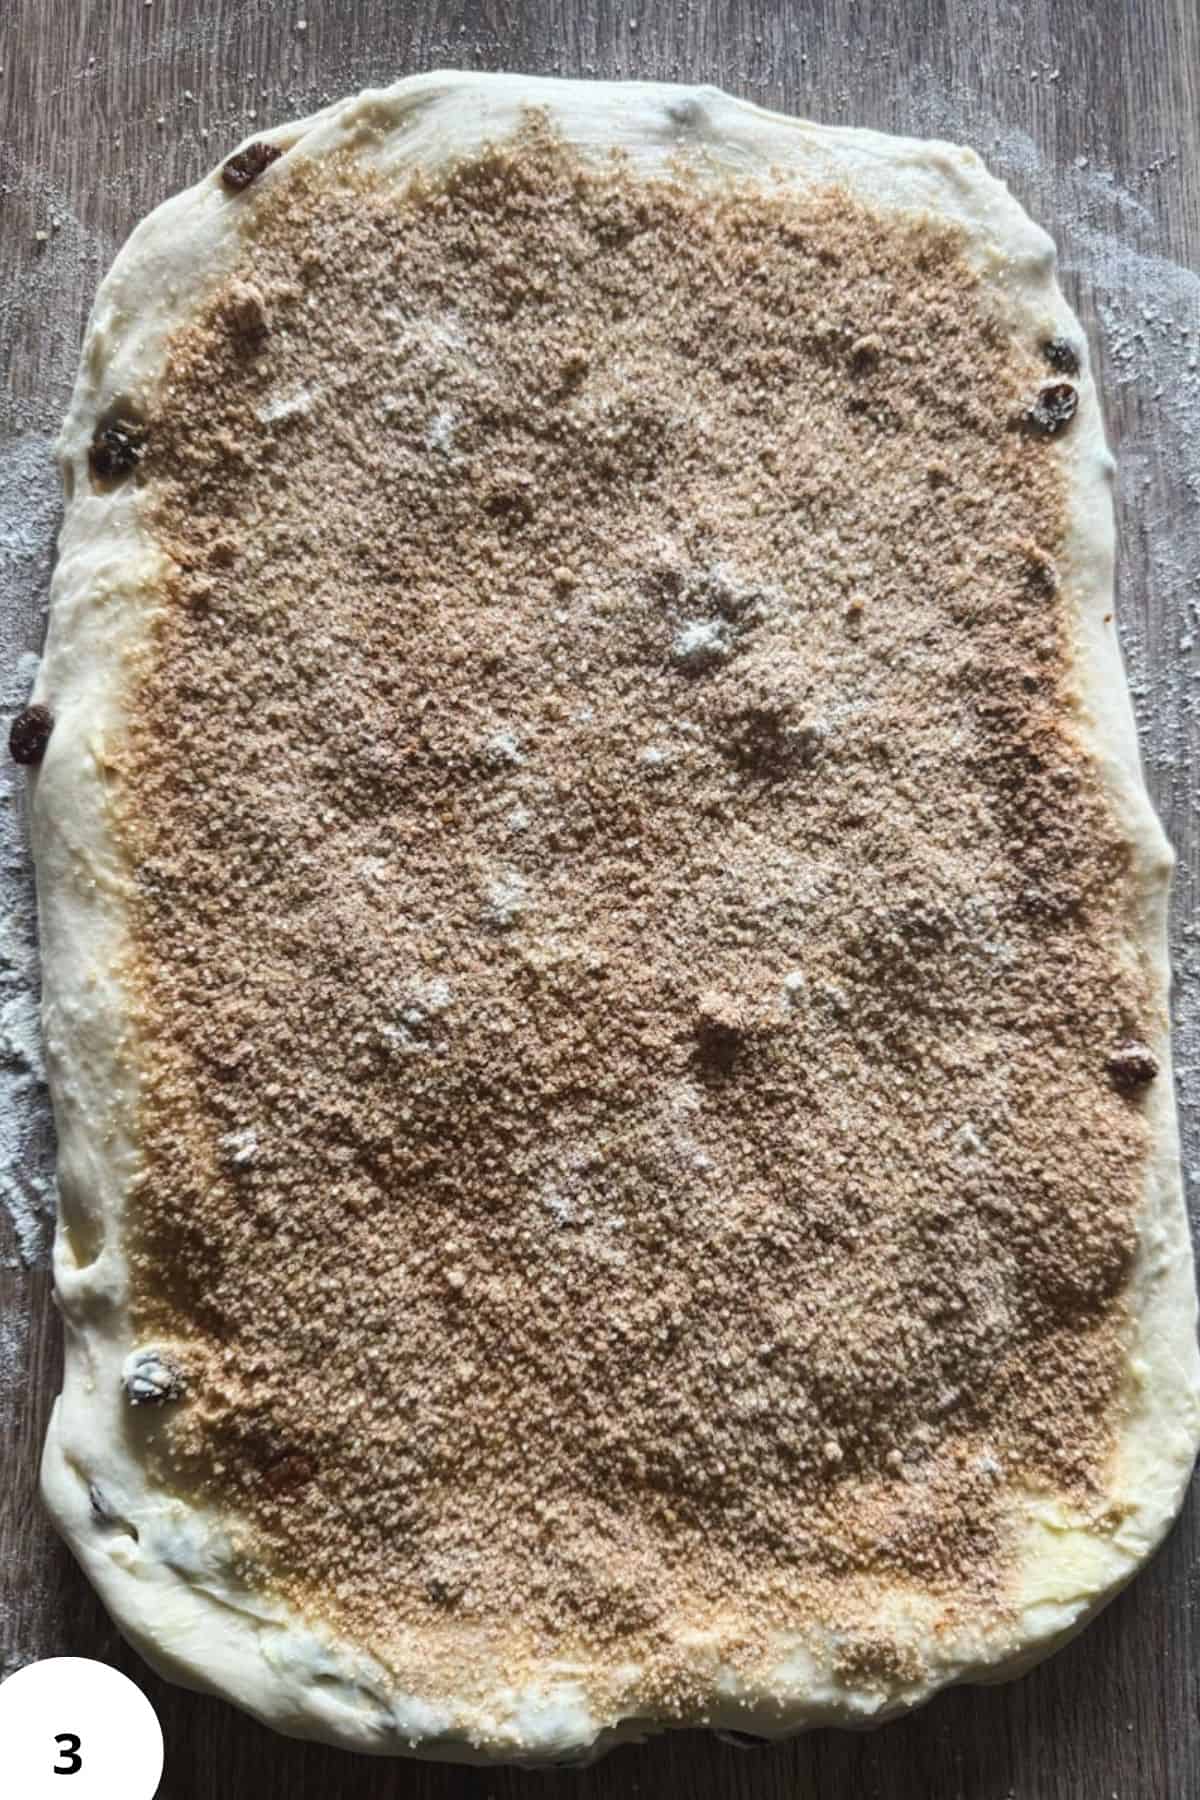
Step 3: Turn the dough onto a lightly floured surface.
Roll into a rectangle (about 25 × 40 cm). This will depend on the loaf pan you're using. In any case, go almost as wide as your loaf pan is long, almost!
Spread the softened butter over the surface.
Mix sugar, cinnamon, and flour, then sprinkle evenly.
Push the filling all the way to the bottom edge and leave a small clean edge at the top (Image 3).
Roll tightly into a log.
Place into a greased 9×5 pan (or a 9x4 pan for a taller loaf)
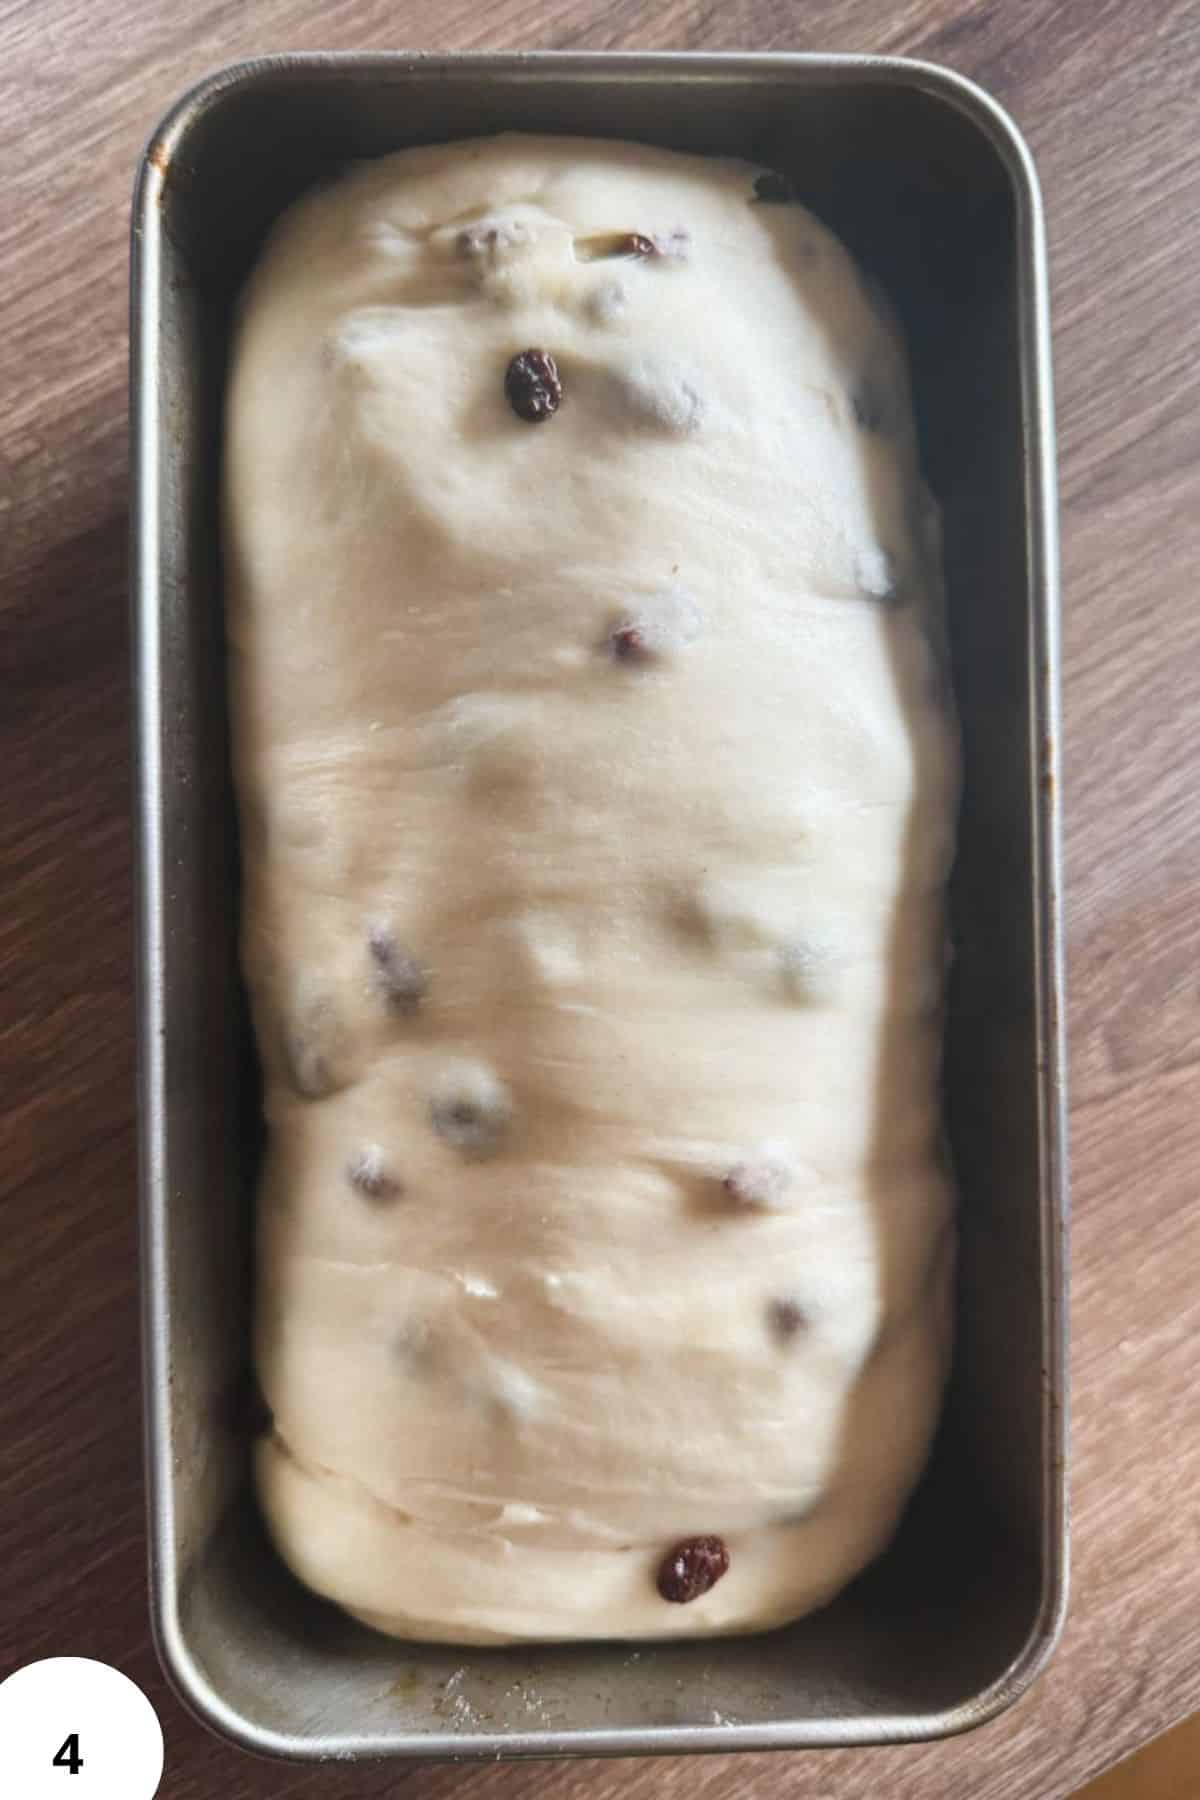
Step 4: Cover and let rise until the dough reaches the top of the pan (Image 4).
This usually takes about 2-4 hours, depending on your kitchen:
- Warmer kitchen → closer to 2 hours
- Cooler kitchen → closer to 4 hours
Don't let it rise much higher than the rim; that's when the swirl can start to separate.
If you're unsure, it's better to bake it a little early than too late.
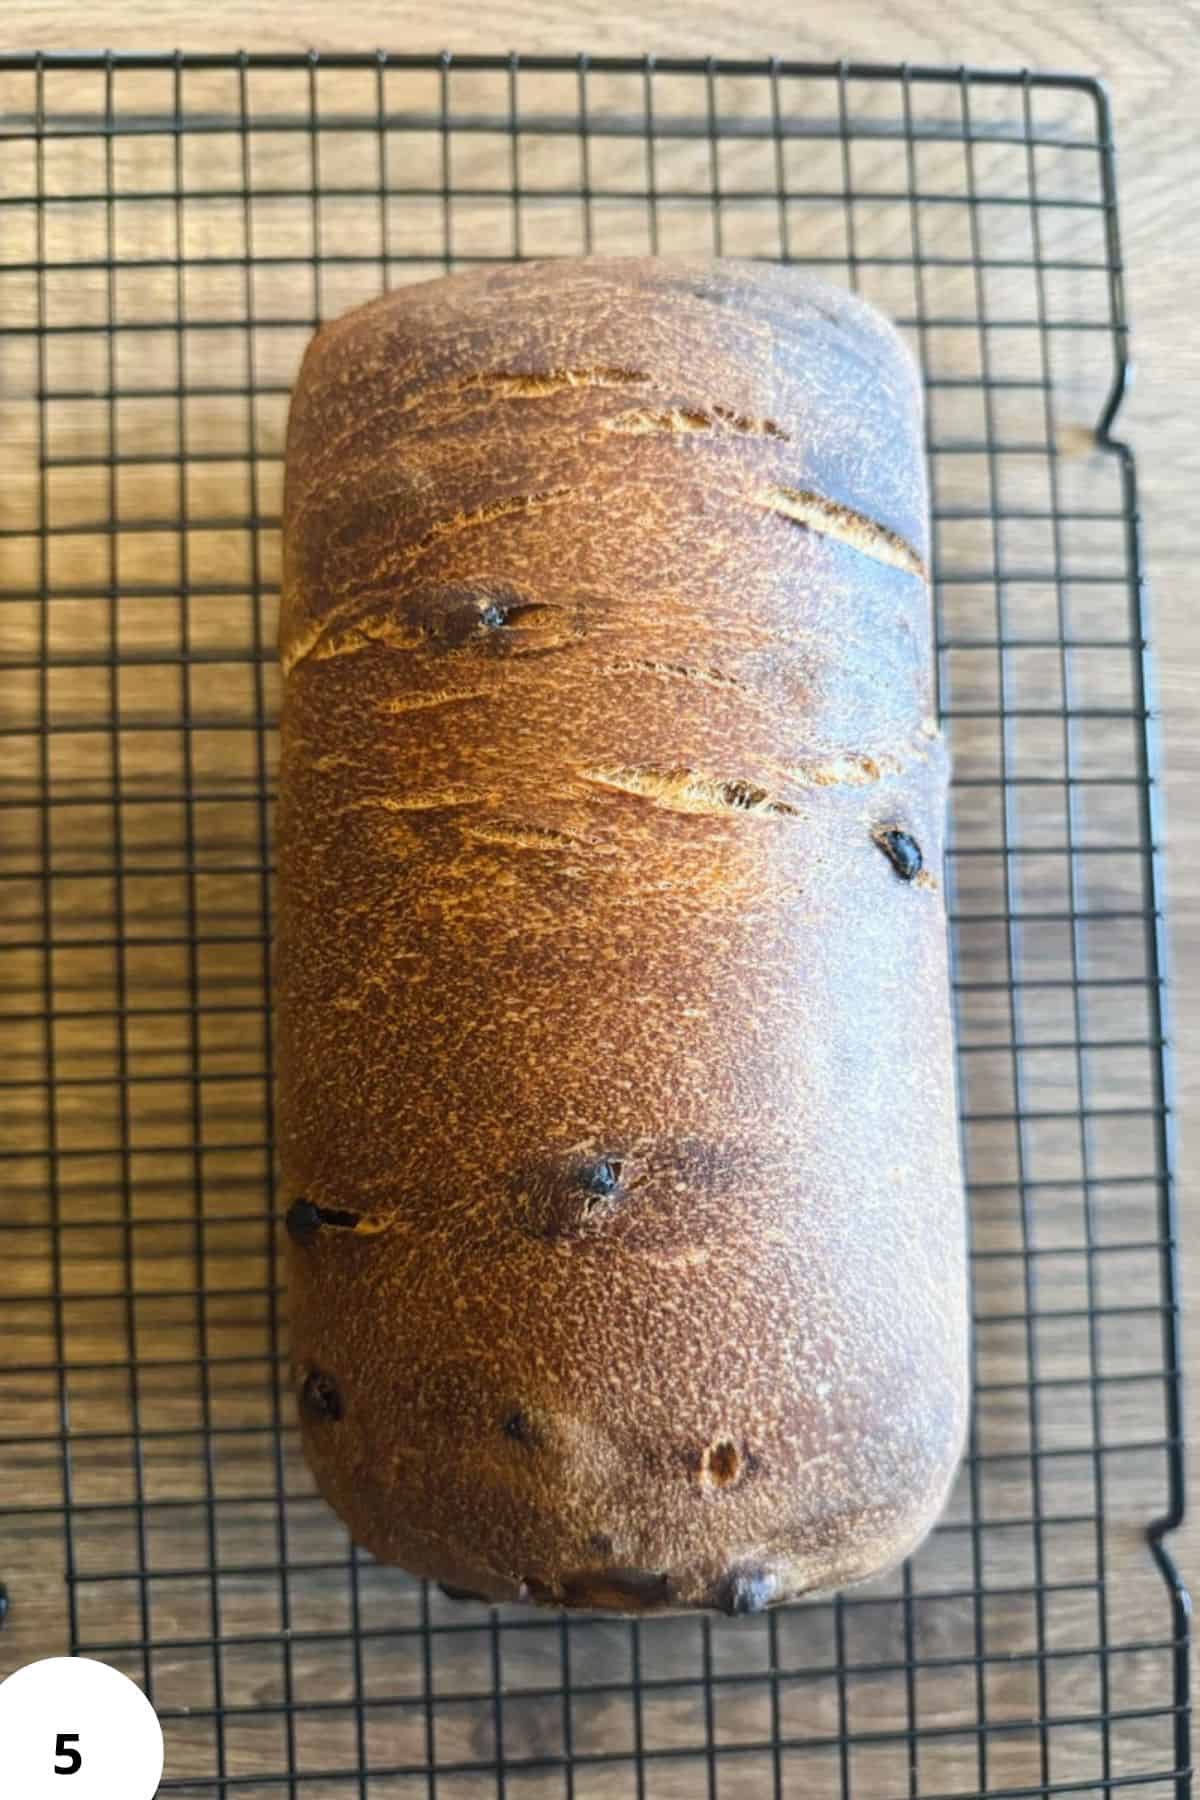
Step 5: Bake (Image 5).
Option 1: Two-pan method (your usual)
Preheat oven to 220°C.
Place a second loaf pan upside down on top. Bake 45 minutes covered. Remove top pan and bake another 10 minutes uncovered.
Option 2: Without Two-pan method (your usual)
Preheat oven to 190°C. Bake 40-45 minutes
If the top starts browning too quickly, loosely cover with foil for the last 10-15 minutes.
The loaf should be deeply golden and feel light for its size.
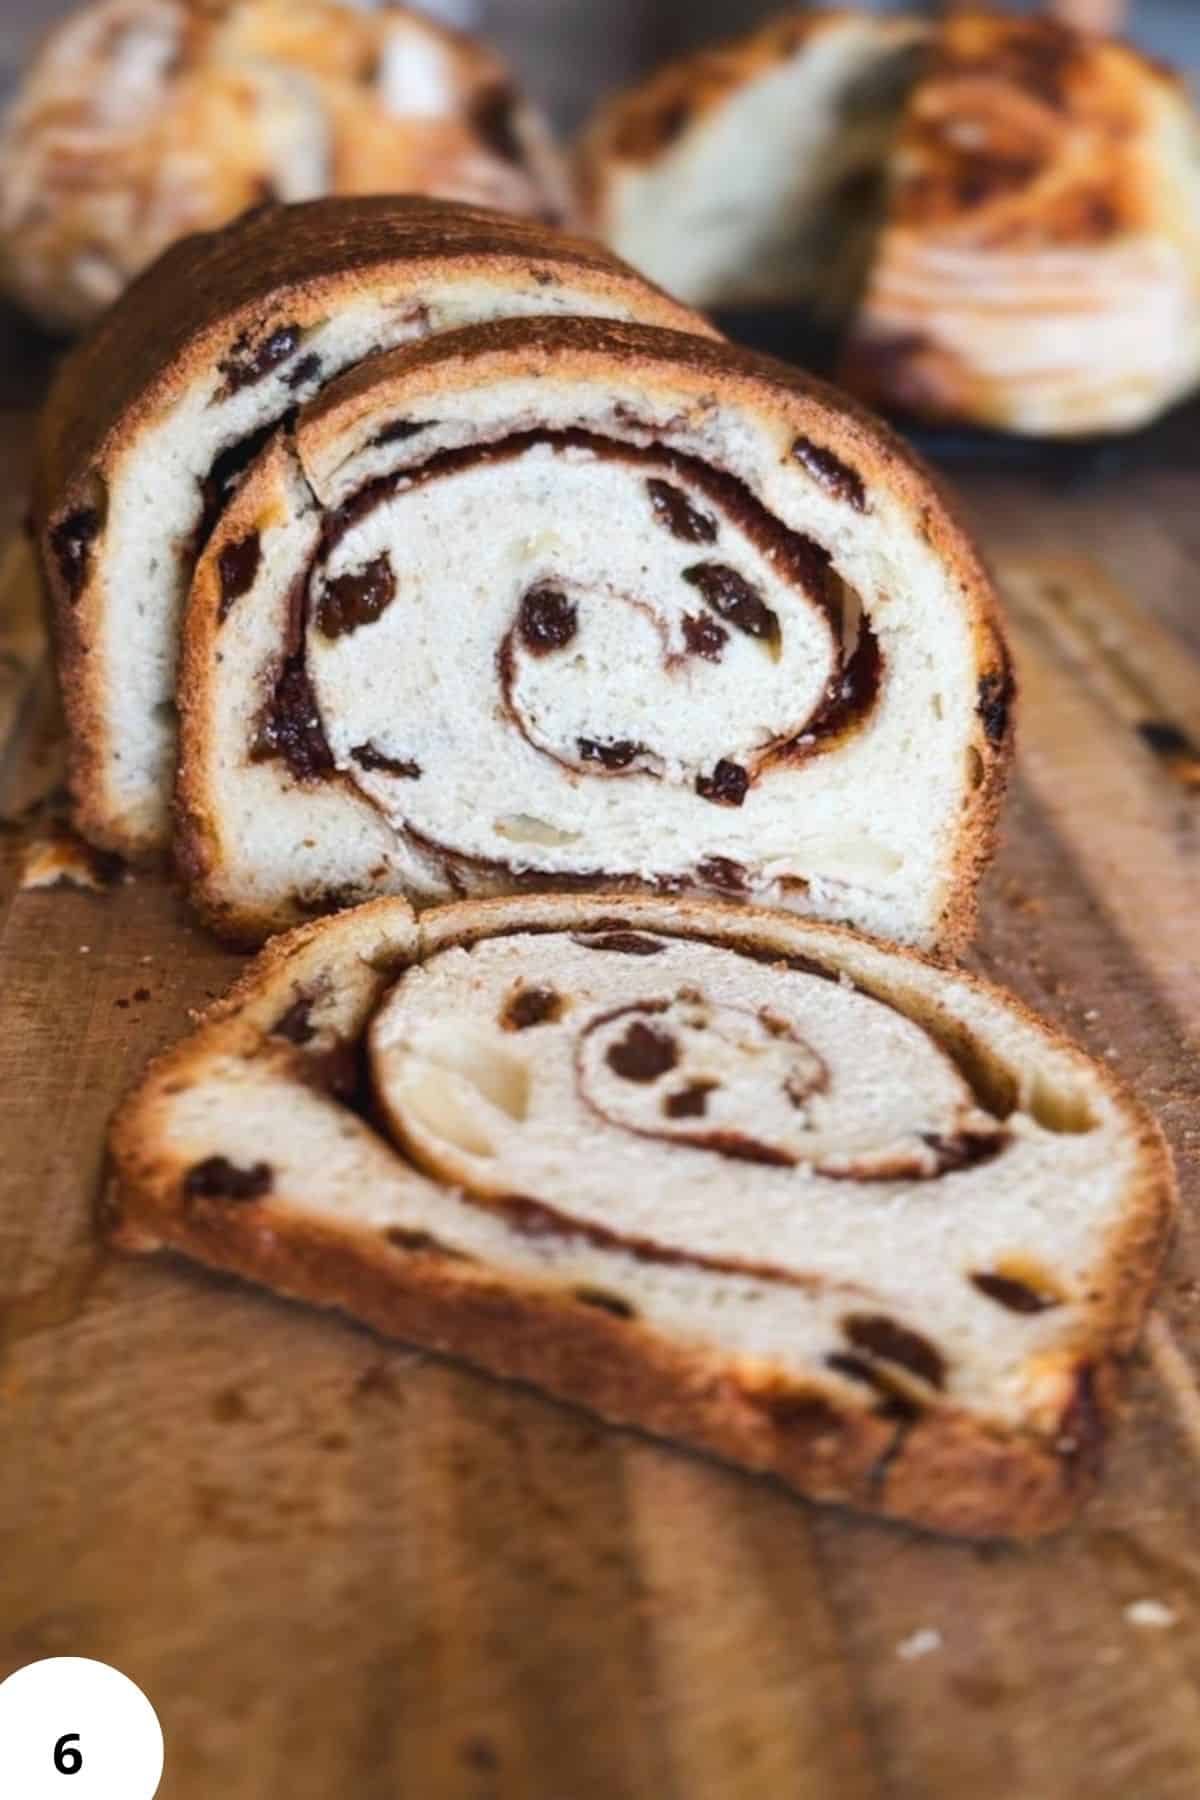
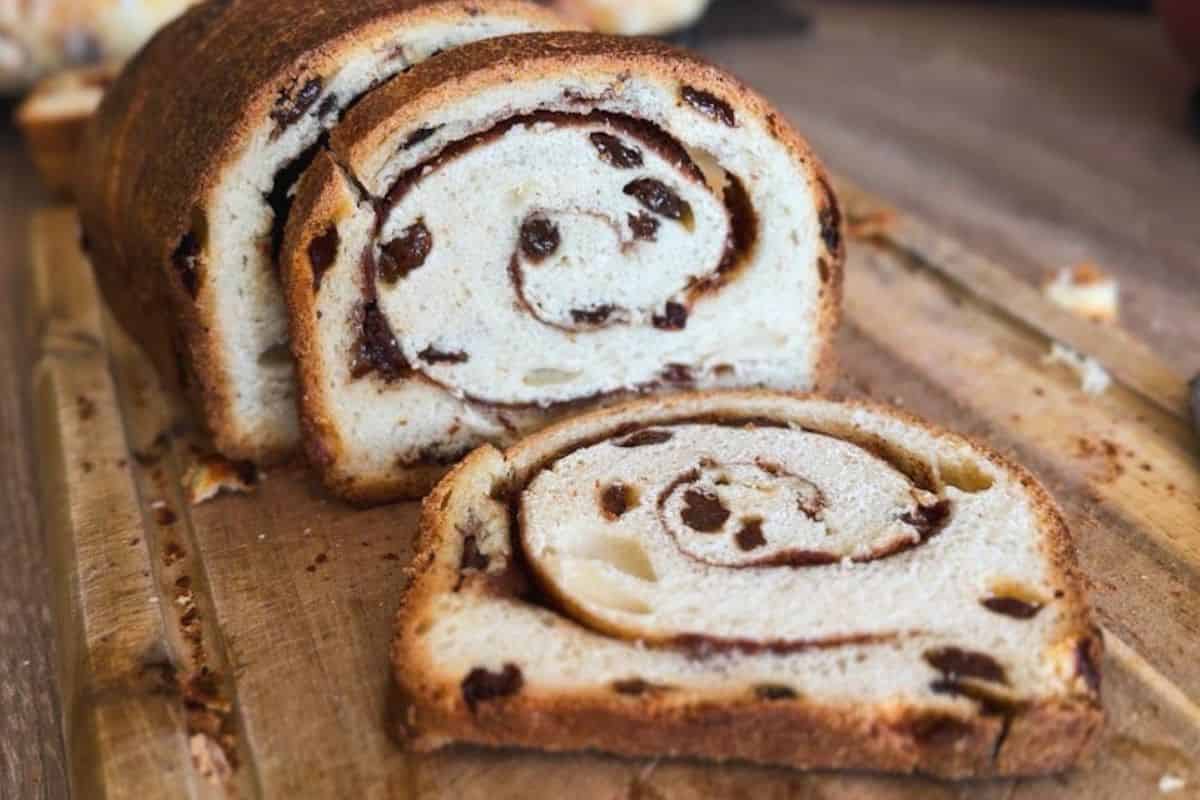
Step 6: Optional: Brush with butter while still hot.
Let it cool completely before slicing (Image 6): this is what gives you clean, defined swirls.
Hint: don't be tempted to overfill the loaf with cinnamon sugar. Too much filling can create large gaps between the layers as the bread bakes. Rolling the dough tightly and leaving a clean edge at the top helps the swirl stay neat and connected after baking.
Baking Schedule
- Morning: mix dough
- Afternoon/evening: shape and place in pan
- Later evening or next day: bake
(Exact timing depends on your kitchen temperature and starter!)
💭Crucial Success Tips
The biggest key to getting a clean cinnamon swirl is avoiding overproofing. If the dough rises too high before baking, the layers can start separating in the oven. Bake the loaf once it reaches the top edge of the pan rather than waiting for a huge dome. A tightly rolled log and moderate proofing give you those beautiful bakery-style slices with defined swirls.
Recipe FAQs
Yes. After shaping the loaf and placing it in the pan, you can refrigerate it overnight. You can let it sit at room temperature the next day until slightly puffy before baking for best results. BUT you acan also just bake it from the fridge too!
Swirl separation usually happens from overproofing or too much filling. Rolling the dough tightly and baking before the loaf over-rises helps keep the layers connected.
You can, but the loaf may not hold its shape quite as well. Bread flour gives stronger gluten development, which helps support the swirl and creates a softer, taller loaf.
How To Store Sourdough Cinnamon Raisin Swirl Bread
Keep it in an airtight container at room temperature for 2-3 days. You can also slice and freeze it, then toast straight from frozen.
Other Delicious Recipes
- Sourdough Cinnamon Raisin Swirl Bread (The Simplest Version)

- Fast Sourdough Bread Recipe
- Hybrid Sourdough Bread (With Yeast)
- 3-Step Sourdough in Under 4 Hours
If you tried this sourdough cinnamon raisin swirl bread (the simplest version) or any other recipe on my blog please leave a 🌟 star rating and let me know how it went in the 📝 comments below! Happy Baking!

Sourdough Cinnamon Raisin Swirl Bread (The Simplest Version)
Ingredients
- 500 g bread flour
- 370 g milk
- 80 g active sourdough starter
- 50 g sugar
- 40 g butter softened
- 8 g salt
- 100 g raisins
- 60 g brown sugar about 5 tbsp, packed
- 10 g flour about 1 tbsp
- 10 g cinnamon about 1 to 1½ tbsp
- 25 g butter softened (about 1¾ tbsp)
Instructions
- Mix everything except raisins until combined. Knead just until the dough comes together into a smooth mass (or almost). You're not trying to reach a full windowpane here; the goal is simply to incorporate everything and get a bit of gluten development started. The dough should feel soft and sticky, and you might wonder if it's too wet. Don't be tempted to add any flour at this stage, because the raisins will pull some of the moisture from the dough and it will end up becoming stiffer later. Add raisins at the end and mix just until evenly distributed.
- Cover and let rise until about 30-50% bigger, not doubled. This usually takes about 5-8 hours, depending on your kitchen and starter strength.
- Turn the dough onto a lightly floured surface. Roll into a rectangle (about 25 × 40 cm). This will depend on the loaf pan you're using. In any case, go almost as wide as your loaf pan is long, almost! Spread the softened butter over the surface. Mix sugar, cinnamon, and flour, then sprinkle evenly. Push the filling all the way to the bottom edge and leave a small clean edge at the top. Roll tightly into a log. Place into a greased 9×5 pan (or a 9x4 pan for a taller loaf)
- Cover and let rise until the dough reaches the top of the pan. This usually takes about 2-4 hours, depending on your kitchen: Warmer kitchen → closer to 2 hours; Cooler kitchen → closer to 4 hours. Don't let it rise much higher than the rim; that's when the swirl can start to separate. If you're unsure, it's better to bake it a little early than too late.
- Bake: Option 1: Two-pan method (your usual): Preheat oven to 220°C. Place a second loaf pan upside down on top. Bake 45 minutes covered. Remove top pan and bake another 10 minutes uncovered. Option 2: Without two-pan method: Preheat oven to 190°C. Bake 40-45 minutes. If the top starts browning too quickly, loosely cover with foil for the last 10-15 minutes. The loaf should be deeply golden and feel light for its size.
- Optional: Brush with butter while still hot. Let it cool completely before slicing: this is what gives you clean, defined swirls.
Notes
- Add flour to the filling
This keeps the swirl from melting into the dough and gives you visible layers. - Roll tighter than you think
A loose roll leads to gaps and separation. A tight roll gives you that clean spiral. - Slightly underproof is better than overproof
Overproofed dough tends to pull apart around the swirl. - Leave a clean edge when rolling
That helps seal the loaf so it doesn't unravel. - Don't overload the filling
Too much filling will leak and blur the swirl. - Pop large air bubbles when rolling
This prevents big holes in your final slice. - Cool completely before slicing
Warm slicing = smeared swirl. - Mix raisins into the dough, not the filling
Otherwise they fall out when slicing.