Sourdough Cinnamon Brown Sugar Bread with Better Swirls

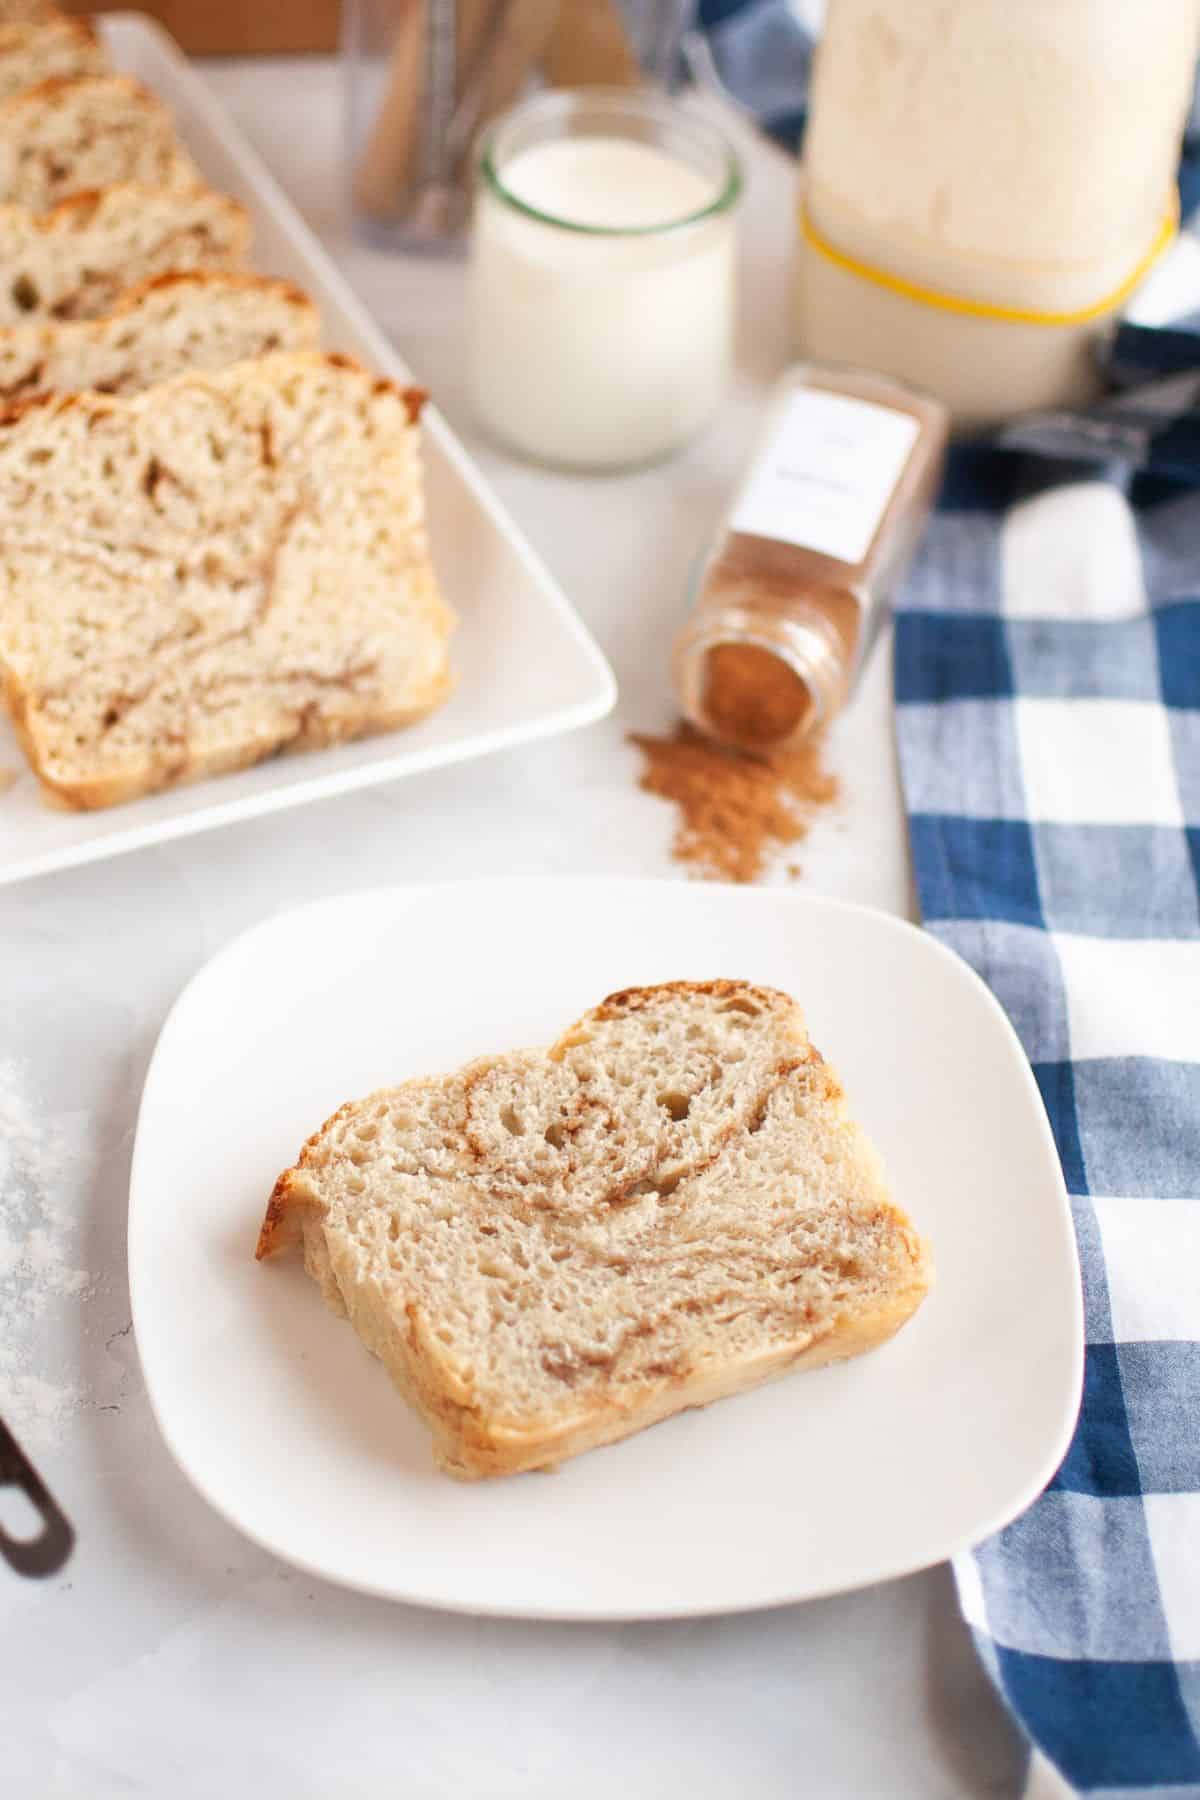
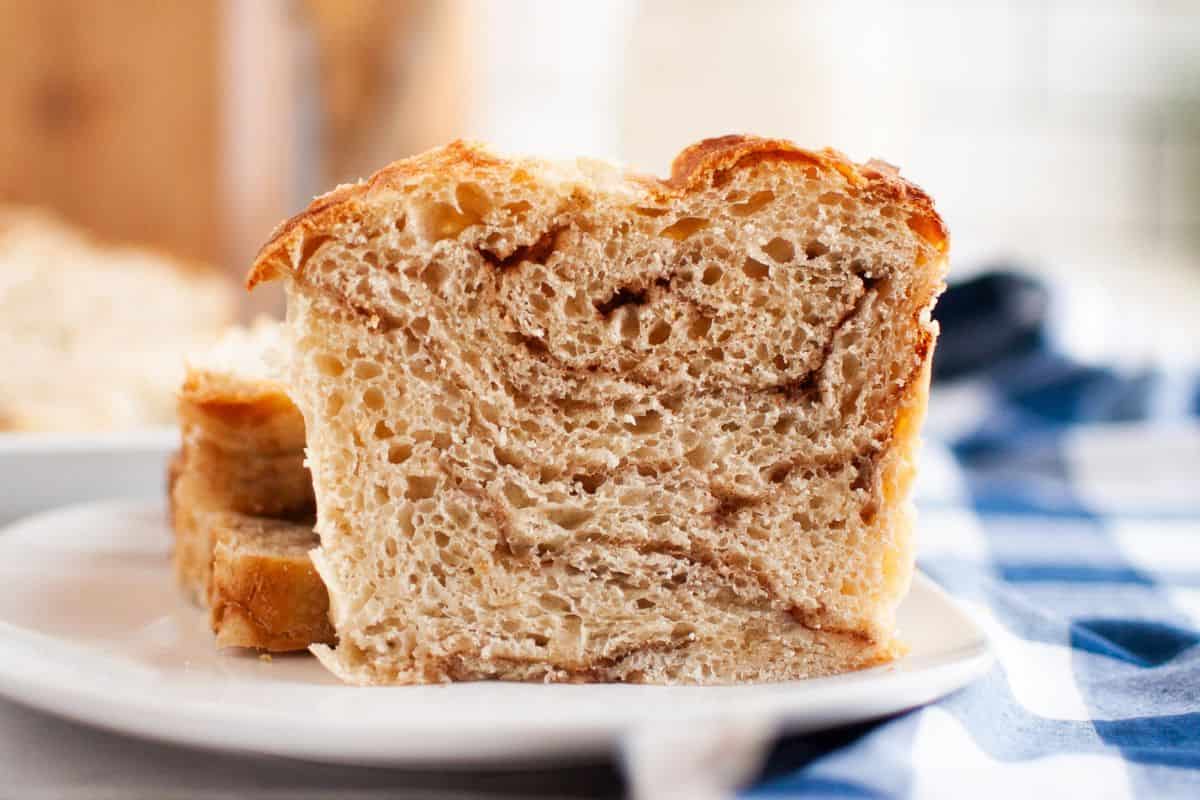
If you enjoy the classic cinnamon swirl bread, you're in for a treat with this sourdough cinnamon brown sugar bread. This version is a game changer- it's the perfect twist on a favorite, and is so much easier to make. Slicing through it is SO exciting: a bit different every time, but great to look at in any case.
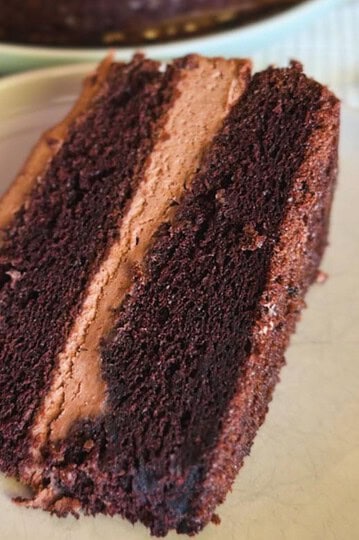
If you like swirly breads, be sure to give my chocolate hazelnut Babka a try too!
Summarize & Adapt This Recipe On:
This sourdough cinnamon bread is perfect for anyone who loves a hint of sweetness in their bread. The beauty of this recipe lies in its simplicity: you don't need perfect swirls to enjoy the deep cinnamon flavor in every bite.
It tastes great toasted, and leftovers can easily be turned into delicious sourdough French toast or a French toast casserole. If you're a fan of cinnamon, be sure to also check out my sourdough sourdough cinnamon roll and sourdough cinnamon raisin bagel recipes too.
It's the kind of a recipe that you might want to make a couple of times to perfect it, but I guarantee it that if you do, it will become one of your favorite thing!

Free resource
Get all 3 when you subscribe
Bake beautiful bread that fits Your life - not the other way around
Quick Look
- Prep time: 30 mins.
- Cook time: 50 mins.
- Servings: 10 slices.
- Main ingredients: Sourdough starter, all purpose flour, bread flour, white sugar, brown sugar, cinnamon, oil and heavy cream.
- Method in a Nutshell: Prepare the dough 🡢 let it double in size 🡢 refrigerate 🡢 prepare cinnamon sugar filling 🡢 roll out the dough 🡢 spread the filling 🡢 fold and shape dough 🡢 transfer to loaf pan 🡢 let it rise again 🡢 score, top and bake 🡢 cool, slice and serve.
- Difficulty: Medium.
- Serving ideas: Enjoy a slice on its own, or paired with your cup of coffee. I love it because you can just slice it and serve it, it's so delicious on its own.
Jump to:
- Summarize & Adapt This Recipe On:
- Quick Look
- Important Ingredients
- Substitutions & Variations
- Nutritional Benefits of Sourdough Bread (this one included!)
- How to Make Sourdough Cinnamon Brown Sugar Bread
- Baking Schedule
- 💭Crucial Success Tips
- Recipe FAQs
- How To Store Sourdough Cinnamon Brown Sugar Bread
- More Sourdough Recipes
- Sourdough Cinnamon Sugar Bread
- Need Help Tweaking This Recipe?
- Other Sourdough Recipes You'll Love
- Neapolitan-Style Sourdough Pizza Dough
- Sourdough Semolina Pizza Dough (Crispy, Chewy, and Full of Flavor)
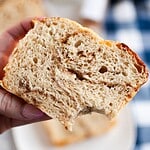
- Italian Semolina Sourdough Bread
Important Ingredients
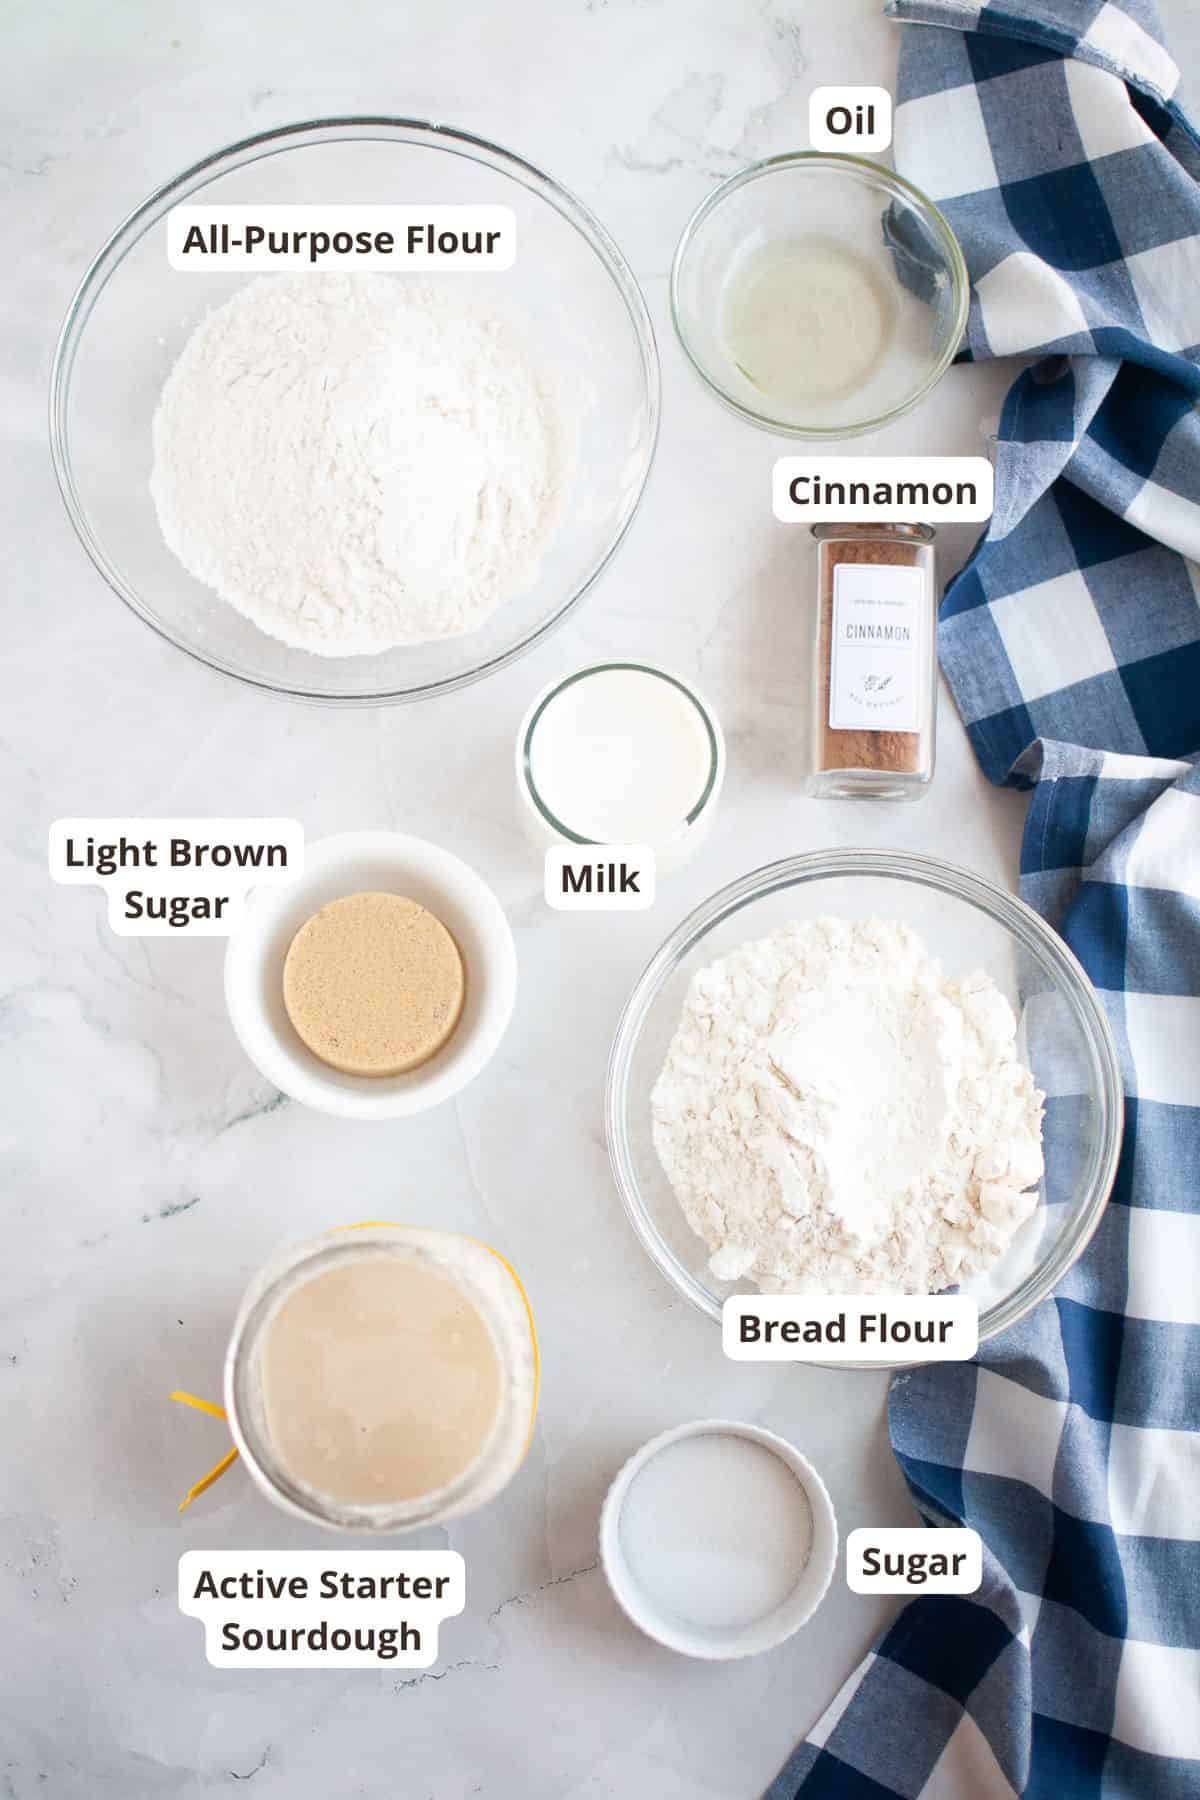
- Active sourdough starter: You'll need your starter bubbly and active. This is what will help the bread rise and become nice and fluffy. As far as sourdough recipes go, a healthy starter is always a good way to start. You can read more about how to make your own sourdough starter here!
- Water: Tap water works well. You can also use warm water to slightly speed up the rising process.
- Sugar: To feed the starter and help the bread rise quicker while adding a touch of sweetness.
- Oil: For the moisture and richness. Make sure you use a neutral flavored oil. Butter can work too, but I prefer oil for this one!
- Bread flour: For the structure and texture.
- All-purpose flour: To make the dough softer and the bread less heavy.
- Cinnamon: To add those warm, spicy notes to the filling and complement the sweetness.
- Light brown sugar: For that caramel-like sweetness that pairs perfectly with cinnamon.
- Heavy cream: To help the filling stick to the dough. You can also use milk or water.
See recipe card for quantities.
Substitutions & Variations
- Don't have light brown sugar? White sugar works just fine for the filling. The color difference is minimal and won't affect the taste much.
- If you only have one type of flour on hand, no worries! Using either all-purpose flour or bread flour alone will still give you a delicious loaf. The texture might vary slightly, but it will be tasty either way.
- If you're craving more regular sourdough bread recipes (and not ones made in a loaf pan), look up my sourdough cinnamon raisin bread! Soak raisins in rum or water to plump them up, then sprinkle them over the dough along with the cinnamon sugar mixture. This adds a lovely sweetness and texture, perfect for those who love a bit more in their bread.
Nutritional Benefits of Sourdough Bread (this one included!)
Beyond its great flavor and texture, this sourdough cinnamon brown sugar bread offers quite a few nutritional benefits compared to regular quick breads.
Thanks to the natural fermentation process, sourdough helps reduce phytic acid (an anti-nutrient that can inhibit mineral absorption) making it easier for your body to absorb nutrients like iron and calcium.
Plus, the friendly bacteria in sourdough can support gut health by promoting a balanced microbiome. While it's still a sweet treat, these benefits make it a nourishing choice for those who love a little indulgence that's still on the healthy side. I know I feel good when I serve this to my family!
How to Make Sourdough Cinnamon Brown Sugar Bread
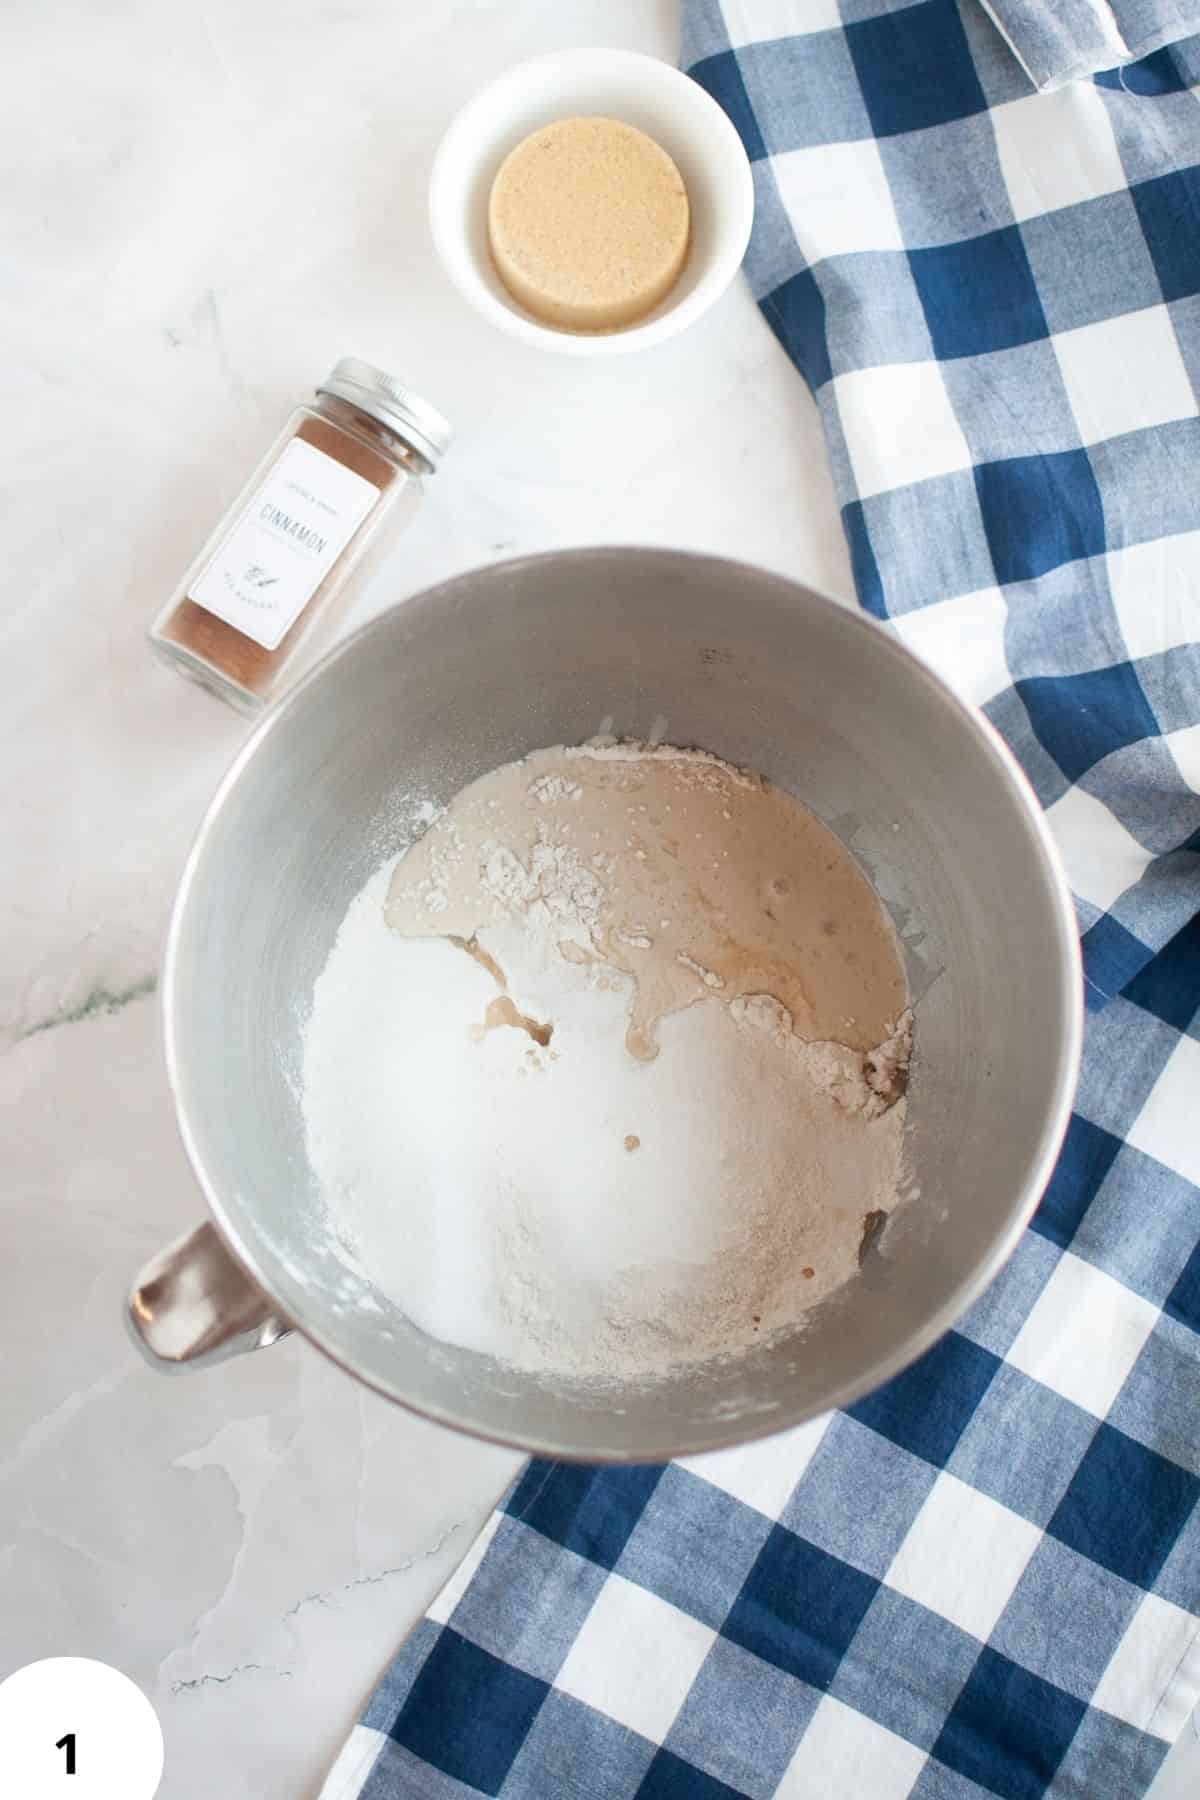
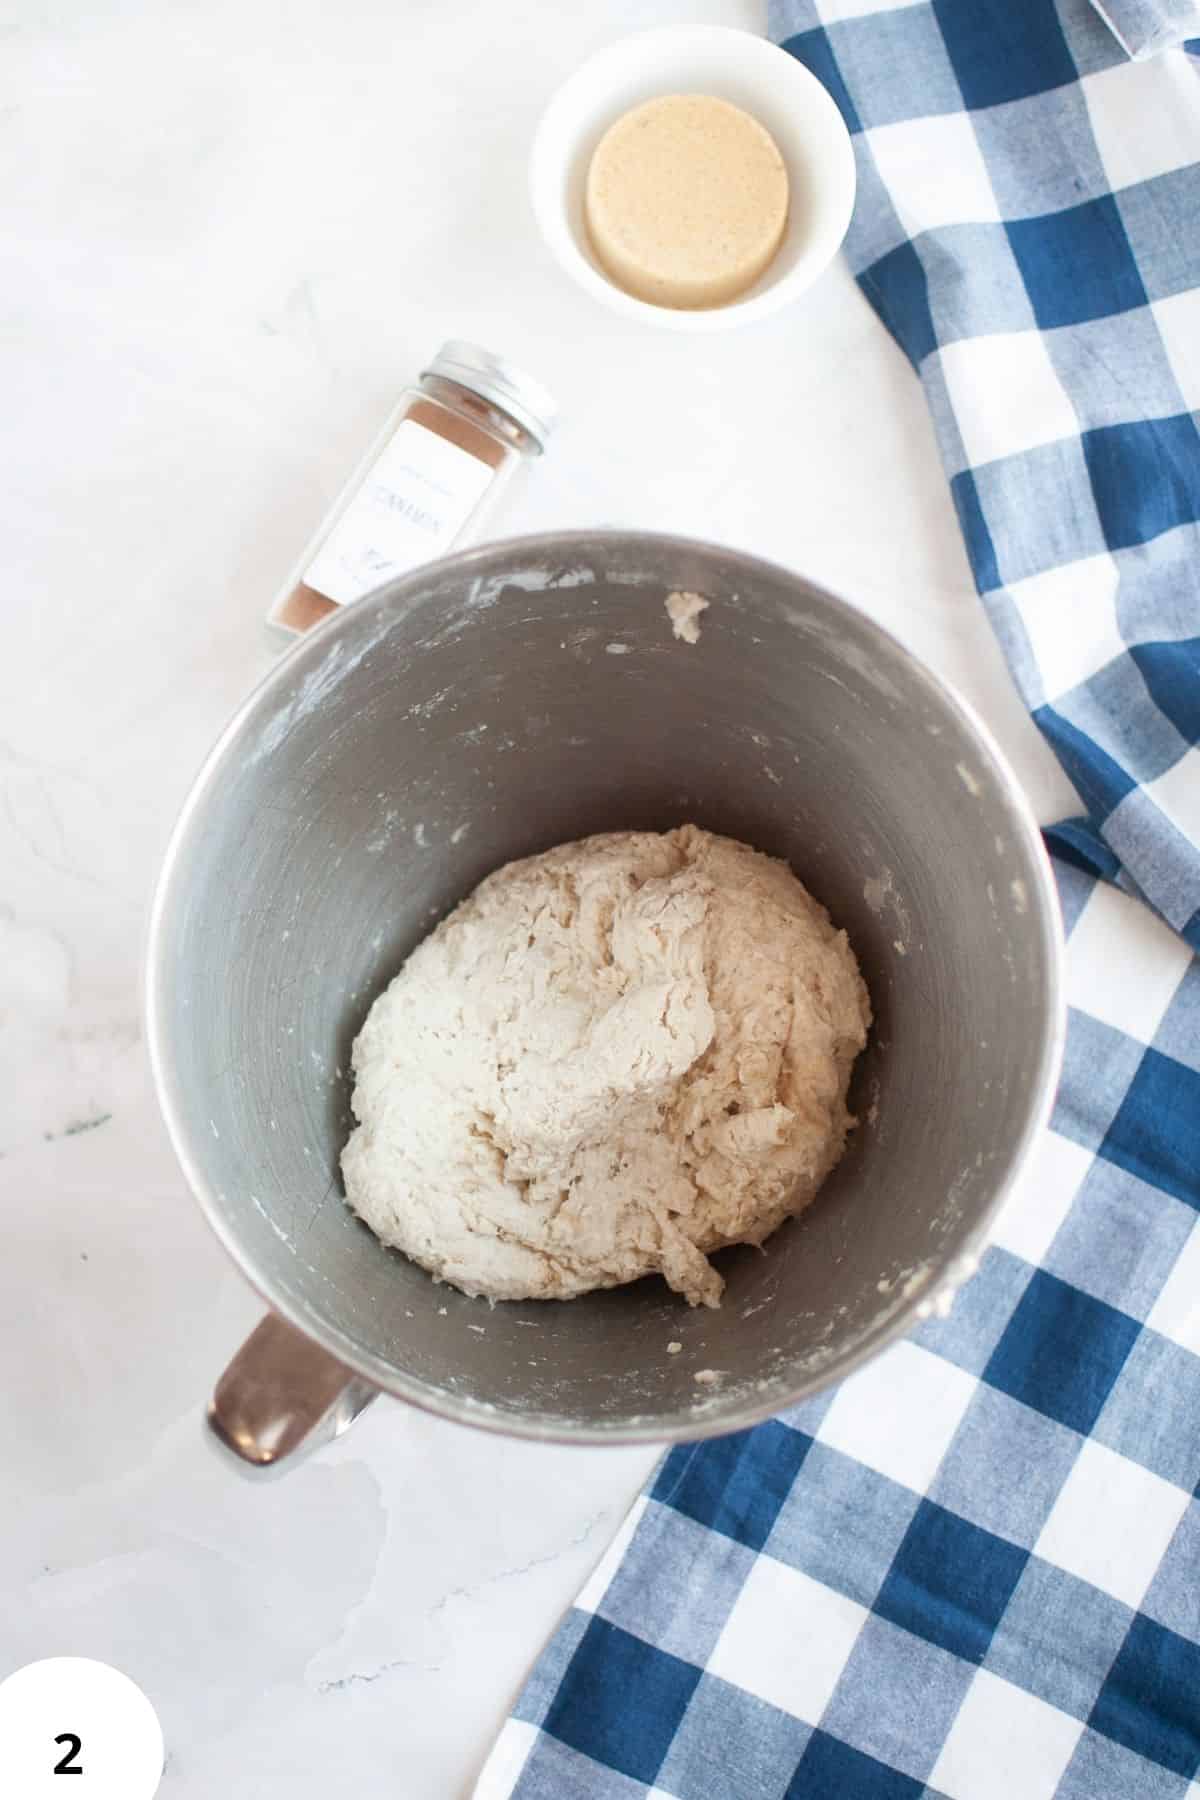
Step 1: Combine your dough ingredients in a large bowl until you get a shaggy (Image 1), soft ball of dough.
Step 2: Cover with a damp towel and let the dough rest for 30 minutes (Image 2).
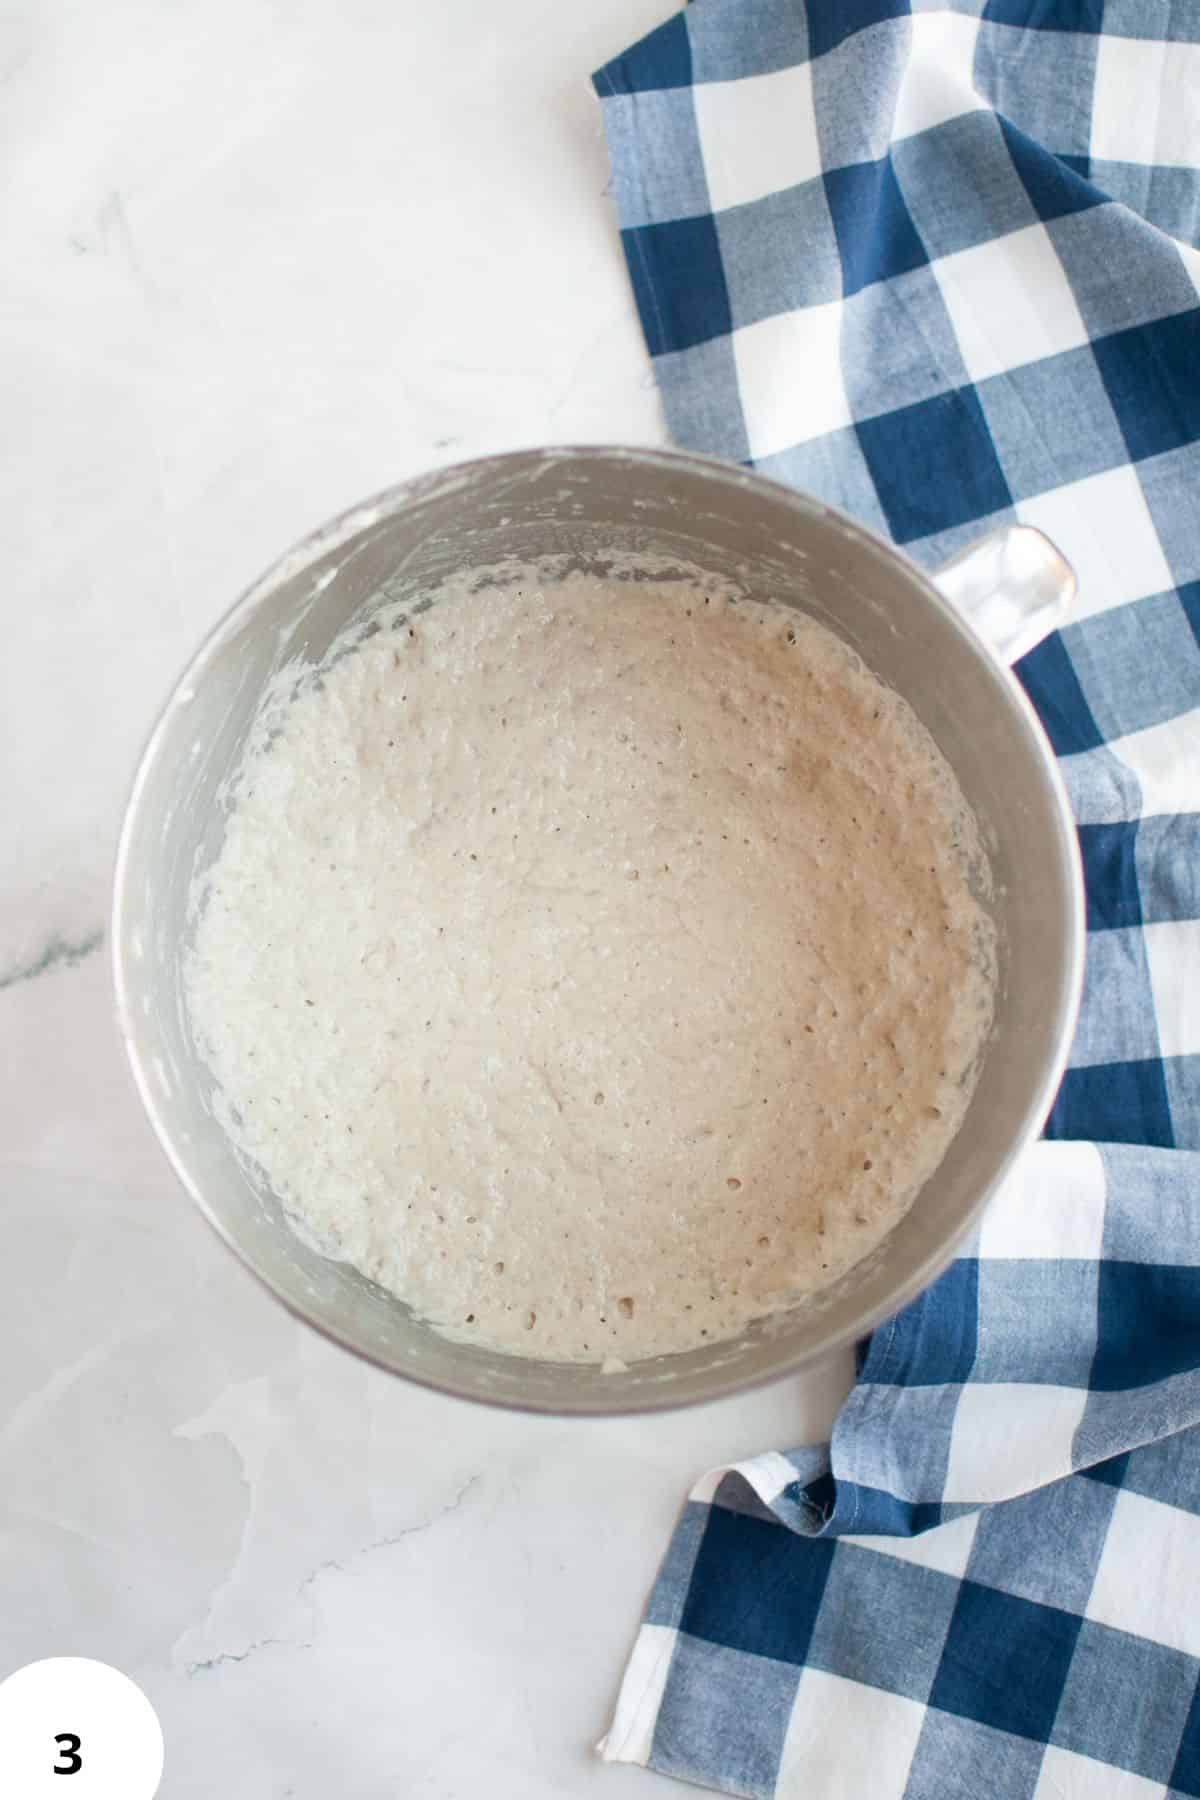
Step 3: Perform 2-3 sets of stretch and folds every 30 minutes. Damp hands help a lot with preventing the dough to stick to them! Cover with plastic wrap and let it rise for about 6 hours or until the dough rises to about double in size (Image 3).
Transfer to the refrigerator and let it cool for 2-8 hours. Meanwhile, prepare the cinnamon sugar filling.
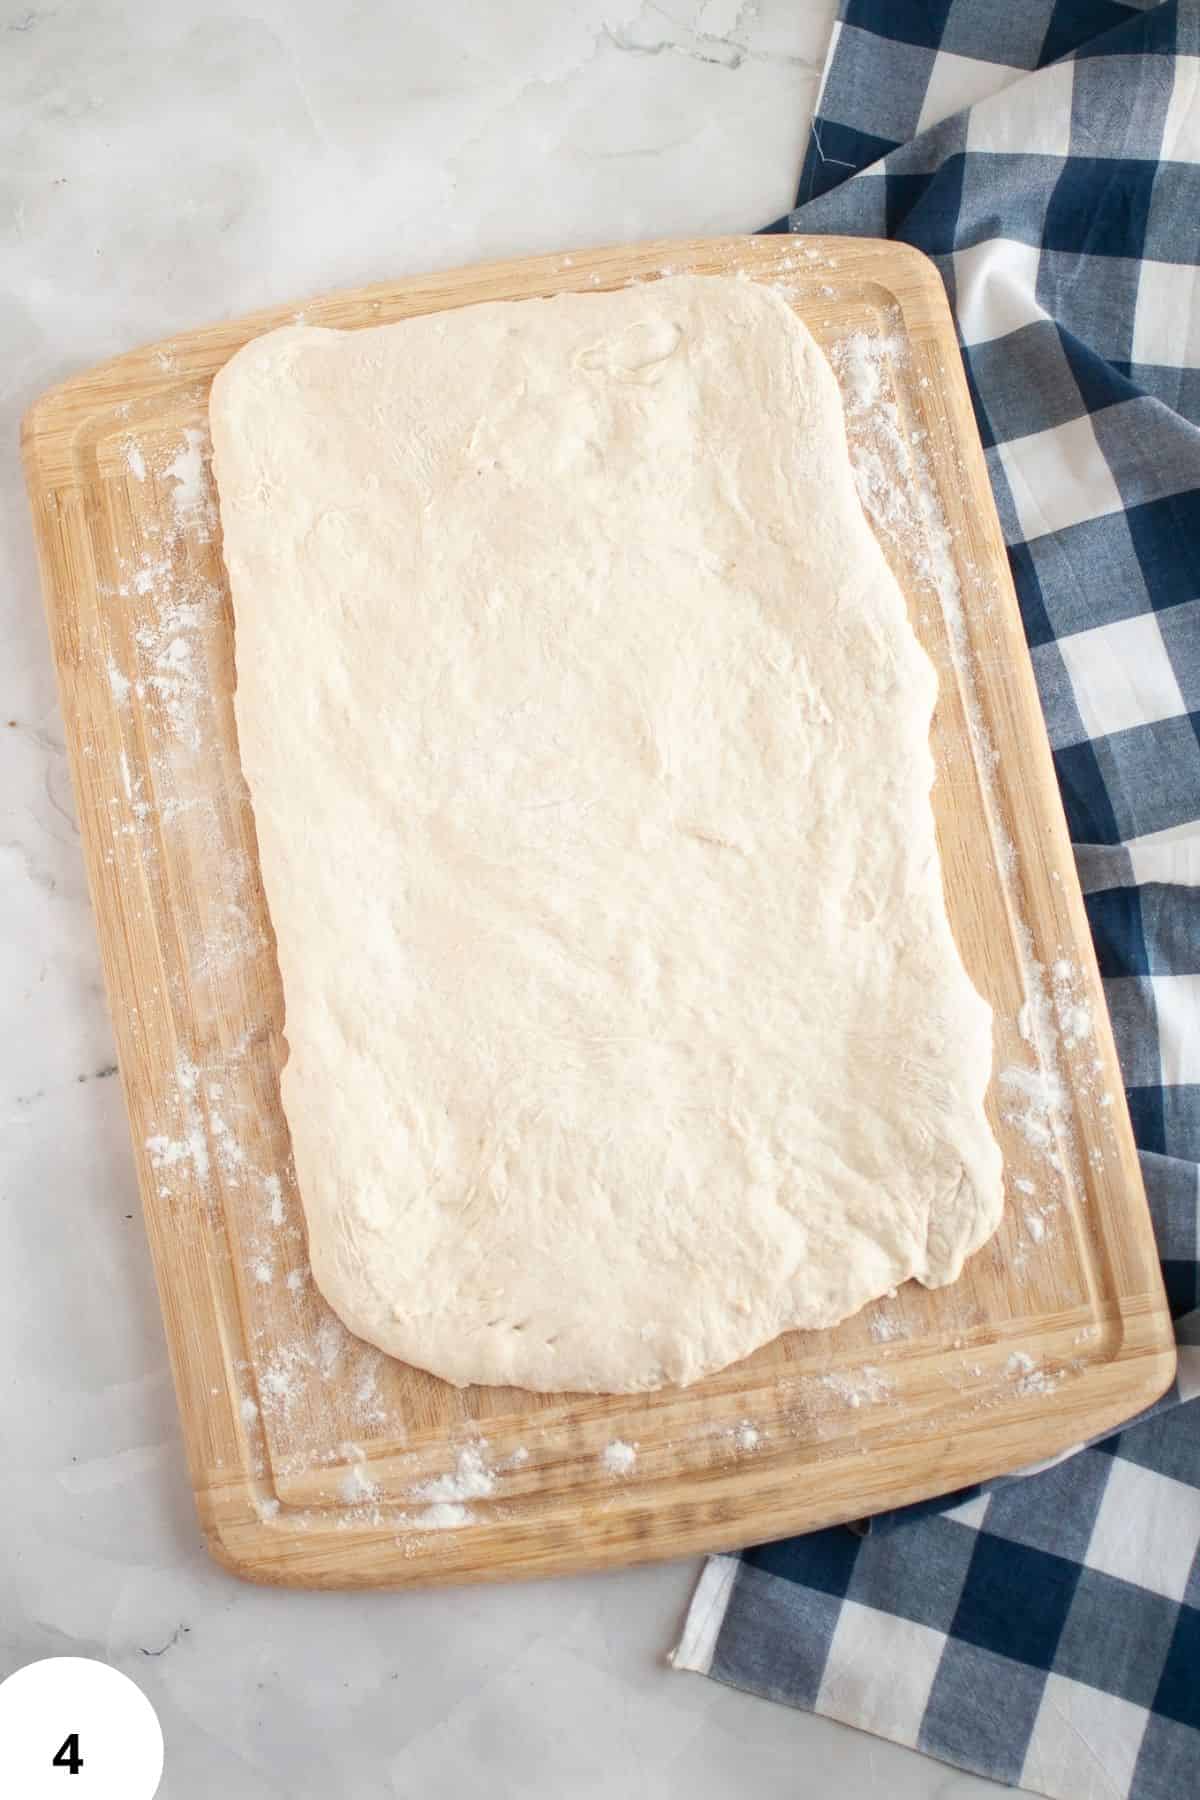
Step 4: Transfer the dough to a lightly floured counter and shape into a rectangle (Image 4).
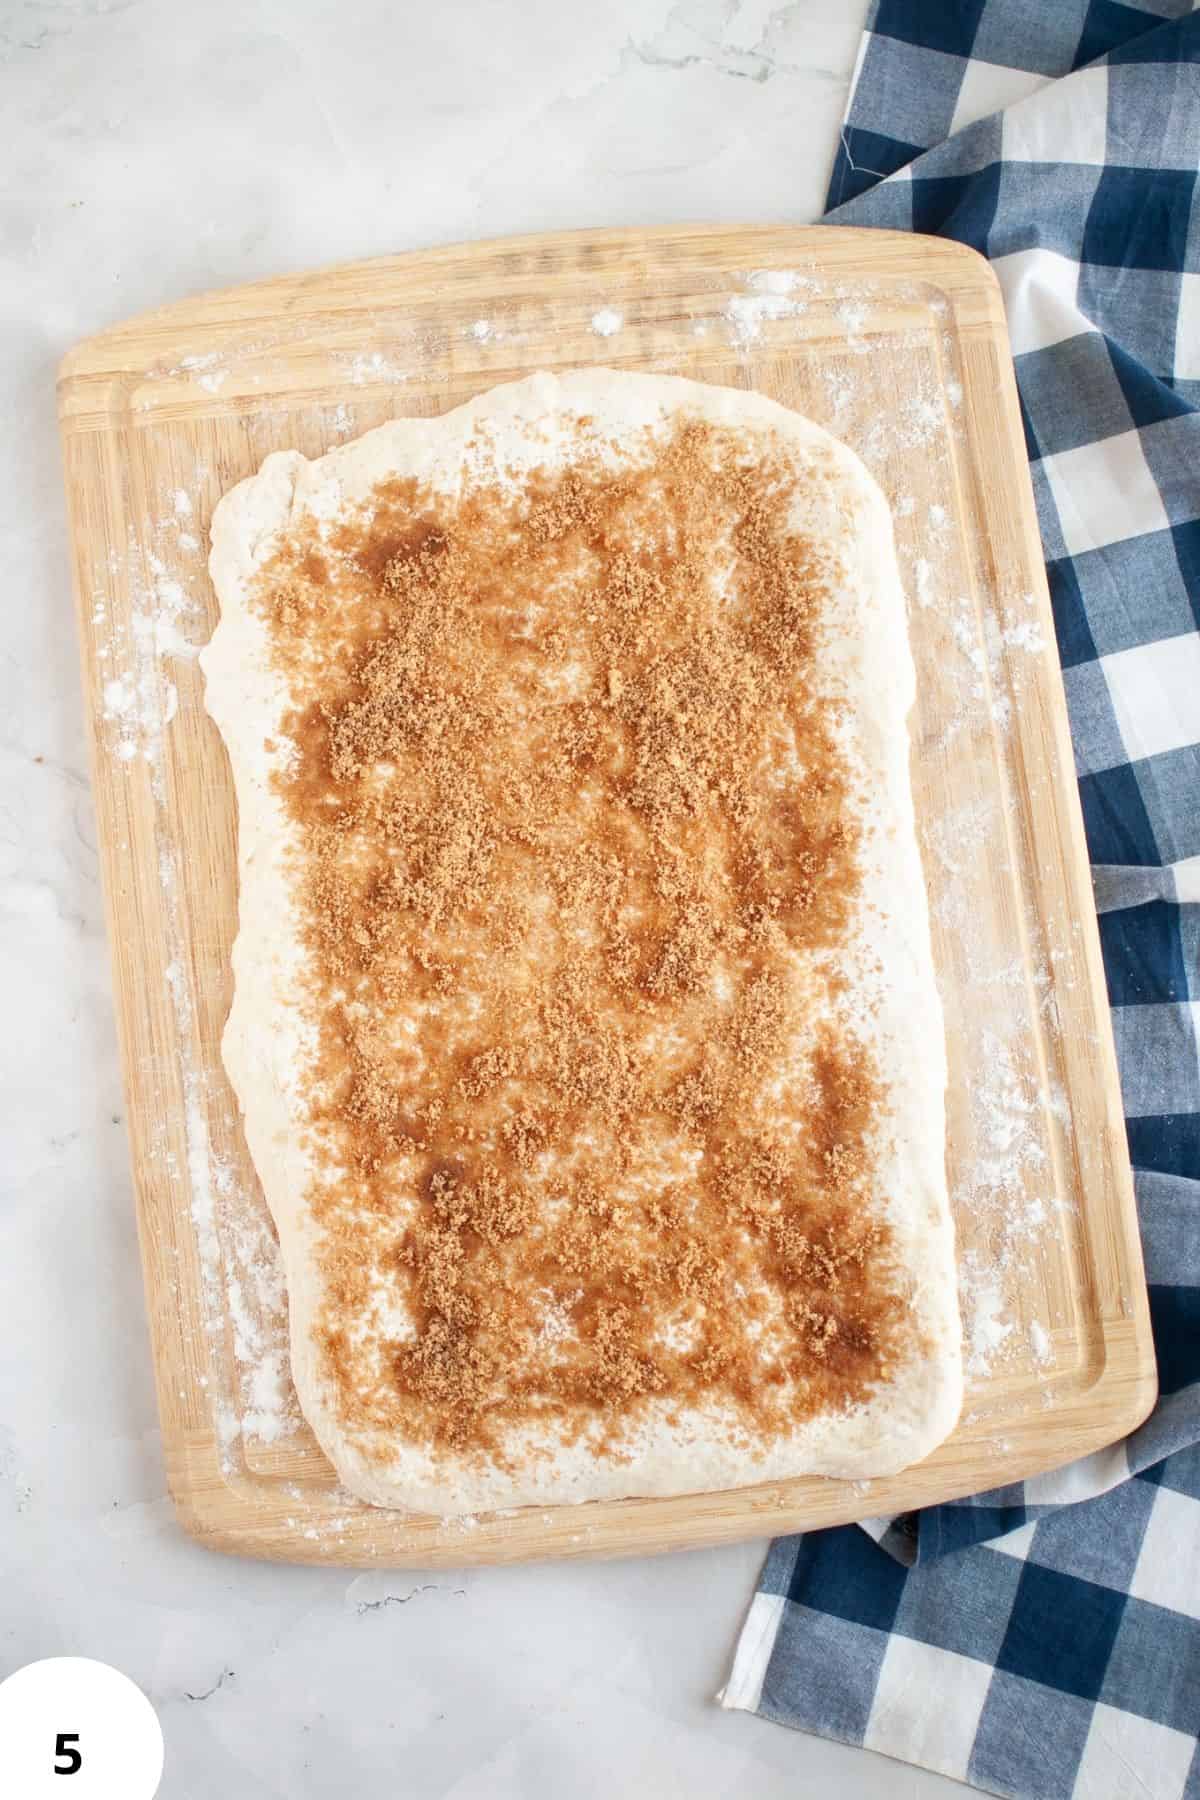
Step 5: Brush some heavy cream over the dough. You can also use milk or just plain water.
Sprinkle ⅔rd of the cinnamon sugar over the surface, leaving a bit of border around the edges (Image 5).
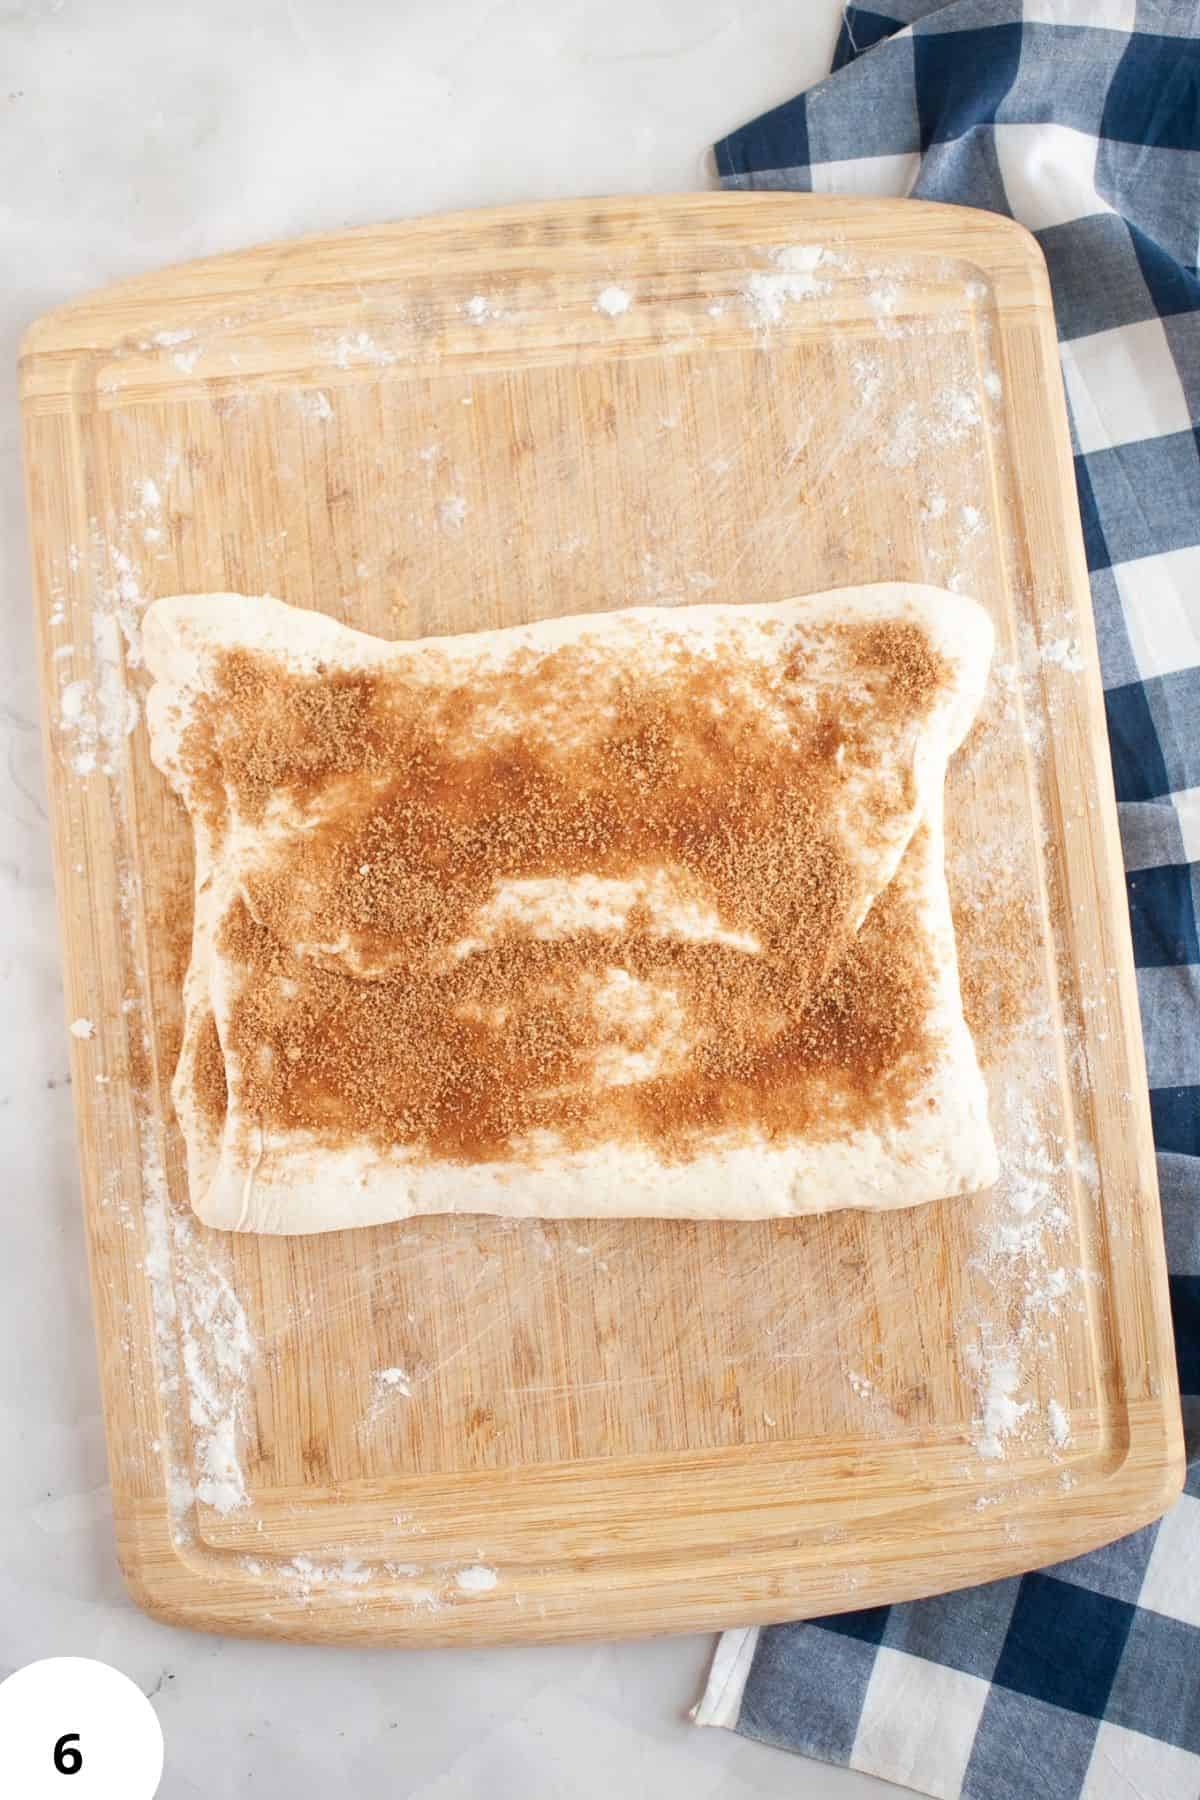
Step 6: Fold the dough, bringing the short sides into the middle, letting them overlap a bit (Image 6).
Sprinkle the rest of the cinnamon sugar over this folded dough.
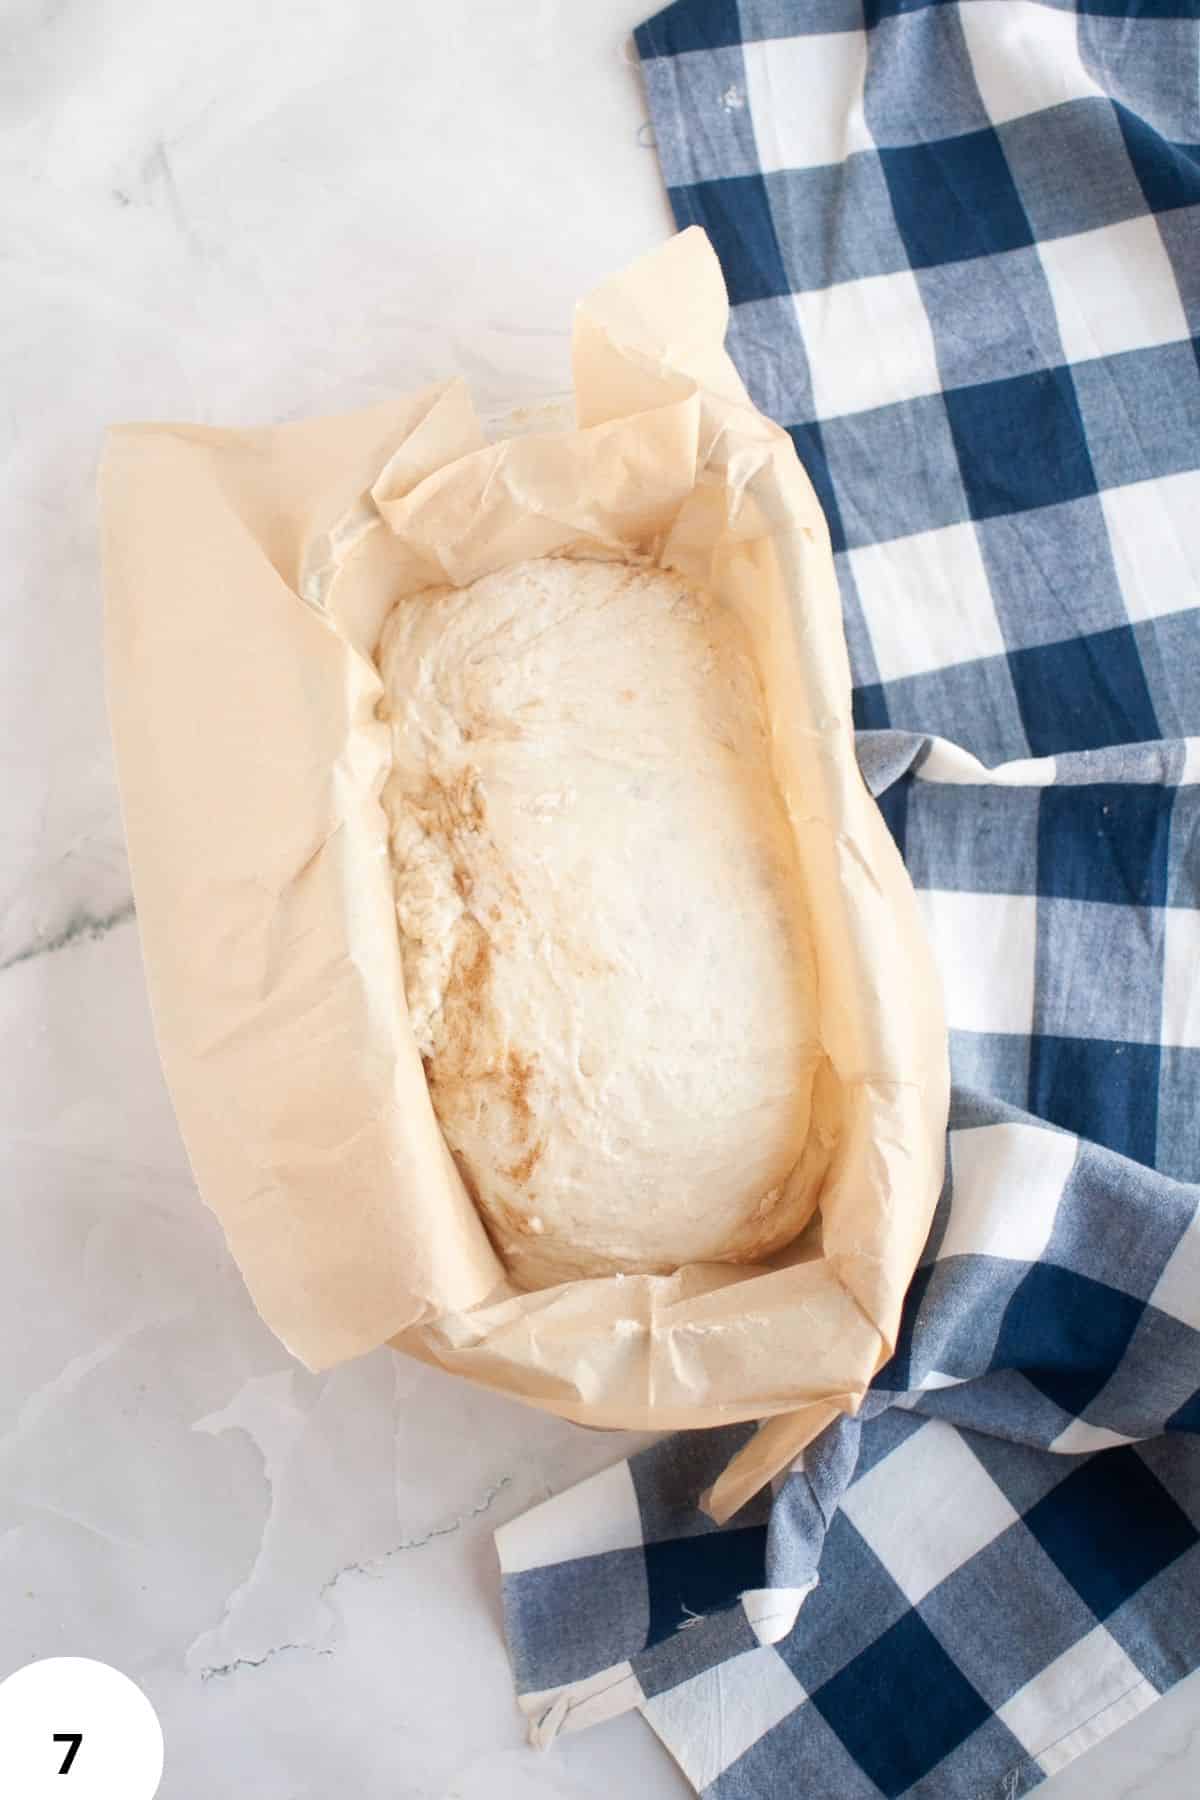
Step 7: Start at the short end and roll the dough up tightly, like you're making a dough log (Image 7). You can help yourself with a bench scraper if the dough wants to stick to the surface.
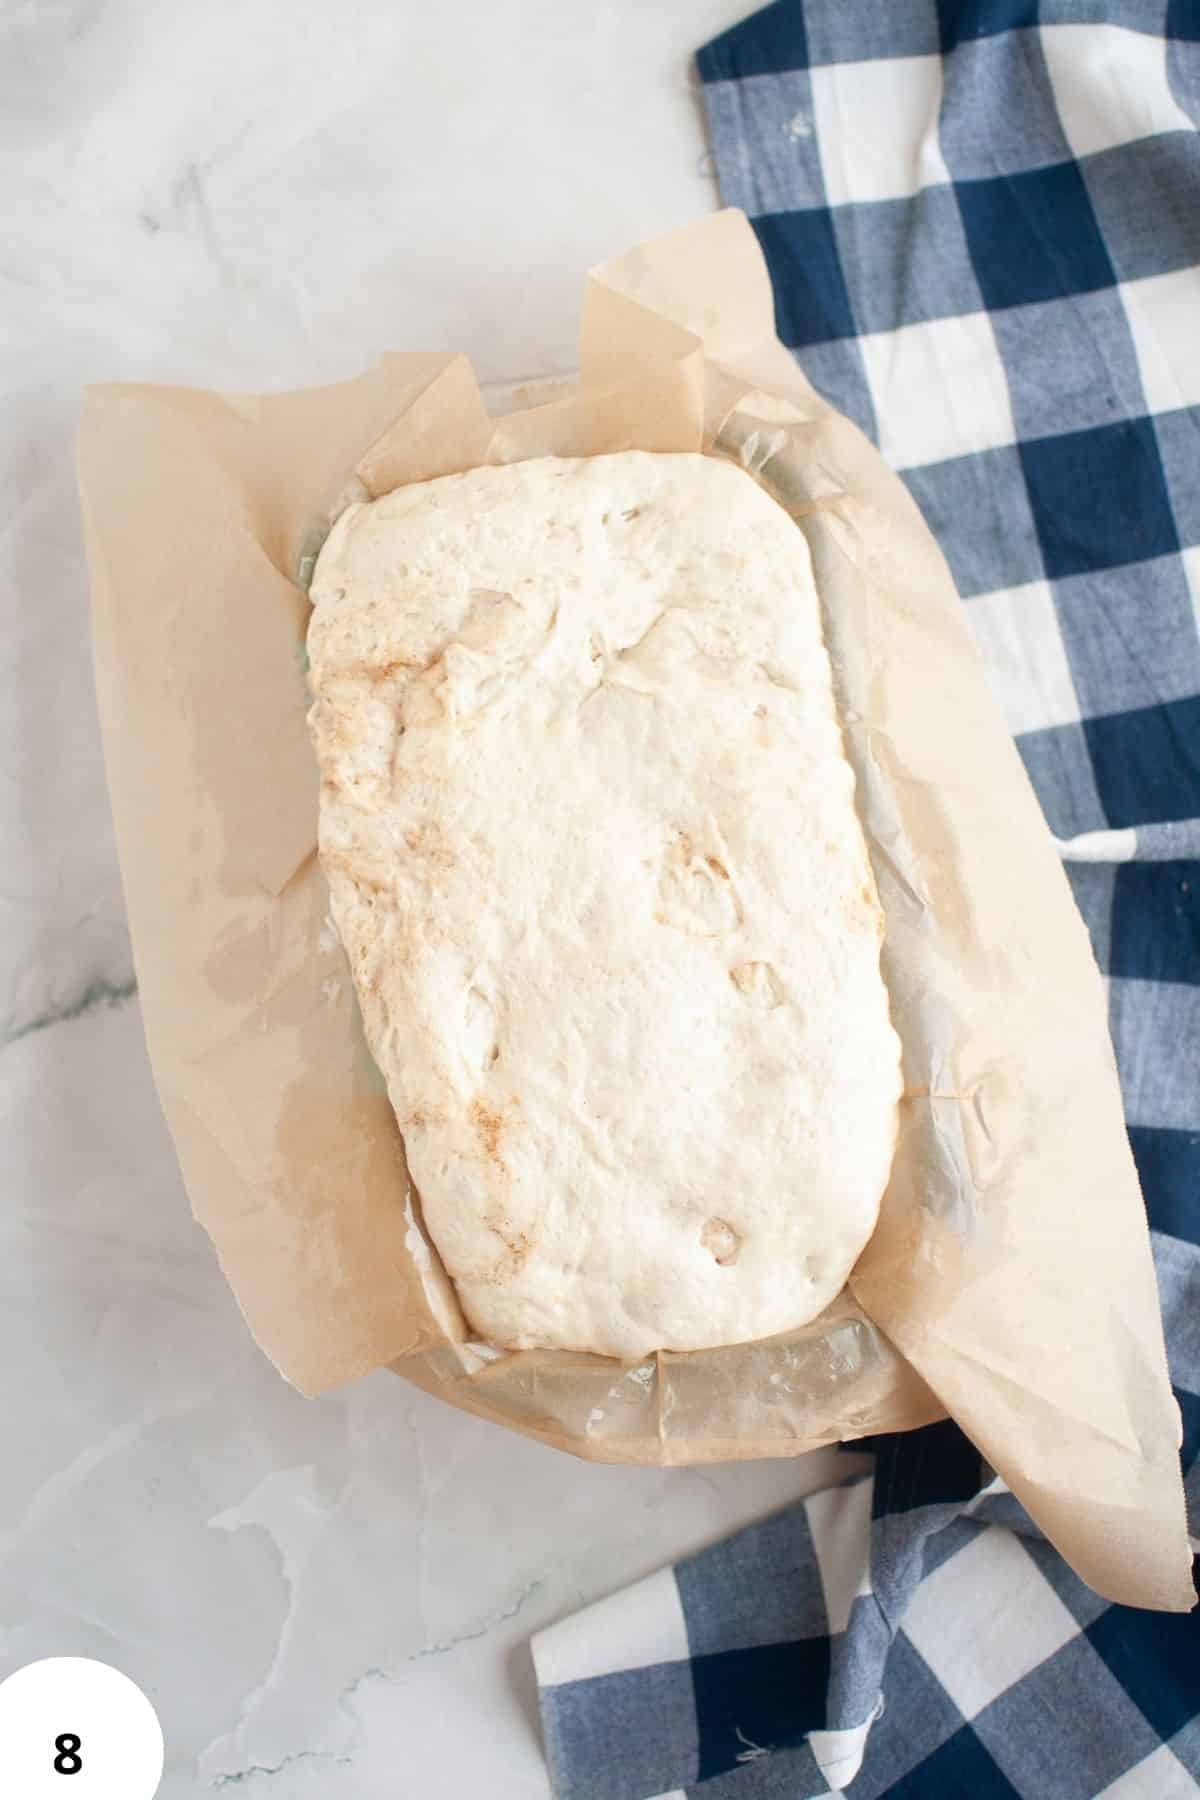
Step 8: Place the log seam-side down in a loaf pan lined with parchment paper and let it rise again for 2-4 hours at room temperature (Image 8). A piece of parchment paper can save you a lot of clean up in case the filling leaks out a bit!
Step 9: Preheat your oven to 400°F and add water to a cast iron pan or an oven-safe bowl. Place this in the bottom of the oven.
Score the loaf, brush it with some milk or cream and cover the loaf pan loosely with foil before you pop it in the oven.
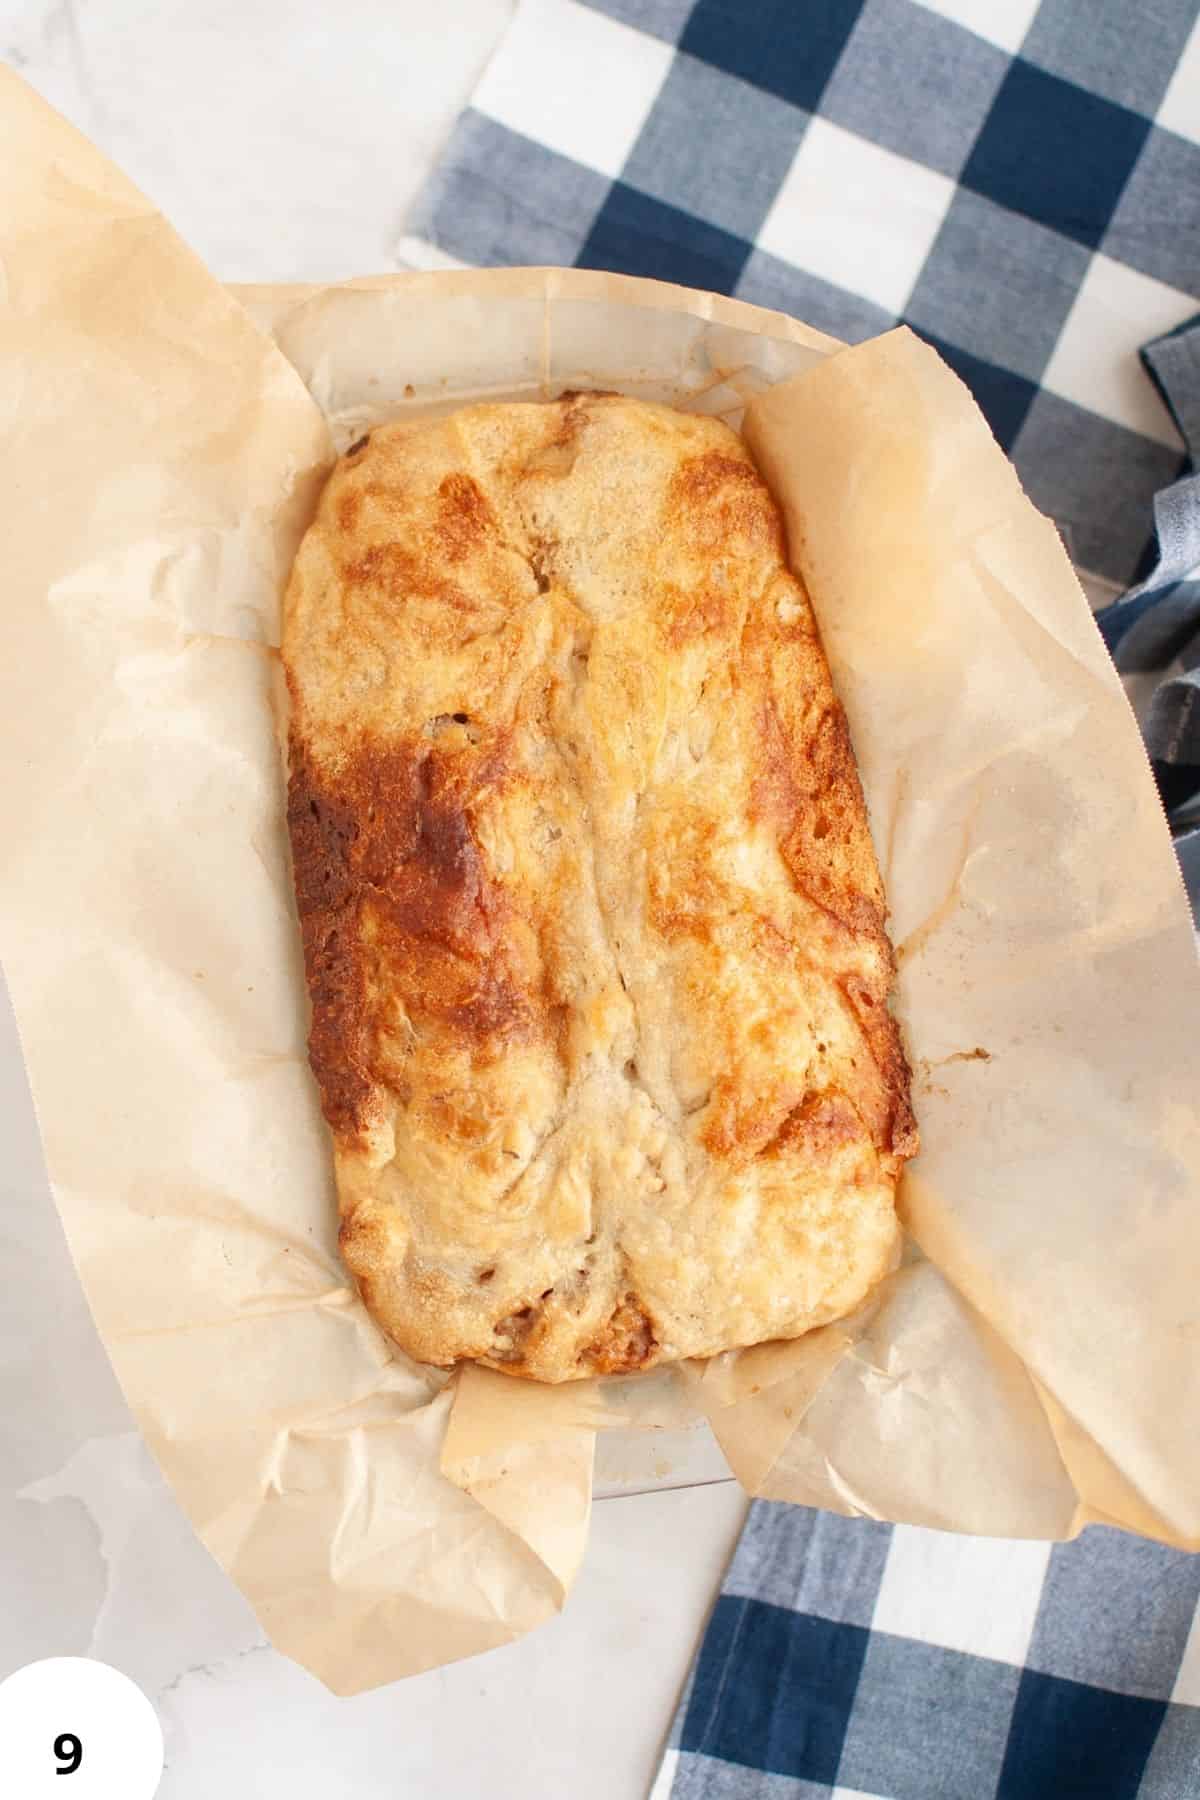
Bake for about 40 minutes, then remove the foil and pop it in again. Bake for an additional 10 minutes or until the top of the loaf is golden brown and crispy (Image 9).

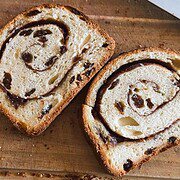
Step 10: Cool completely on a wire rack, slice and serve (Image 10).
Hint: Use your judgment for the stretch and folds. If your dough feel too soft and doesn't have enough structure, do another couple of rounds of stretch and folds.
Baking Schedule
OPTION 1: Prepare dough in the morning, enjoy sourdough cinnamon sugar bread by afternoon
7:00 am: Mix your dough and let it start its first rise.
1:00 pm: Begin folding the dough, apply the filling, and shape it.
1:30 pm: Start the final rise in the loaf pan.
4:30 pm: Preheat your oven and get ready to bake.
5:00 pm: Bake your bread.
5:50 pm: Take your bread out to cool.
OPTION 2: Start in the evening, have freshly baked bread for breakfast
5:00 pm: Mix your dough and let it rise for 6 hours.
11:00 am: Move the dough to a cool spot for a slow fermentation overnight.
7:00 am: Shape, fill, and shape your dough first thing.
7:30 am: Let it rise again while you enjoy your morning coffee.
11:30 am: It's baking time! Preheat the oven and get that bread in.
12:20 pm: Your sourdough cinnamon sugar bread is ready, perfect for a late breakfast treat.
💭Crucial Success Tips
- If your dough is too wet, sprinkle in a little more flour; if it's too dry, add a splash of water. It's all about finding that perfect balance for a dough that's still manageable to work with and retains some of the hydration. Feel free to tweak the amounts slightly!
- You can use a dough scraper to fold your dough neatly and to transfer it into your loaf pan without a mess. It helps keep the shape intact and makes handling the dough much simpler.
- When adding your cinnamon sugar mixture, aim for an even spread. This ensures every slice is packed with flavor. Also, remember not to overdo it; too much filling can lead to leaks and make rolling tougher.
- To make the sourdough cinnamon brown sugar bread extra sweet, top it with an extra sprinkle of the cinnamon sugar during the final 10-15 minutes of baking time.
Recipe FAQs
Yes, you can substitute whole wheat flour for a portion of the all-purpose or bread flour. I wouldn't substitute more than 20%, to keep this bread soft. Keep in mind, though, that whole wheat flour absorbs more water, so you might need to adjust the hydration of your dough slightly. Whole wheat will also give your bread a denser texture and a nuttier flavor.
Sourdough bread can be better for you because it breaks down phytic acid, making it easier for your body to get minerals from the bread. The good bacteria from the sourdough starter are healthy for your stomach, too. Plus, letting the dough rise longer makes the bread taste better and could be better for you.
A few things could've happened. Maybe your sourdough starter wasn't ready or active. The temperature of where you let the dough rise could've been too cold, making the rise slow. Also, check that you gave it enough time to rise both before and after shaping the dough.
Sourdough is a living thing, so sometimes your loaf might not rise as much as expected even if your starter is fully active. Make sure your starter is bubbly and doubled in size before mixing. Also, bulk fermentation times can vary, so don't rush it! A warmer spot will speed things up, while a cooler kitchen means a slower rise. In any case, watch the dough more than you watch the clock, and don't be afraid to give your dough an extra hour or two if you feel like it hasn't risen as much as the instructions say.
It's tempting to pile on the filling, but too much can cause it to ooze out and make rolling tricky. Aim for an even, moderate layer and leave a small border around the edges before folding. Also, brushing the dough with heavy cream or milk helps the filling stick better and reduces leaks.
Sourdough dough is often a bit sticky but manageable. If it's too wet to handle, sprinkle in a tablespoon of flour at a time during mixing or shaping until it feels less sticky. If it's too dry and cracks when folded, add a teaspoon of water to soften it up.
How To Store Sourdough Cinnamon Brown Sugar Bread
Place your leftover sourdough cinnamon sugar bread in a sealed container or wrap it tightly in plastic wrap. It will stay fresh for about 3 days. If you prefer to keep it in the fridge, use a container with a tight lid or a plastic bag. This way, your bread can last up to a week.
For longer storage, freeze your bread by wrapping it securely or placing it in a freezer-safe bag. It'll keep well for up to 3 months. When you're ready to eat it, warming it in the oven will give you that freshly baked taste and texture.
More Sourdough Recipes
- Neapolitan-Style Sourdough Pizza Dough

- Italian Semolina Sourdough Bread

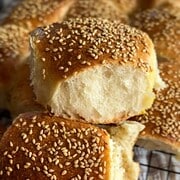
- Sourdough Picnic Rolls (Pull-Apart Bread Rolls)
- Sourdough Cinnamon Raisin Swirl Bread (The Simplest Version)
If you tried this sourdough cinnamon brown sugar bread or any other recipe on my blog please leave a 🌟 star rating and let me know how it went in the 📝 comments below! Happy Baking!
Sourdough Cinnamon Sugar Bread
Jump to VideoEquipment
- 1 Loaf pan
- 1 Mixing bowl
- 1 kitchen scale or measuring cups and spoons
- 1 Dough scraper
Ingredients
For the Dough:
- 220 grams water
- 175 grams bread flour
- 175 grams all-purpose flour plus extra for shaping, about 12 grams or 2 tbsp
- 110 grams sourdough starter active
- 20 grams sugar
- 10 grams oil neutral tasting oils work best
- 7 grams salt
For the Cinnamon Brown Sugar Filling:
- 12 grams ground cinnamon
- 65 grams light brown sugar
- a splash heavy cream milk or water work too
Instructions
- Start by combining your dough ingredients in a large mixing bowl. Use a spoon or your hands to mix until all the flour is hydrated and no dry spots remain. The dough will be shaggy and sticky at this stage-that's perfectly fine. Cover the bowl with a damp towel and let it rest for 30 minutes to allow the flour to absorb the water and start developing gluten.
- After the rest, perform 2-3 sets of stretch and folds, about every 30 minutes. To do this, grab a section of the dough, stretch it upward, and fold it over itself. Rotate the bowl and repeat on all four sides. The dough will start to feel smoother and stronger as you go.
- Once you've completed the stretch and folds cover the bowl with a lid, plastic wrap, or a plastic bag to prevent drying. Let it bulk ferment at room temperature until it has almost doubled in size and looks puffy-this entire process, from mixing to the end of bulk fermentation, should take about 6 hours, depending on the warmth of your kitchen.
- After the bulk ferment, cool the dough in the fridge for at least 2 hours, or overnight. This step helps develop flavor and makes the dough easier to work with.
- Prepare the cinnamon sugar filling by mixing ground cinnamon and light brown sugar in a small bowl. Shape your dough on a lightly floured surface into a rectangle. Lightly brush the dough with heavy cream (or milk/water). Sprinkle ⅔ of your filling on top, leaving a small border around the edges. Now, fold the dough: bring the short sides towards the middle, overlapping them slightly.Sprinkle the rest of your cinnamon sugar over this folded dough. Next, start at one short end and roll it up tightly, like you're making a dough log.
- Place this log seam-side down in your parchment paper lined loaf pan for its second rise. This final proof gives the bread its final shape and size, taking about 2-4 hours at room temperature.You can optionally also do a cold overnight proof as the second rise, but the dough will be a bit tangier if you do that. If you don't mind, that's ok!
- Preheat your oven to 400°F (200°C) to heat up. While that's happening, grab a cast iron pan or another oven-safe dish and fill it with some water. This is going to sit on the bottom of your oven and create steam while your bread bakes, which helps give the crust a nice texture. Now, take the dough that's been rising in the loaf pan and make a shallow cut down the center with a sharp knife or a razor blade. This isn't just for looks; it helps the bread expand evenly while it cooks. Brush the top of the dough with a little more cream, milk, or water-this helps the top get a nice color without burning.Score the loaf, brush it with the remaining cream/milk/water.Then, loosely cover the loaf pan with aluminum foil to keep the moisture in. Carefully place your loaf pan in the oven, and don't forget to add the pan with water for steam. Bake it at the set temperature of 400°F (200°C) for about 50 minutes.Remove the foil 10 minutes before the bread is done for a golden brown crust.
- Cool the baked bread on a wire rack. Patience here is key; wait until the bread cools before slicing it to enjoy the full flavor and texture!
Video
Notes
-
- Dough texture: If your dough is too wet, sprinkle in a little more flour; if it's too dry, add a splash of water. It's all about finding that perfect balance for a dough that's still manageable to work with and retains some of the hydration. Feel free to tweak the amounts slightly!
-
- Using a dough scraper: A dough scraper is not just for cutting; use it to fold your dough neatly and to transfer it into your loaf pan without a mess. It helps keep the shape intact and makes handling the dough much simpler.
-
- Adding the filling: When adding your cinnamon sugar mixture, aim for an even spread. This ensures every slice is packed with flavor. Also, remember not to overdo it; too much filling can lead to leaks and make rolling tougher.


I opted for the cold proof in the refrigerator for the second rise, before baking. it didn't seem quite done after 50 minutes so I left it in for about another 5. I'm worried it's not done all the way but also don't want to leave it in too long. Do you suggest an additional time for cooking or letting it set on the counter till reaching room temperature before cooking? Thanks!
Hi Christine! About the bread not being done rising: if I'm in doubt, I always opt for leaving it a little longer. As far as I'm concerned, I'll always pick overfermented brea over the under fermented one...so that's what I always suggest in those situations too 🙂 And no, I never wait fo rthe dough to get to room temperature before baking it (except if it's accidental lol). I always just bake straight from the fridge 🙂
I ended up leaving it in the oven an additional 5 minutes and it turned out perfect! I probably could have eaten the whole thing myself. But my husband loved it too, so had to save some for him. I'm making another loaf tomorrow! This one is definitely a keeper!!
Delicous!
Hi Michelle, glad to hear it!
I make this quite often per requests. Perfect every time!
Hi Mike,
I'm glad you like the recipe, thanks for letting me know, it means a lot to me!
Would it work to substitute Monk fruit for the sugar?
Hi Teri,
I have no idea! And no experience with Monk fruit so I'm of absolutely no help here...Let me know if you end up trying it, so I can include your results in recipe note and hopefully help future readers with your experience!
can I ask why you use bread flour and all purpose? why not just all bread flour?
Hi Heather!
Good question, thanks! Generally, all purpose flour will make your bread soft, but less structured (smaller bubbles, shaping won't be as easy). And bread flour give the bread great structure, but at the same time, it can make it a bit stiff. Through some trial and error, I found the all purpose:bread flour ratio in this recipe to work the best! But you can also use only one or the other, the result won't be drastically different. It's just that the ration listed should give you the perfect result (for my taste!).
l made my bread just as you instructed and it was delicious. thank you
Thank you so much!
can you use the 2 pan method on this recipe?
Yes, you can! You can generally use it for any recipe. I really need to start including the instructions for doing it that way too...
will I still need the pants of water?
The written directions say bake at 400 degrees but the video says 460 degrees... which is correct? I am baking today.
Hi Marla, I’m so sorry for the confusion!
In the video I’m showing two baking methods, which is why the temperatures are different:
- Dutch oven (boule shape): 460°F (240°C). Bake a bit shorter here; about 20–25 minutes covered, then 15–20 minutes uncovered.
- Loaf pan: 400°F (200°C) for about 50 minutes. Keep it loosely covered with foil, then remove the foil for the last 10 minutes to brown.
So it depends how you're shaped this bread - into a boule or into a log. If you have any other questions, please let me know!
Thank you! Now I cannot get it to bulk fully. I have had it out overnight and it is stil sticking to the side of the bowl and doesnt leave the indent when I test it with my finger. House temp is 71degrees.
I'd say go heavy on the flour and shape it anyway. This dough is wet and I too cannot usually get it into a fluffy cloud after the bulk ferment. I'd shape it anyway and see how it goes. If it's really sticking everywhere try to use a bit more flour in the dough next time. But it will probably turn out fine!
The bread turned out amazing! I do have one question and wondering what I could do differently. I baked in Dutch oven and did what you said.. 460 for 30 min and then 440 for 10 min with lid off. My bottom came out pretty black.. what should I do differently for next time? TIA!
Hi Carly,
Yay, I’m so glad it turned out amazing! A black bottom usually means the pot is getting a little too much direct heat. Some ideas you might try to fix this for next time:
- Move the rack up to the upper third of the oven.
- Shield the bottom: set your Dutch oven on a cold sheet pan, or double up the parchment and sprinkle a little semolina/rice flour under the dough.
- Drop the temps slightly: try 450°F for 25 min covered, then 425°F for 10–15 min uncovered.
Optional: after you remove the lid, lift the loaf out of the pot and finish directly on the rack for the last 5–10 minutes to even out the color.
Let me know if of of those worked and if you have any other questions!:)